Category: S1


  • Burley Visit

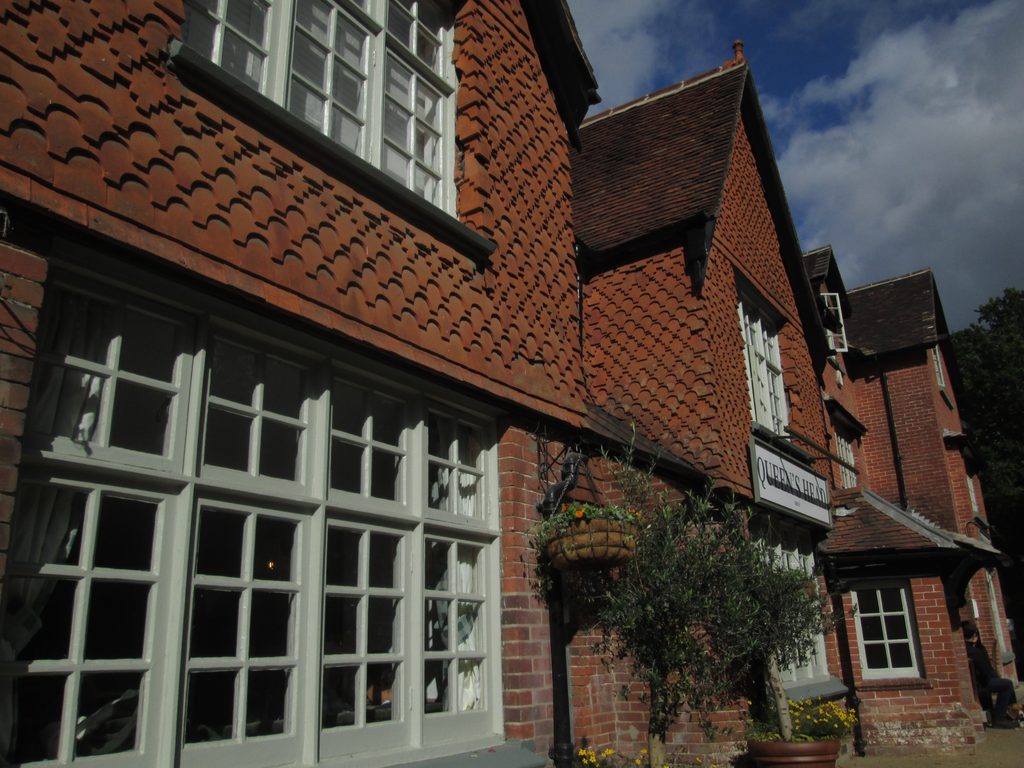
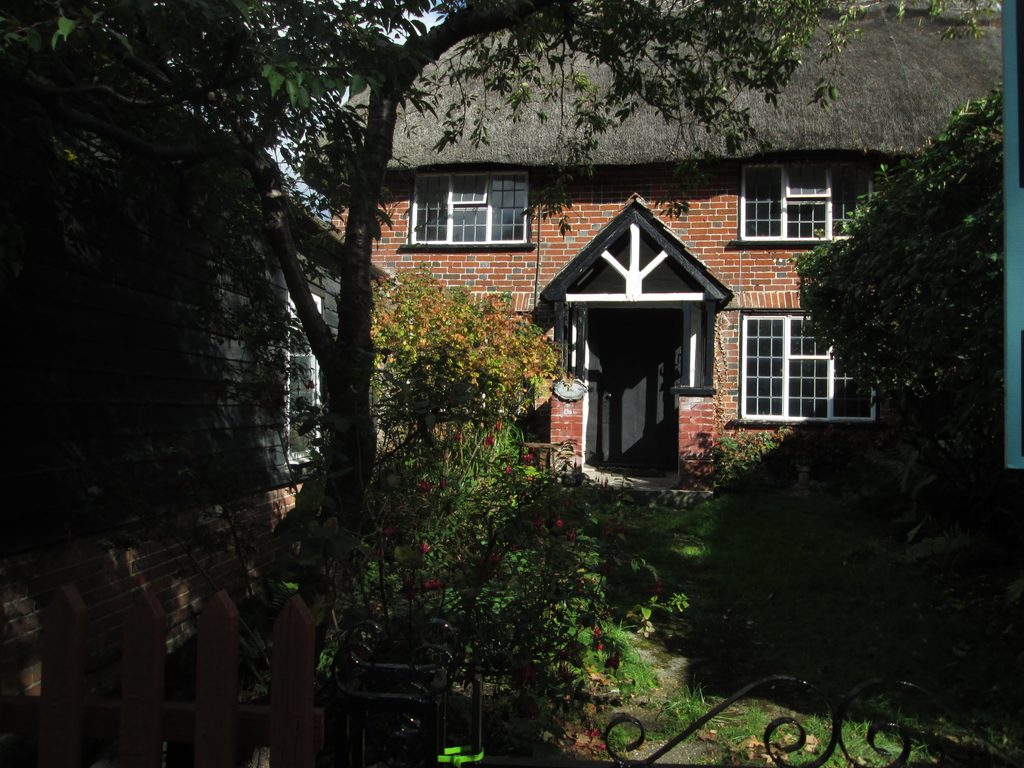
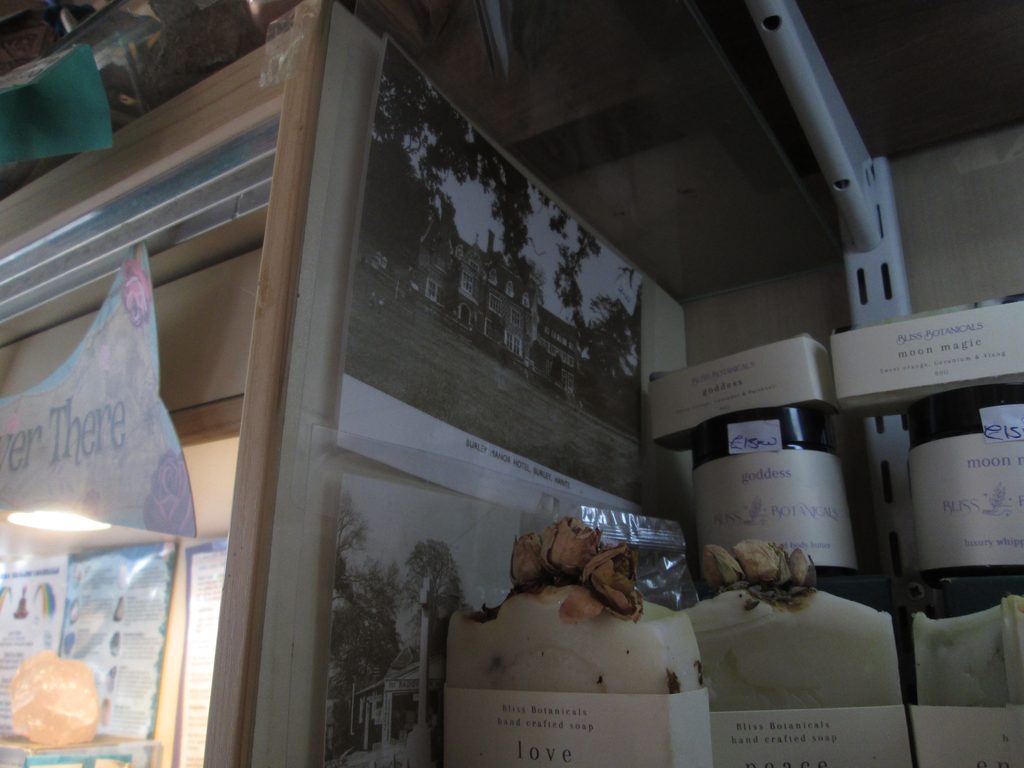
    During my research into the surrounding area I came across the village of Burley. Burley has a rich history from saxon age to today. Operating as a smuggling route during the 18th and 19th centuries for tobacco, brandy and tea. Burley Manor has records going back to 1212 the current version of the building was built in 1852 and is currently a hotel.

    Sybil Leek

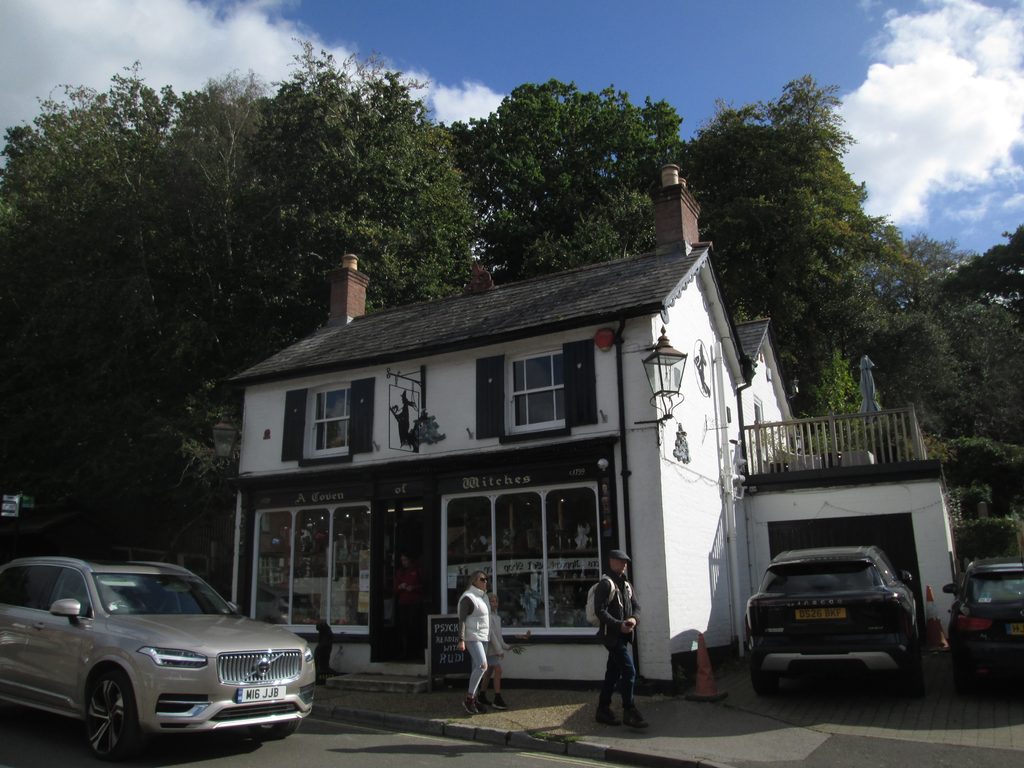
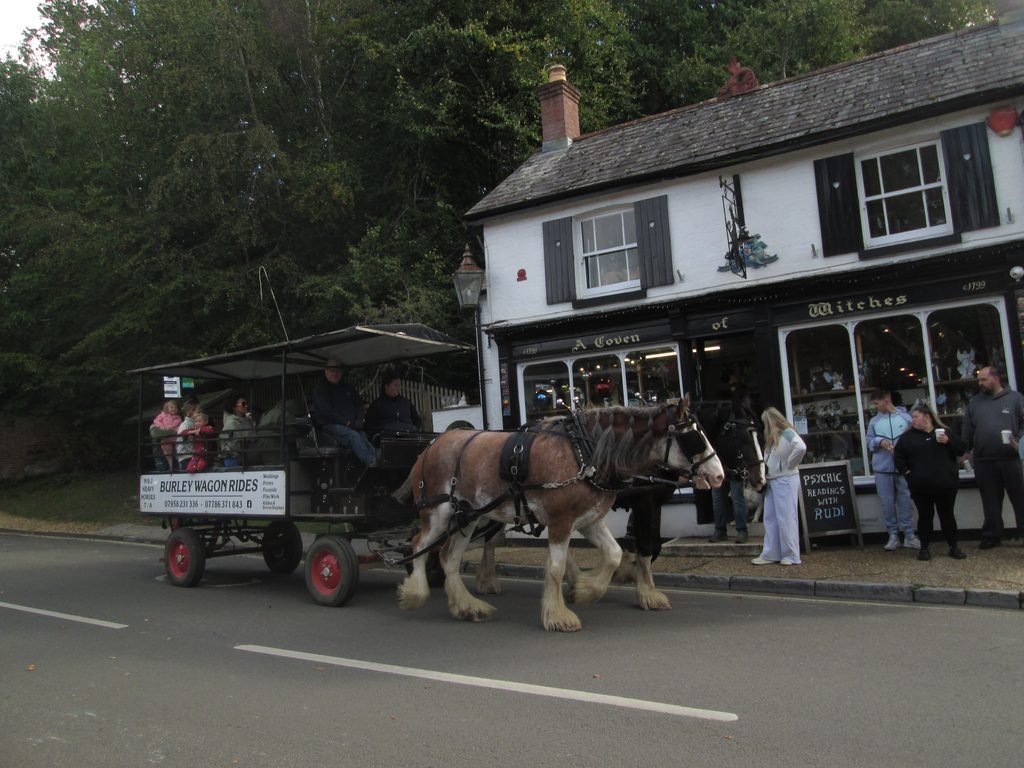
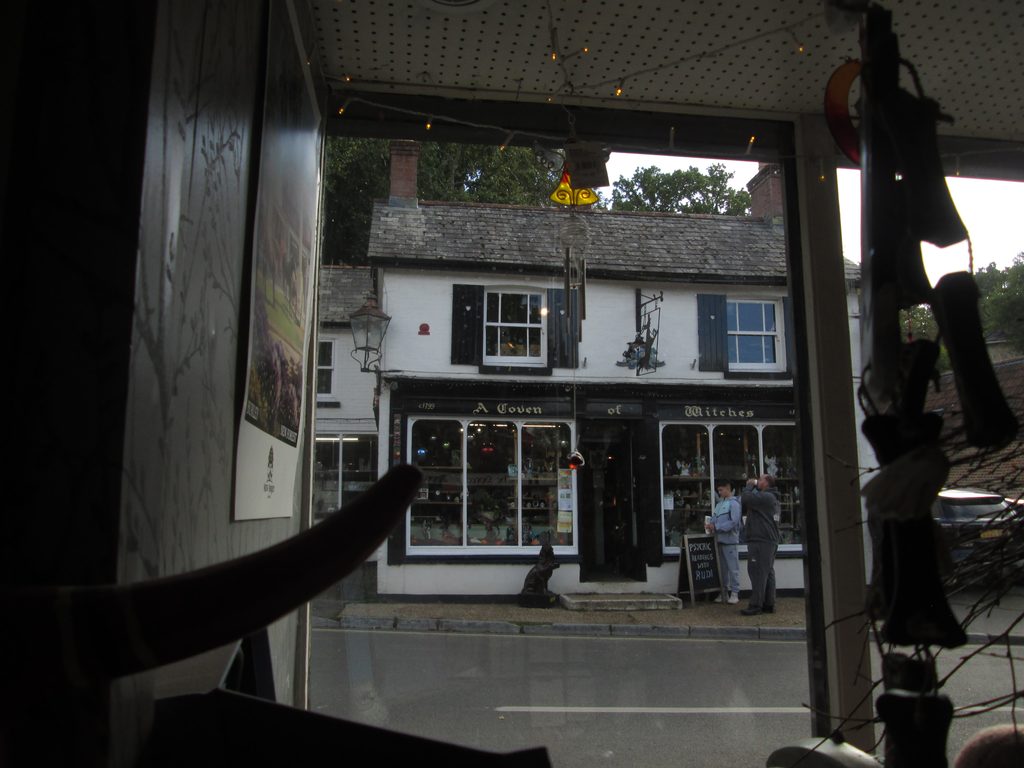
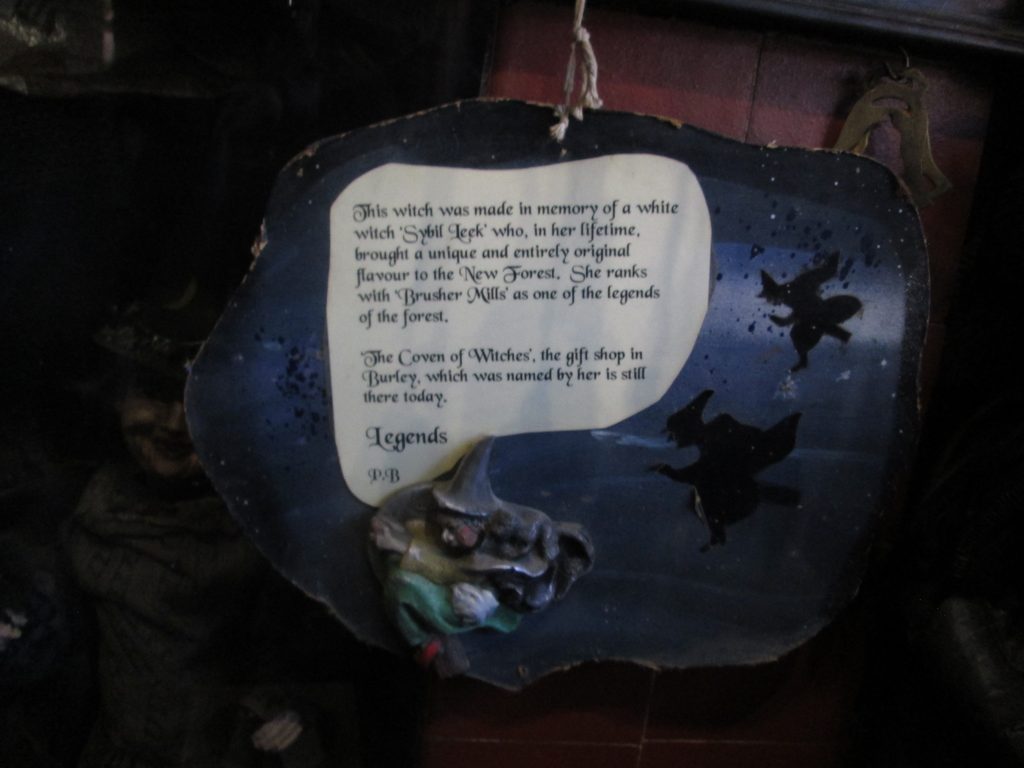
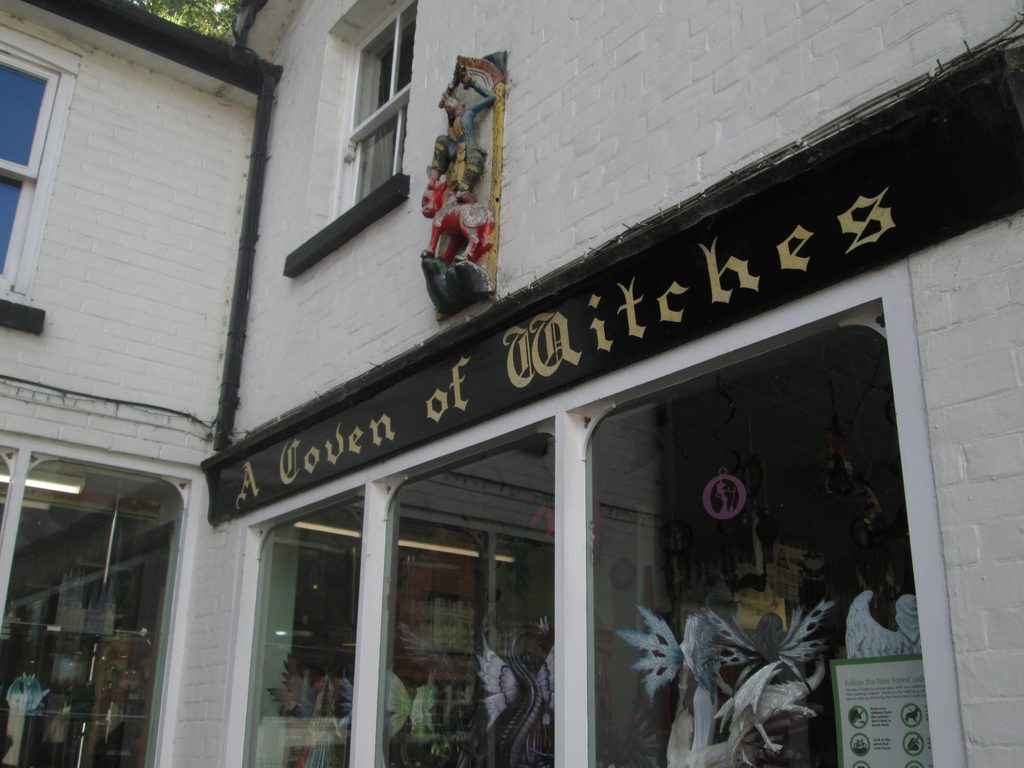
    In the 1950s after the repeal of the British Witchcraft Act Sybil Leek announced herself as a witch and gained worldwide noteriaty as she walked the streets in a long black coat and a pet jackdaw on her shoulder. She named a witchcraft shop which is still operating today – A Coven of Witches.
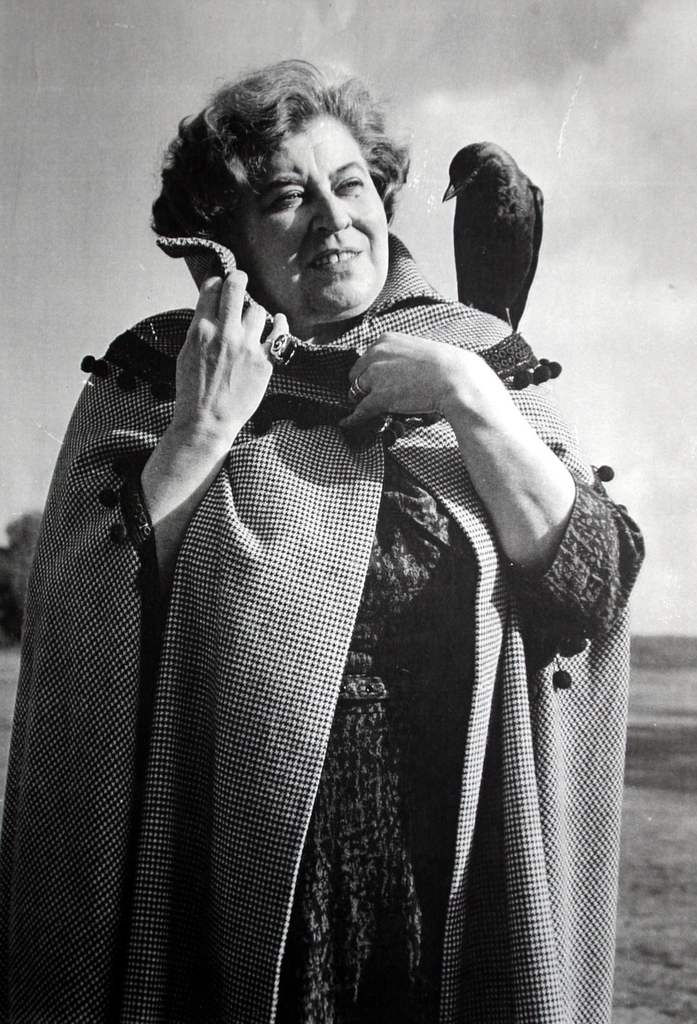
    After I discovered this place I arranged a field trip with two other members from my class as one is researching necromancy and the other has an interest in fractals, which can be found in crystals. For the trip I took along my digital camera to take photographs.

    Photographs
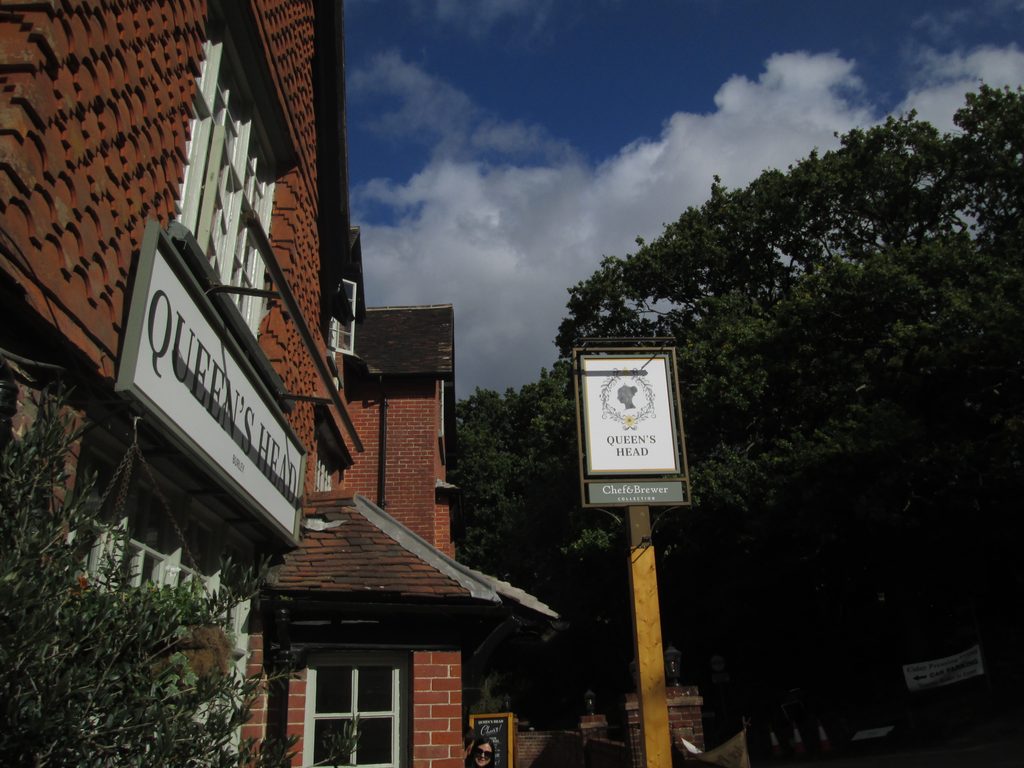
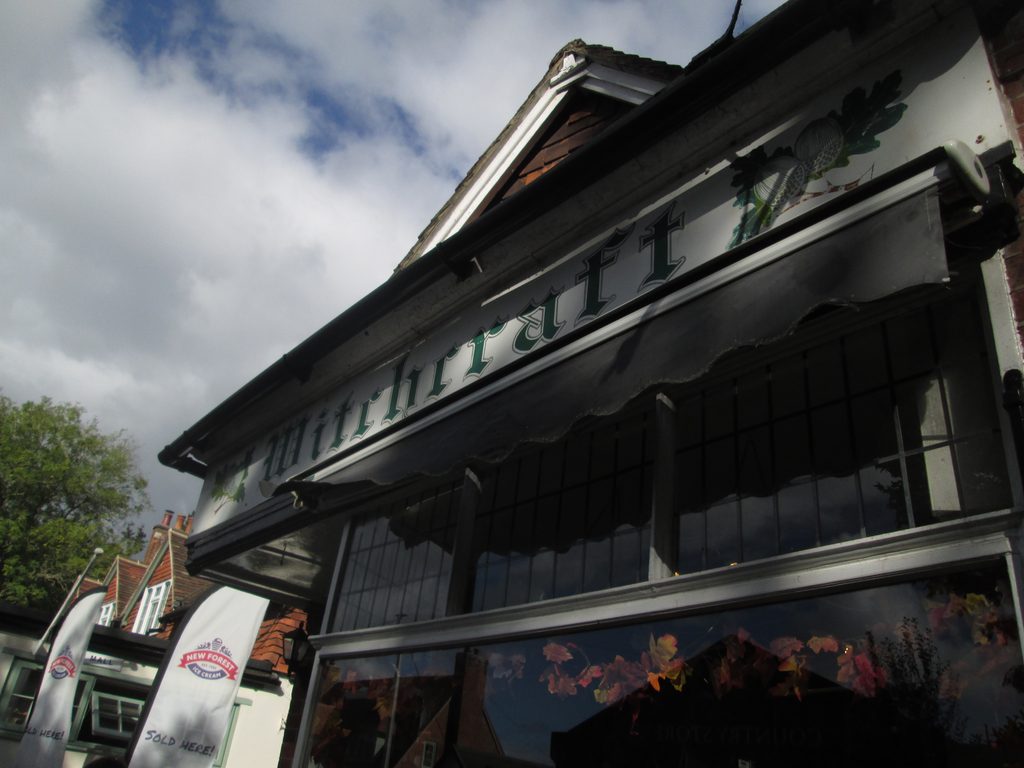
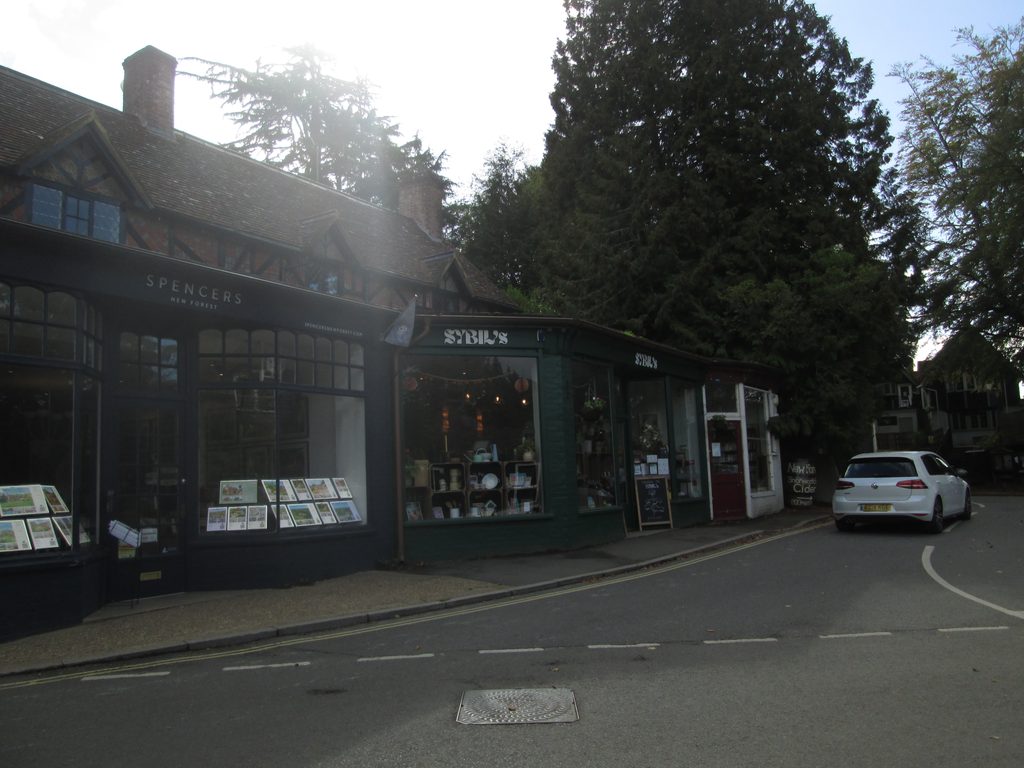
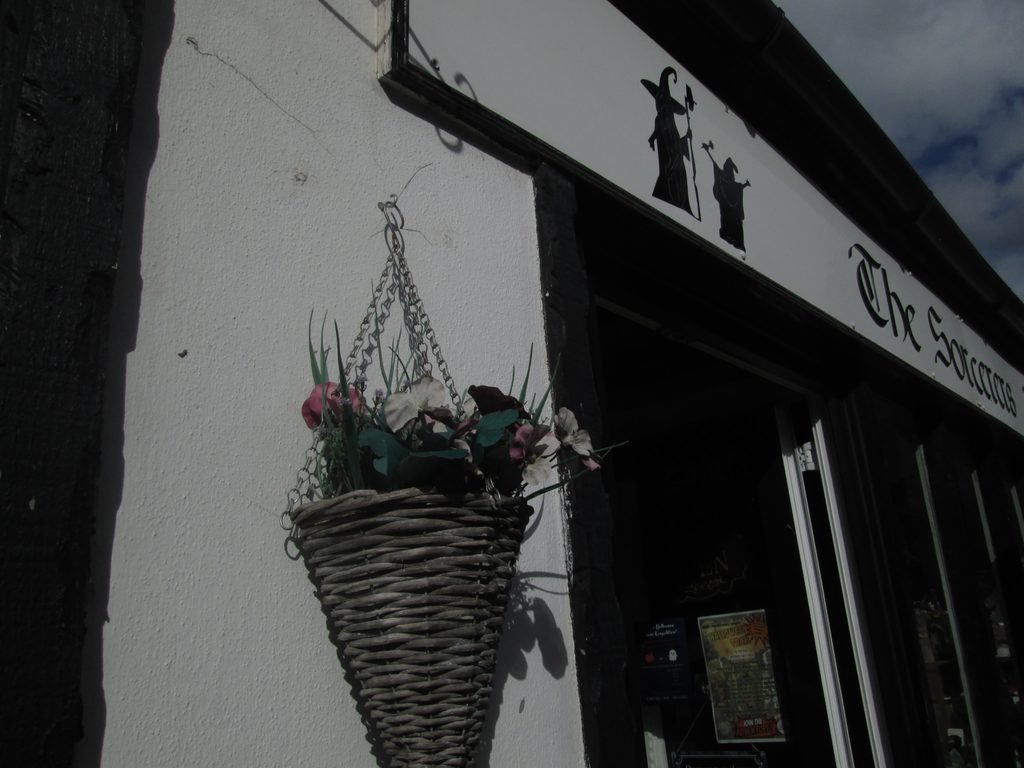
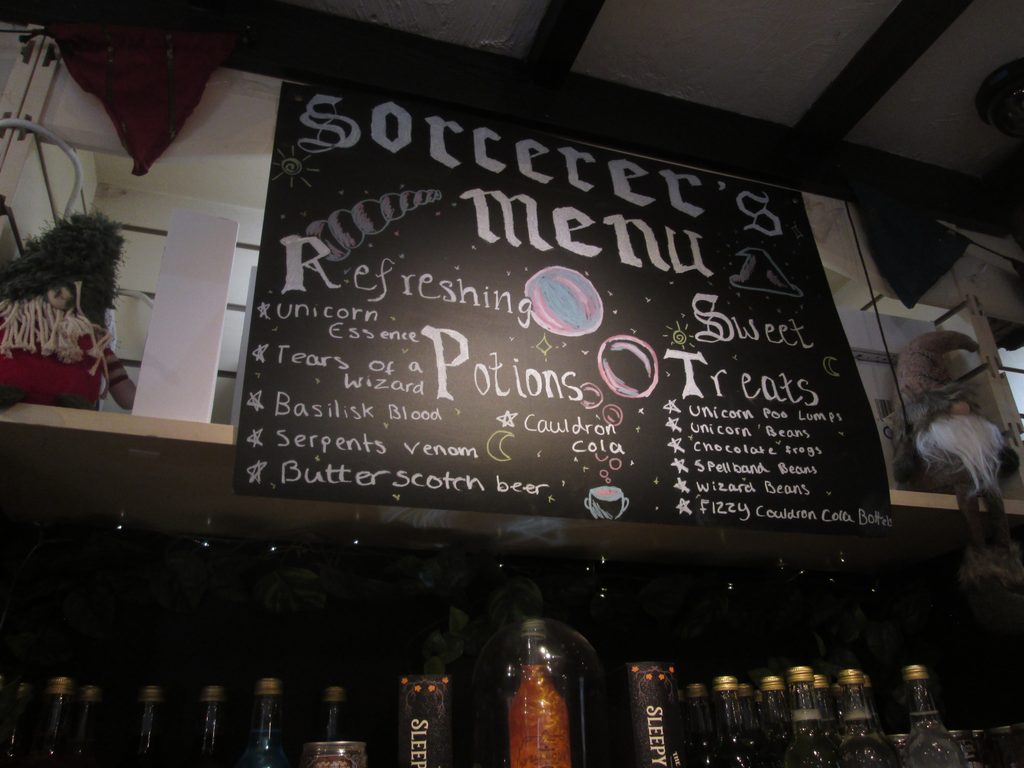
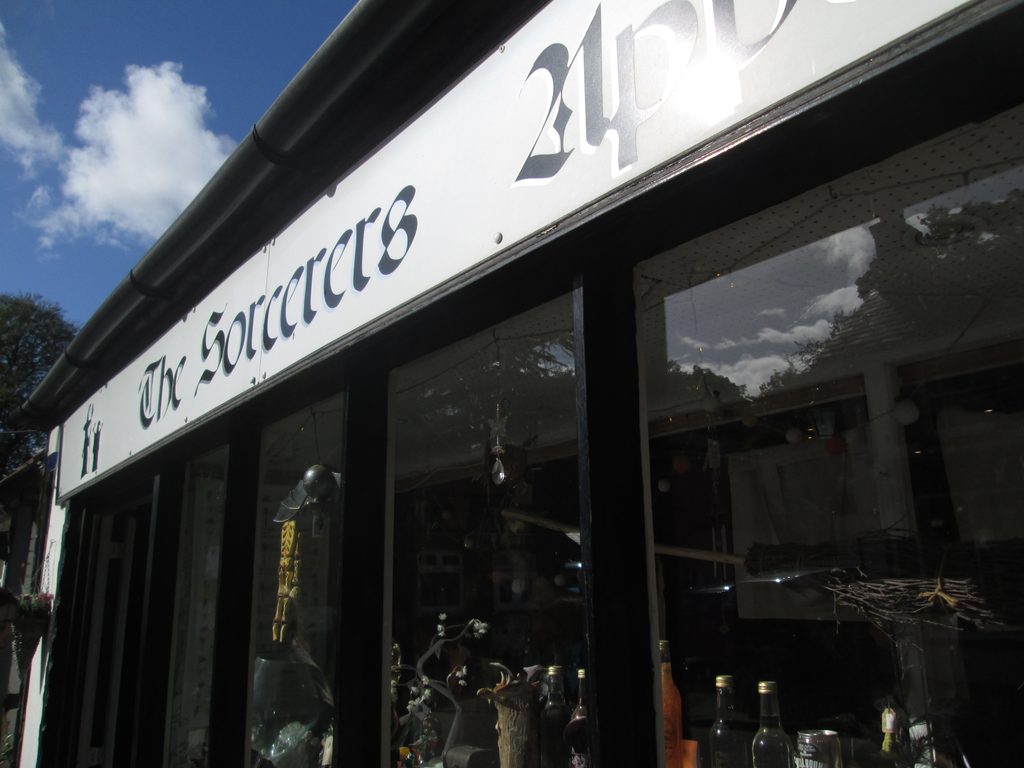
    Burley was a lovely little village full of very friendly people and wild horses. We went into four witch shops, to see what modern witch items are being sold, though Burley does attract a lot of tourists and some of the items being sold reflect that – two of the four shops were more trinket shops than genuine witchcraft.

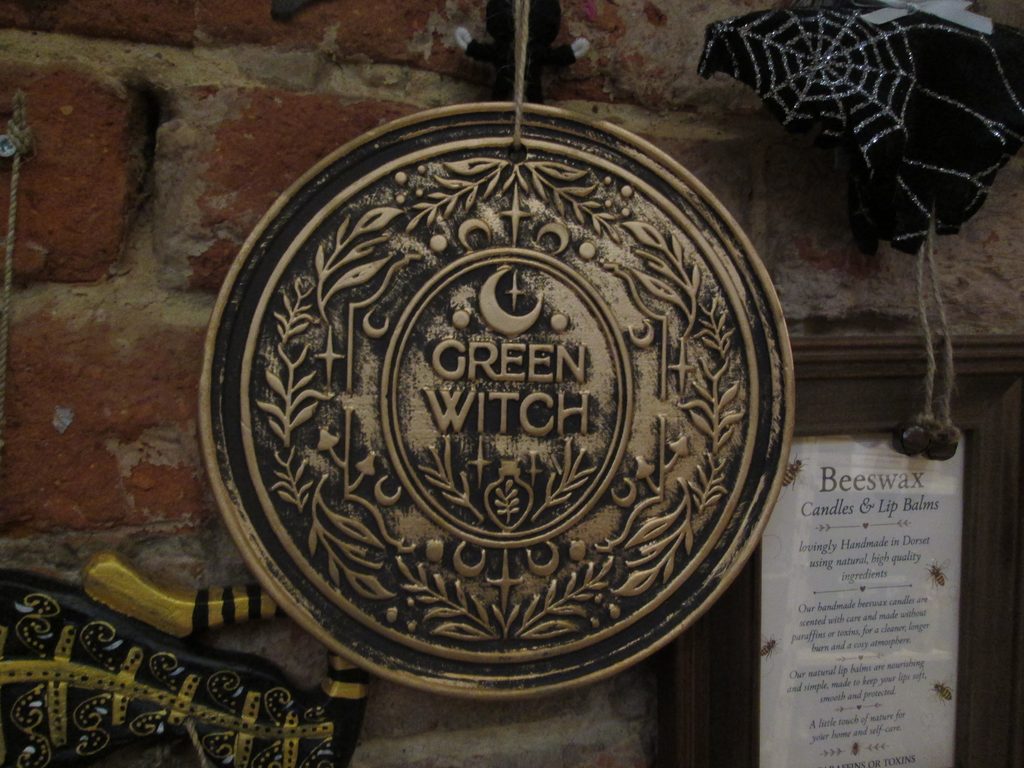
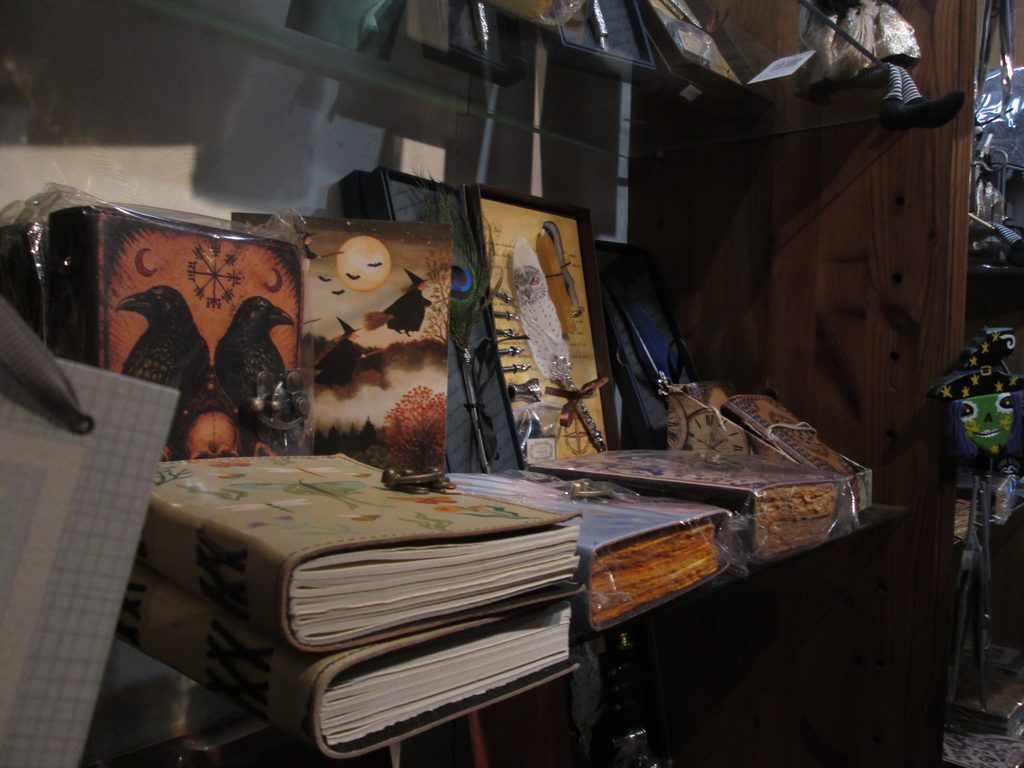
    In A Coven of Witches I purchased a book on herbs for witchcraft and observed the different types of physical witchcraft items. There were many different crystals, candles, incense sticks and pre made spell jars. Plus a lot of good luck totems.

    The spell jars really interested me so while I was in the store I found out how they were made. Usually the person making the jar has a dedicated altar that is covered in a cloth, different colours represent different things. Then on the altar there needs to be items representing the four elements, candles for fire, crystals for earth, a small chalice of water, and incense for air. You can also have personal items that are special to you.

    To actually make the spell jars you set a clear intention for it and layer dried herbs, salt, crystals and occasionally a scrap of paper with the intention on it. You then use melted candle wax to seal the jar. To choose the ingredients you find what best represents your intention and layer them carefully.

    Thoughts on the Visit –

    This was an extremely insightful trip I really enjoyed wandering around the historical village and I have a good route into how plants and herbs are used in witchcraft via the book I bought. I also learned a lot about how modern witchcraft is used and takes shape.
  • Week Three

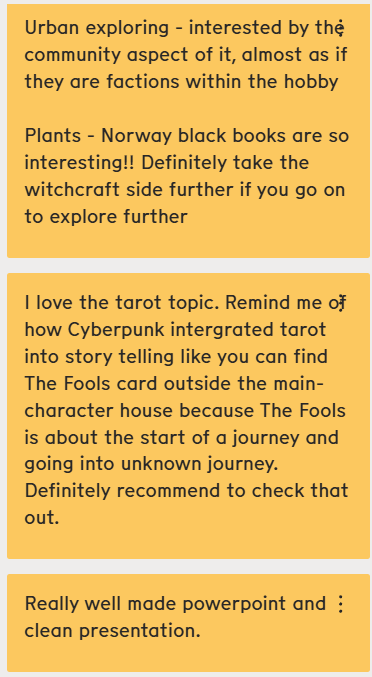
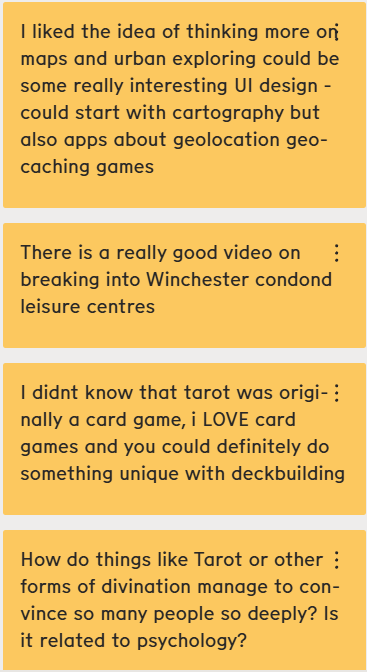
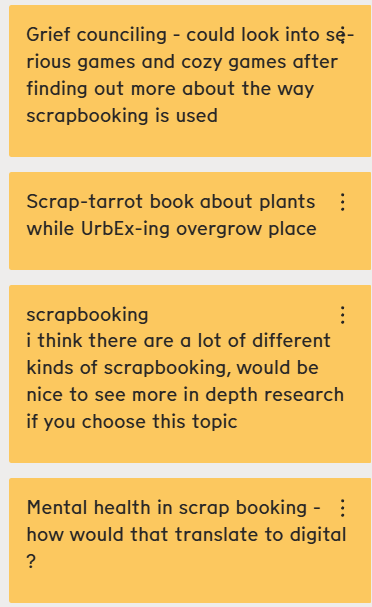
    This week we had our presentations on Monday, I went in the morning. The presentation itself went well I covered all of the points I wanted to and finished within the time limit.

    The feedback I recieved from my peers was extremely helpful, it was interesting to see what parts of my research people responded too.

    It was also interesting to see all of the different topics people have researched. I especially liked the topics of zombis, dragons and bugs.

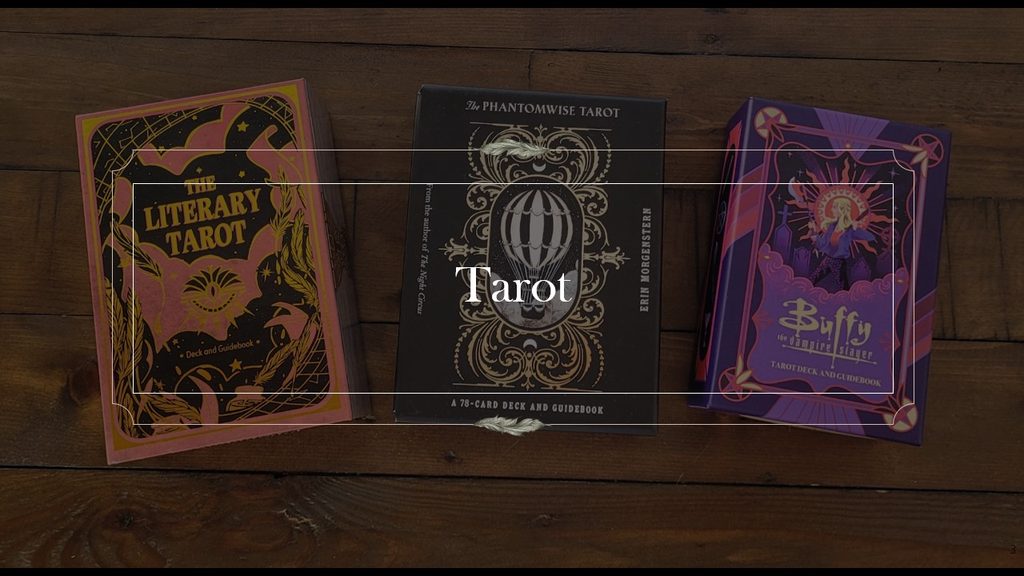
    At the end of the day we were tasked with selecting one of our topics to take forward into another two weeks of research. To make this decision I created a pros and cons list of my topics

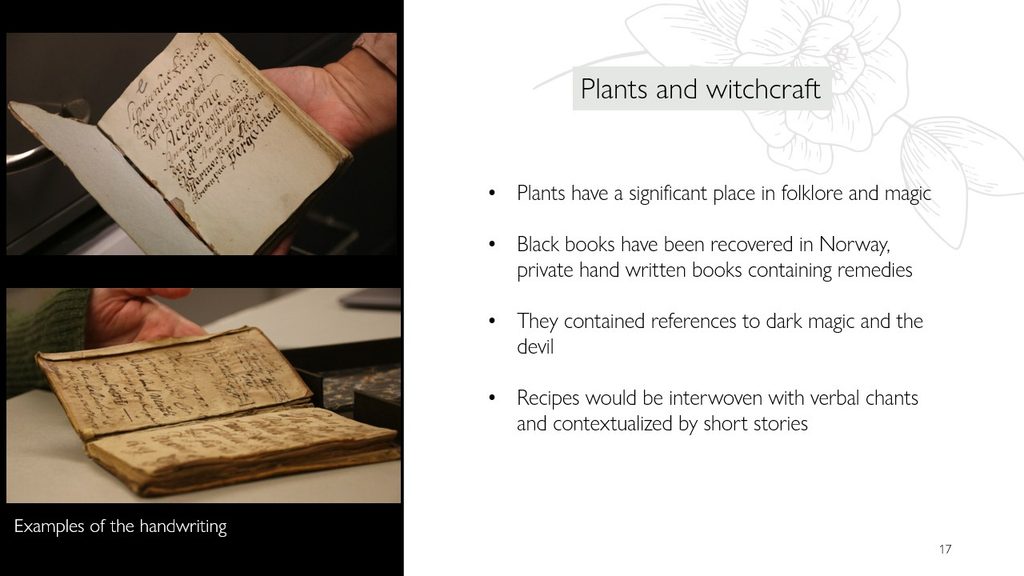
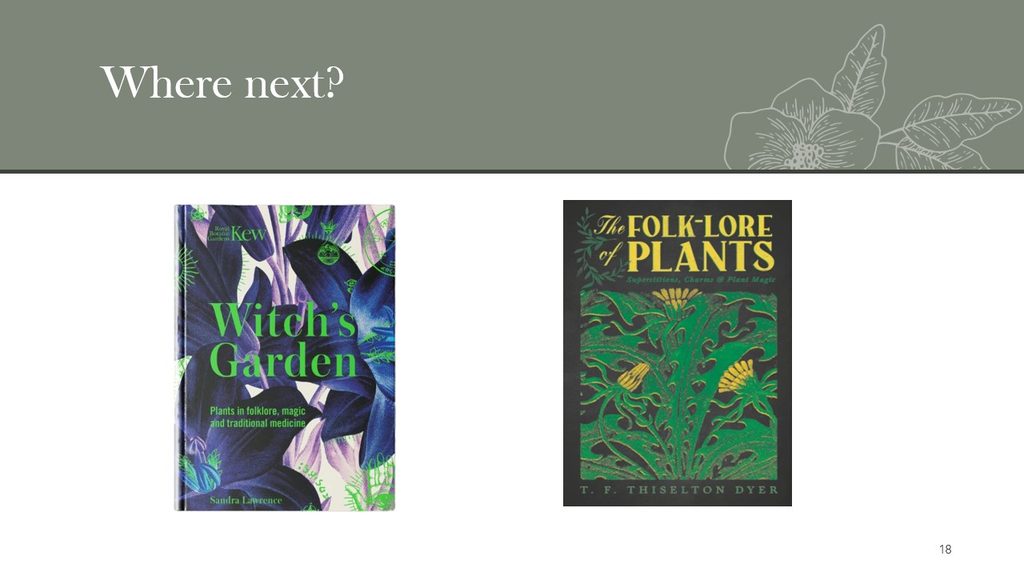
    I eventually settled on taking forward plants, specifically plants in witchcraft. Tis the season

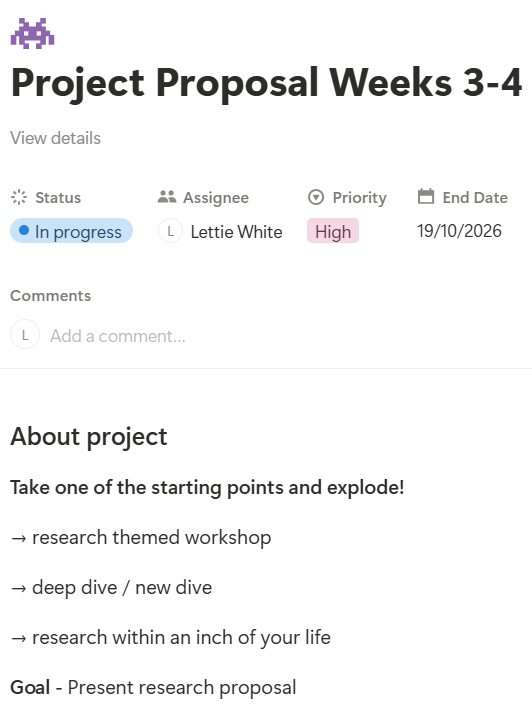
    I also took the opportunity to update my notion project page

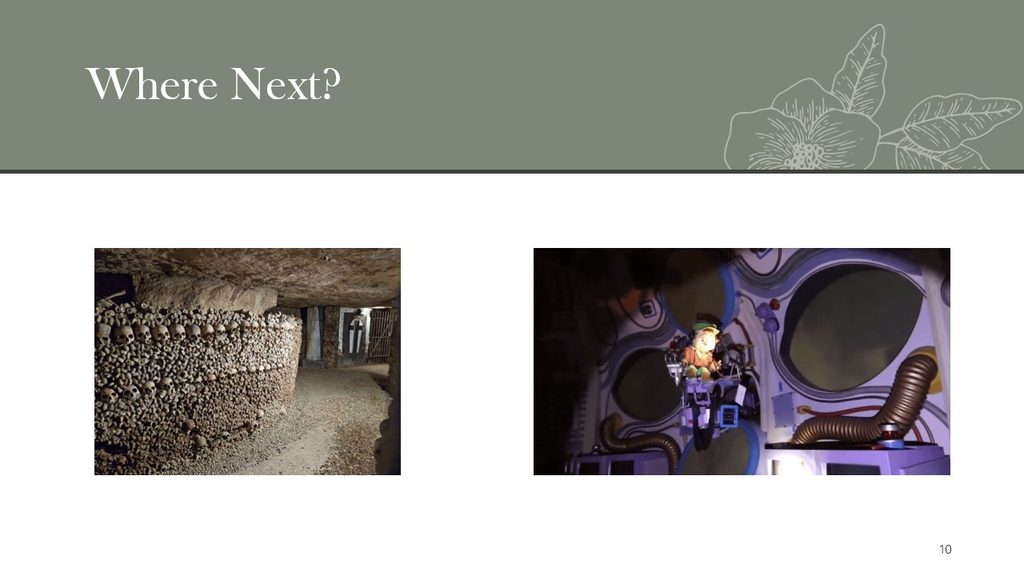
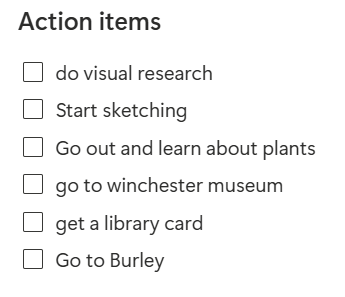
    The plan for the next two weeks is to get firsthand experience on the topic by exploring the winchester museum as there is a history of witchcraft in winchester and going to Burley. A small village steeped in witch history.

    Later on in the week were the techstream session and professional contexts lecture.
    Thoughts about the week –


  • Week Two

    I spent most of this week finishing up my Research and creating my presentation. On Monday we were shown examples of previous students work, this was helpful to see how much detail to include and how to not run out of time during the 8 minutes.

    During the afternoon session we worked on how to quickly dive into a subject, working in pairs we chose to dive into pattern recognition as my partner had chosen it as a topic but was unsure of where to start.

    images loading

    Creating my presentation

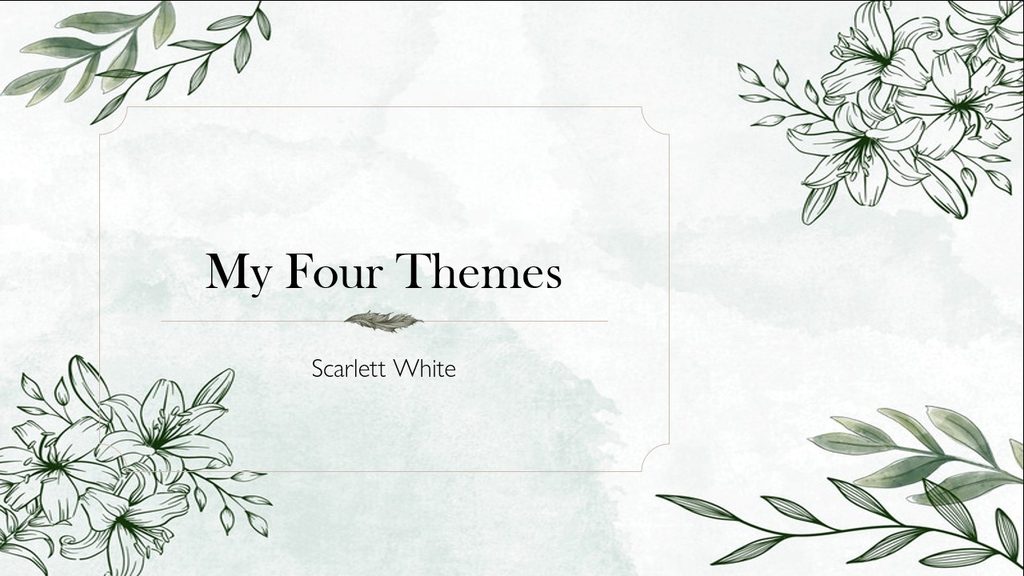
    I wanted my presentation to be simple and easy to digest, information is presented in bullet points on which I expand on during the talk. I found a neat and tidy flower template for the slides.

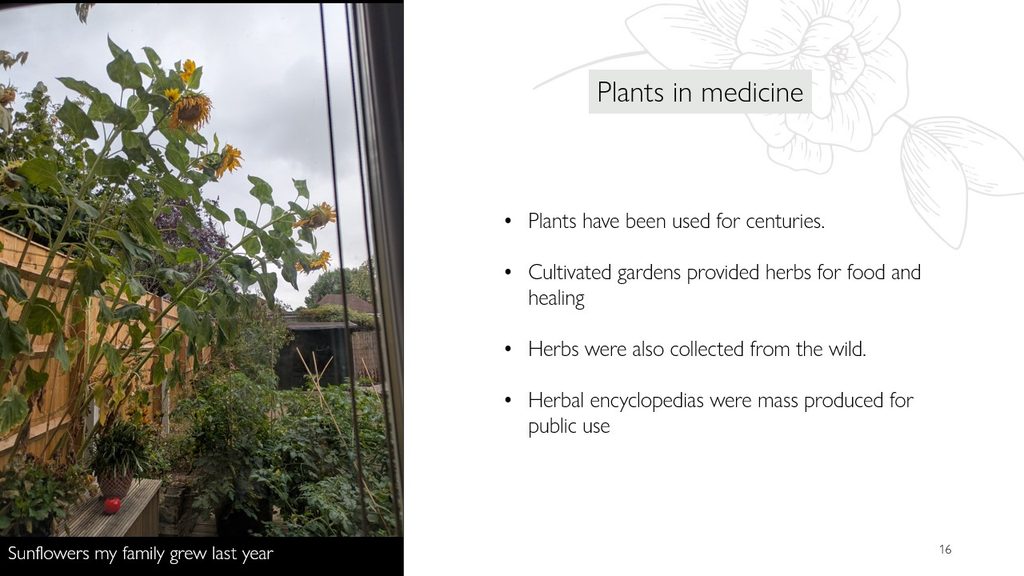
    For the images I either used images I had taken or made sure I knew where they were sourced from. I also made sure I referenced the images in the talk.

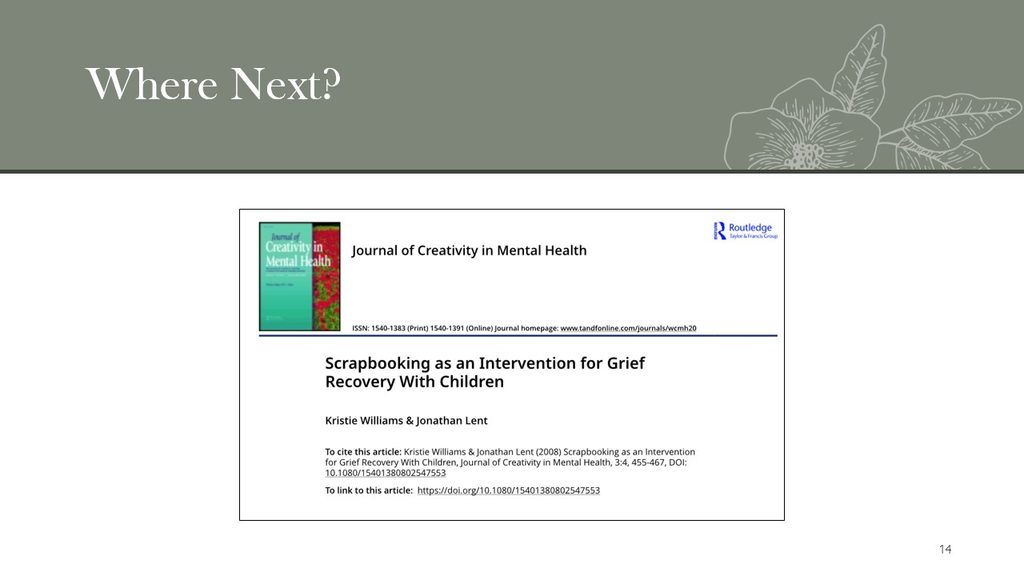
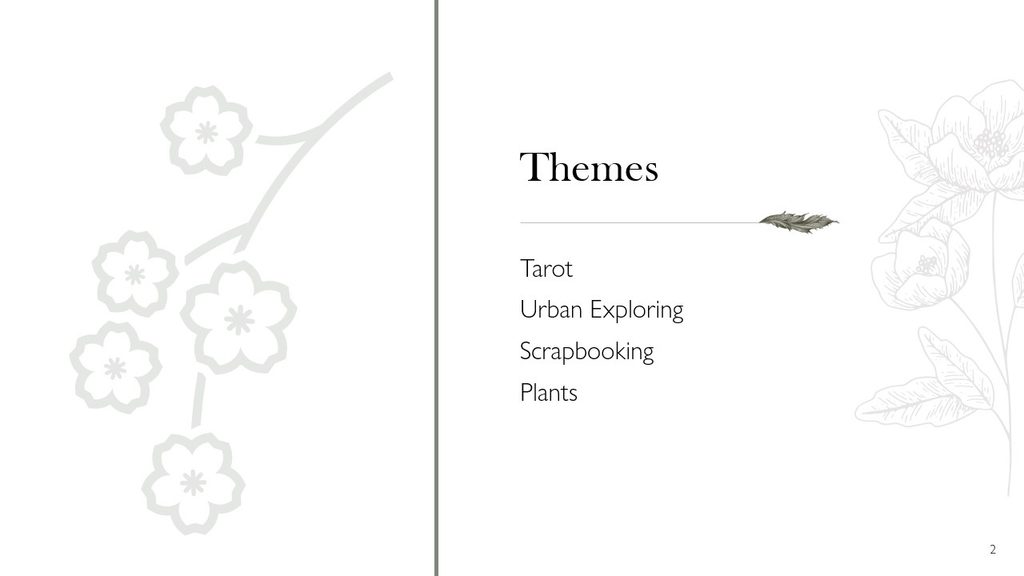
    The basic format of my four topics were how it began, what it is like now and where I could see the subject going next, including further reading and visuals. Once I finished I practised presenting with my friend, these practises were successful and I made it within the time limit each time without rushing.

    Techstream log and professional contexts talk.

    Thoughts for the Week –

    This was a productive week and I am getting quite excited about the topics I have chosen, I am eager to see what ones people respond the best to on Monday during my presentation.


  • Techstream Week 2

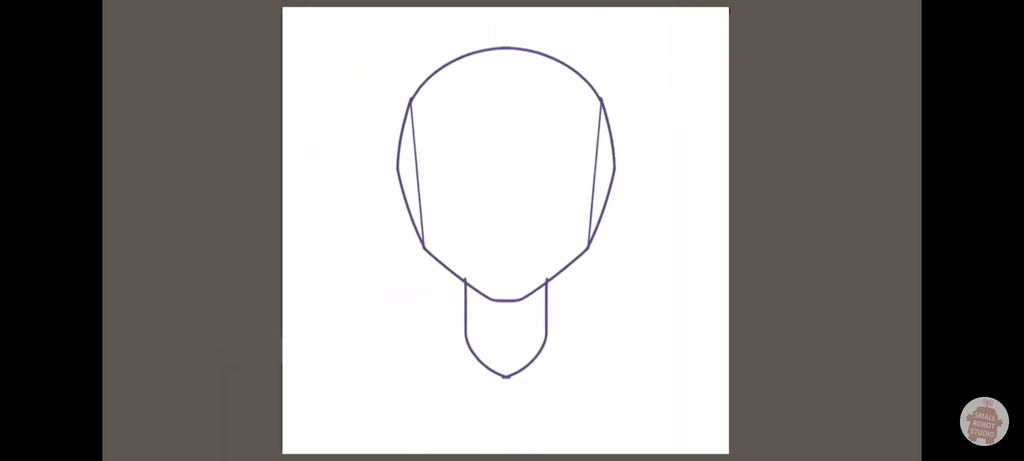
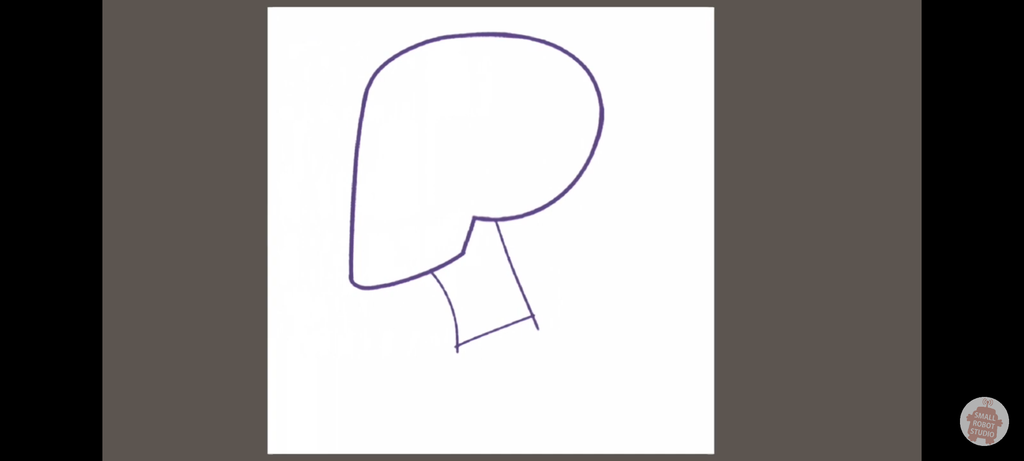
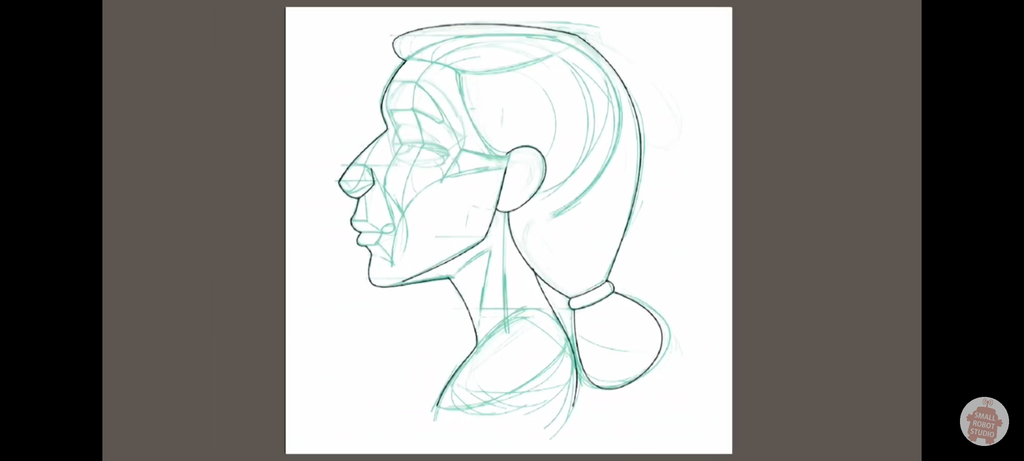
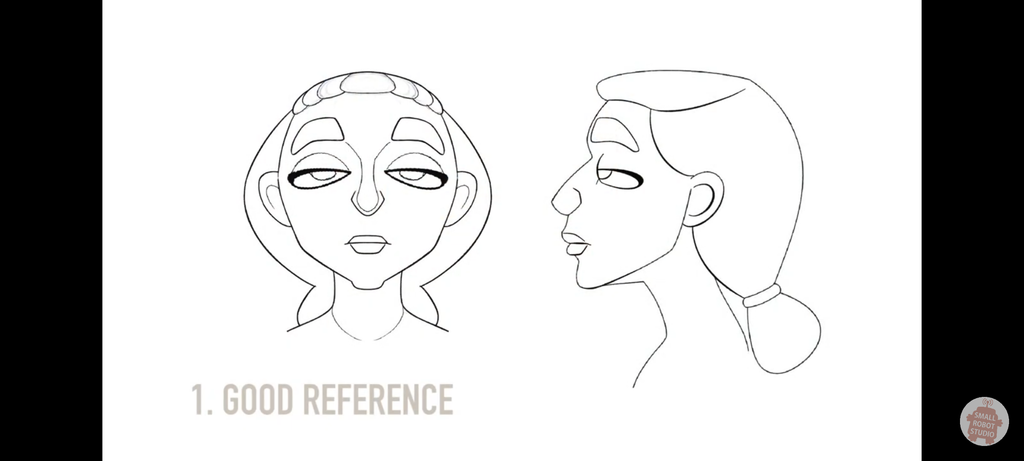
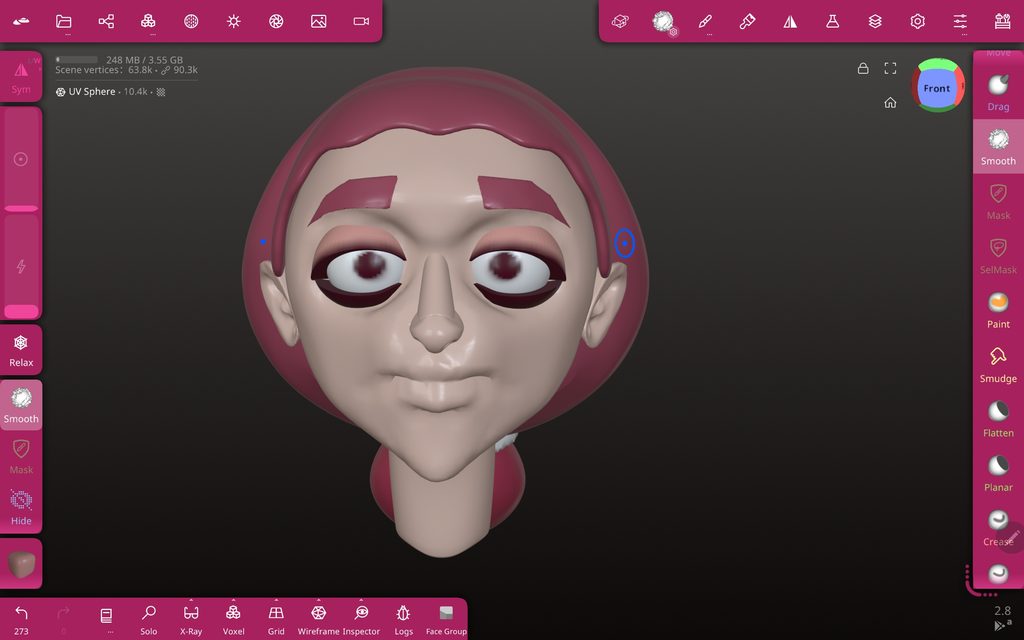
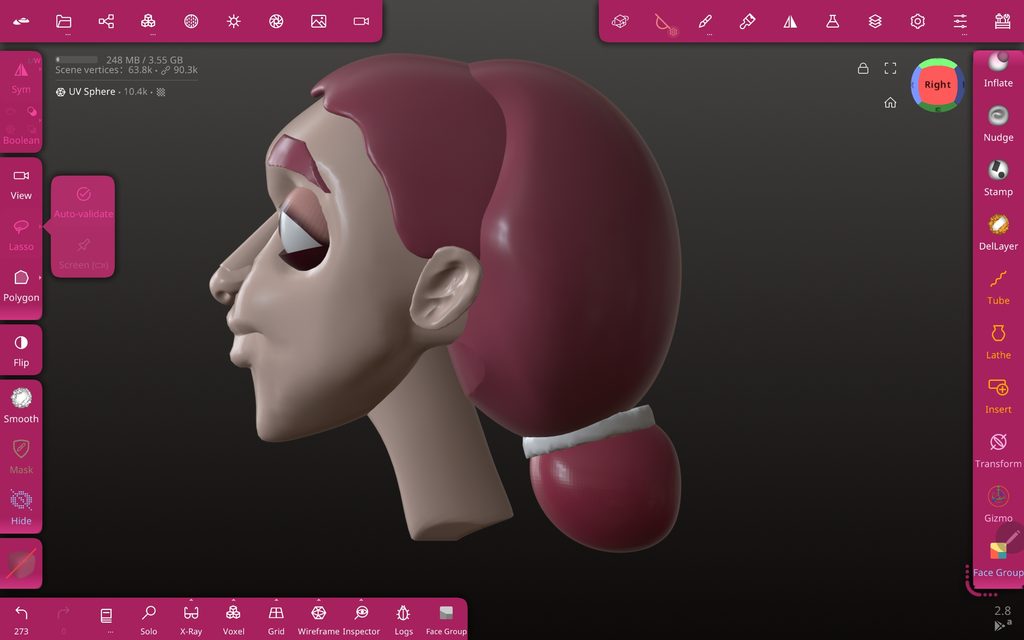
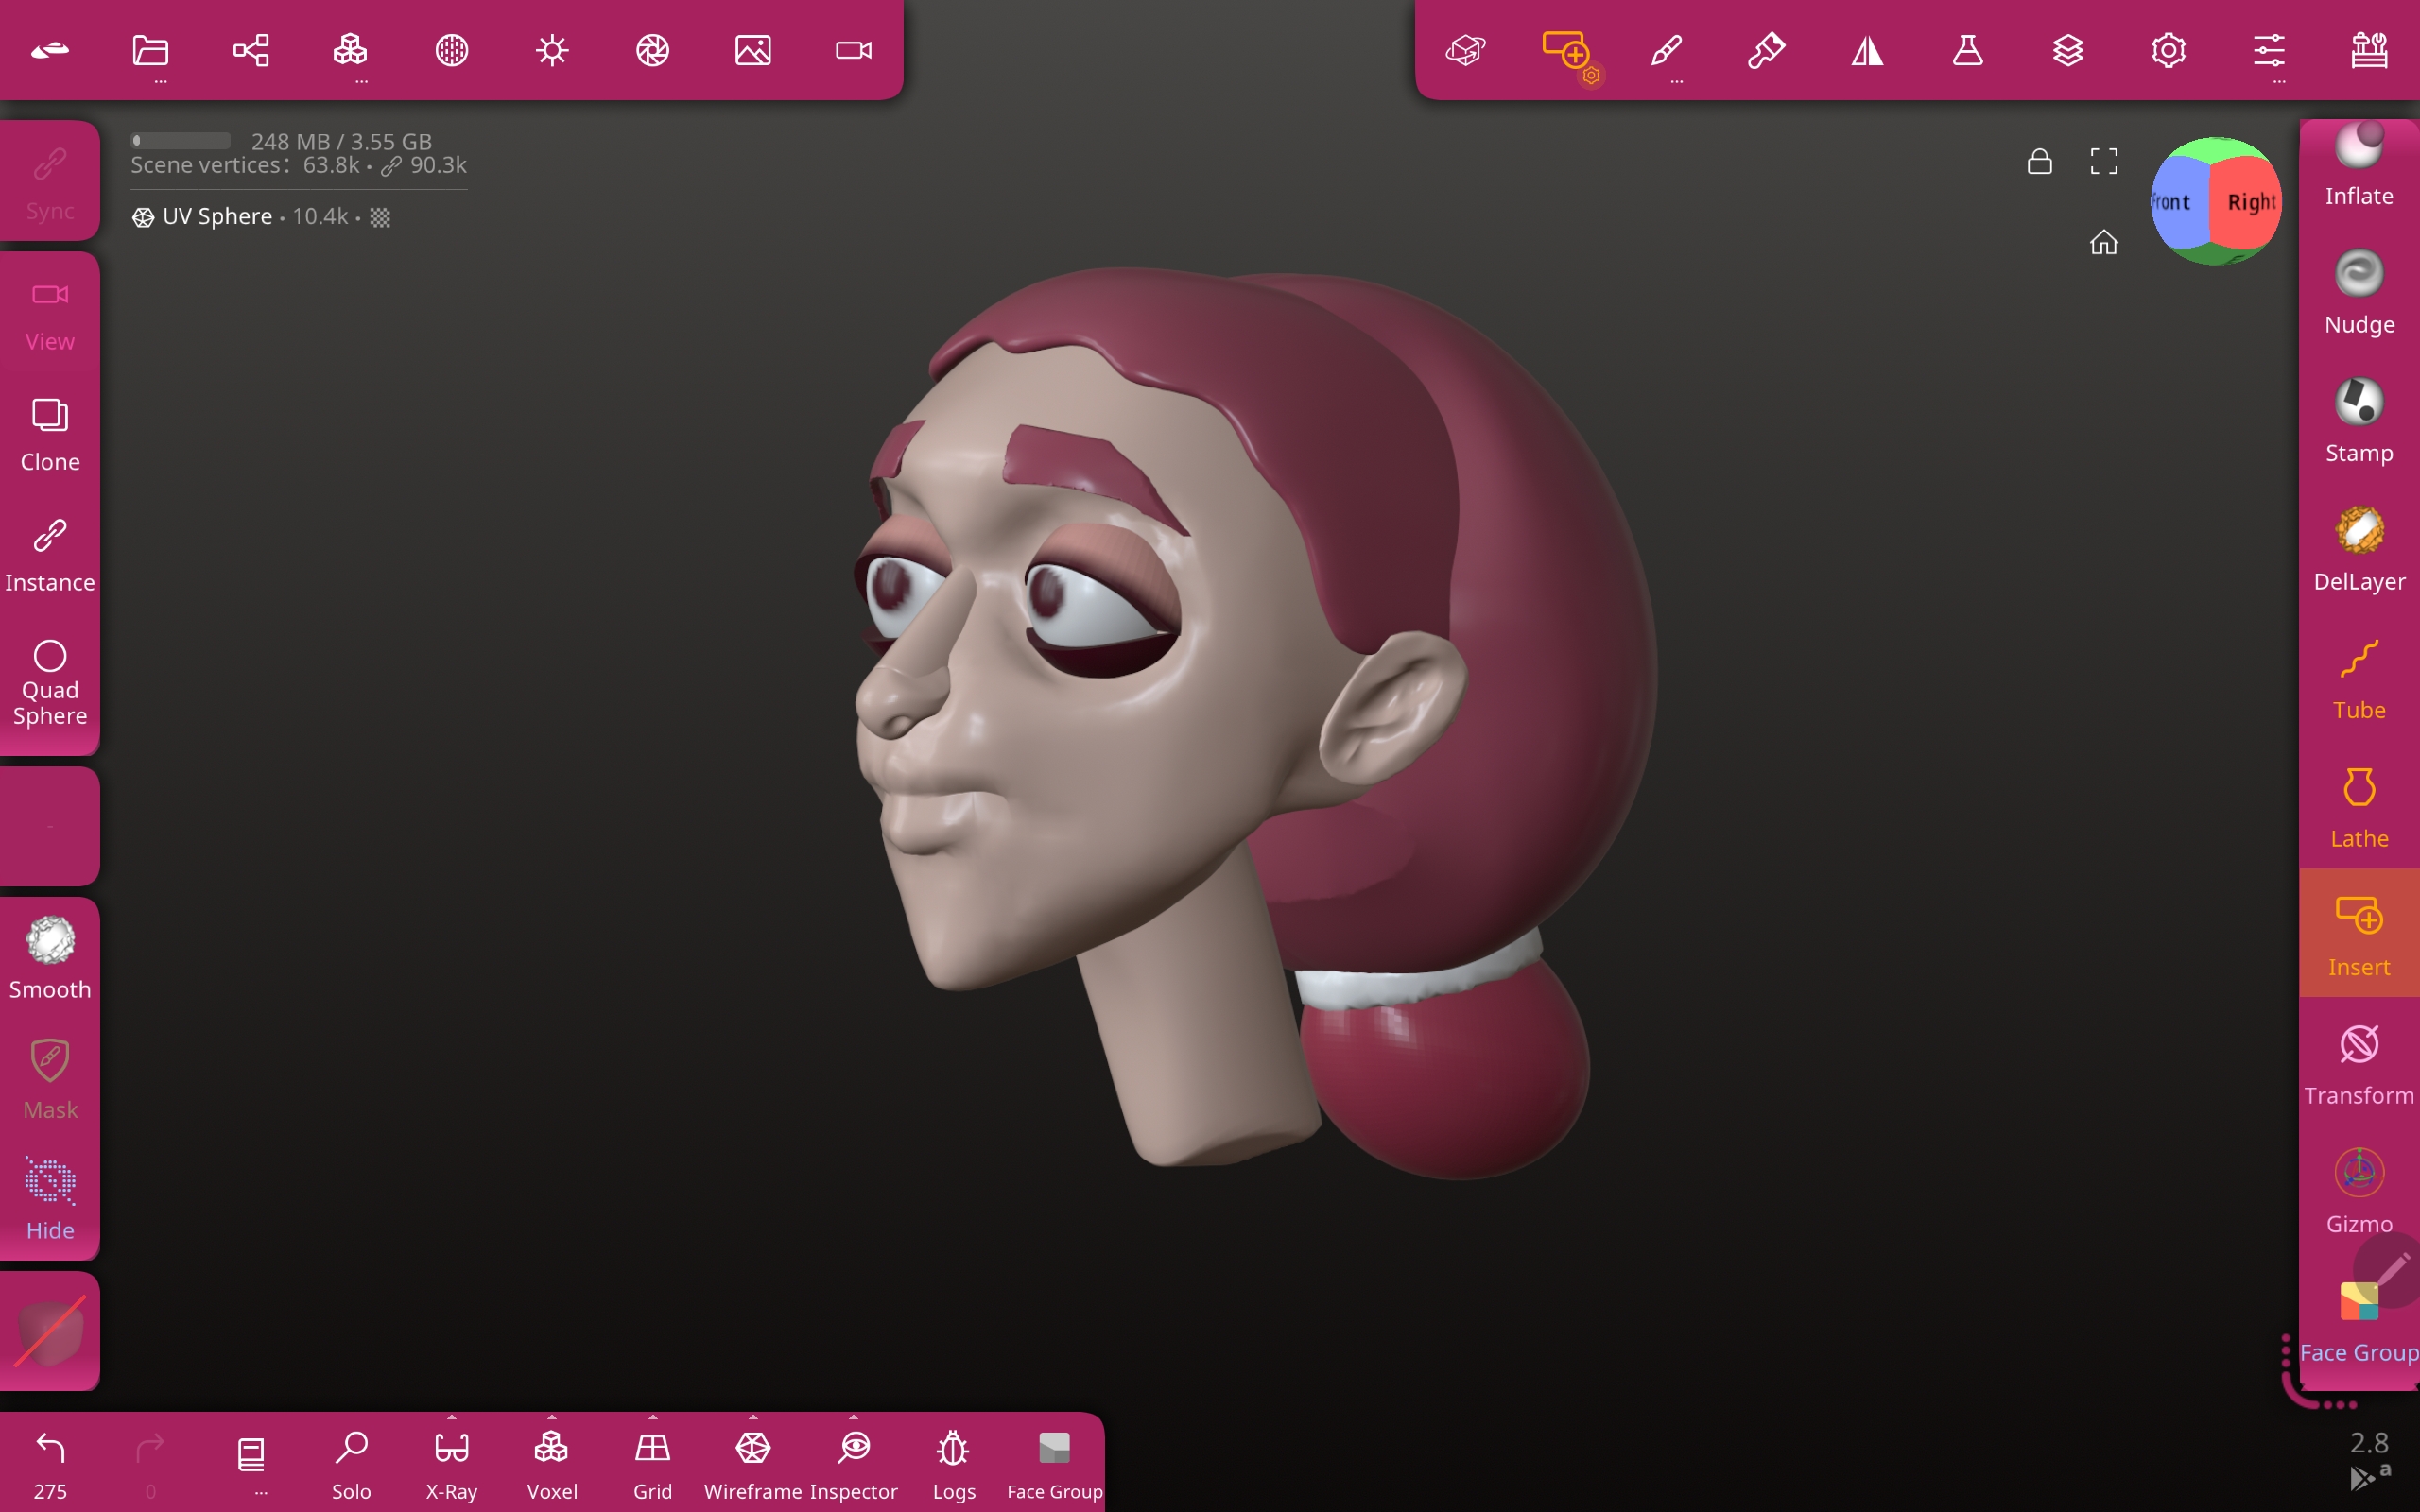
    This week I decided to challenge myself and attempt to sculpt a stylised head. I found this tutorial from Small Robot Studio’s on Youtube.

    What is needed to sculpt a head?

    I learnt from the tutorial that to sculpt a head you need a front view, side view and to have fully considered the planes of the face.

    Sculpting

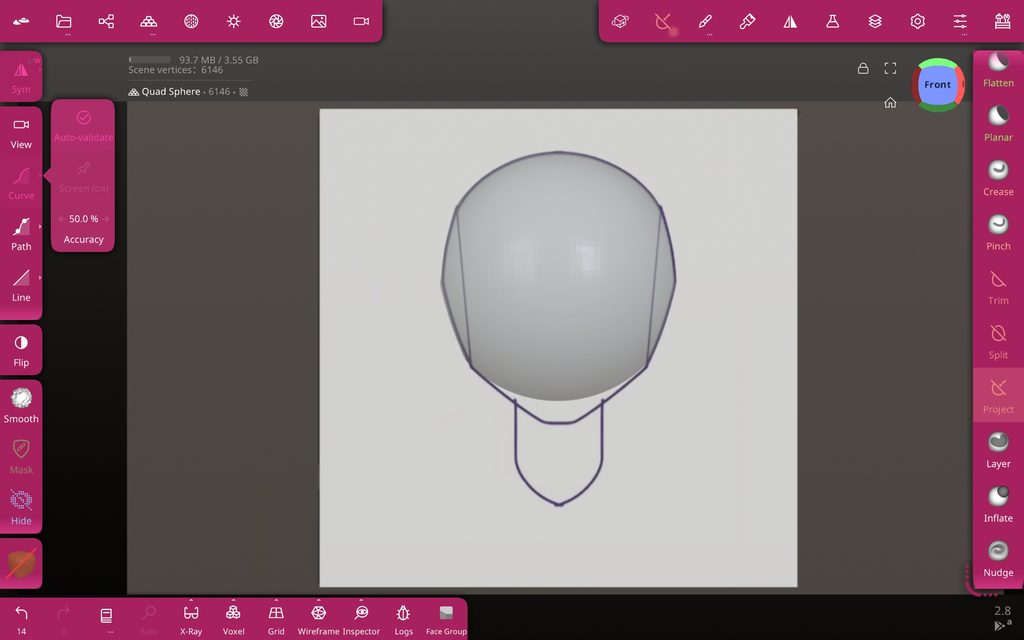
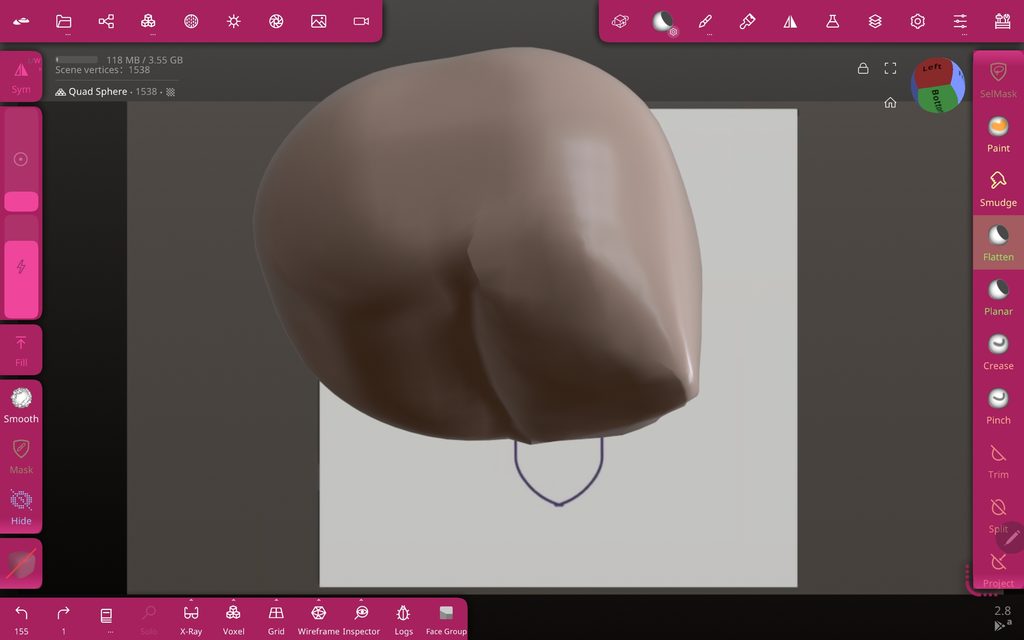
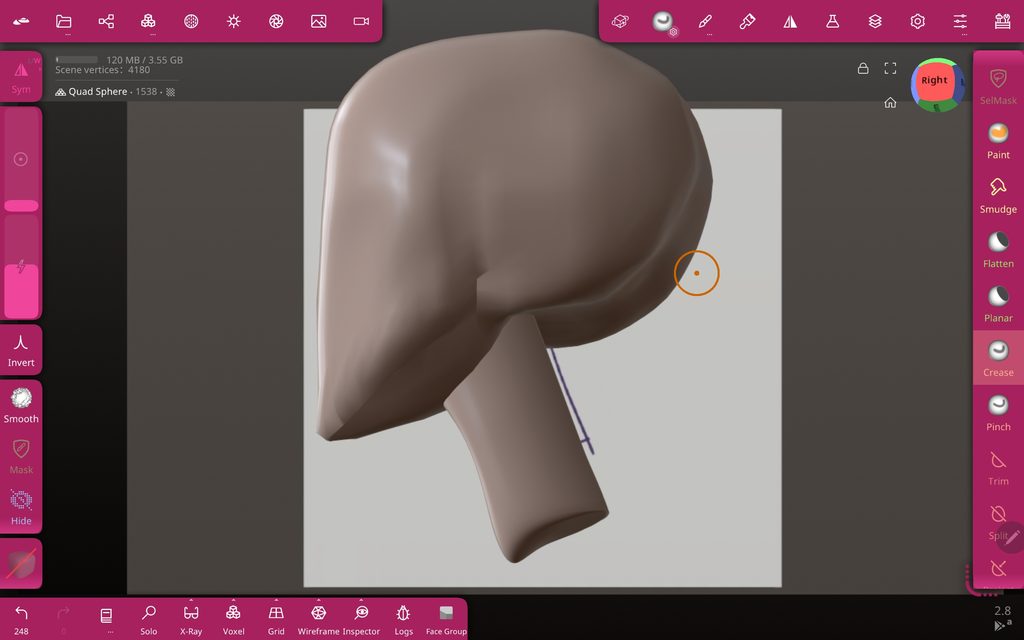
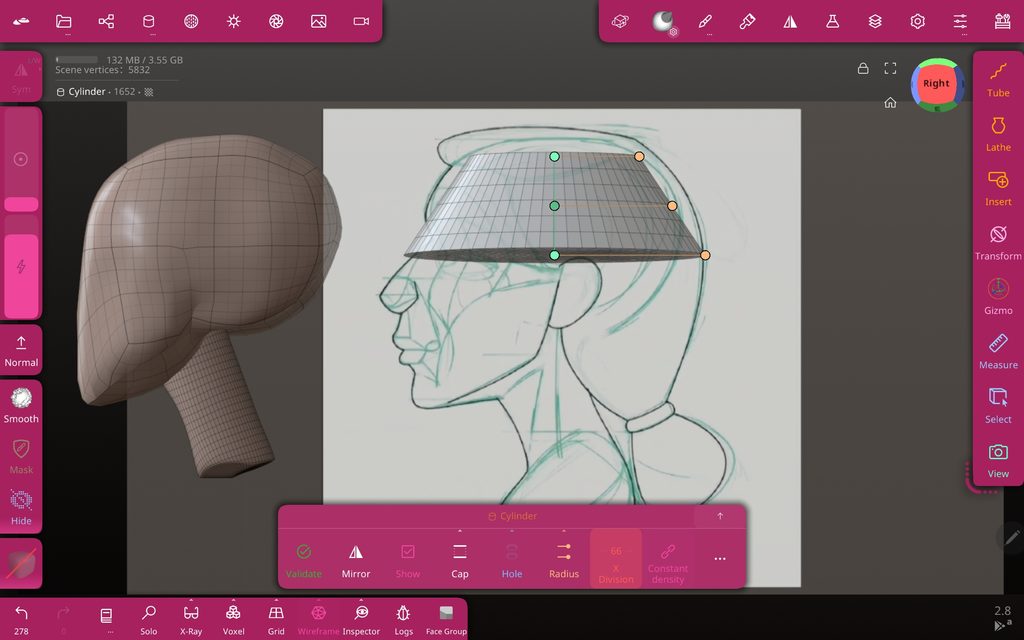
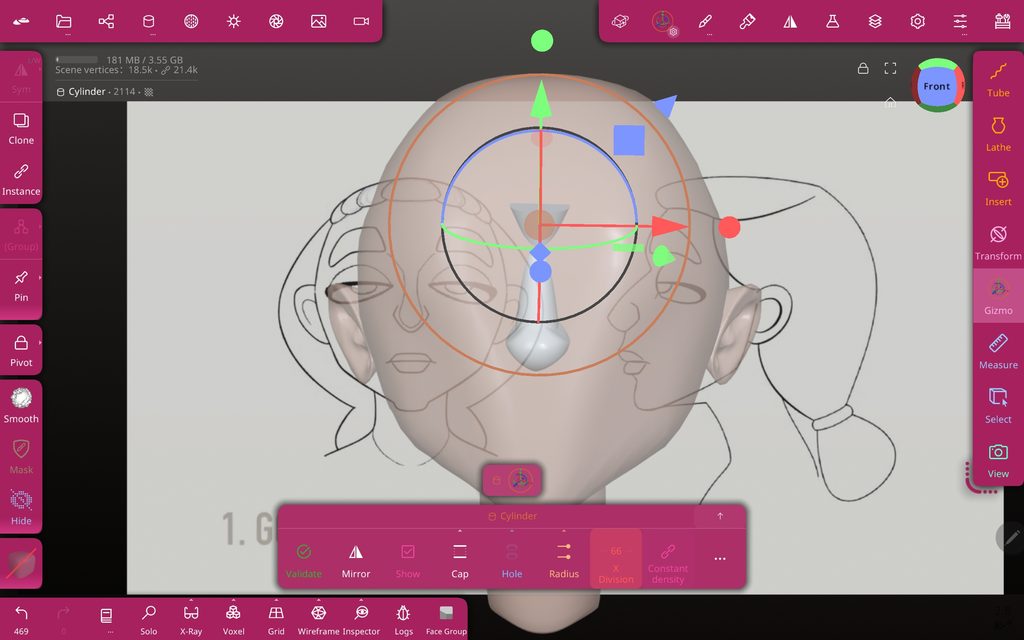
    I began by importing the references into Nomad sculpt and using the move tool on a sphere to shape it. I then coloured the clay flesh coloured and pulled the chin down by masking off the rest of the head so only the front bit elongated. I then used the crease and planar tools to create a ridge for the back of the head and jawline.

    A helpful technique I learnt was to keep changing the resolution of the clay so I could focus on big shapes then slowly work my way down. I used cylinders for the kneck and ears, to keep things accurate I kept the mirror tool on the whole time.

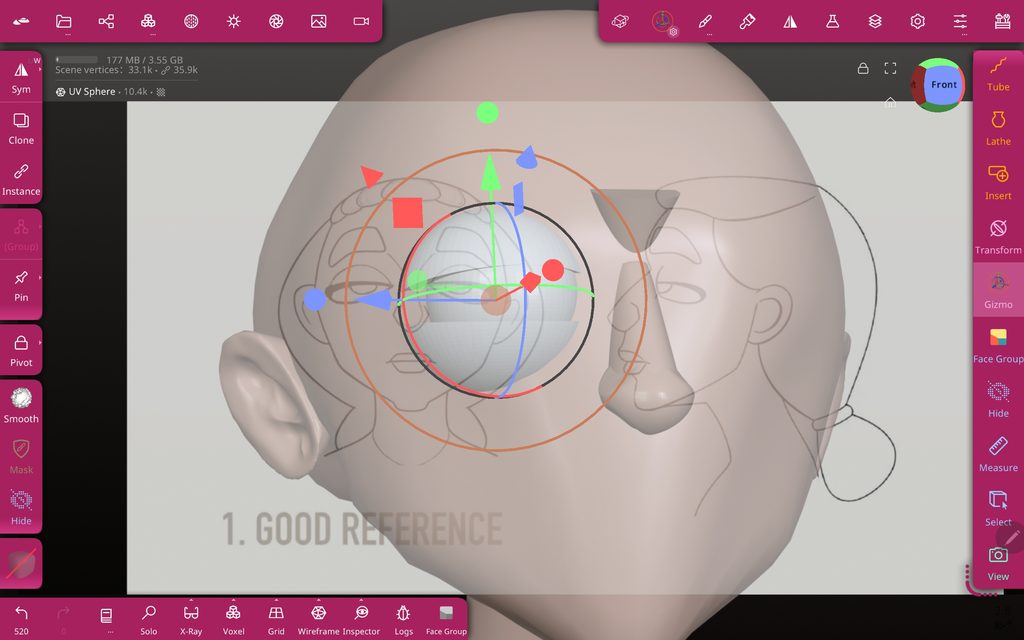
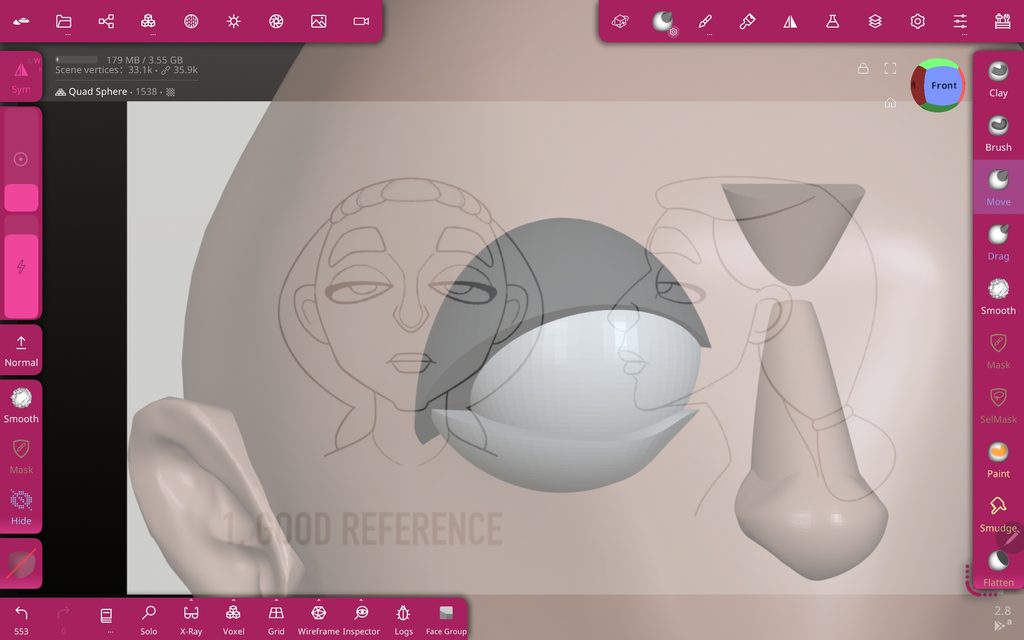
    After basic head sculpting I moved onto the facial features. A cylinder and sphere for the nose that I manipulated with the move tool. An upside down cone fro the clabella, the a sphere within a sphere for the eyes. I used the trim tool to cut a chunk out of the bigger sphere so that they turned into eyelids. I then masked each bit off individually and pulled the corners down.

    After the features were in place I then fine tuned the heads facial planes and carved the lips. This was very challenging and I have a long way to go before it looks good, but this helped me to consider the face as a 3D object and how elements interact with one another.

    To create the hair and eyebrows I used the mask tool to draw the shapes then I used the extract setting to pull the masked shapes up. This kept the shapes contouring to the head but also providing a clear definition. The back of the head is simply two spheres pushed into place.

    I then used the paint tool to very loosely add colour.

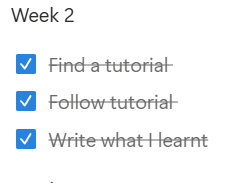
    The finished to-do list I had for the week.

    Final Thoughts –

    I definitely bit off much more than I could manage with this tutorial but I learned a great deal. Mostly what places I needed to improve. The shape of the mouth and how it works is a lacking skill for me, as well as the finetuning of details needs more practise.