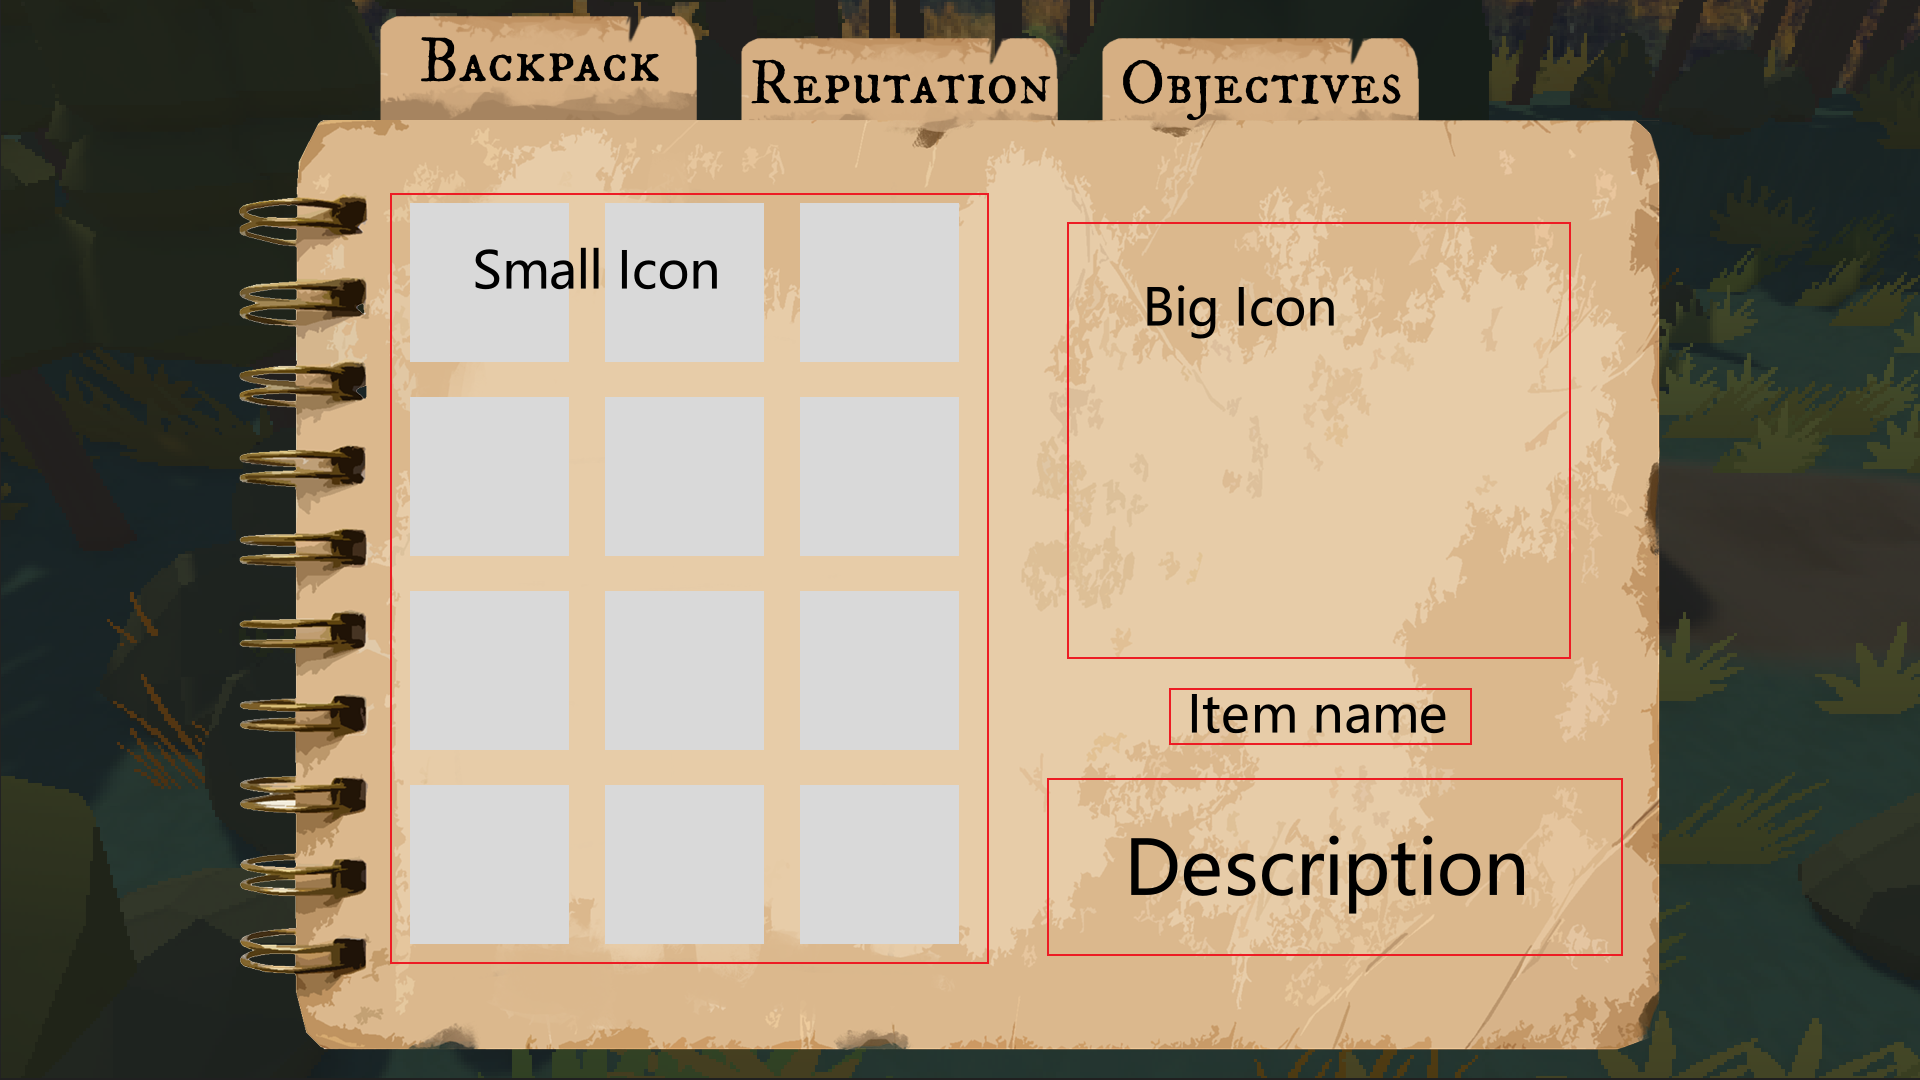
30 March Update - Forest Fence Gear Check
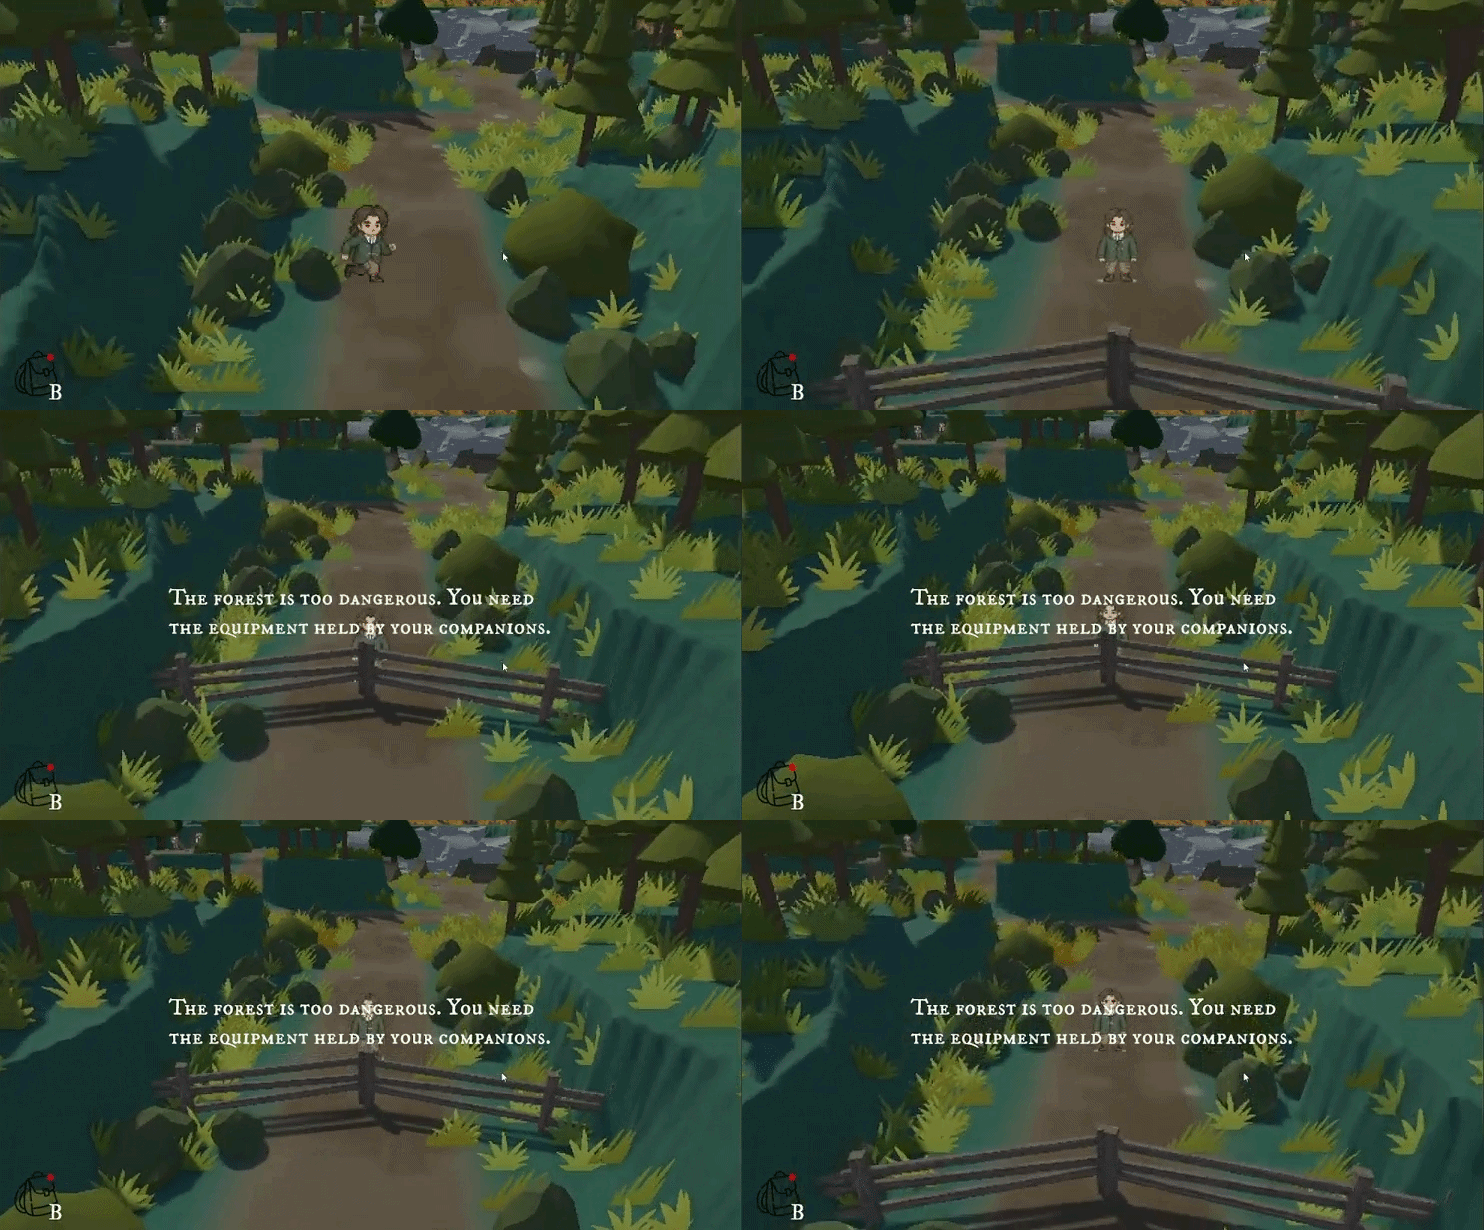
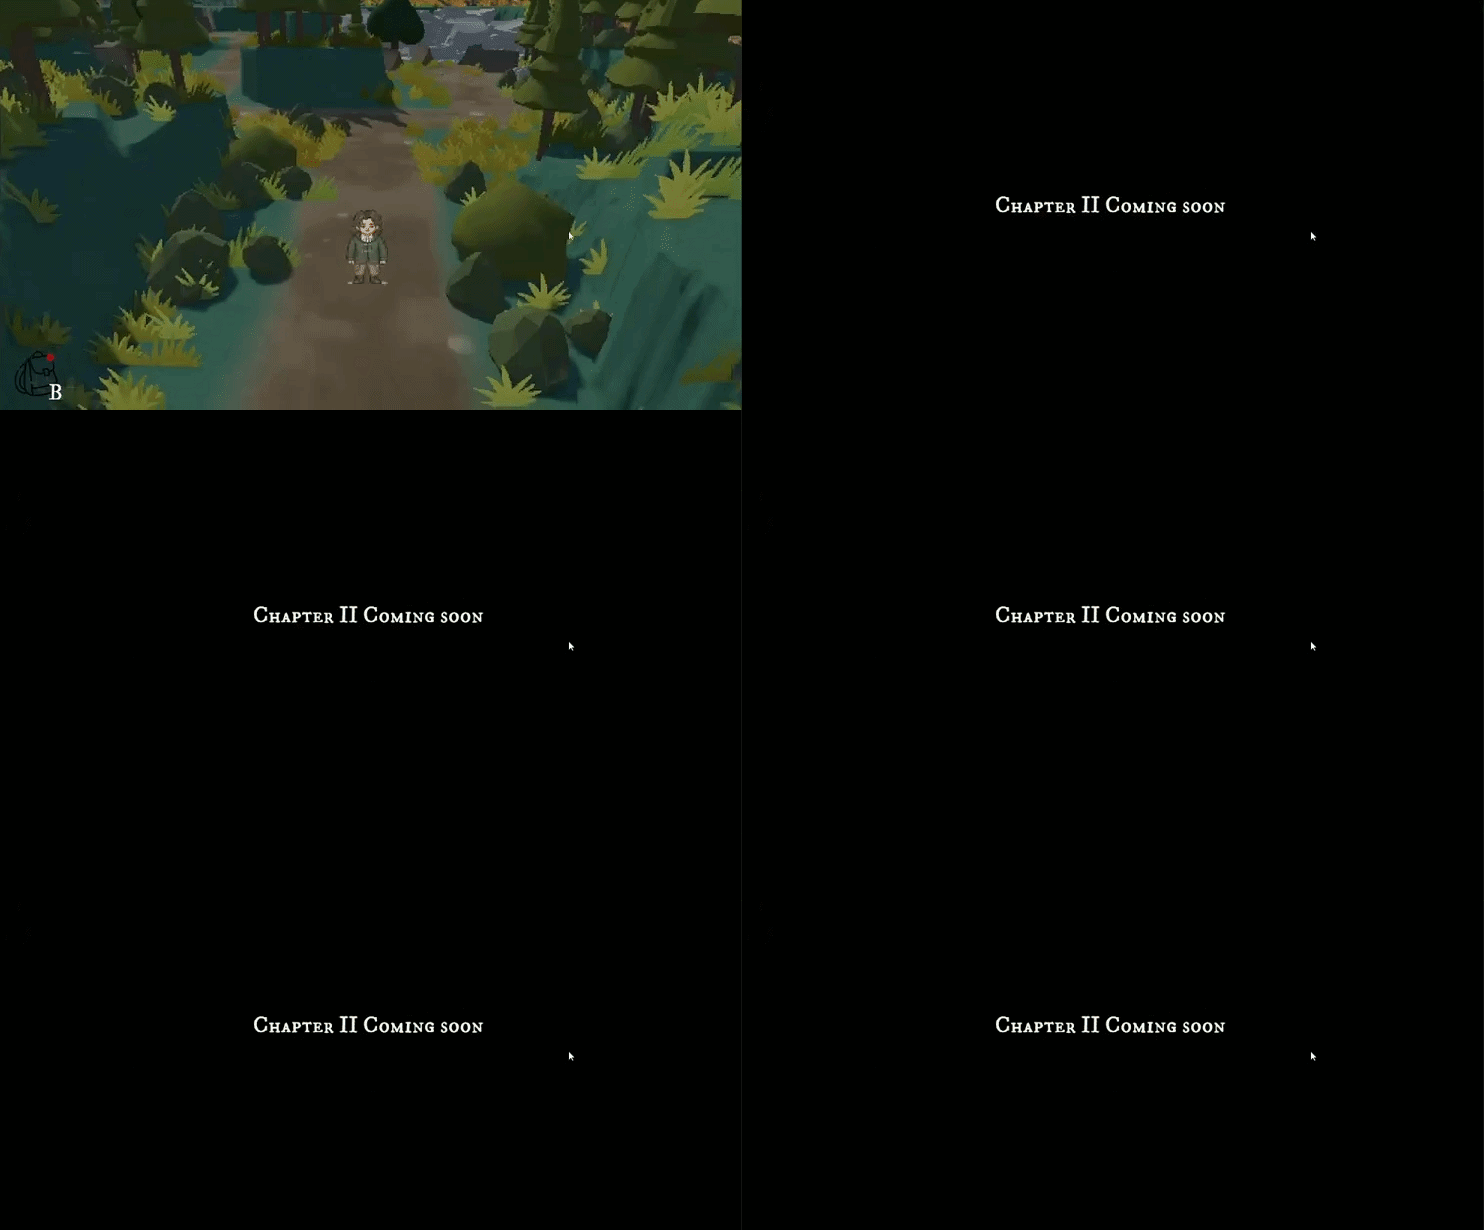
For the forest exit area, I added a gear check system to stop the player from leaving too early without the required items. This system reuses the same TMP notice style as the earlier red dot / backpack notice logic, so the warning appears as a short on-screen text prompt instead of opening a new UI window.
The main difference is that this notice is connected to an inventory check. When the player tries to pass the forest fence, the script checks whether the player has both the Map and the Compass.
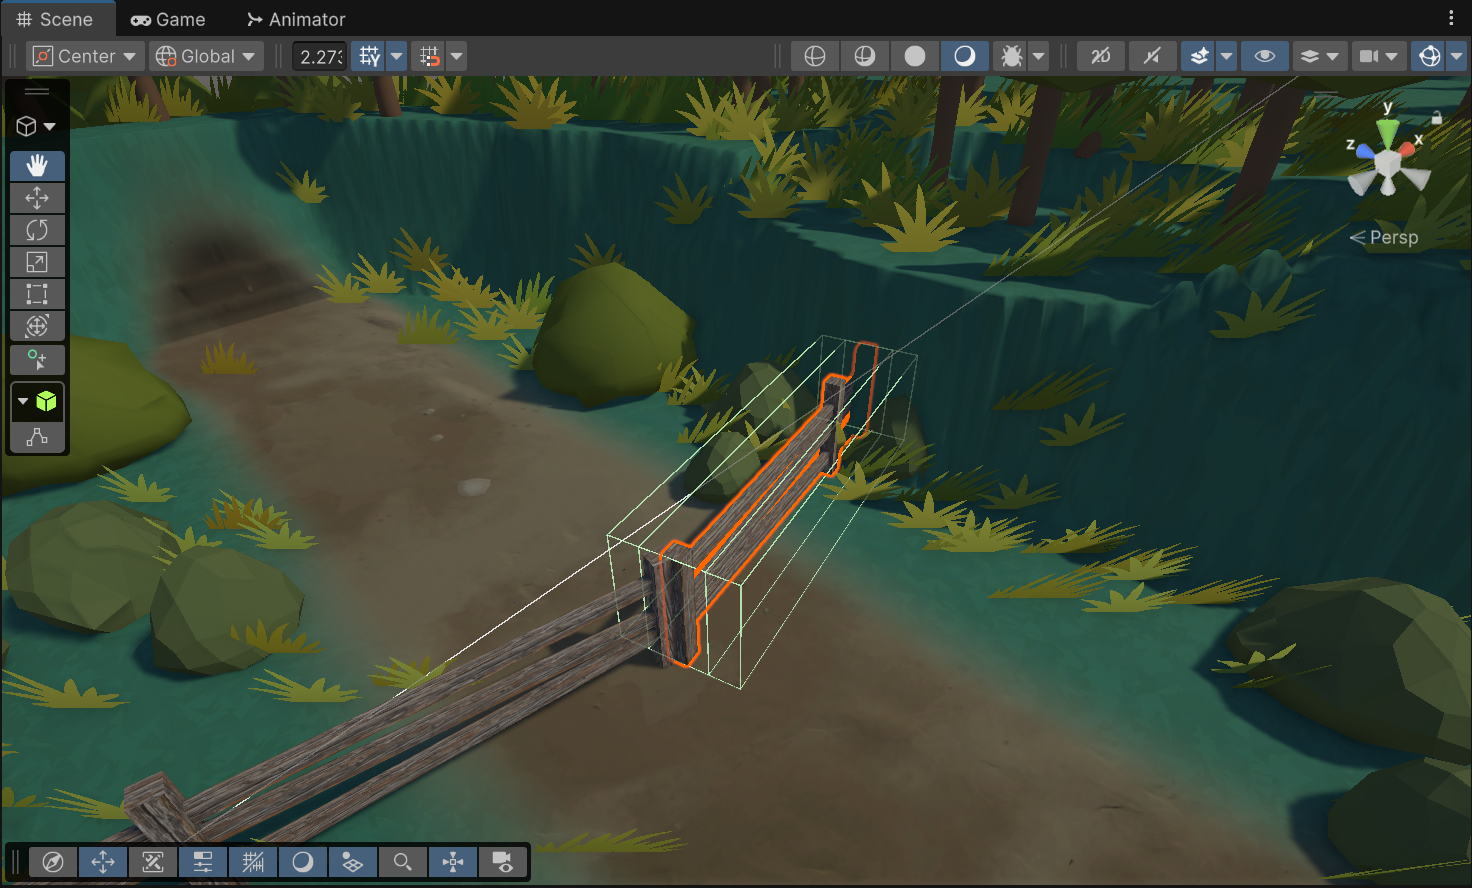
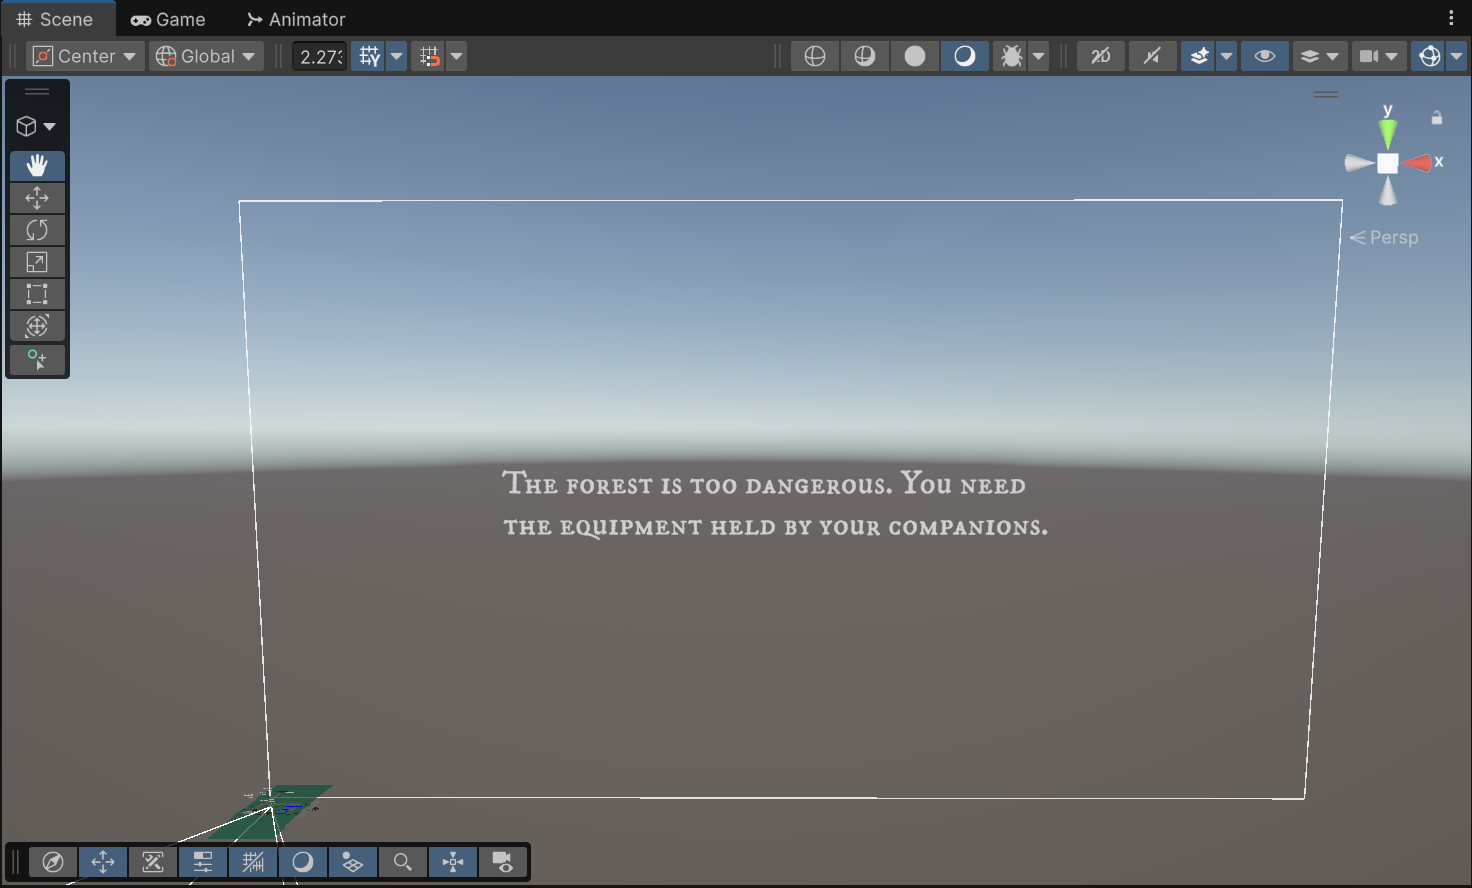
					[SerializeField] private string mapItemId = "Map";
[SerializeField] private string compassItemId = "Compass";
When the player enters the trigger area, the script first confirms that the object is the player. Then it checks the inventory:
					bool hasMap = inventory.Has(mapItemId);
bool hasCompass = inventory.Has(compassItemId);

return hasMap && hasCompass;
This means the player must have both items to pass. If either item is missing, the player is blocked and a TMP warning message is shown.
					noticeText.gameObject.SetActive(true);
noticeText.text = blockMessage;
When the player meets the required condition by having both the Map and the Compass, entering the forest exit trigger will no longer show the warning message. Instead, the system allows the player to pass and triggers the ending sequence for this build.
=====================================================================
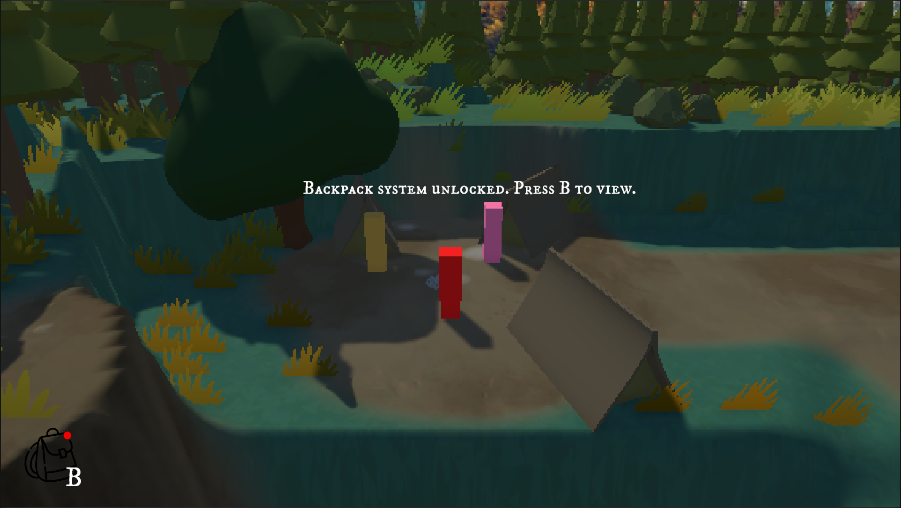
13 March Update - Bag Red Dot Notification Logic
UI Structure
In the UI hierarchy, the red dot is a child object under the bag button:
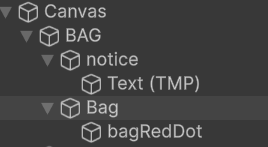
bagRedDot is the red notification dot shown on the bag icon.
Its purpose is to tell the player that they have received a new item from a task but have not checked the inventory yet.
In the code, this red dot object is assigned through InventoryToggle:
public GameObject bagRedDot;
The script listens to the inventory system’s task reward notification event:
inventory.OnTaskRewardNotificationChanged += HandleTaskRewardNotificationChanged;
When the player receives a task reward, InventorySystem updates whether there is an unseen reward. InventoryToggle then receives this event and refreshes the red dot state:
					private void HandleTaskRewardNotificationChanged(bool hasUnseenReward)
{
    RefreshRedDot(hasUnseenReward);
}
The actual show/hide logic is handled here:
					private void RefreshRedDot(bool show)
{
    if (bagRedDot != null)
    {
        bagRedDot.SetActive(show);
    }
}
=====================================================================
03 March Update - Task Reward Notification Implementation
UI Structure
TaskRewardPopupRoot is the parent object where reward popups are generated.
RewardPopupTemplate is the popup template and stays hidden by default. Whenever the player receives a task reward, the system creates a new copy of this template.
The template contains three main UI elements:
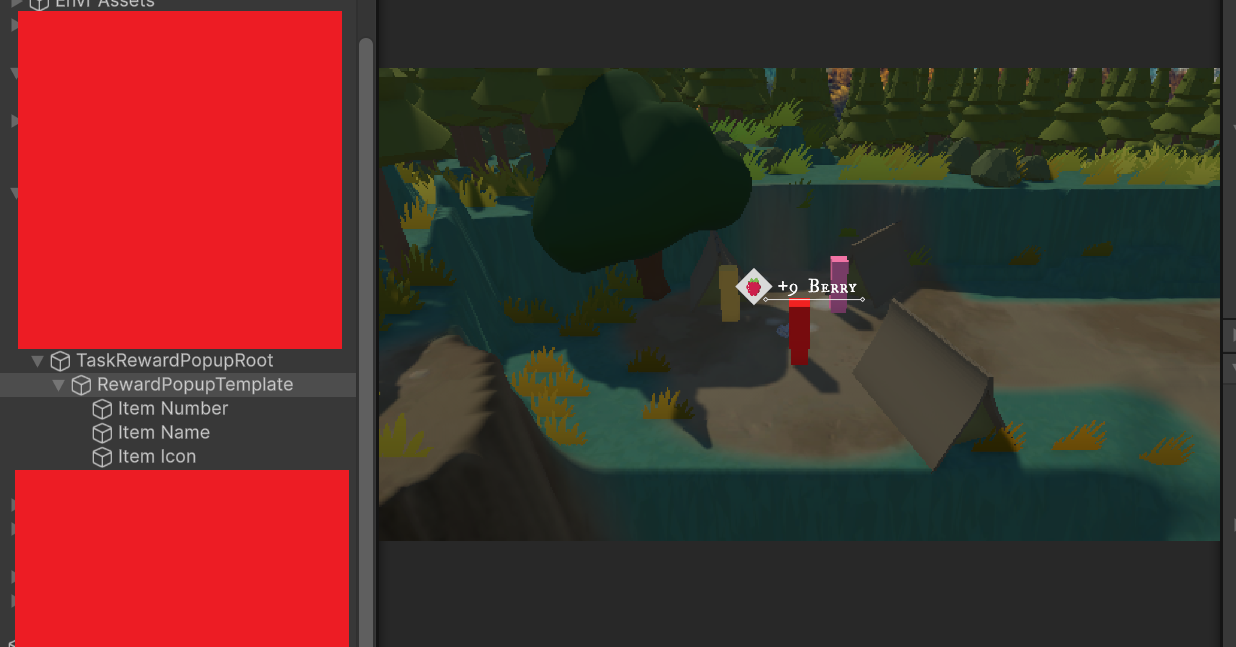
					Item Number  shows the amount, such as +9
Item Name    shows the item name, such as Berry
Item Icon    shows the item icon
These elements are controlled by TaskRewardPopupEntry.
entry.SetContent(itemName, amount, itemIcon, amountPrefix);
Item Configs
In the Inspector, I configured the display information for each item.
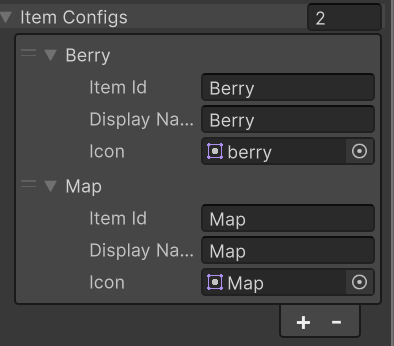
When a reward is triggered, the system uses the incoming itemId to find the matching config.
ItemPopupConfig config = FindItemConfig(itemId);
This makes the system easier to expand. If I add a new item later, I do not need to change the popup code. I only need to add a new item config in the Inspector.
Reward Trigger Logic
TaskUICommon.GrantReward(rewardItemID);
GrantReward() checks whether the inventory system exists and whether the player already owns the item. If the player already has it, the item will not be added again.
					if (InventorySystem.Instance.Has(rewardItemID))
{
    return;
}
Then the system reads the configured default amount from the inventory UI. If an amount is configured, it adds that amount. Otherwise, it adds one by default.
int configuredAmount = DynamicInventoryUI.GetConfiguredAmountById(rewardItemID);
After the item is added to the inventory, InventorySystem triggers the OnTaskRewardAdded event.
TaskRewardPopupUI listens to this event:
inventory.OnTaskRewardAdded += HandleTaskRewardAdded;
Popup Animation
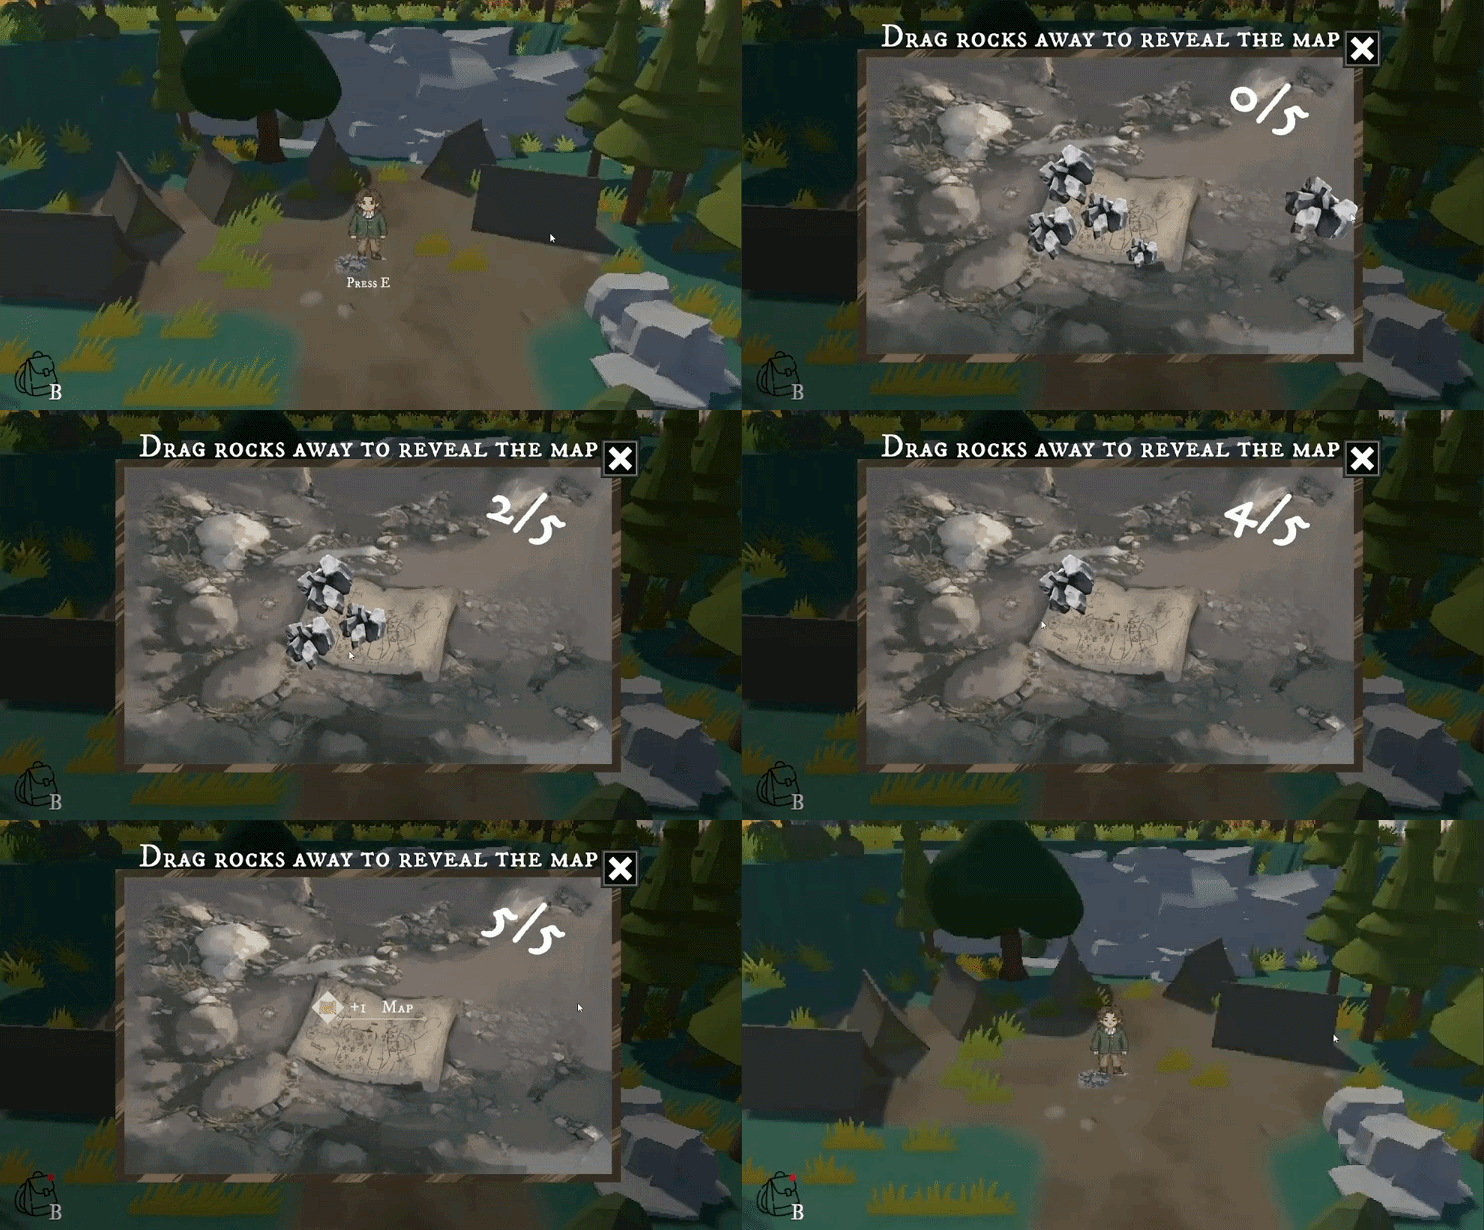
The popup does not stay on screen permanently. It moves upward and gradually fades out.
This is handled by AnimateAndDestroy().
					rect.anchoredPosition = basePosition + Vector2.up * (moveDistance * moveT);
canvasGroup.alpha = Mathf.Clamp01(alphaT);
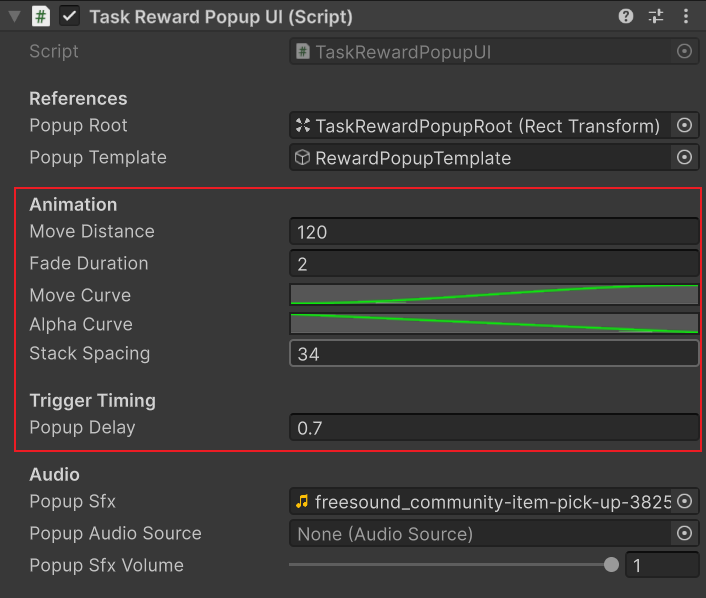
The animation uses two curves:
Move Curve controls the upward movement
Alpha Curve controls the fade-out
This means the popup appears 0.7 seconds after the reward event, then moves upward and fades out over 2 seconds. The delay helps prevent the popup from clashing with the task window closing animation.
Audio Feedback
popupAudioSource.PlayOneShot(popupSfx, popupSfxVolume);
The popup also plays a pickup sound effect when it appears.
=====================================================================
28 Feb Update - Task Reward Notification
During Thursday’s playtest, I received feedback that players were unsure about what items they obtained after completing the berry picking minigame.
Because of this, I decided to add a reward notification system to clearly inform players about the items they receive.
To explore possible UI styles, I first looked for visual references in the Game UI Database.
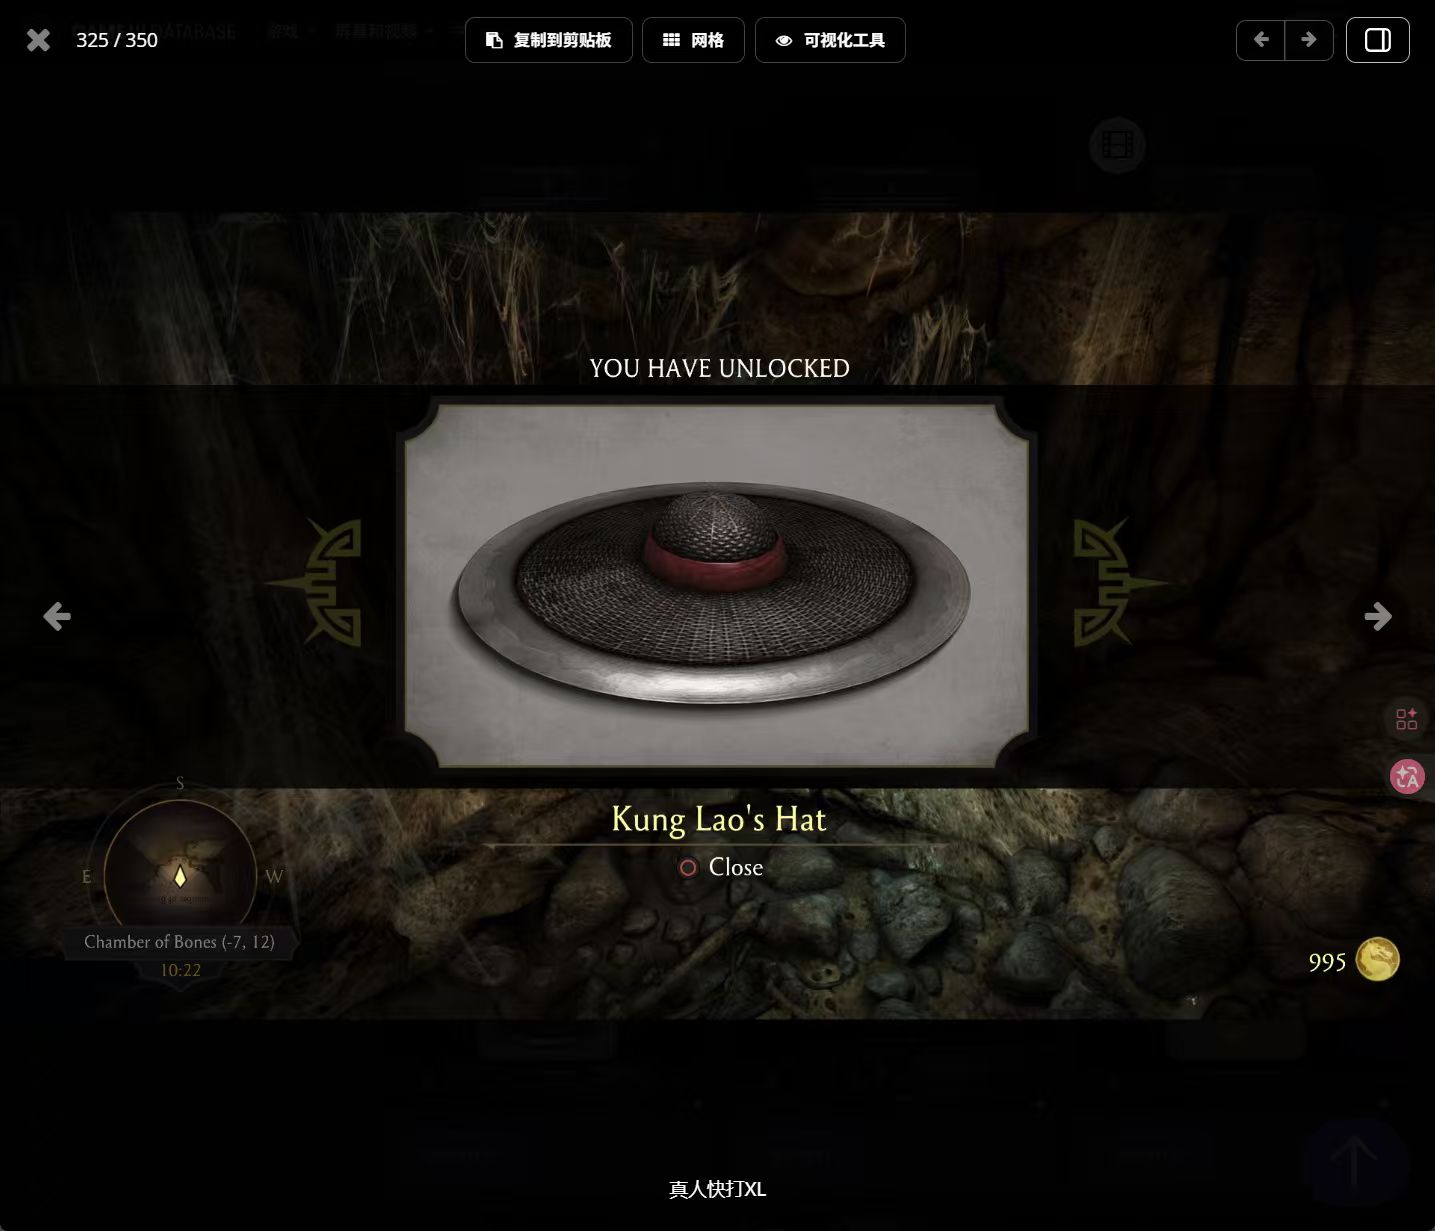
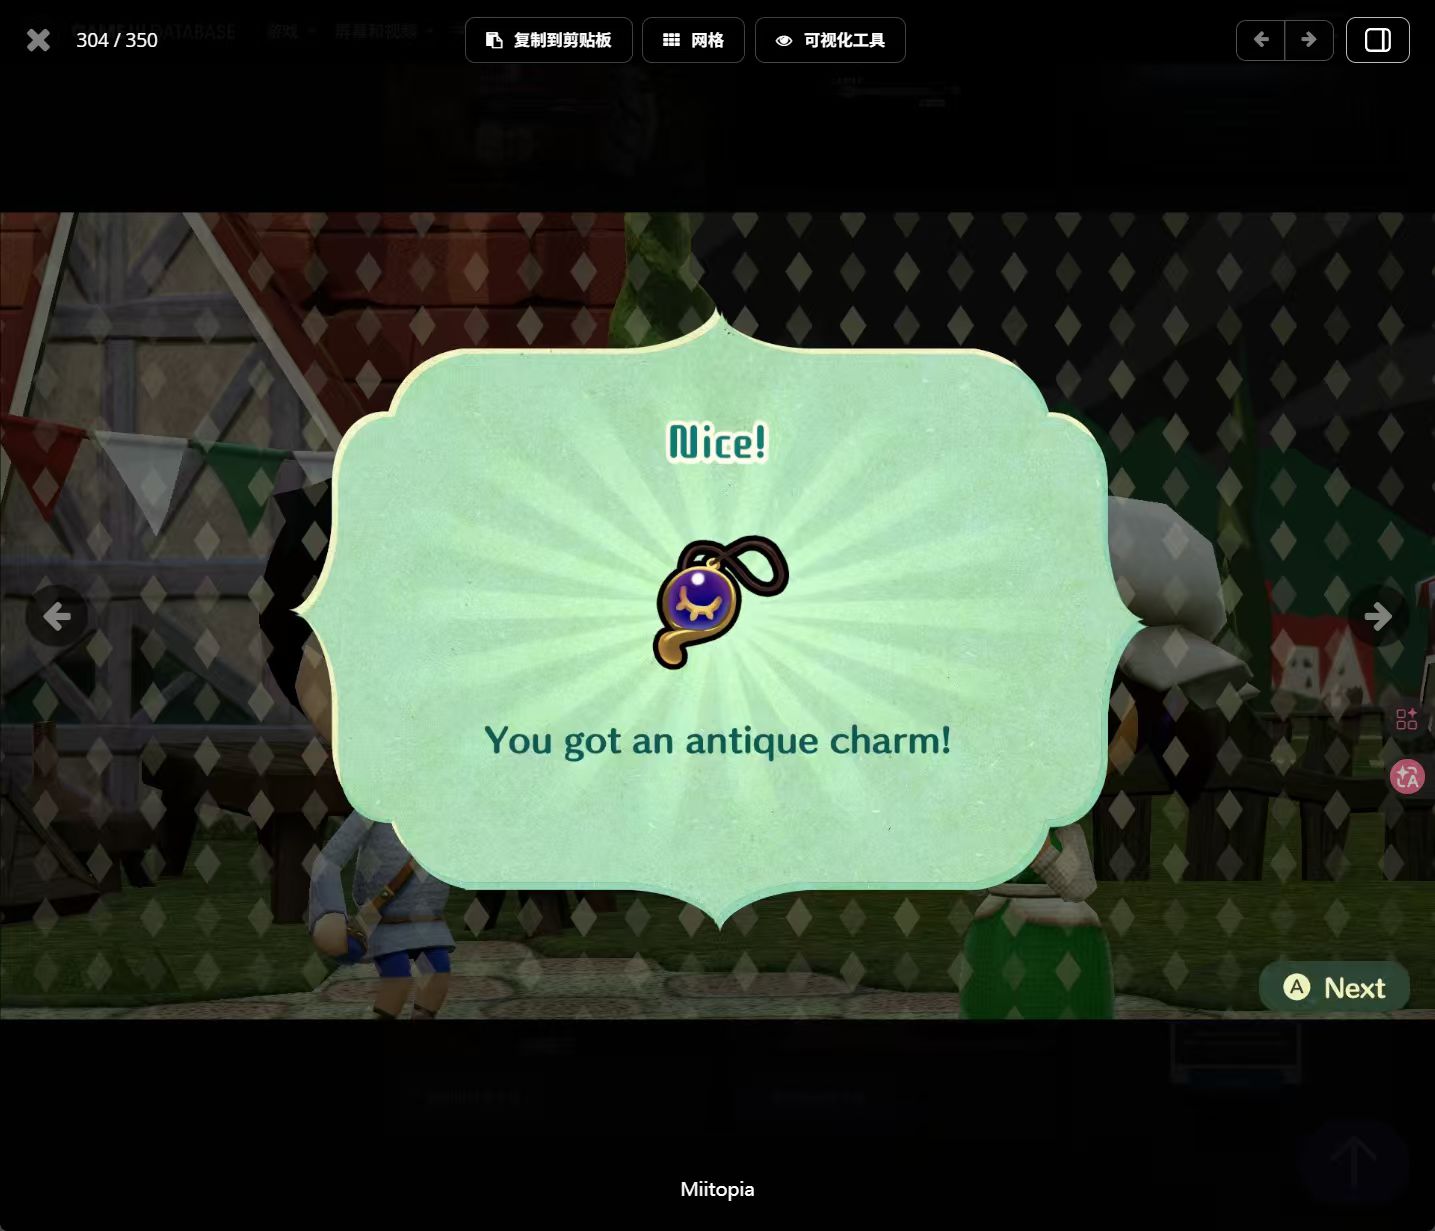
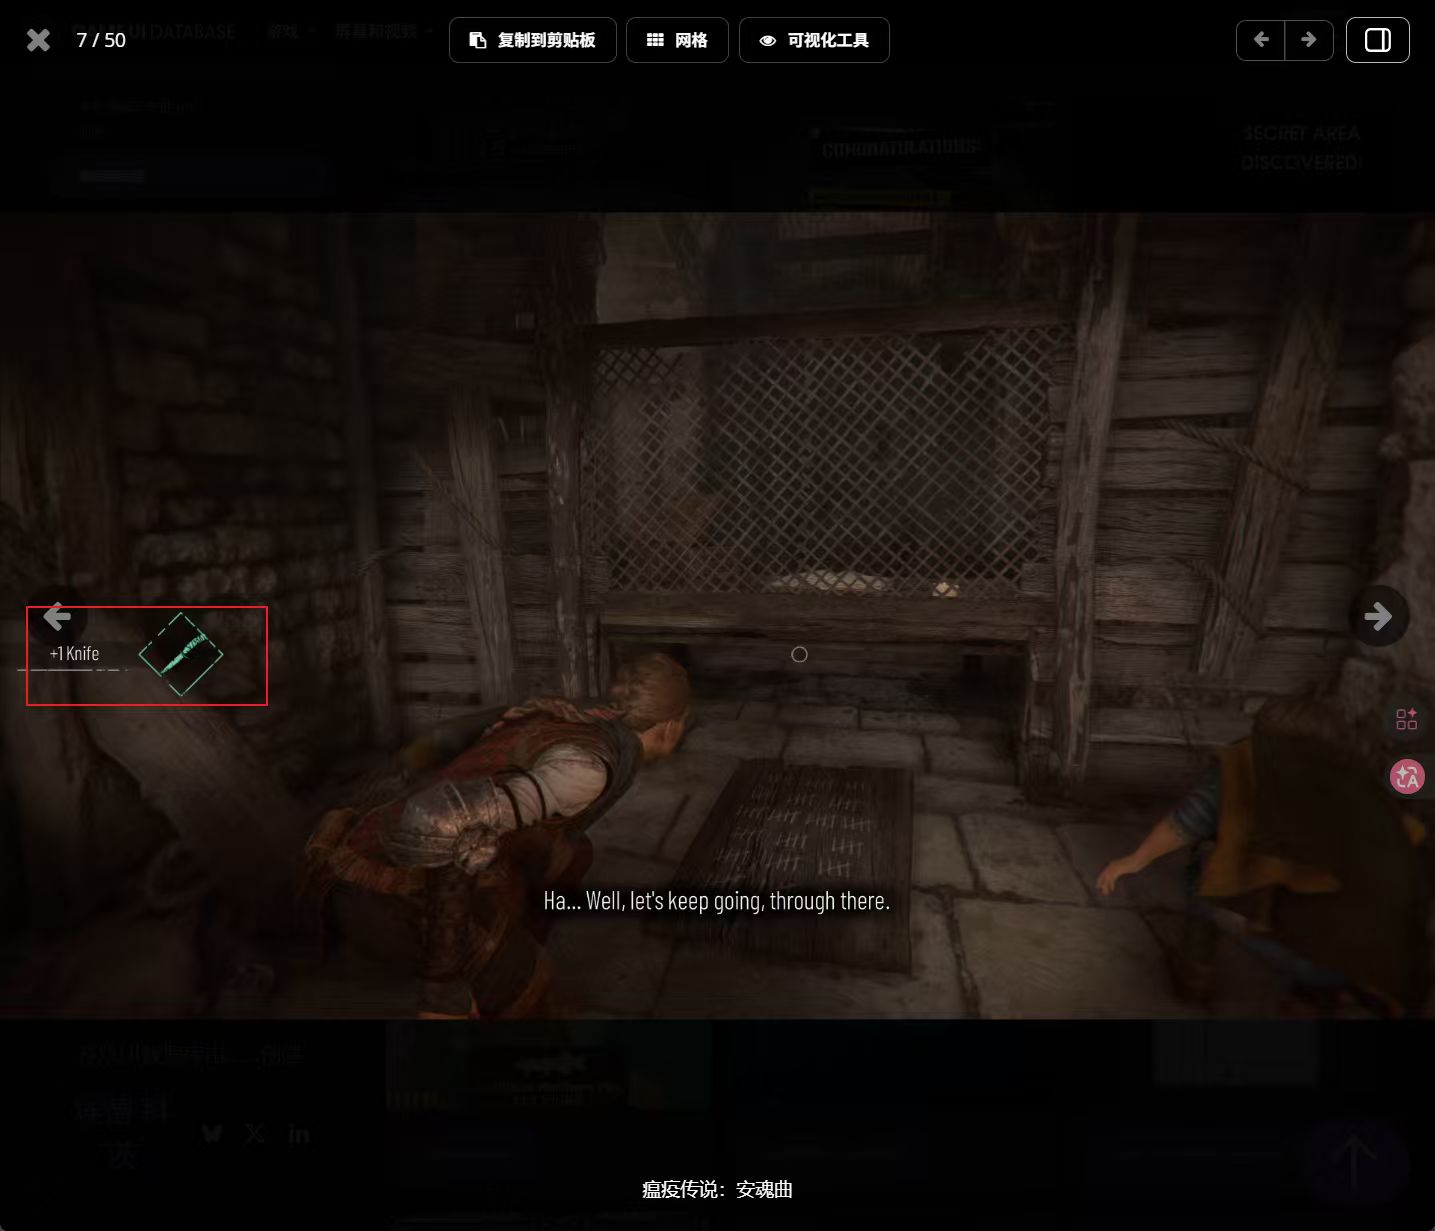
After collecting several references, I designed two reward notification UI concepts in Figma.

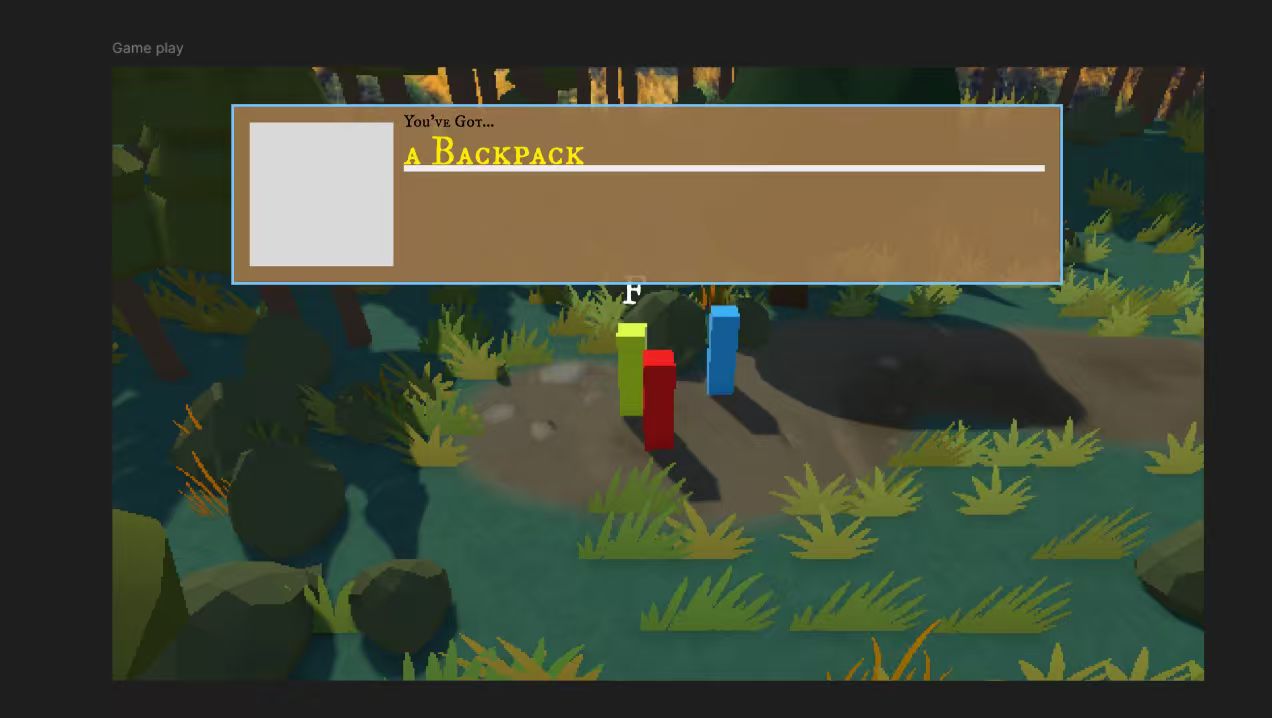
After comparing the two options, I decided to implement Option 1, as this type of notification does not block too much of the game screen while still clearly informing the player about the items they have obtained.
=====================================================================
26 Feb Update - Inventory System Implementation
Inventory Toggle System
The inventory can be opened by pressing B. This interaction is handled by the InventoryToggle script.
					if (Input.GetKeyDown(KeyCode.B))
{
    if (CanToggleInventory())
        Toggle();
}
However, directly switching to the inventory interface when pressing B feels abrupt and unnatural.
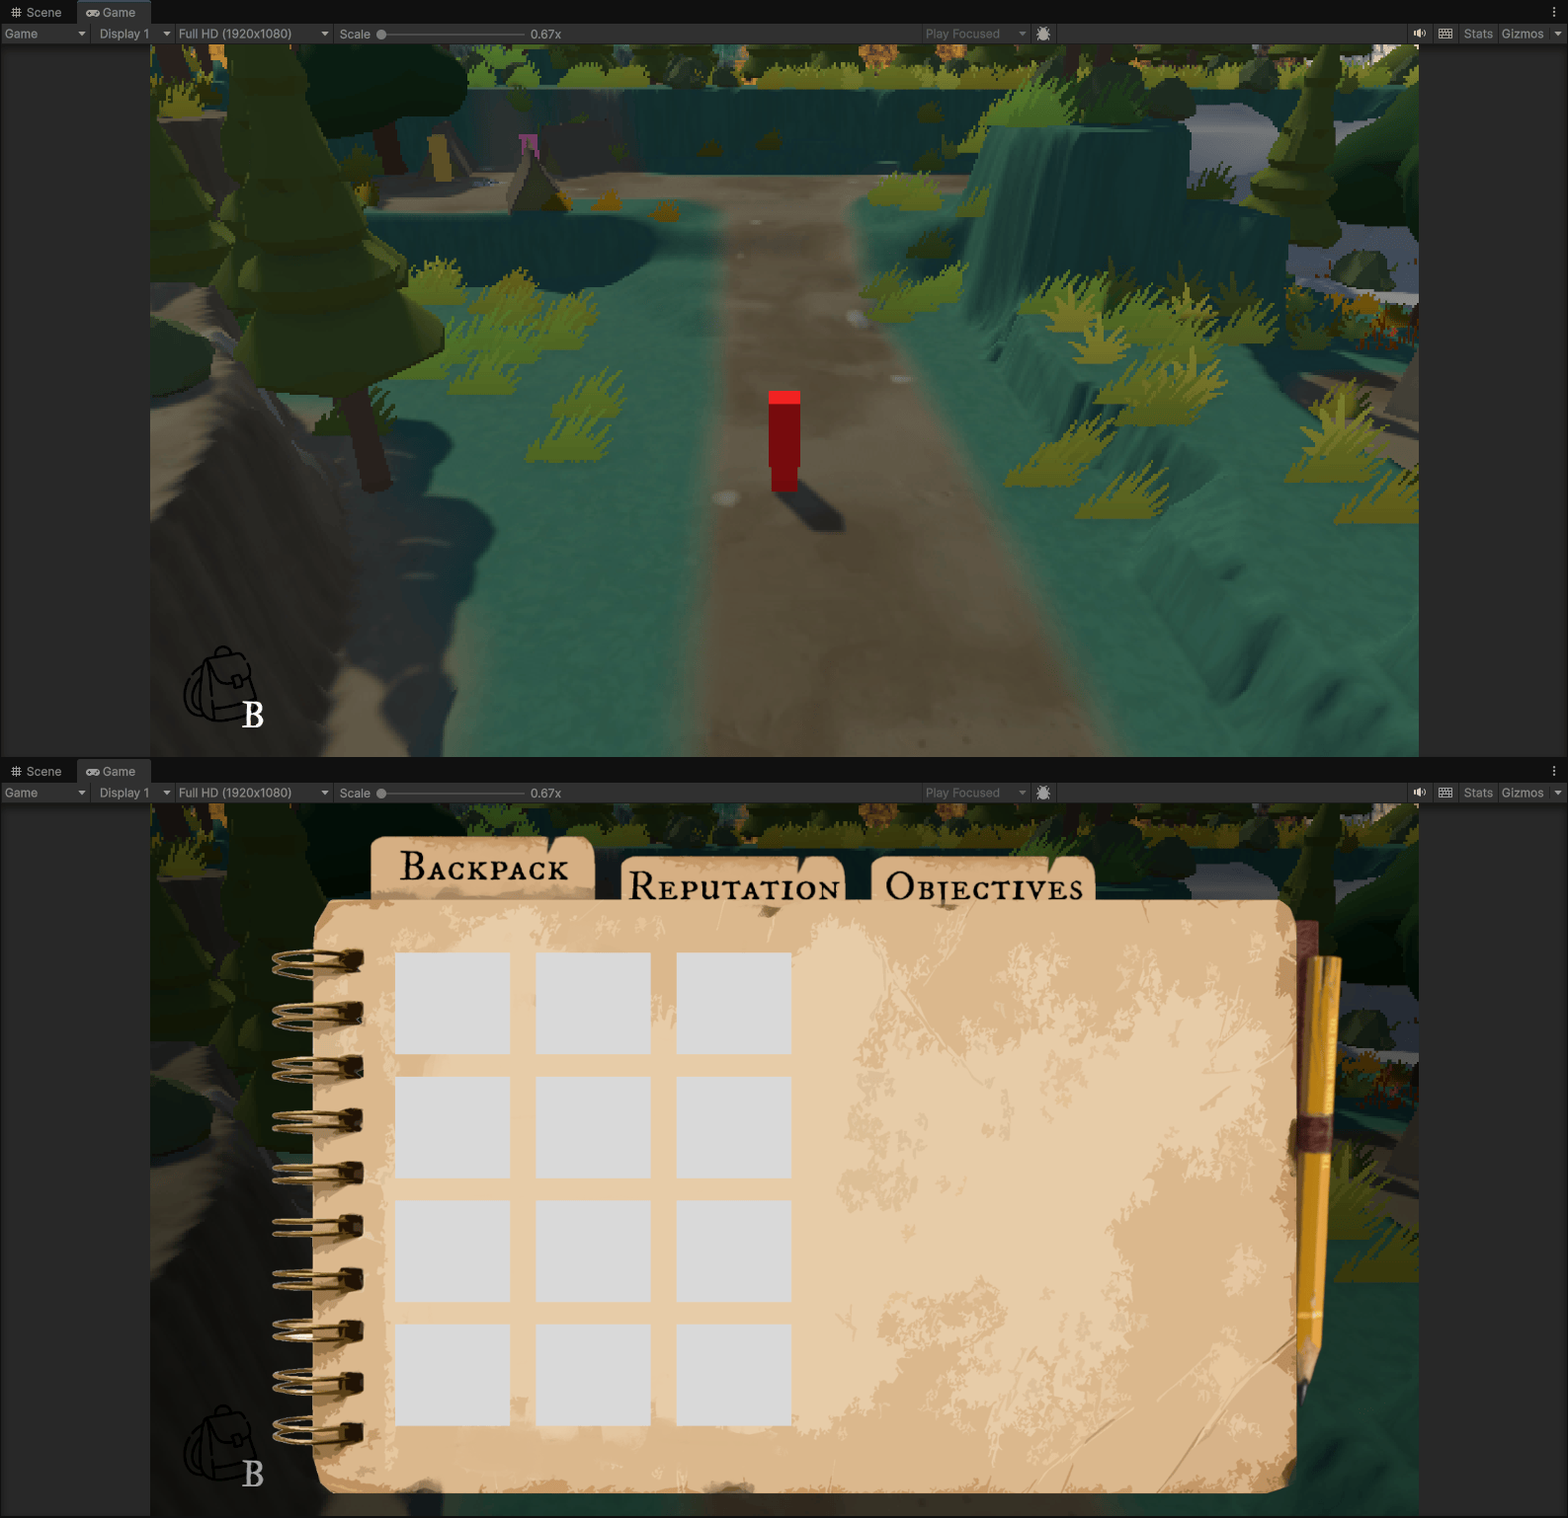
To improve this, I referenced the task panel animation in Goose Goose Duck, where UI panels slide into view instead of appearing instantly.
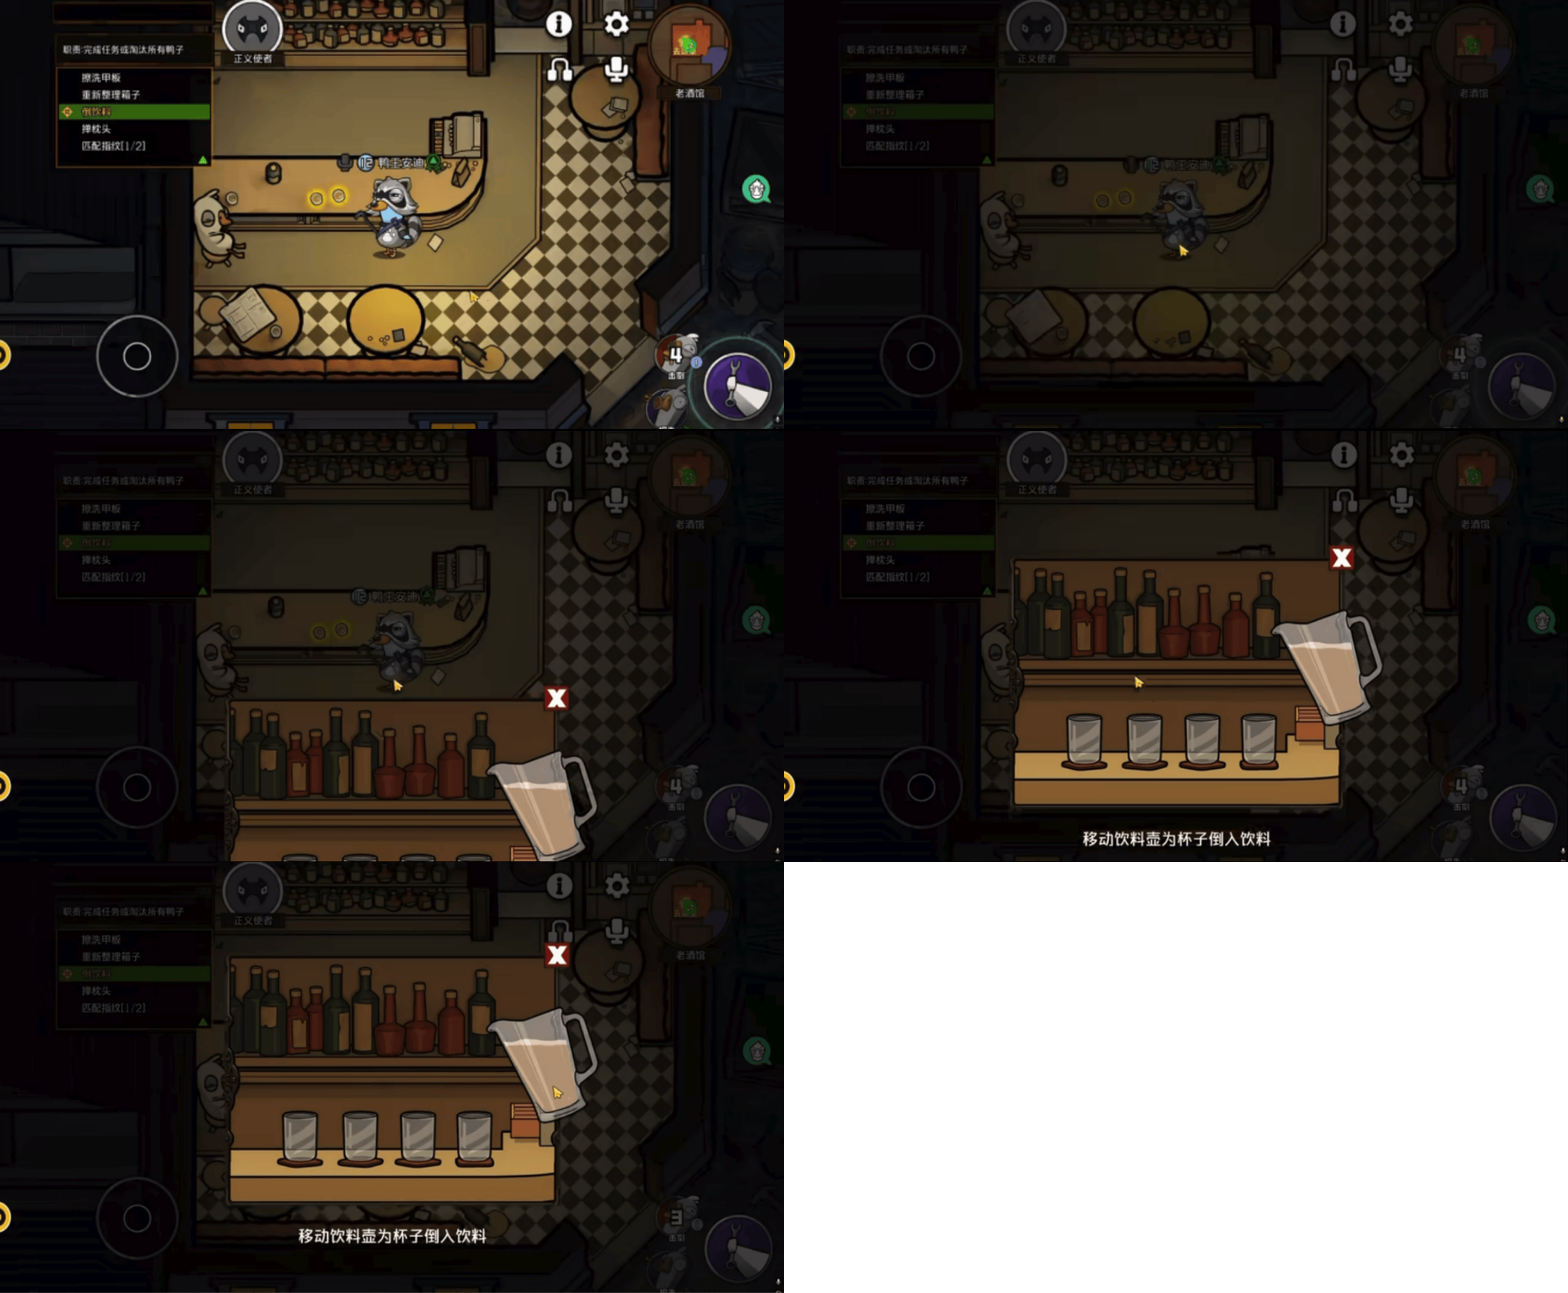
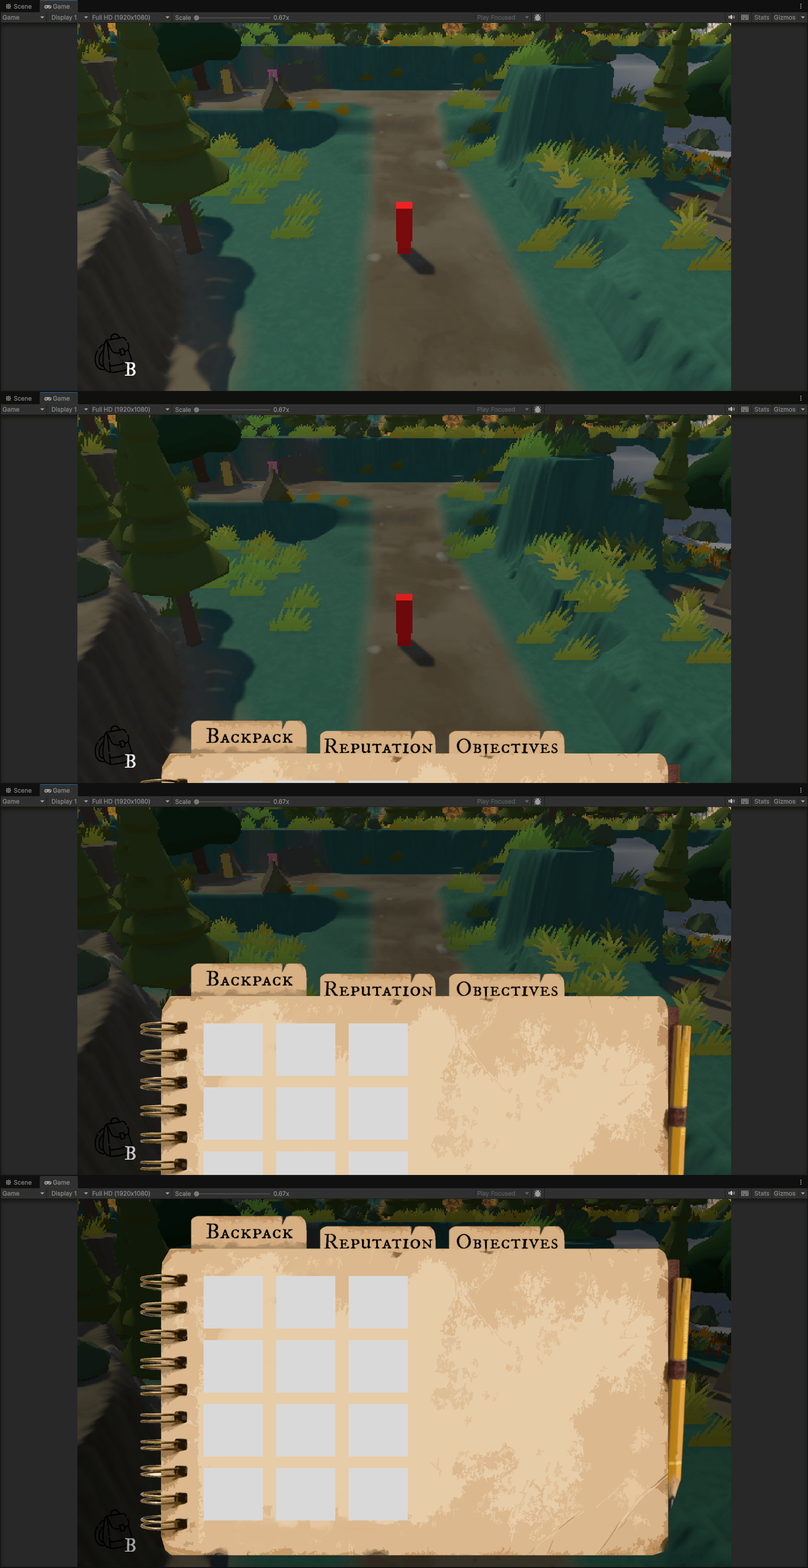
Therefore, in TVT, the expected animation effects are: when the player presses B,
1. The background becomes dimmed
2. The inventory panel slides upward into the screen
3. The game state switches to Inventory
The panel movement is implemented using linear interpolation (Lerp) to smoothly move the UI panel.
					panel.anchoredPosition = Vector2.Lerp(
    panel.anchoredPosition,
    target,
    Time.deltaTime * slideSpeed
);
As a result, the inventory interface smoothly slides into the screen when opened and slides out when closed.
Inventory Data System
The inventory is managed by the InventorySystem script.
This script stores all items using a Dictionary, where the key is the item ID and the value is the item quantity.
private Dictionary<string, int> counts = new Dictionary<string, int>();For example, if the player collects berries and a map, the data stored in the inventory look like this:
					Berry → 5
Map → 1
Items are added to the inventory using the following method:
					public void Add(string id, int amount)
{
    if (counts.ContainsKey(id))
    {
        counts[id] += amount;
    }
    else
    {
        counts[id] = amount;
        itemOrder.Add(id);
    }

    OnInventoryChanged?.Invoke();
}
When the player finishes the berry collecting task:
Add("Berry", 5);
Dynamic Inventory UI
The inventory interface is controlled by the DynamicInventoryUI script.
Instead of hard-coding items in the UI, I created an Item Data Library inside the inspector.
Each item is configured with:
- item ID
- icon
- large detail icon
- display name
- description
- default amount
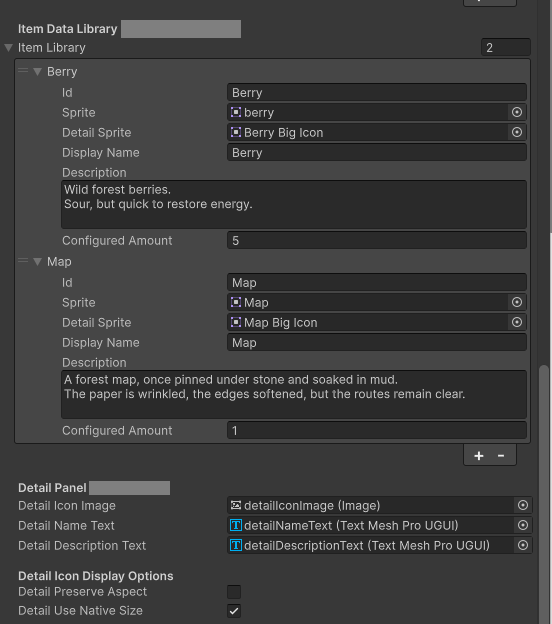

When the inventory updates, the UI script reads the items currently owned by the player.
List<string> ownedItems = inventory.GetOwnedItemsInOrder();Each item ID is then used to look up its configuration from the Item Library.
For example:
					Berry → berry icon + berry description + Disaplay Name + Amount
Map → map icon + map description + Disaplay Name + Amount
After getting the list of items, the system fills the inventory slots.
for (int i = 0; i < uiSlots.Count; i++)
{
    if (i < ownedItems.Count)
    {
        UpdateSlot(uiSlots[i], ownedItems[i], i);
    }
    else
    {
        ResetSlot(uiSlots[i]);
    }
}
When the player clicks a slot, the system updates the item detail panel.
					private void SelectIndex(int index)
{
    selectedIndex = index;
    UpdateDetailPanel();
}
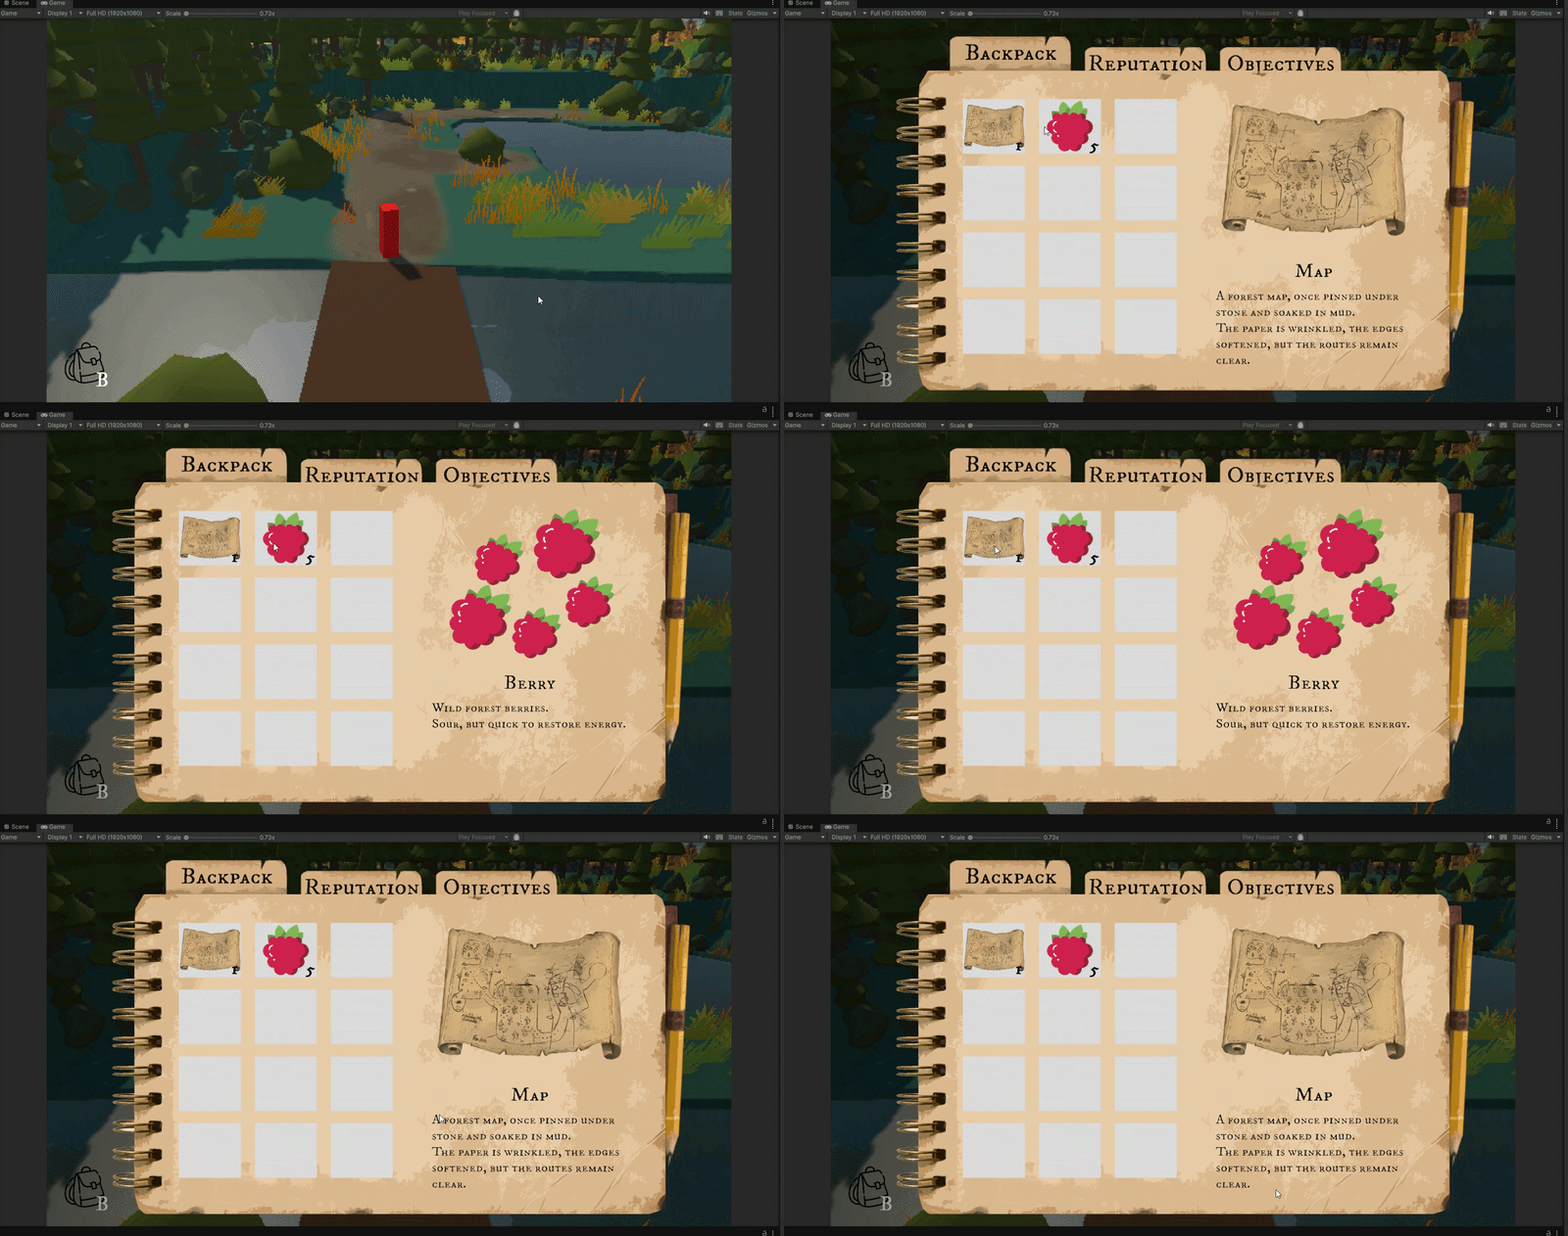
Tab Navigation System
The tab system is implemented in InventoryTabs.
					private void SelectTab(InventoryTab targetTab)
{
    selectedTab = targetTab;
    ApplyTabVisualState();
    ApplyPageVisibility();
}
This script controls both the visual state of the tabs and the visibility of the pages.
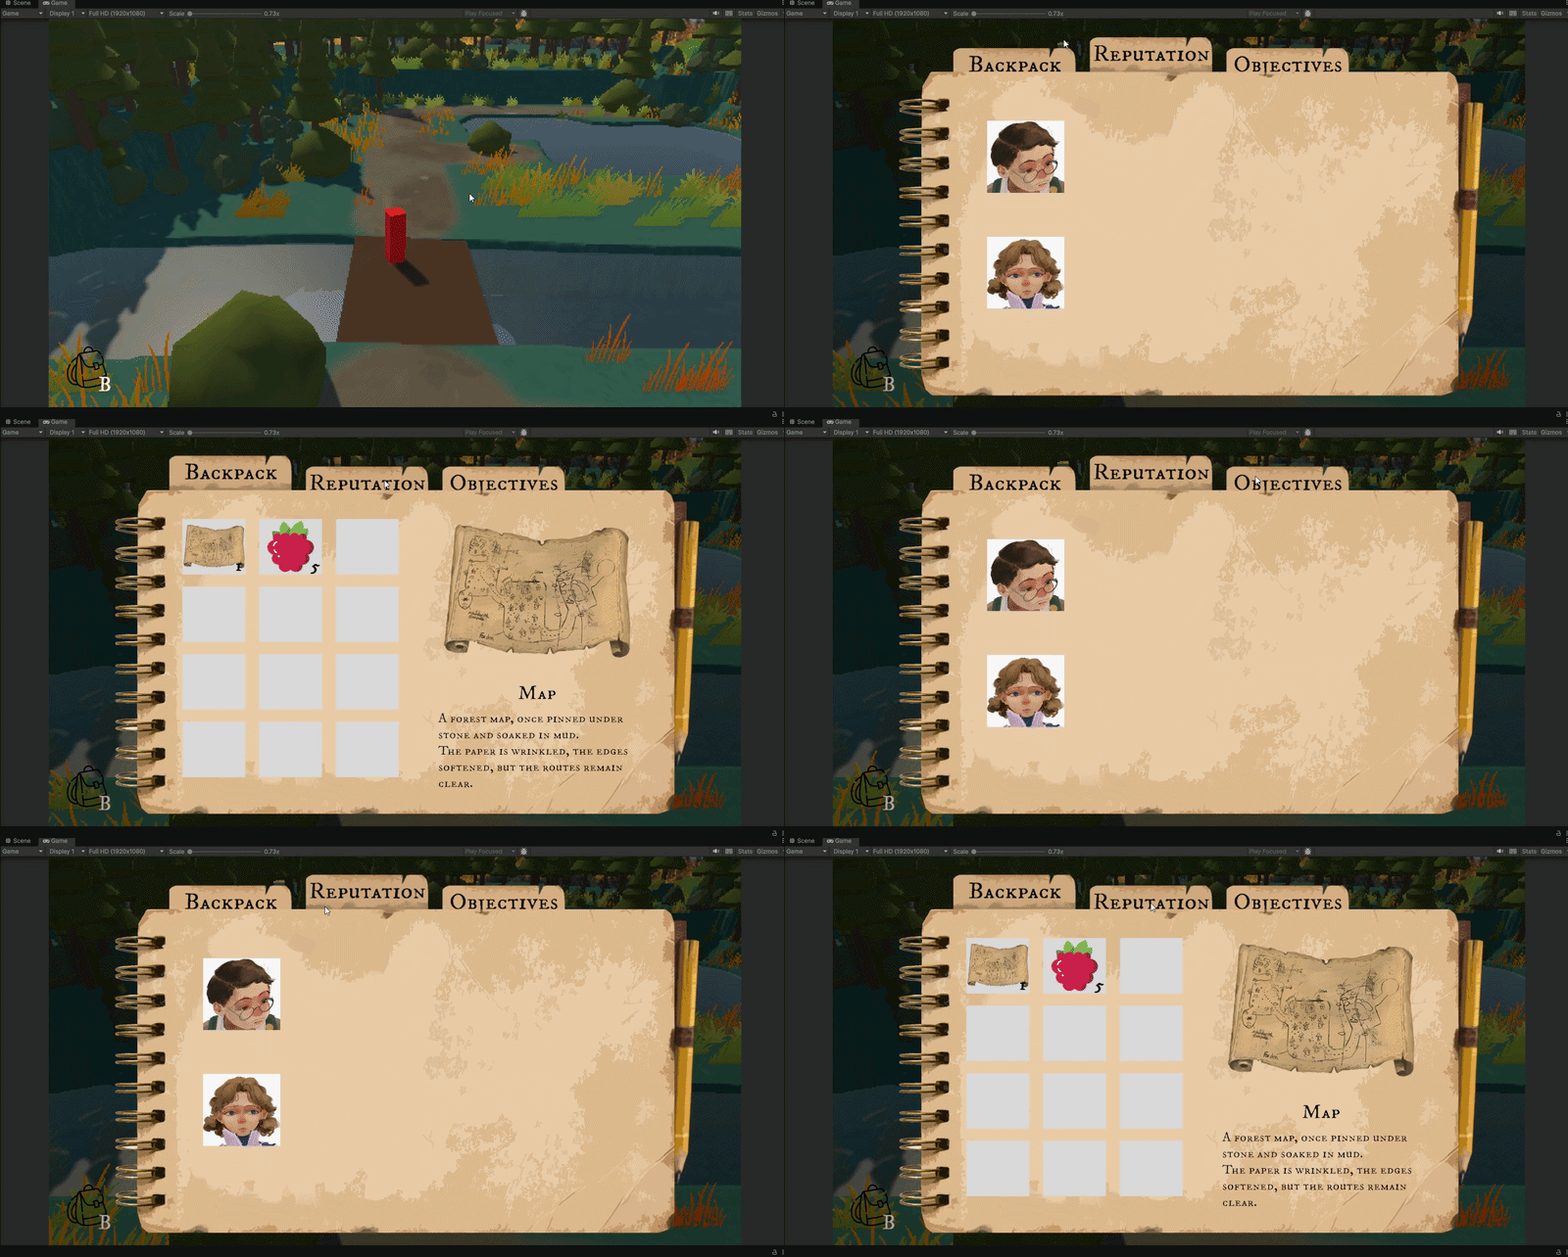
For example, when the player clicks the Backpack tab:
The Backpack tab moves slightly upward to indicate it is selected
The interface switches to the Inventory page
The other tabs move down to their default positions
=====================================================================
24 Feb Update - Inventory UI Structure
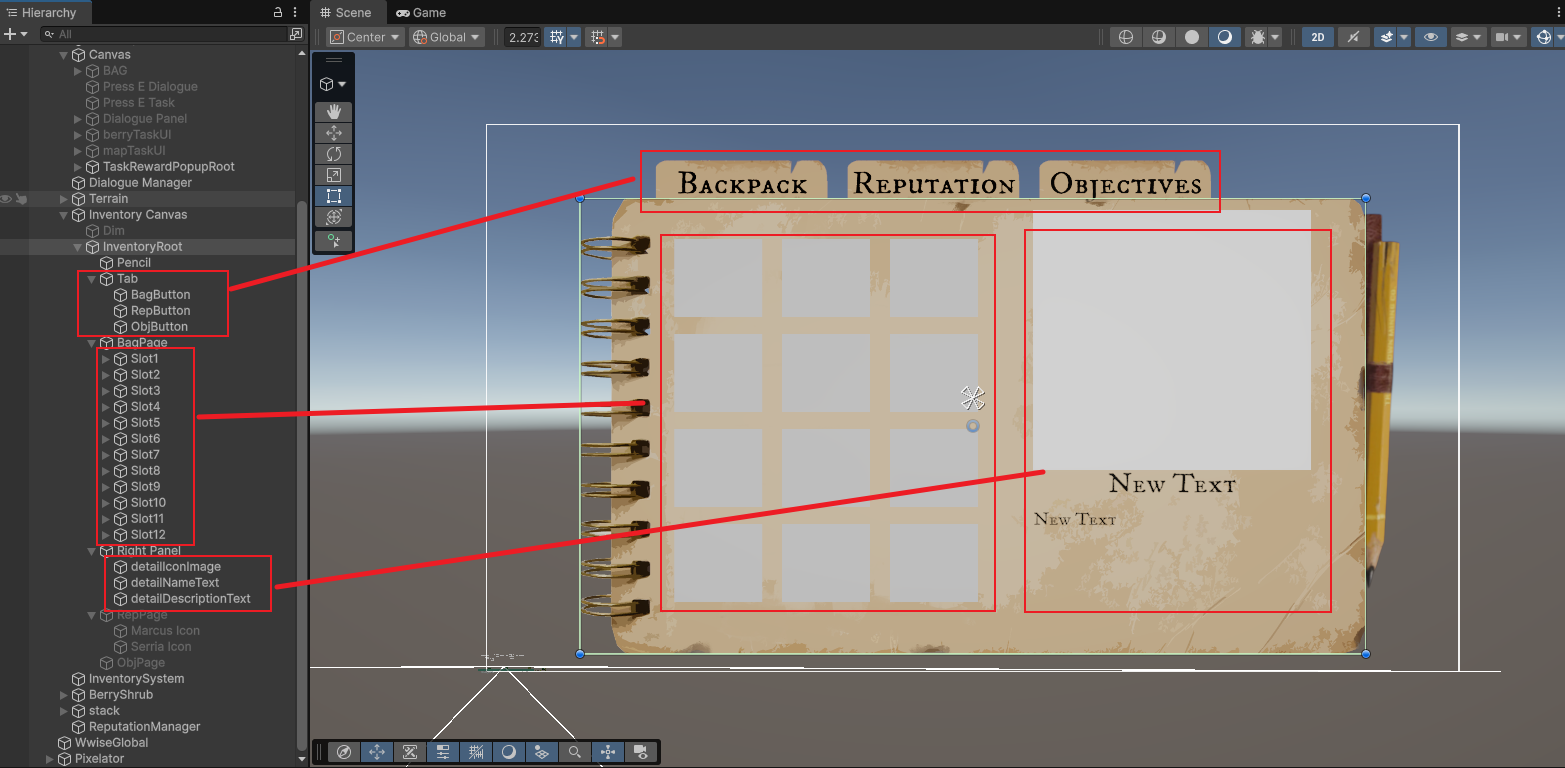
Based on the UI layout I designed earlier in Figma, I implemented the inventory interface in Unity using the Canvas UI system.
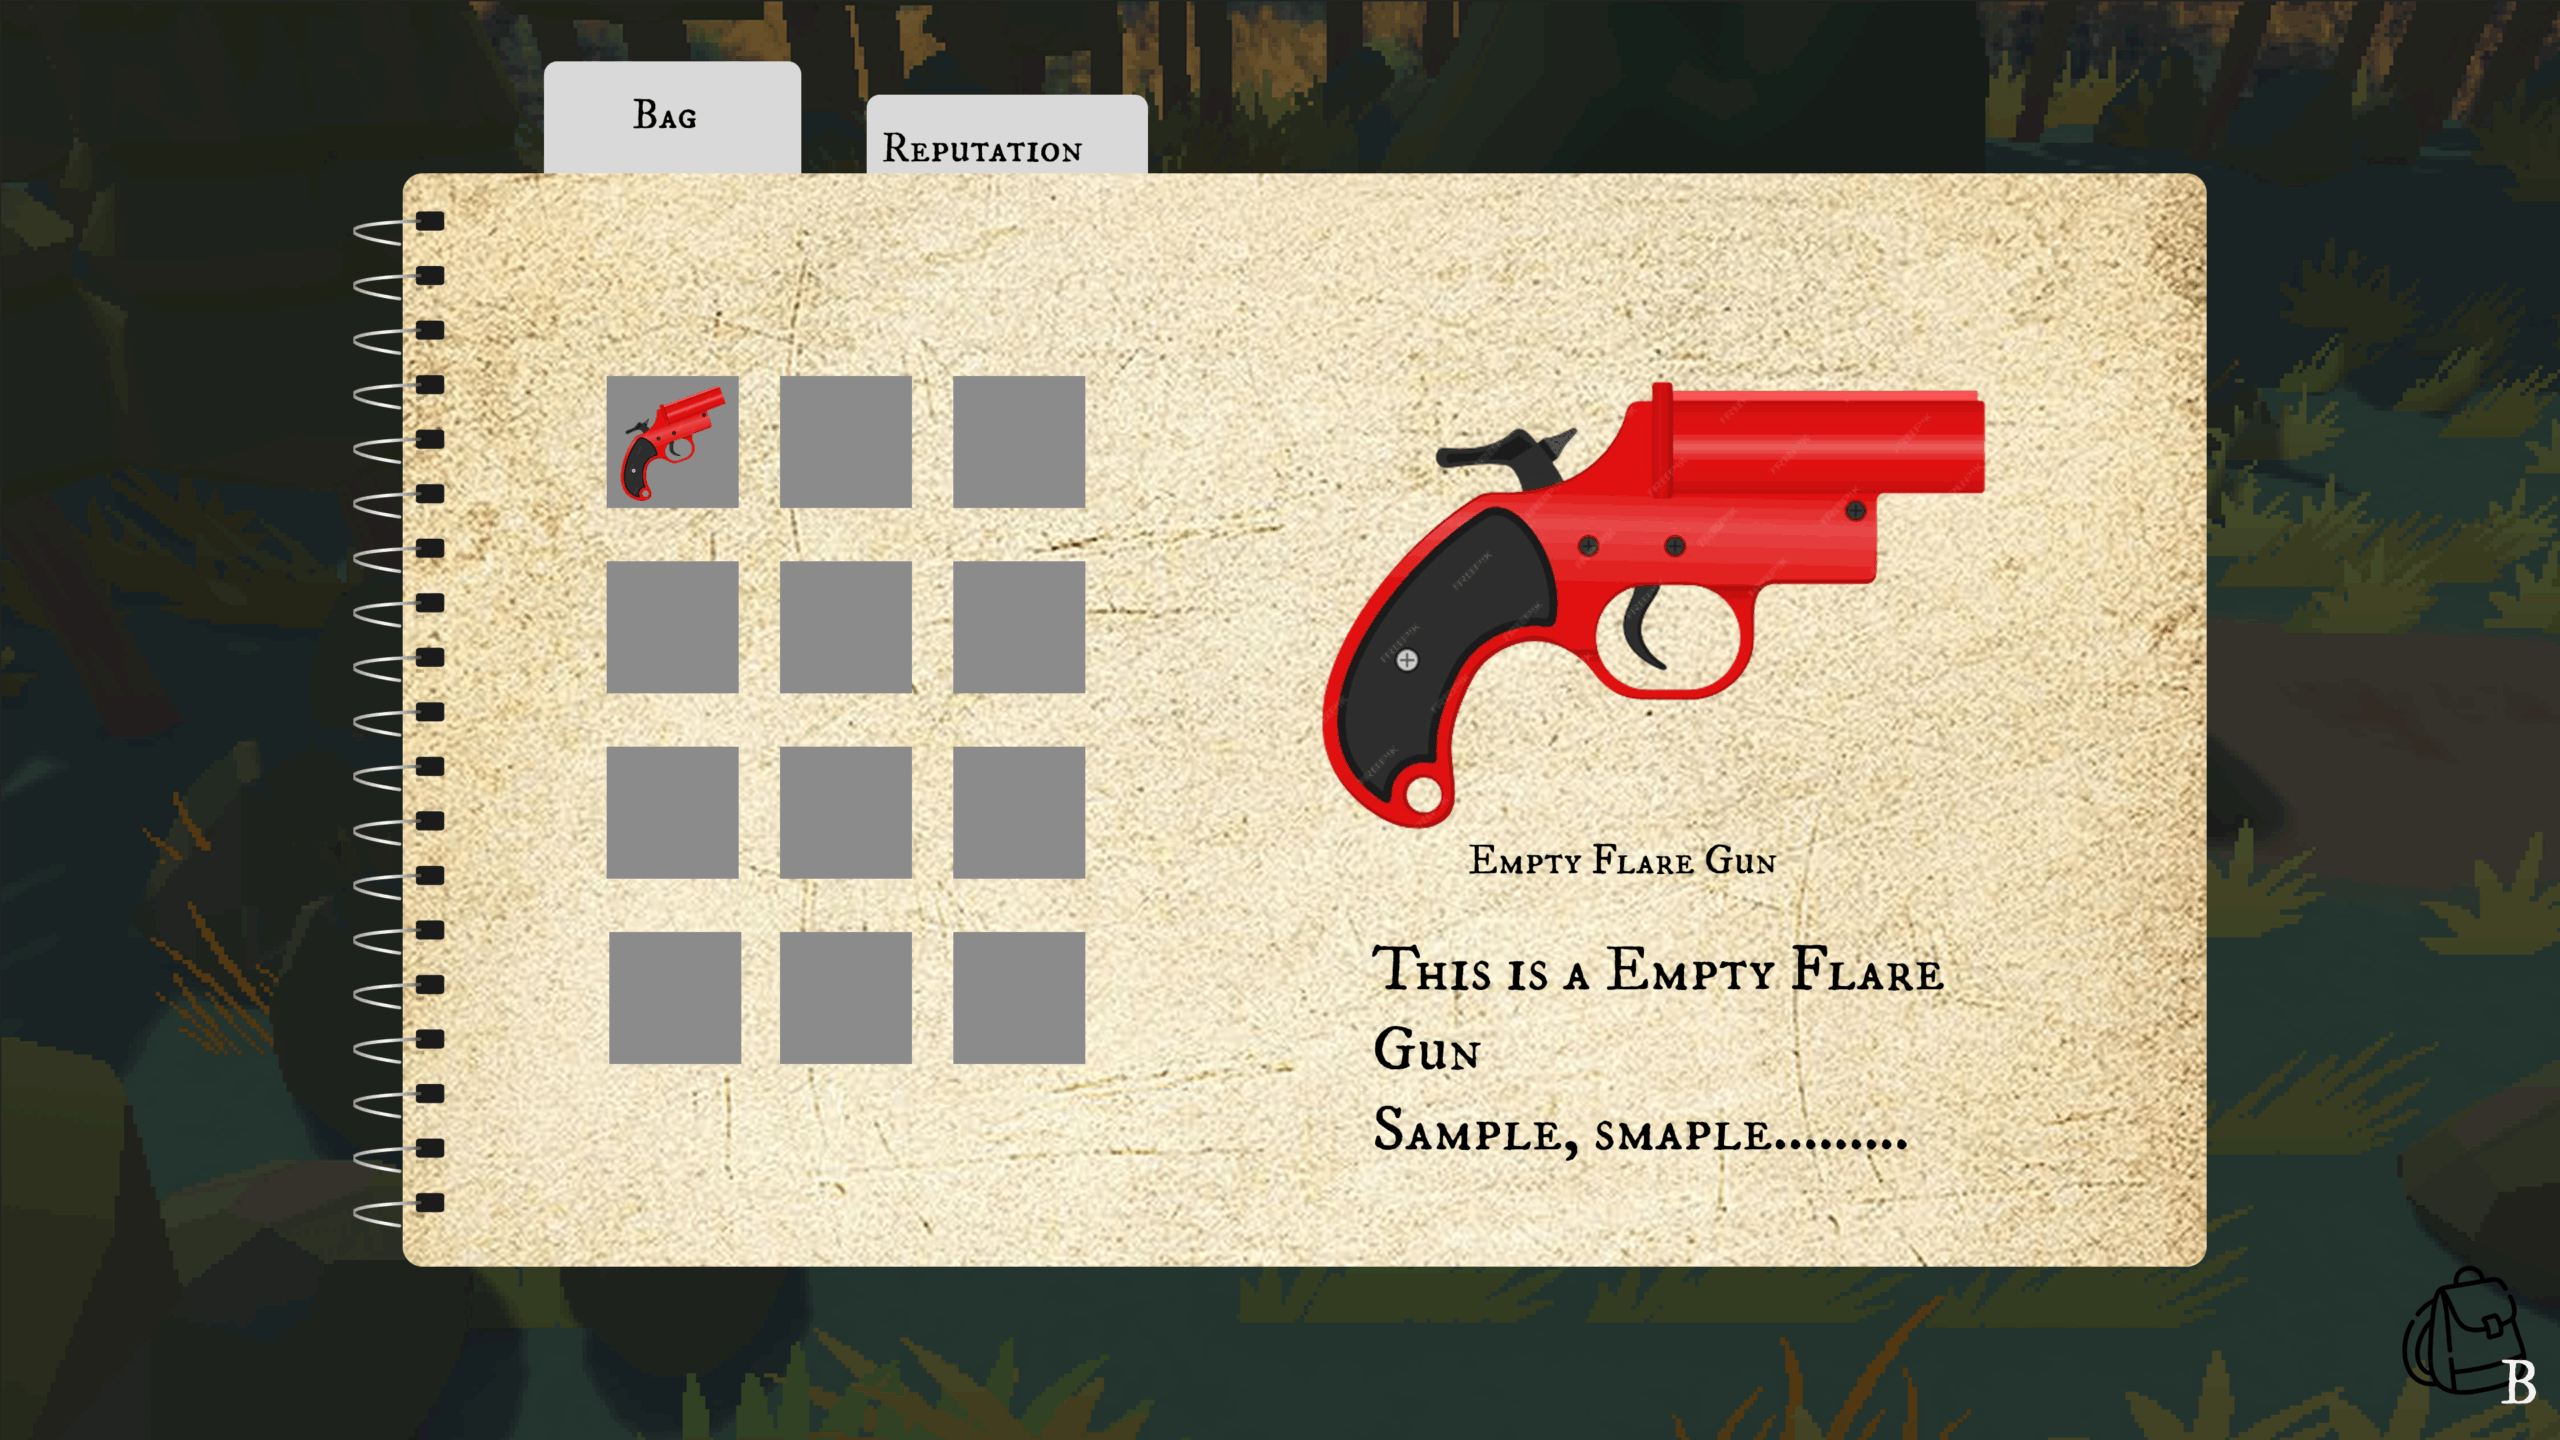
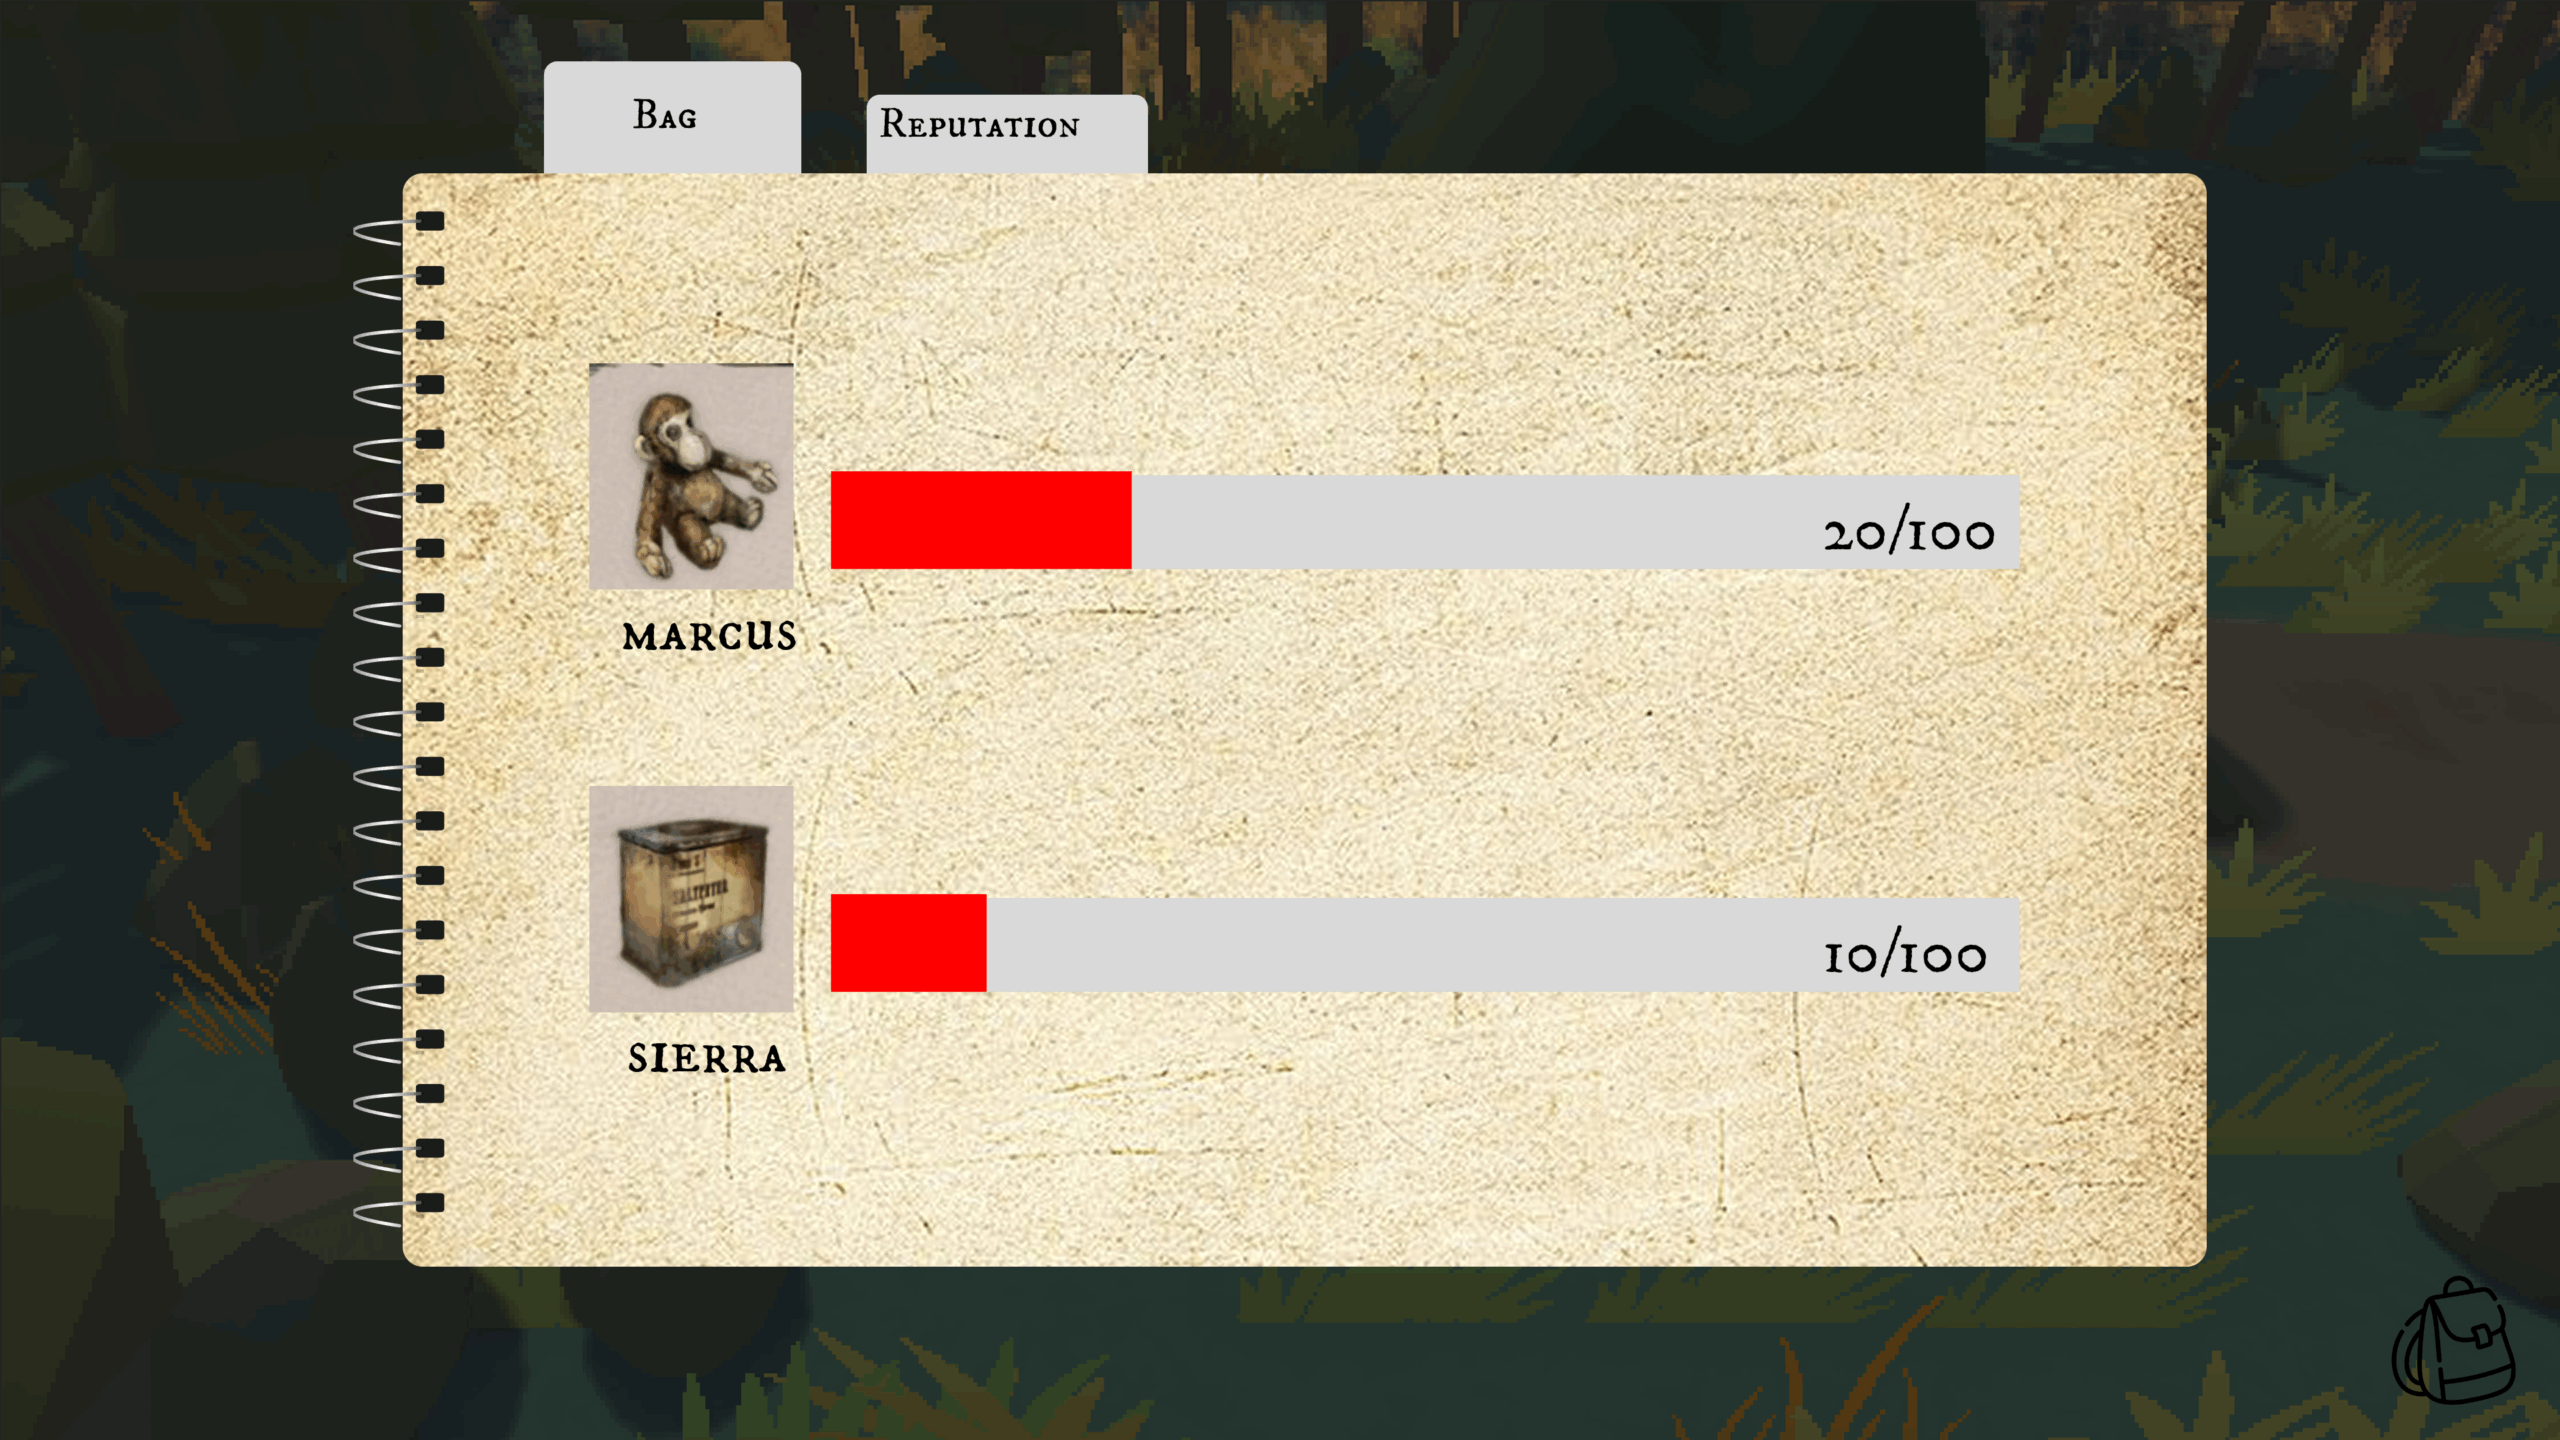
The inventory interface mainly contains three parts: tab navigation, item grid, and item detail panel.
- Tab navigation includes three tabs: Backpack, Reputation, and Objectives, allowing players to switch between different pages within the interface.
- Item grid contains 12 slots in total. Each slot can display an item icon and the item quantity.
- On the right side of the interface, there is an item detail panel, which shows a larger item icon, the item name, and the item description when an item is selected.
=====================================================================
23 Feb Update - UI Design
Before implementing the inventory system, I first looked at several inventory UI designs in the Game UI Database to get some visual references.
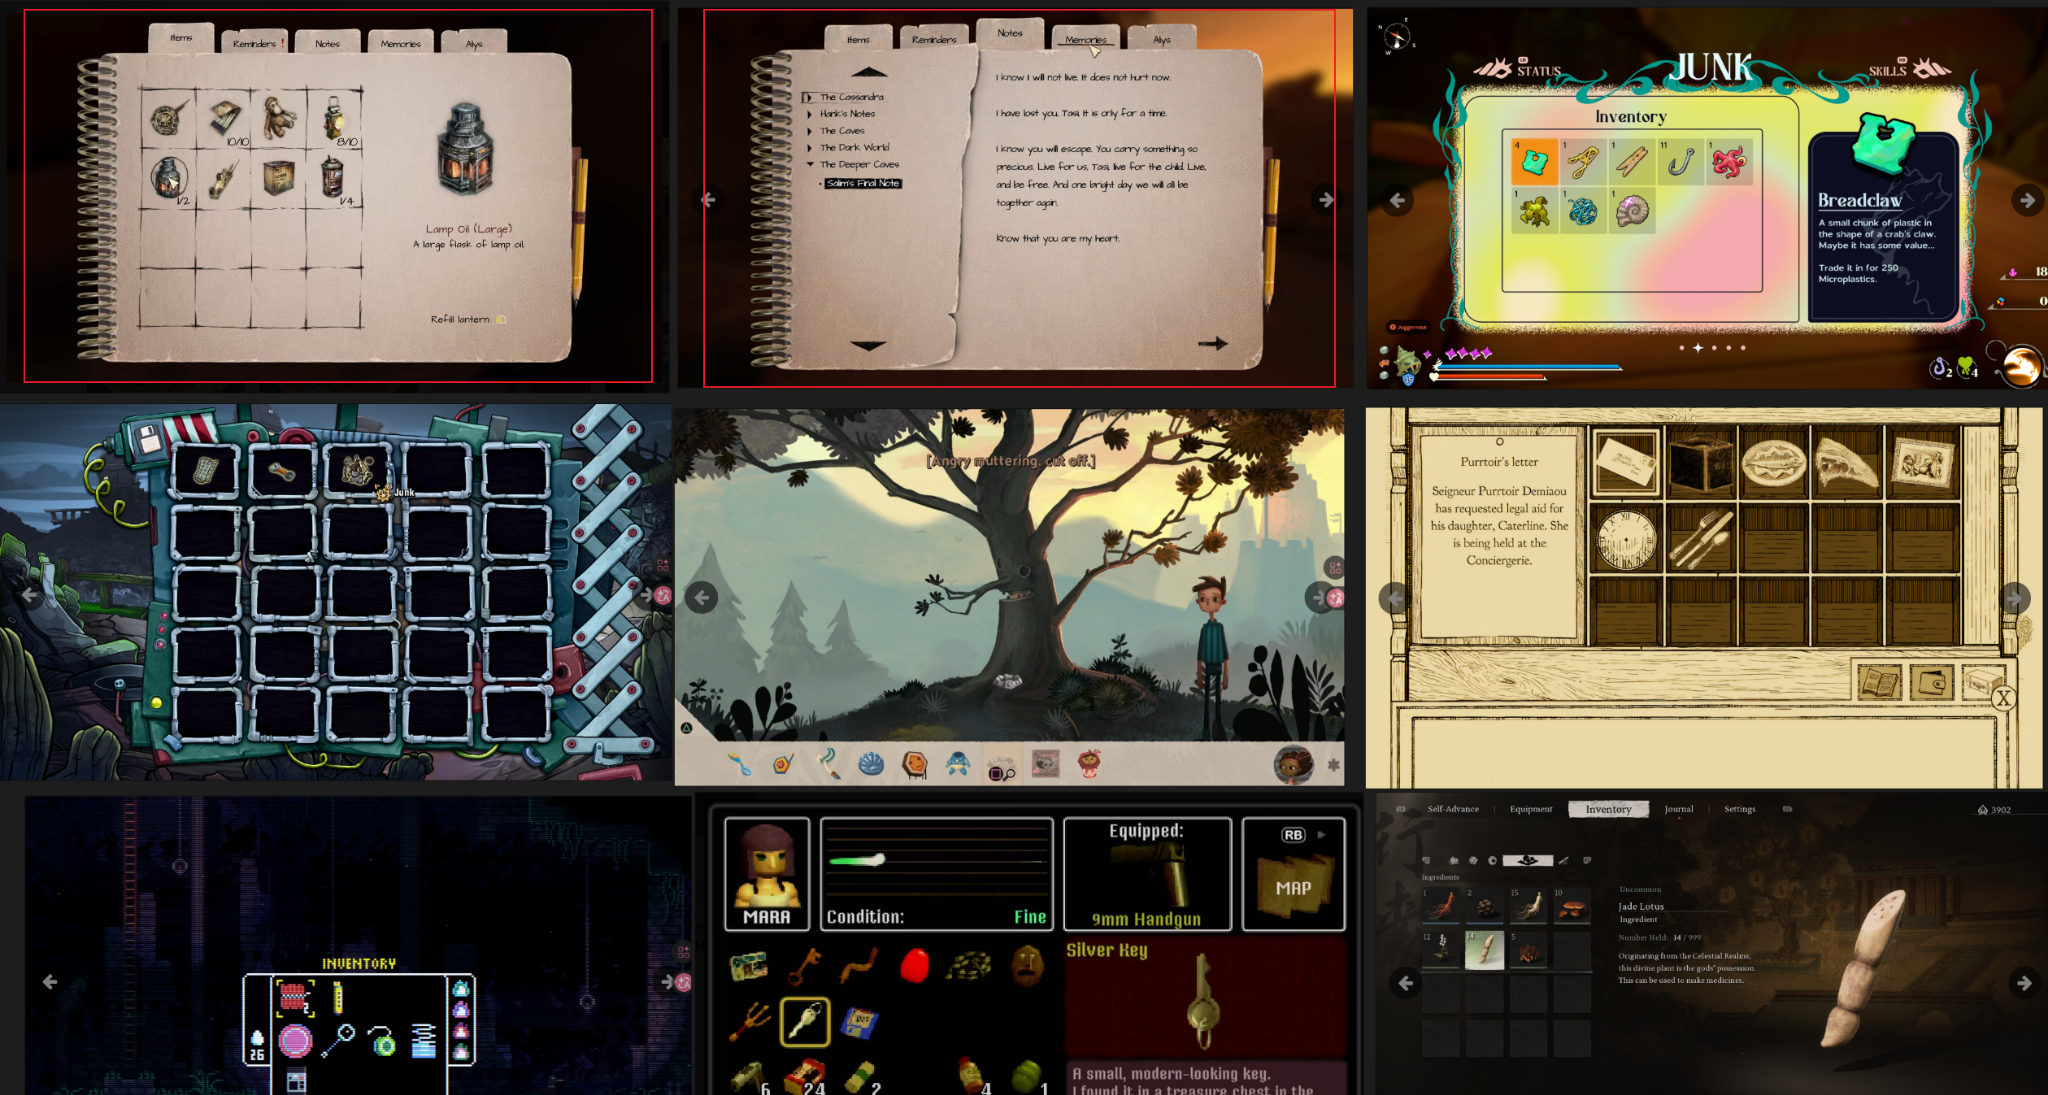
After comparing a few examples, I found that the inventory interface in Amnesia: Rebirth fits very well with the theme of our wilderness survival game. Its design presents items in a notebook-style layout, which feels natural for a hiking or exploration setting. At the top of the interface there are also several tabs that allow players to switch between different pages, so the UI is not limited to only the inventory system.
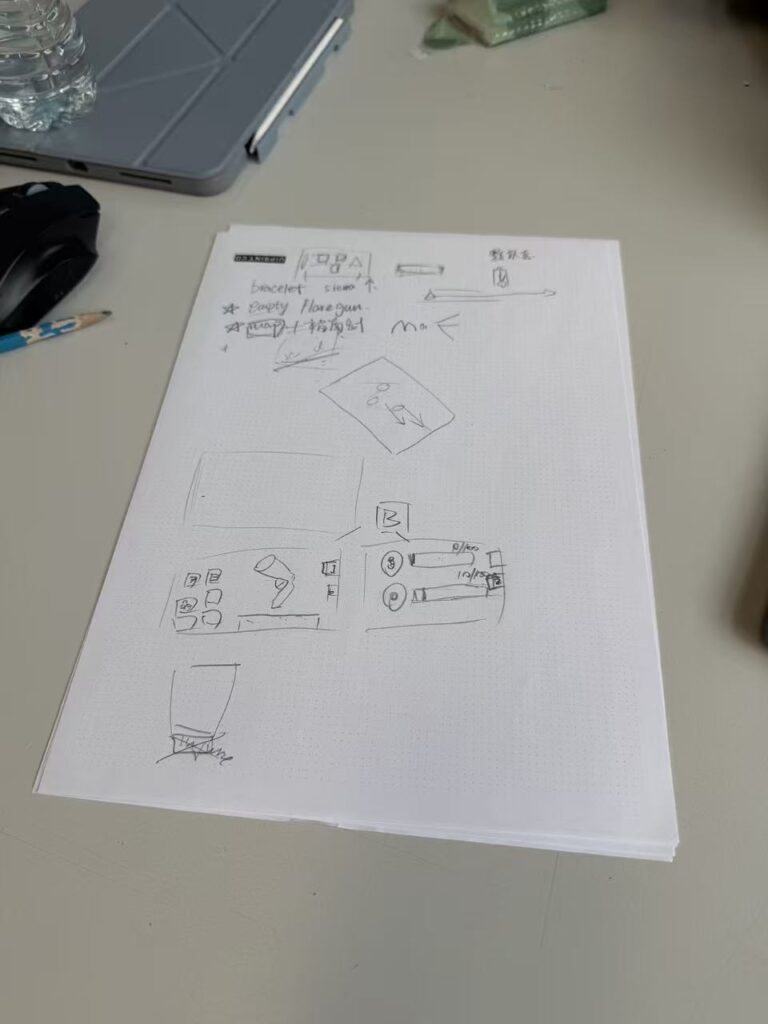
After deciding on the UI direction, I first created rough sketches to plan the basic structure of the inventory interface. I then developed these ideas into a clearer UI layout in Figma. After that, I discussed the requirements with our Technical Artist and shared the Figma layout with him as a visual reference. He was responsible for creating the final visual assets for the inventory system, while I focused on designing the structure and layout. These layouts were later used as references when implementing the inventory system in Unity.