
27 April Update - Charactter Animations
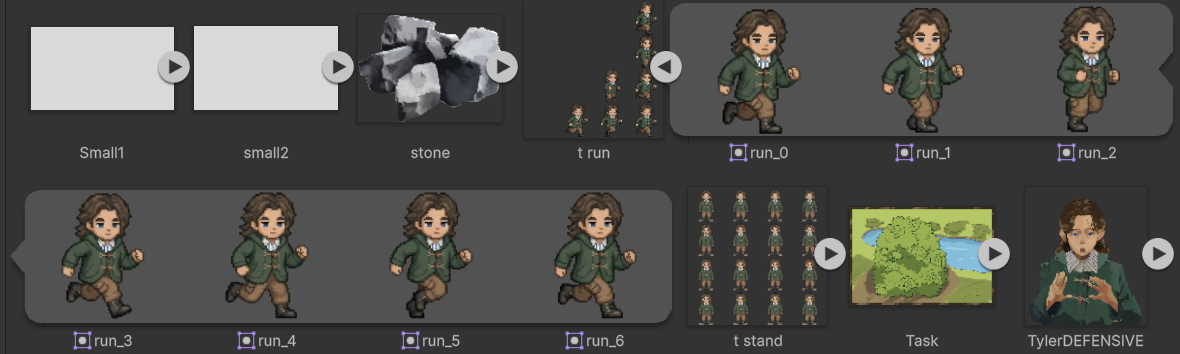
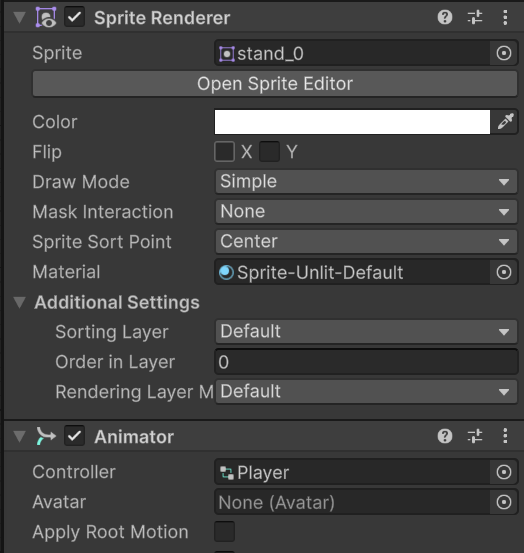
The player animation structure is quite straightforward. In the scene, there is a child object under Player called PlayerVisual, which is responsible for the visual presentation of the character.
PlayerVisual contains two main components:
The SpriteRenderer displays the current character sprite, while the Animator controls which animation state is being played. This keeps the structure clean: the main Player object handles movement, collision, and input logic, while PlayerVisual only handles the character visuals and animation.
The Animator Controller is also simple. It contains two main states:The SpriteRenderer displays the current character sprite, while the Animator controls which animation state is being played. This keeps the structure clean: the main Player object handles movement, collision, and input logic, while PlayerVisual only handles the character visuals and animation.
The Animator Controller is also simple. It contains two main states:
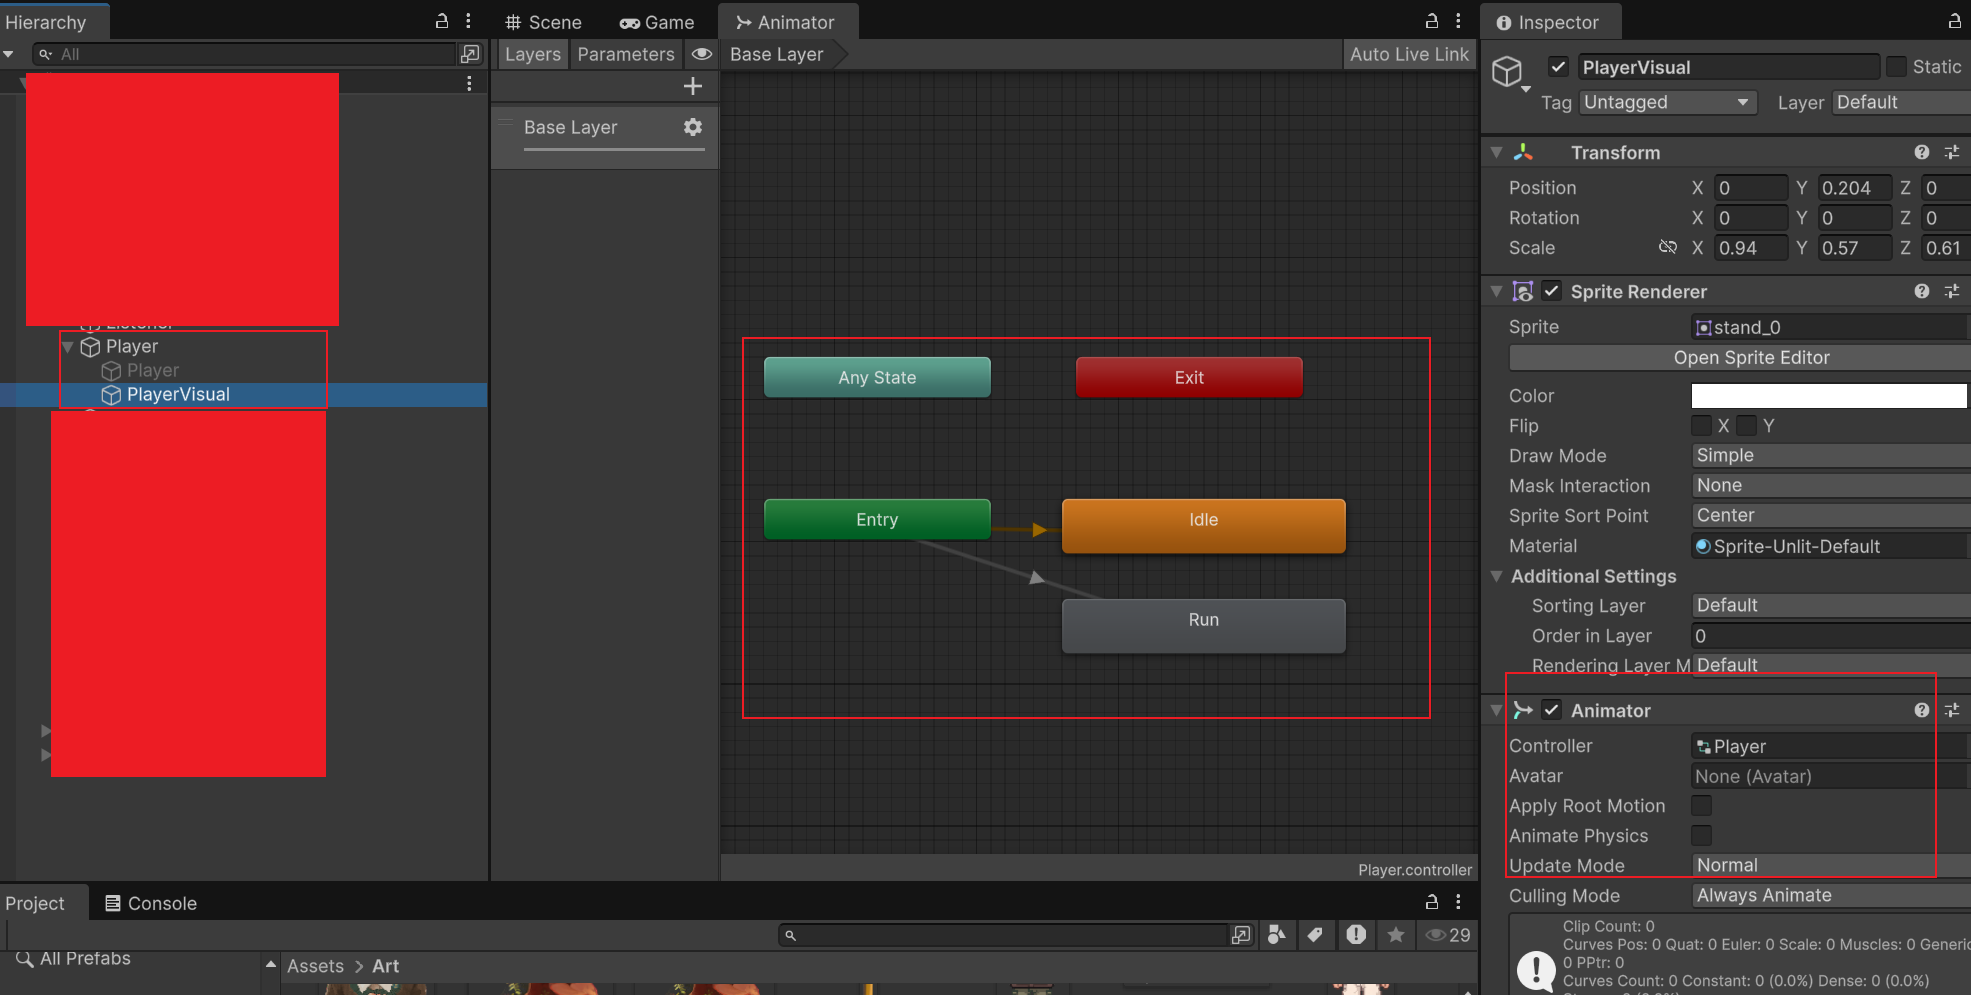
Idle is the default state and is used when the character is standing still.
Run is used when the character is moving.
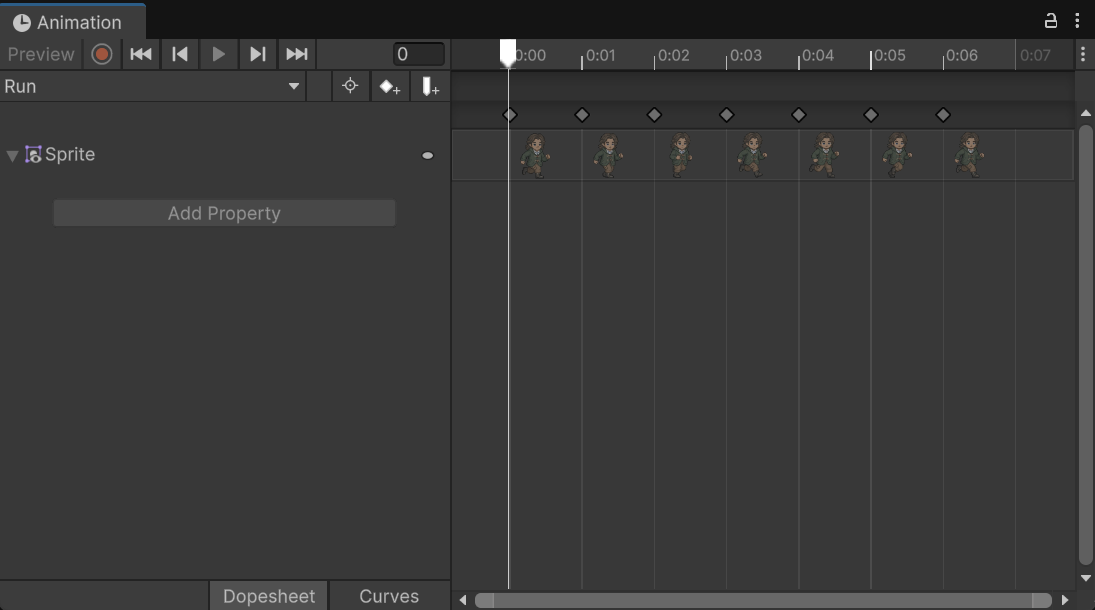
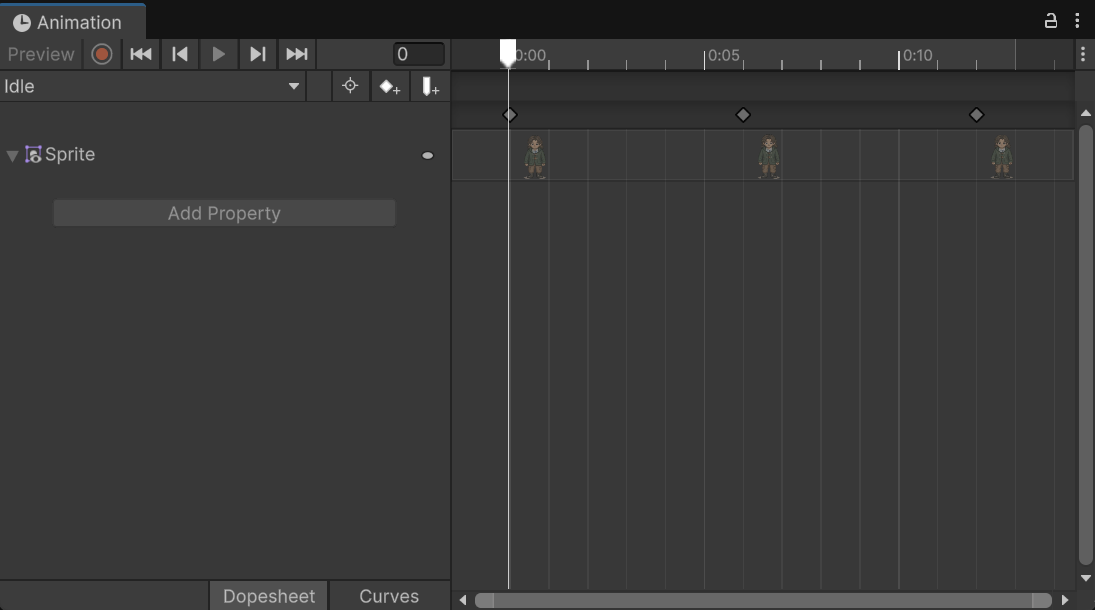
This Animator Controller does not use complex parameters or transition conditions. Instead, the code directly decides which state should be played. When there is no movement input, the code plays Idle. When the player starts moving, the code switches to Run.
=====================================================================
Unity 6 - New Input System.
When implementing the player movement system, I used Unity 6’s new Input System.
Compared with the old Unity approach of reading input directly in scripts using Input.GetAxis(), the new Input System uses an Input Action Asset to manage input logic in a more structured way. This allows input mappings to be configured visually in the editor.
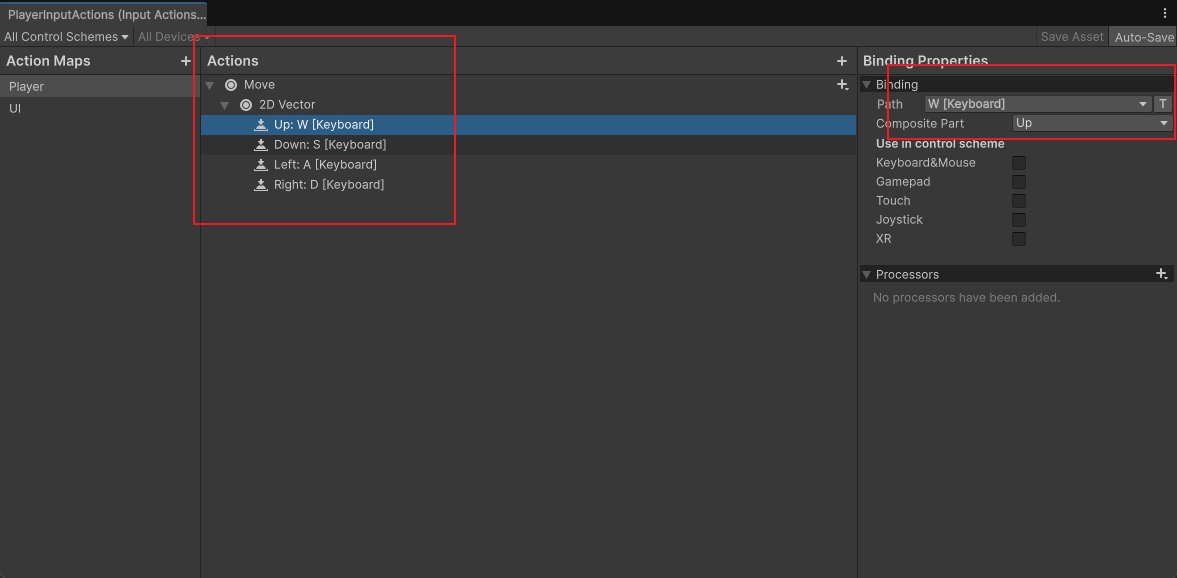
To set up the input controls, I created an Input Action file called PlayerInputActions, which defines the player’s input behaviour.
Player movement is defined as a 2D Vector input, using the keyboard keys W, A, S, and D:
W = Up
S = Down
A = Left
D = Right
Based on this Input Action file, Unity automatically generates a C# script, which allows the game code to access and read the input data.
Initialize Input System
inputActions = new PlayerInputActions();
Creates an instance of the Input System to access the input actions.
Read Movement Input
moveInput = context.ReadValue();
Reads the player’s movement input from the keyboard (WASD).
Calculate Movement Direction
Vector3 move = new Vector3(-moveInput.x, 0f, -moveInput.y);
Converts the 2D input into a 3D movement direction in world space.