One of the most technically challenging parts of the project was rigging the main character model provided by Indidana. As this was my first time fully rigging a character for use within a game project, the process took significantly longer than originally planned. Initially, I expected the rigging process to take around one to two weeks, however due to the amount of troubleshooting and experimentation required, it ultimately took closer to four weeks to complete successfully.
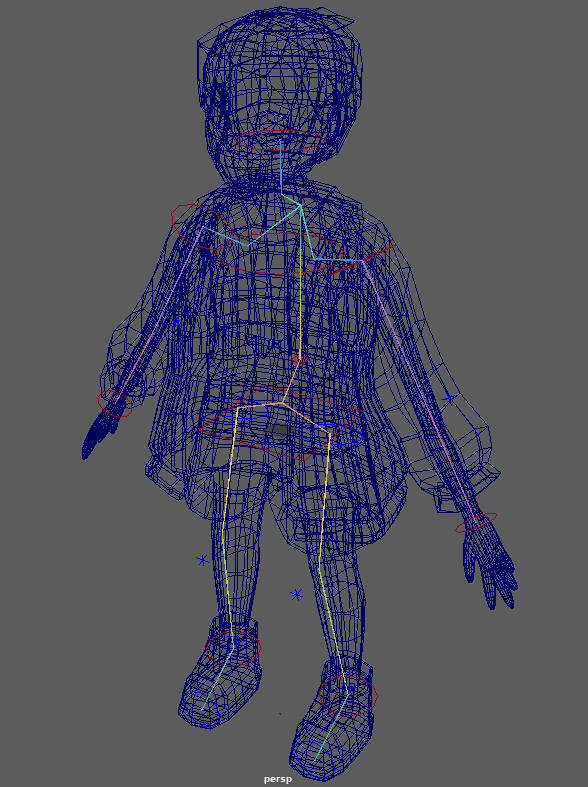
During this stage, I focused on creating a functional skeletal structure that would allow the character to move naturally and support animation within the game engine. A large amount of time was spent learning and refining techniques such as joint placement, weight painting, skin binding, and control setup. One of the biggest challenges was ensuring the mesh deformed correctly during movement, as early versions of the rig often resulted in unnatural stretching and clipping around joints.
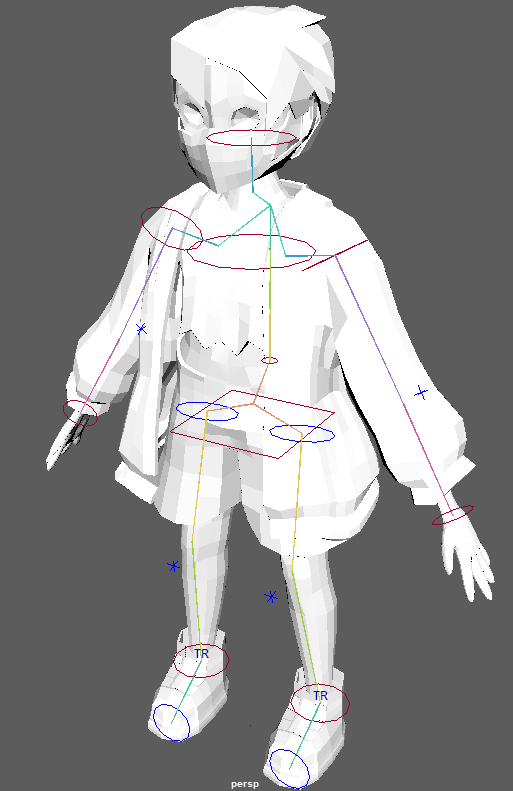
Although the process was difficult at times, it became one of the most valuable learning experiences throughout the project. Repeated testing and iteration allowed me to improve my understanding of character pipelines and develop stronger technical problem-solving skills within Maya. By the end of the process, I had produced a fully functional rig that could be successfully animated and implemented into the game.
For the character rigging process, I used a combination of professional learning resources and practical experimentation to build a functional rig suitable for animation in the game. A key part of my learning came from structured courses on LinkedIn Learning, particularly tutorials led by industry professional George Maestri. His courses provided clear, industry-standard workflows for building character rigs in Autodesk Maya, covering everything from joint placement and skeleton hierarchy to control rigs and skin weighting.
These structured lessons were especially helpful in understanding the fundamental principles behind clean rig construction. George Maestri’s approach emphasised building rigs that are both animator-friendly and technically stable, which helped me avoid common issues such as broken deformation, inconsistent joint orientation, or overly complex control systems. I followed his step-by-step breakdowns when creating the base skeleton, ensuring that joint chains were properly aligned and mirrored correctly for symmetrical body parts.
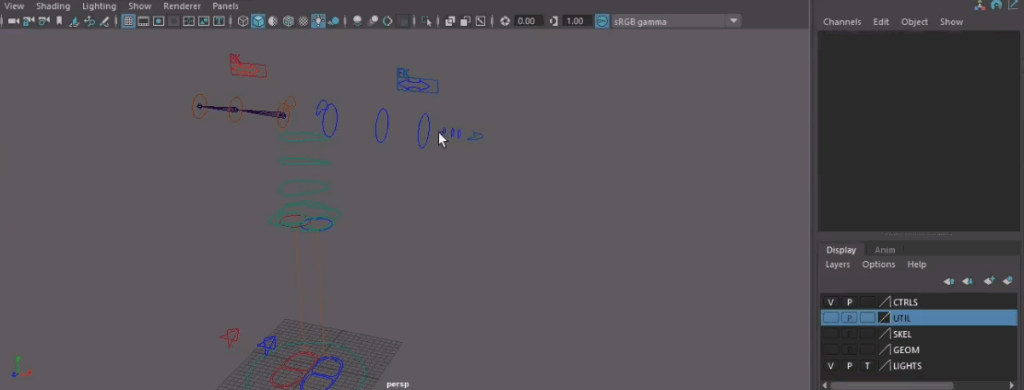
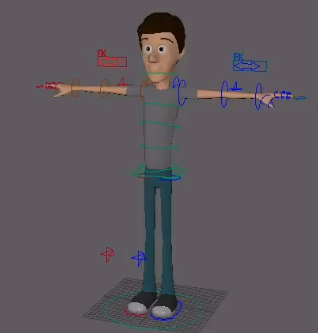
Alongside LinkedIn Learning, I also used a range of educational YouTube tutorials to reinforce and extend my understanding. These resources were particularly useful when troubleshooting specific issues that arose during production, such as skin weighting problems, control constraints, and IK/FK setup challenges. YouTube tutorials often provided more varied approaches to solving the same problem, which helped me develop a more flexible understanding of rigging rather than relying on a single method.
One of the most valuable aspects of combining these learning sources was being able to compare professional pipeline standards with more experimental or practical solutions. While LinkedIn Learning provided a strong foundation in structured, industry-ready workflows, YouTube allowed me to adapt those techniques to fit the specific needs of my project, especially given the stylised nature of the character and the time constraints I was working under.
After learning the core rigging principles, I applied them directly in Maya by building a full character rig with proper joint chains for the spine, limbs, and facial structure. I then added control curves to make the rig easier to animate and ensure that movements remained clean and predictable. Skin binding and weight painting were used to attach the mesh to the skeleton, and I continuously tested deformation throughout the process to ensure the character held up during movement.
Overall, using a combination of LinkedIn Learning courses by George Maestri and supplementary YouTube tutorials allowed me to approach rigging in a more professional and informed way. It helped me understand not just how to build a rig, but why certain structures and workflows are used in the industry, which significantly improved both the quality and reliability of my final character setup.
Leave a Reply