UE5 Niagara《巫师》特效速成课-基础课丨Niagara / 特效 / 烟雾 / 火焰_哔哩哔哩_bilibili
This week I didn’t spend a lot of time working on my personal project. I mainly spent my spare time learning how to create Niagara VFX in UE. This is the tutorial I referred to, and I completed 13 out of 20 parts of the tutorial this week. Here’s my work and notes.
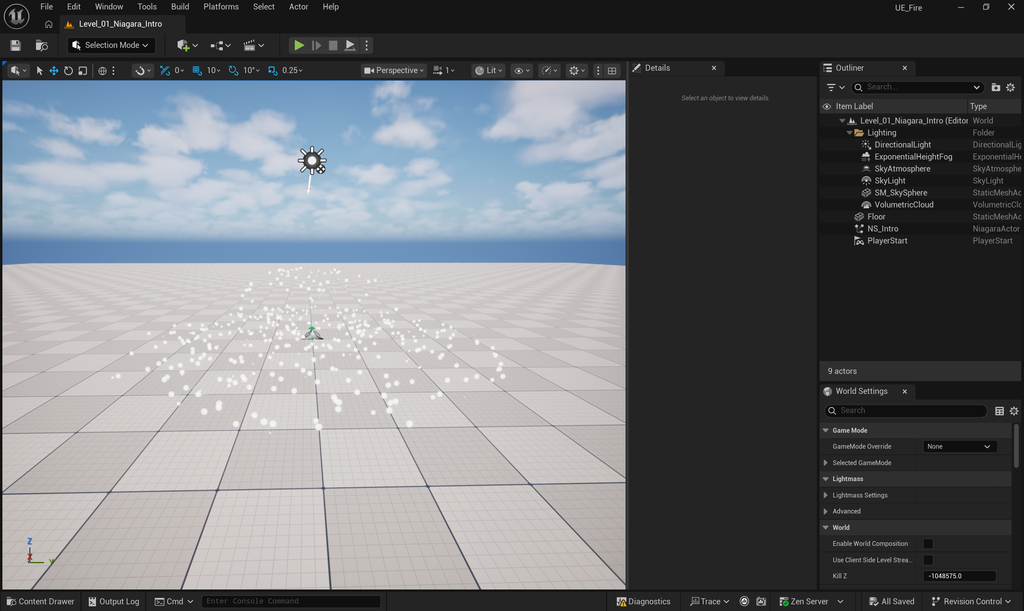
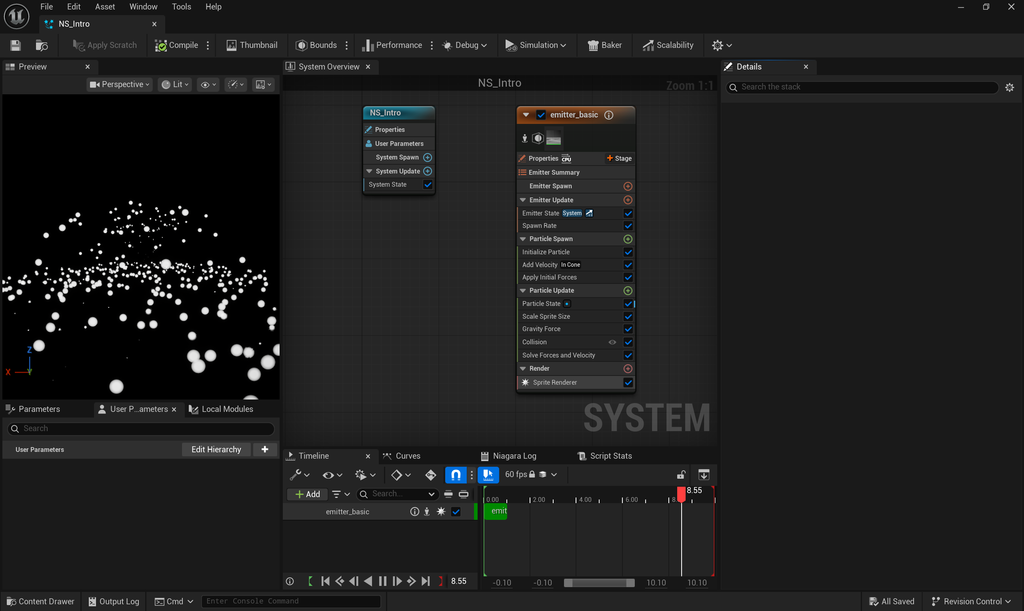
This is the scene at the beginning of this lesson, briefly explaining how to use the Niagara system and particle emitters, including how to add turbulence effects to particles and the effect of upward force.
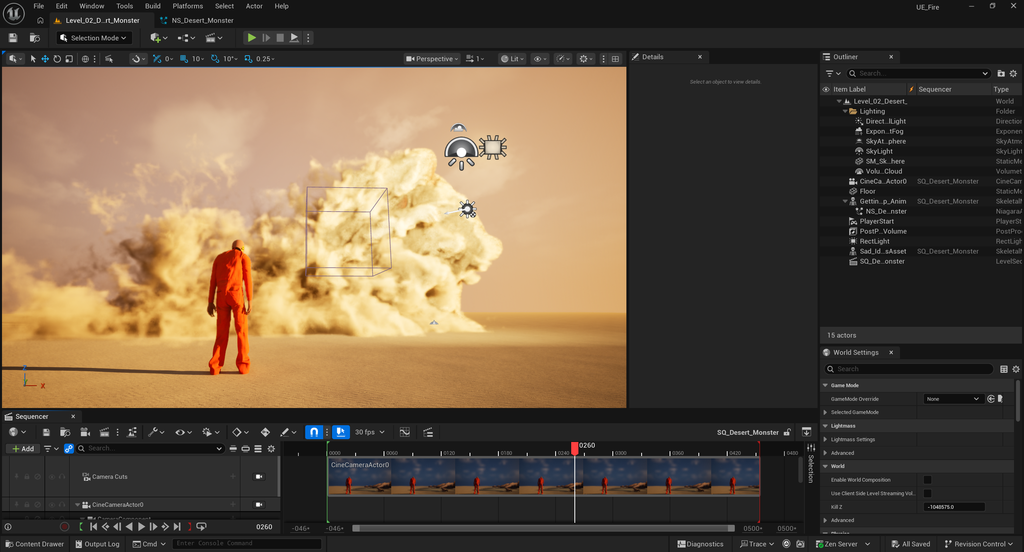
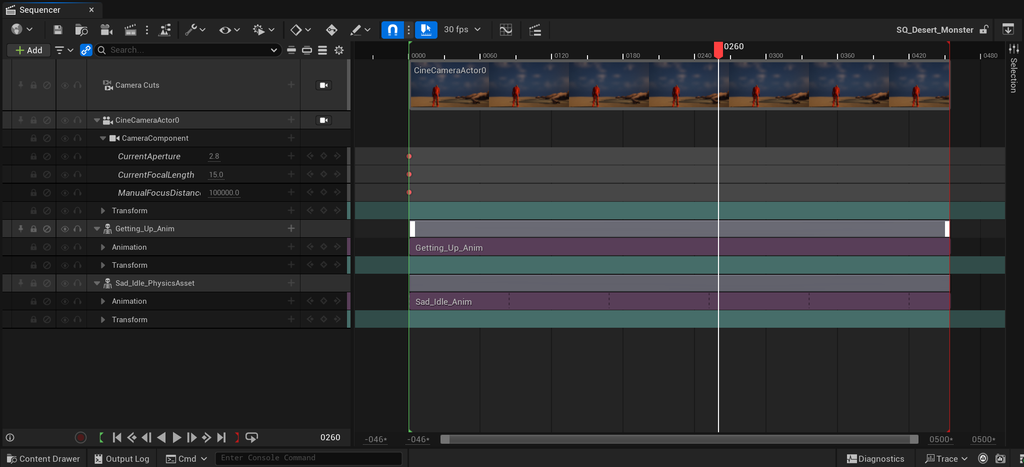
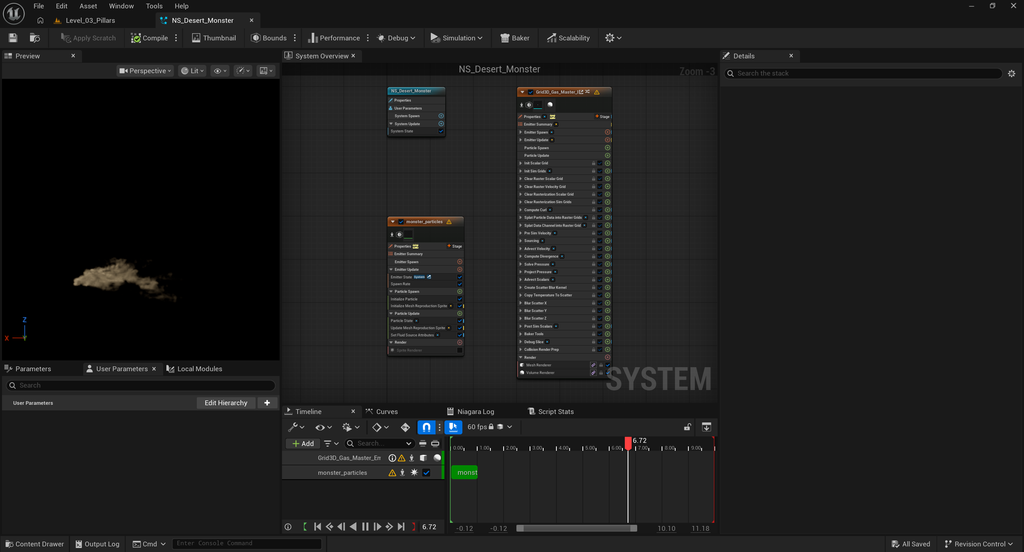
The second tutorial covers the creation of a “desert monster” scene, incorporating a timeline with special effects. The core technique involves generating a large number of emission points across an object’s surface and rendering them. From these points, sand is emitted—achieved, in this case, by tinting a smoke effect to resemble sand. Once the basic sand-emission effect is established, global turbulence and wind forces are applied, allowing the sand to be blown in the desired direction. Overall, the resulting effect is quite impressive.
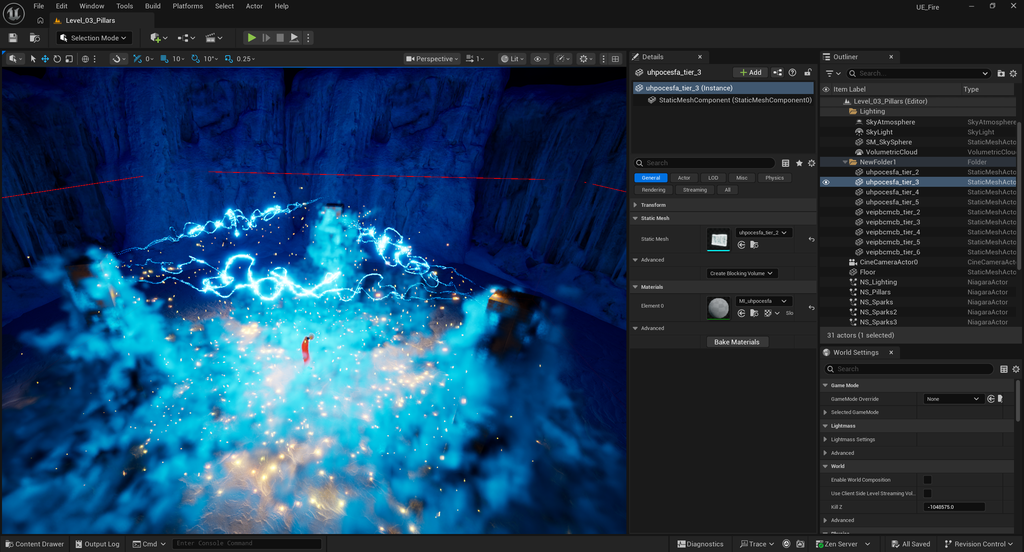
The third scene involves the creation of a magic circle, which is formed by three pillars; it’s a sequence that combines various different visual effects, and I think the result turned out quite well.
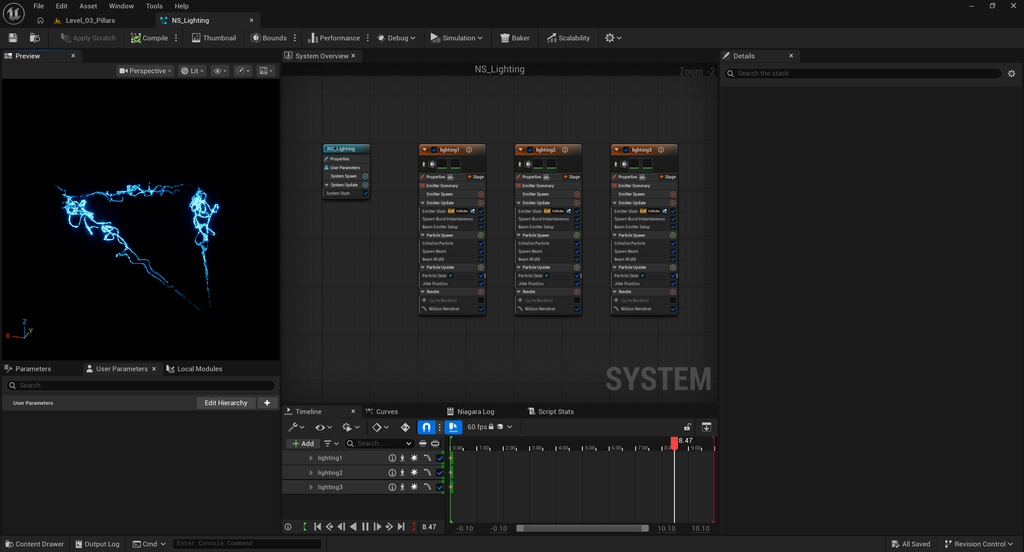
First, let’s look at the creation of the three lightning effects. Essentially, each lightning bolt is a beam formed by a series of small, consecutive light orbs generated along a straight line. To achieve the glowing effect, the color intensity (or percentage) is set to around 30%. Noise-based displacement is then applied to the beam, creating a constant, vibrating motion—most intense in the middle section, with a slightly lower amplitude of vibration toward the ends. Finally, duplicate the lightning effect twice, then adjust the start and end points for each instance so that they align with the tops of the respective pillars.
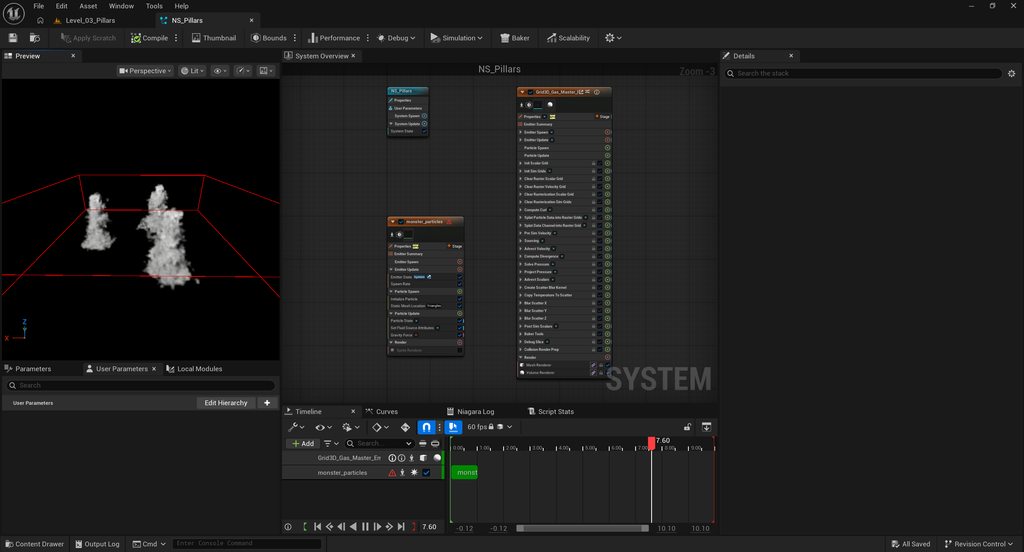
The special effect for the icy mist on this pillar is essentially the same as the one used for the desert monsters. You just need to change the object the effect is applied to, remove the wind influence, and set the mist to sink downward. Additionally, you’ll need to add collision and a gravity system to the mist; as for the color, adjusting it to blue will give it that icy, frozen feel.

Finally, there are the yellow sparks alongside the lightning. Essentially, these consist of glowing particles being continuously emitted from a line into the surrounding space—a relatively simple effect to create. Honestly, though, combining various distinct visual effects into a single scene is quite fun, and the resulting visual impact is really impressive.
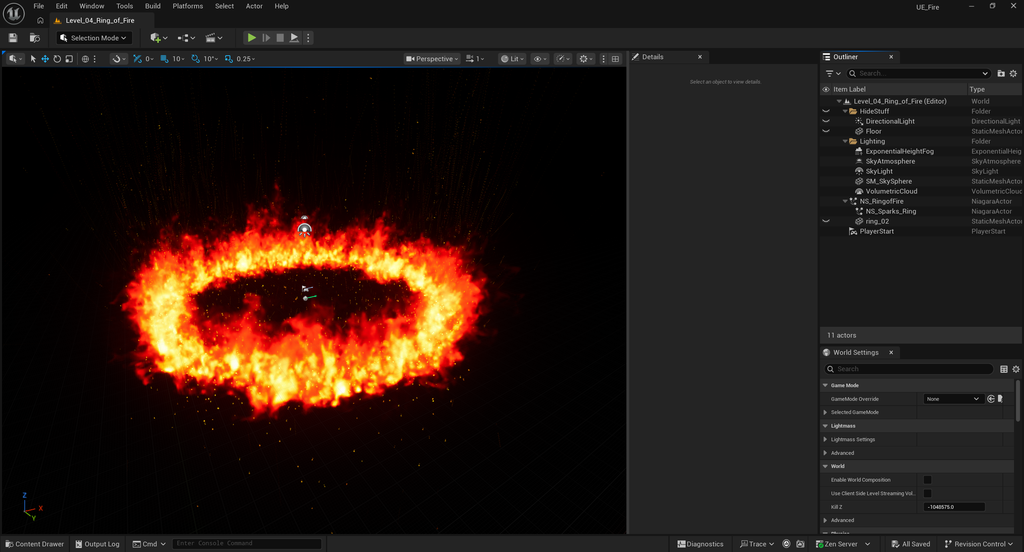
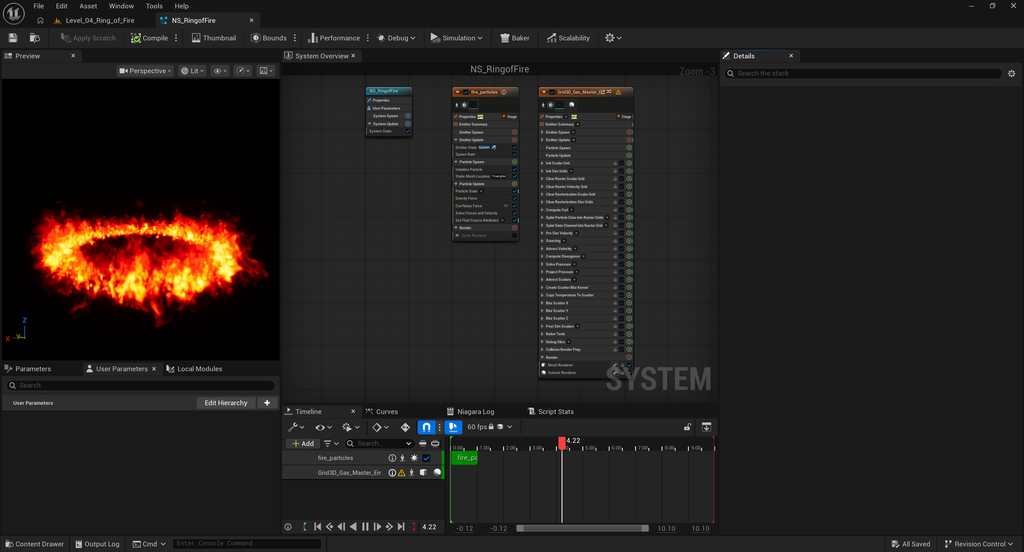
This scene focuses on the creation of a “fire ring.” The core task involves configuring the temperature system within the emitter—specifically, raising the temperature to trigger the generation of flames. The underlying logic remains largely the same: there is a physical ring-shaped model, upon which numerous small points are distributed to serve as emission sources. These points then act as the foundation for generating the flame effects. In this particular setup, I opted not to include any smoke, resulting in a “cleaner,” more focused appearance for the flames. By incorporating the spark effects from the previous scene, the final effect for this sequence was achieved.
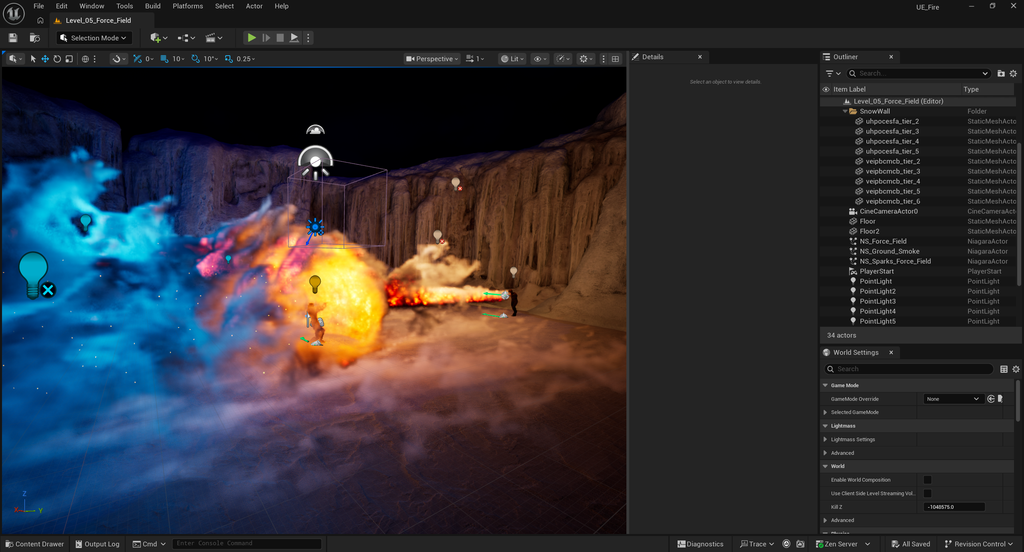
The special effect for this scene involves creating a defensive force field; I will briefly explain the basic logic behind its creation. In reality, this spherical force field—which is struck by incoming fire—is actually a transparent sphere.
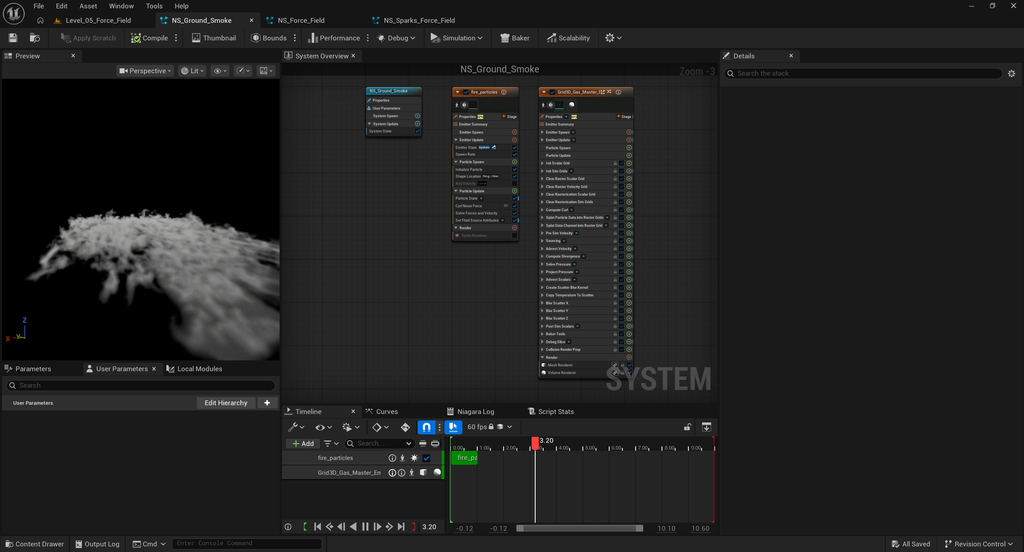
First, there is the ground-level smoke effect, which is generated by feeding data from a large, disc-shaped area into a separate fluid grid. The temperature channel is disabled, leaving primarily the density component to form the smoke. Wind and turbulence cause it to spread and roll across the ground, enhancing the atmospheric quality of the environment.
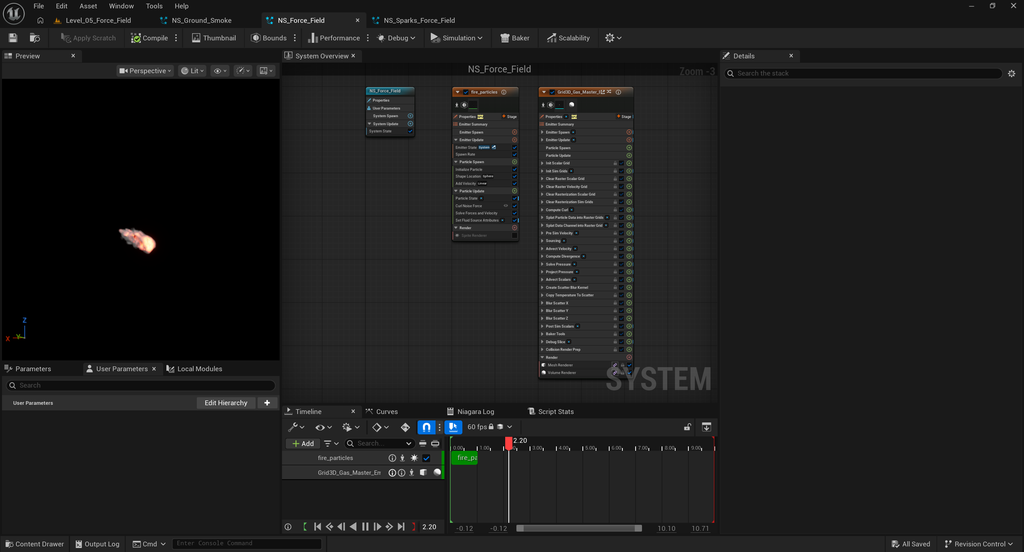
Fire-spewing visual effects: First, “source particles” are generated and propelled forward, continuously injecting density, temperature, and velocity into a 3D grid (Grid3D). The grid then calculates the flow, buoyancy, and turbulence, which are ultimately rendered as volumetric fire and smoke. In short: the particles provide the raw input, while the Grid3D transforms that input into flowing fire.
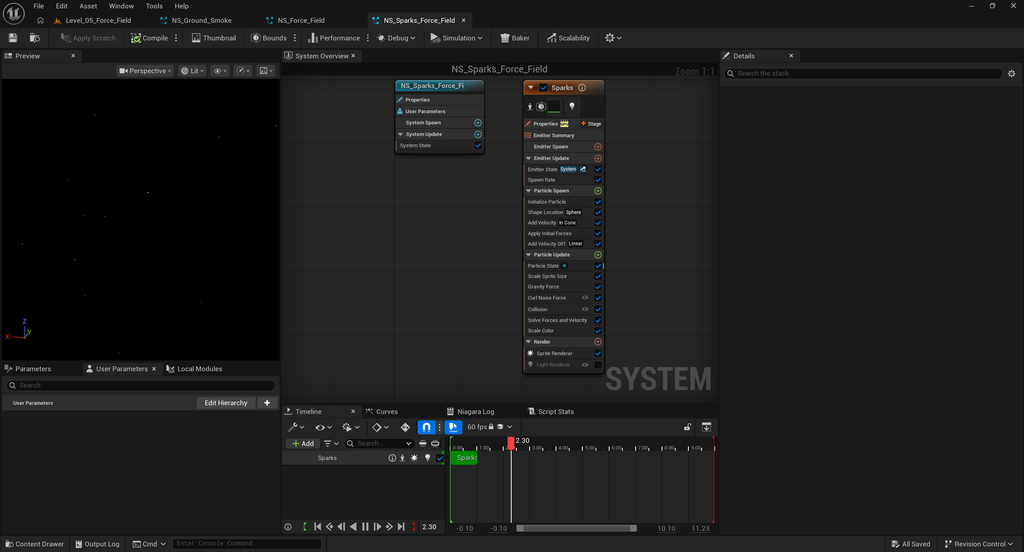
Finally, there is the creation of sparks on the spherical shell. Essentially, this involves generating a large number of small particles on the shell’s surface, setting them in motion, and then altering their trajectories using gravity, noise, and collisions. This effect is designed to convey the scattering and energy released upon impact—a standard particle effect.
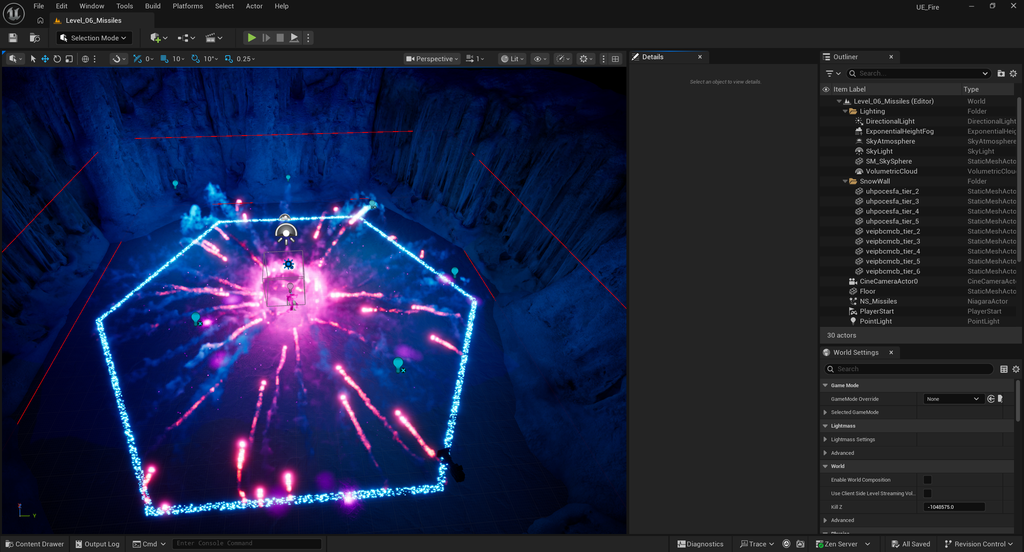
The final special effect created this week is relatively large and complex. It begins with a hexagonal magical field: a large number of glowing blue particles are generated along the edges of the hexagon to form a magic circle on the ground, indicating the area of effect for an attack.
Next are the sparks that scatter toward the center. The underlying principle is that the generated particles are first assigned a random upward velocity, and are then pulled toward a central target via a “spring force.” The initial velocity propels them outward and upward, while the attractive force curves their trajectories back, creating the impression of particles converging from all sides toward the center; meanwhile, drag governs the pace of their movement.
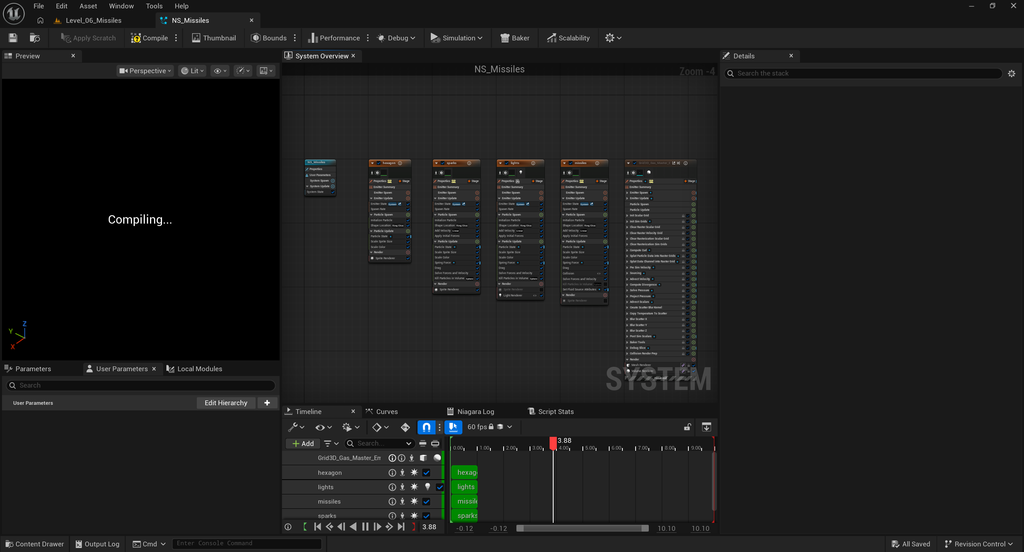
After replicating the Mars-themed visual effects, you can create effects for “magic missiles”—though some adjustments will be required. The flight trajectory is determined by initial velocity, spring forces, and drag. Furthermore, these projectiles feed their position, velocity, density, and temperature data into the fluid grid, effectively acting as “moving emitters” that leave a trail of smoke and fire in their wake.
Missile trails: By drawing from the missile’s emission source, the flow, the rolling motion, and the dissipation of smoke and fire are calculated within a 3D grid. As the missile moves forward, the smoke released previously remains behind, creating a trailing effect. Temperature primarily influences the luminosity and upward buoyancy of the flames, while density is the main factor in the formation of the smoke.
Finally, there is dynamic lighting: particles equipped with light renderers illuminate the ground and the surrounding environment, creating lighting shifts during an attack. This system handles the actual illumination of the scene, while the intrinsic emissive color of the particles themselves ensures they appear to glow.
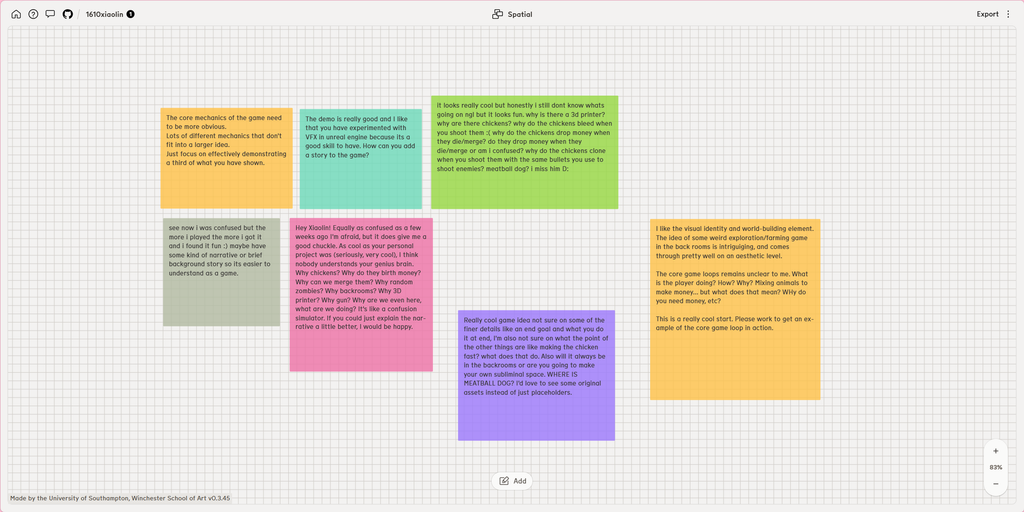
This Friday, I presented the latest progress on my game prototype and explained its core concepts. However, because I spent too much time this week learning about special effects, I didn’t make much headway on the actual gameplay. As a result, the prototype’s playability isn’t quite where it should be, and there are several issues that will need to be addressed later. I plan to spend the weekend refining the existing content and adding new elements to the game.
Leave a Reply