
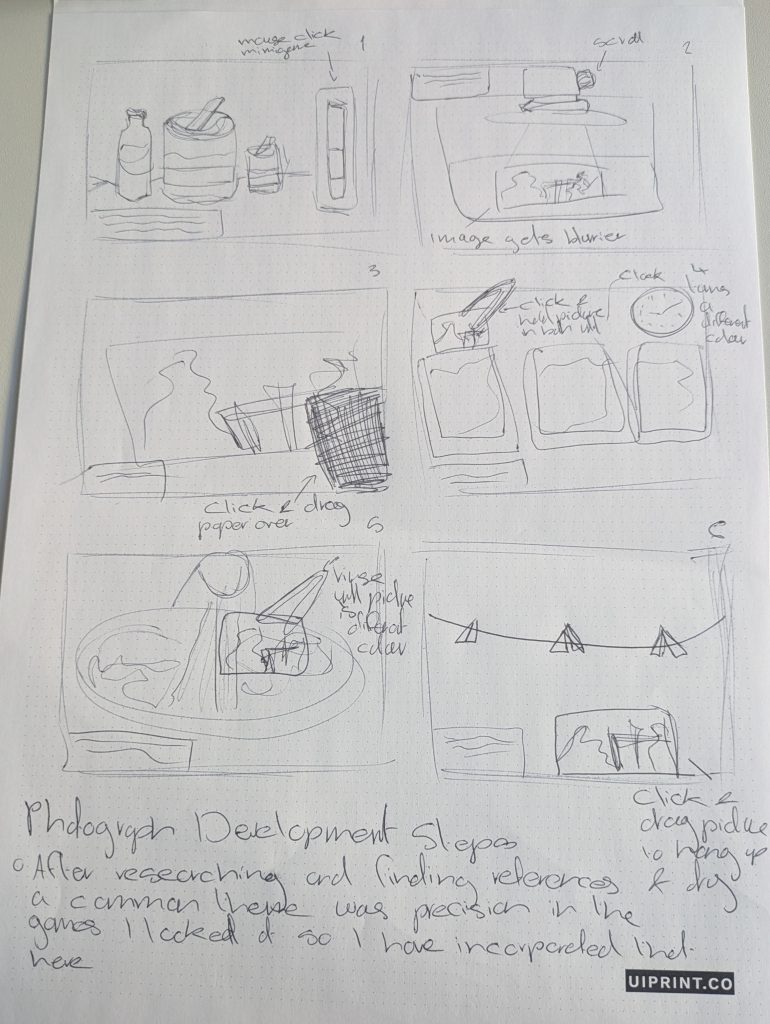
After my research into developing photographs and how to gamify that process, I have created a step by step of the process.
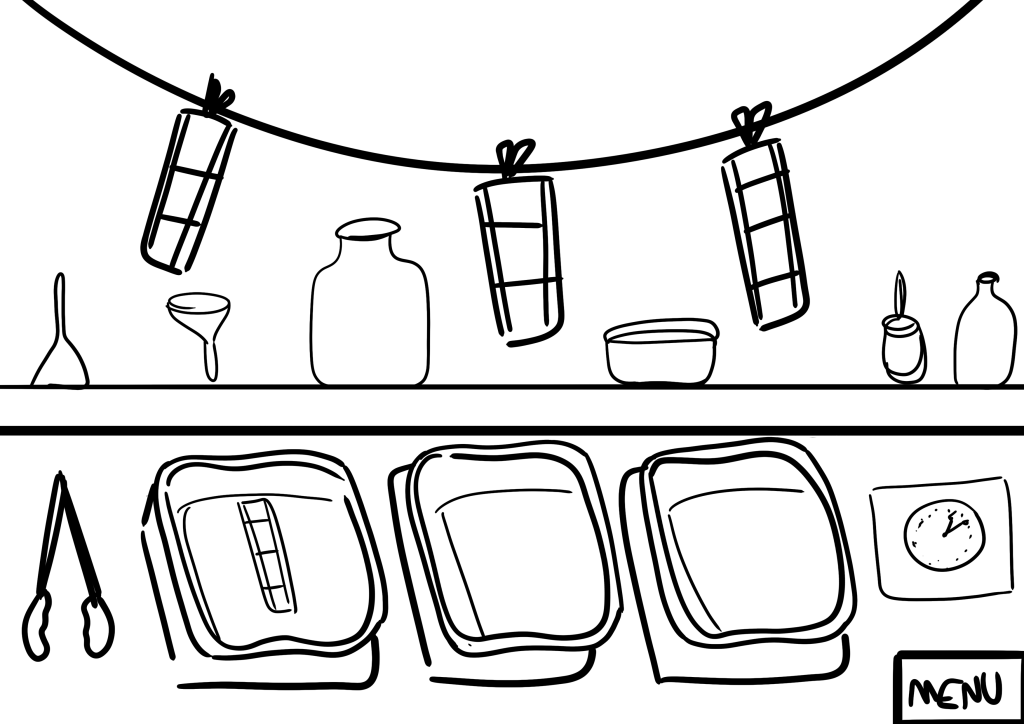
This is my quick pen to paper mock up and the digital one I created in week 11 for the presentation/ With these I was playing around with mechanics and figuring out what works.
There will be three photographs to develop, the first one will be a guided tutorial with text appearing from the grandmother in text boxes. For the second and third this box will be gone so players must remember what to do.
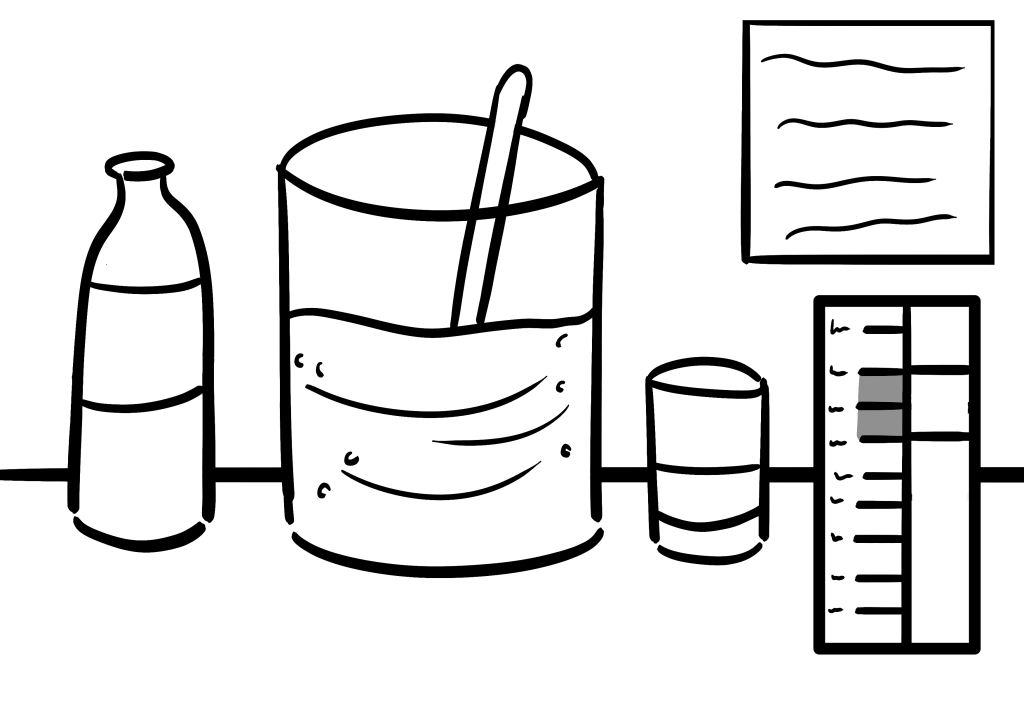
The first step in the developing process is to mix the chemicals. In the game this is a mouse clicking minigame where the player must hold the bar between the highlighted notches. Similar to the Stardew Valley fishing game – not clicking makes the bar fall and clicking makes it rise.
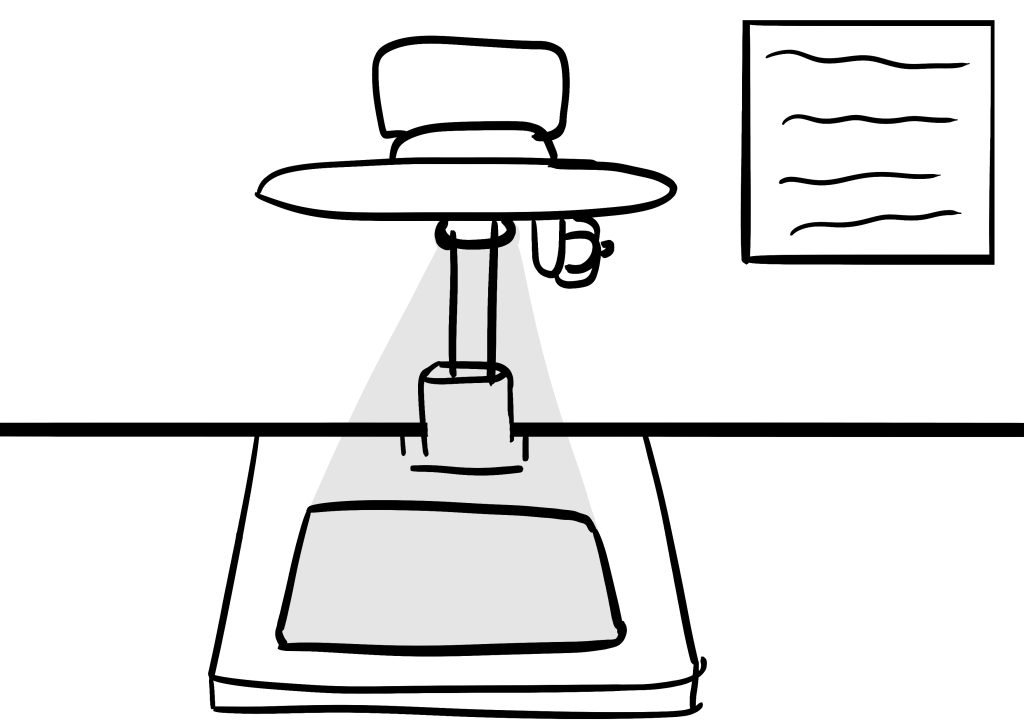
The next step is to focus the projection of the image. This will show up onto the projected area in grey and scrolling the mouse wheel will focus and unfocus it the player must find the right spot.
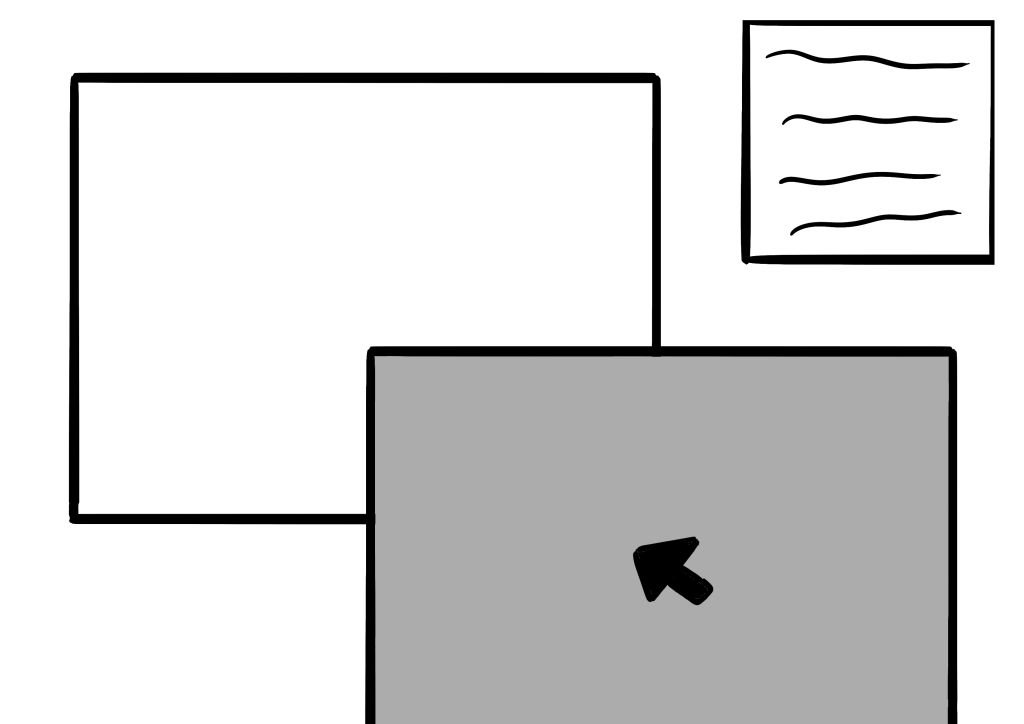
The third step is to click and drag the photograph paper over the projected image ensuring it lines up correctly.
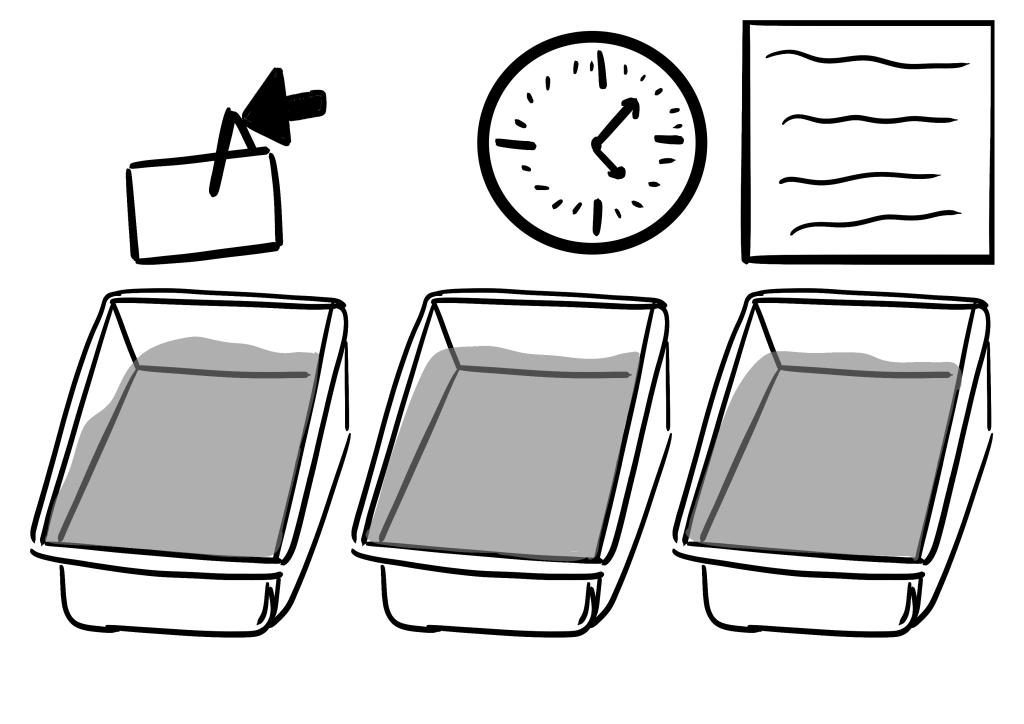
The fourth step is to use the tongs to click and hold the photograph into each individual bath. Players will be guided by the clock at the top once the photo has been in the bath for the correct amount of time it will change colour. Players will not know how long this will take so must be alert and ready to move the photo.
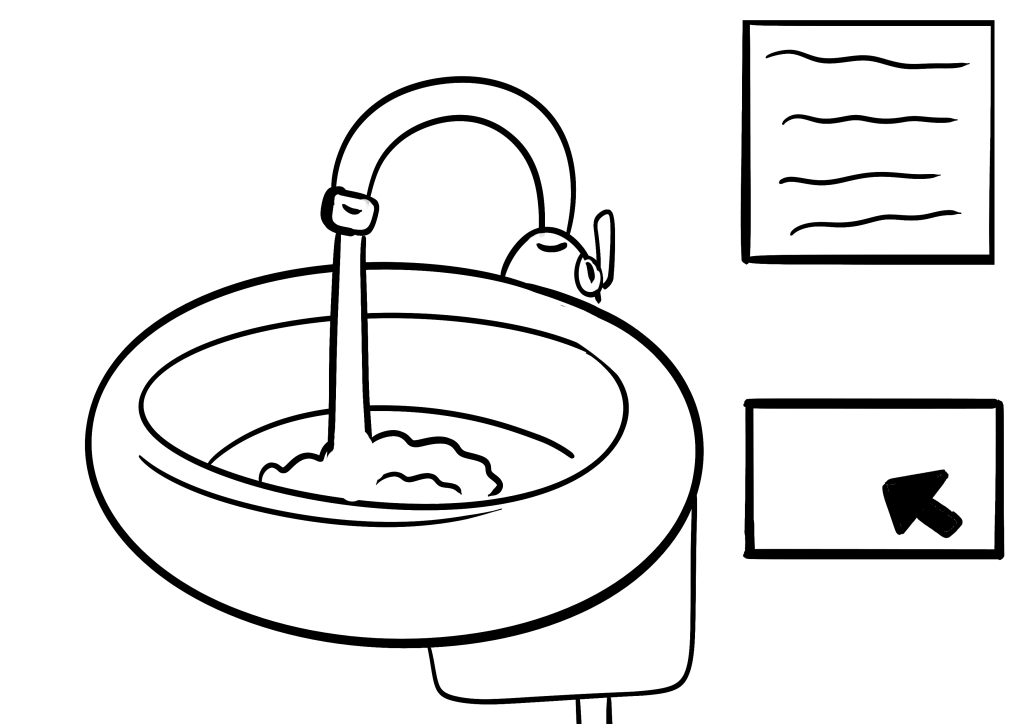
The fifth step is to clean the solution off of the photo by holding it under the water until the visible solution is gone.
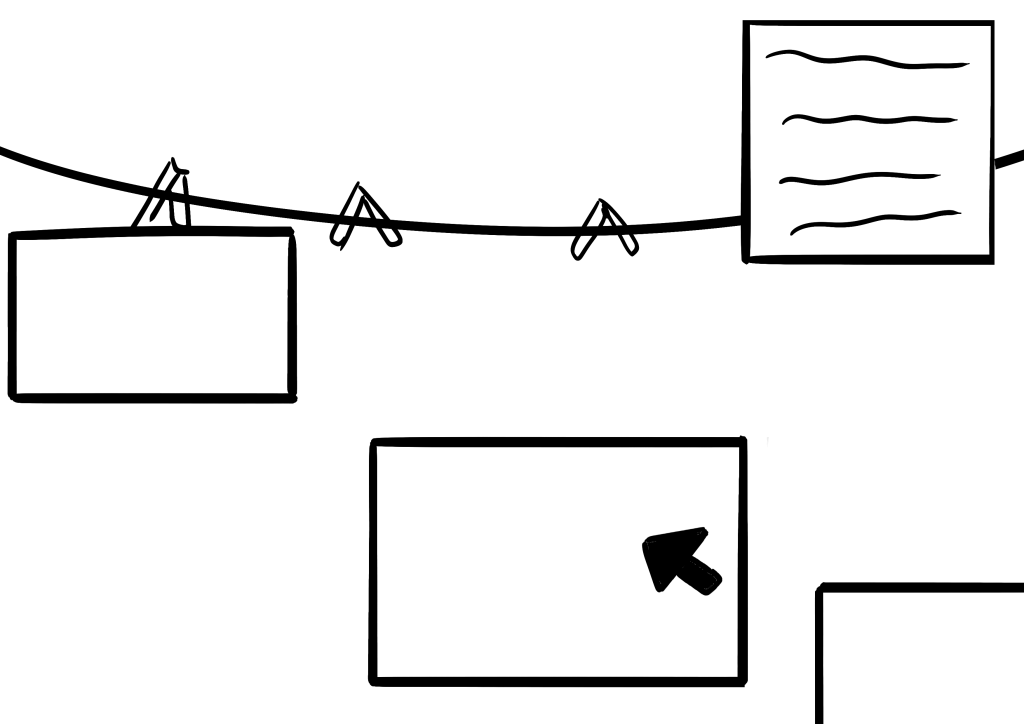
The final step is to click and drag each photo onto the awaiting pegs so that they can dry.
Leave a Reply