
To accompany my GDD I decided to make a proof of concept protoype of my game. This will be a simple point-and-click level, showcasing the artstyle and aesthetic.
To help me make the prototype I watched and took information from both of these videos as well as the AC site.
- https://www.youtube.com/watch?v=h1-OYMrDuxk&list=WL&index=1
- https://www.youtube.com/watch?v=JM0O7UW9D34
- https://adventurecreator.org/tutorials
After my research I decided to use Adventure Creator to make the prototype. I began by installing it into Unity and creating a new game wizard. Here you create the interface for the game and how the player will interact with it.

These are what I chose, keeping everything close to old 2D point-and-click games. Thye interactions are handled by a menu that lets the player choose what to do.
After Adventure Creator set the scene up I imported my assets and the environment.
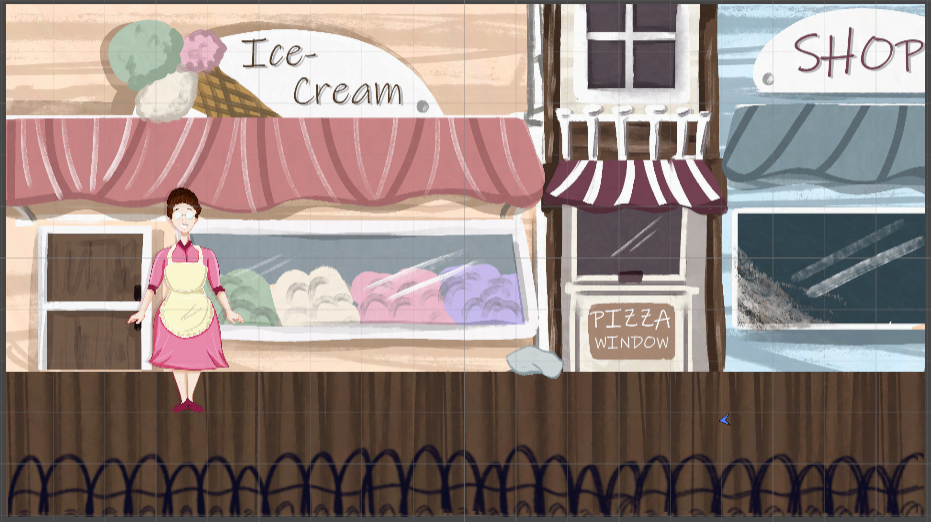
I decided to use the shops scene and the ice-cream vendor for the prototype as it most closely aligns with my nostalgia that I’ve put into the game.
Inventory and Interactions
Before I started with my player character I focused on ensuring the scene and puzzle worked first. To do this I added cloth and dirt assets into the scene hierarchy putting them on a seperate layer.
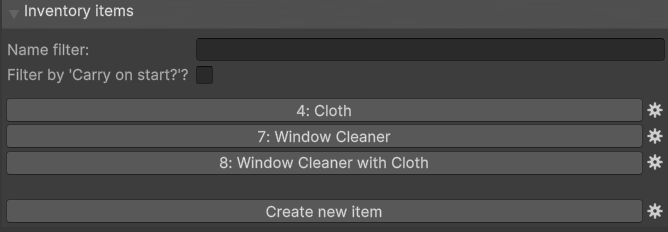
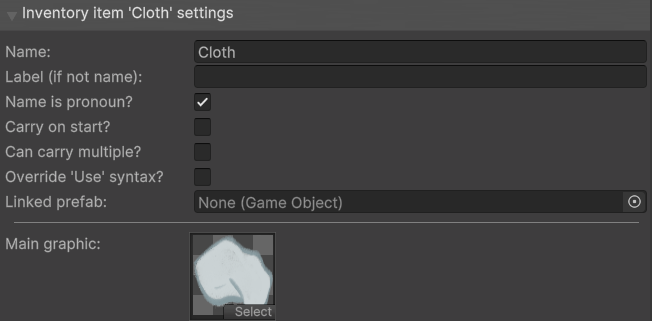
Using AC’s menus I added three inventory items for the simple puzzle, which is to acquire a cloth and cleaning solution to clean a window and find a piece of your camera.
For each item I assigned a the cloth and dirt game objects in the scene I made these in Photoshop.
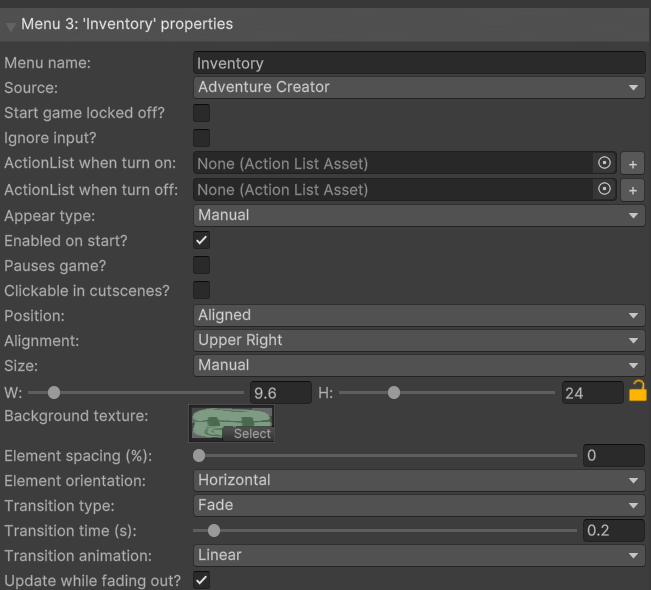
To make the inventory look how I imagined I made a sprite in Photoshop then in AC’s inventory menu I simply changed what sprite was in the background texture box.
I also changed the alignment to be in the upper right and manually changed the size of it.
This is what it looked like afterwards. Not exactly how I envisioned but it communciates what I want for a proof of concept.
Hotspots
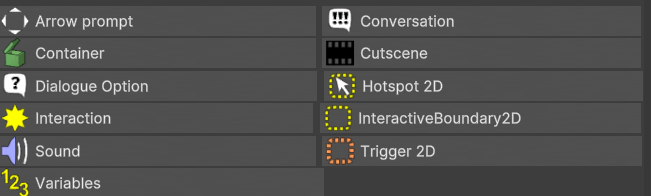
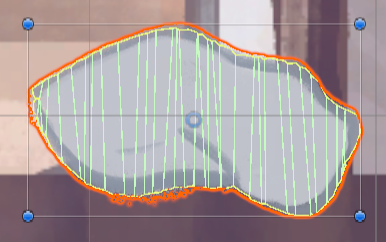
To make the Hotspots, the interactable parts of the scene, I used AC’s scene menu and clicked hotspot 2D whilst the cloth asset was selected.
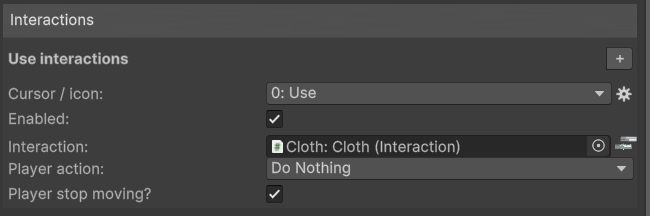
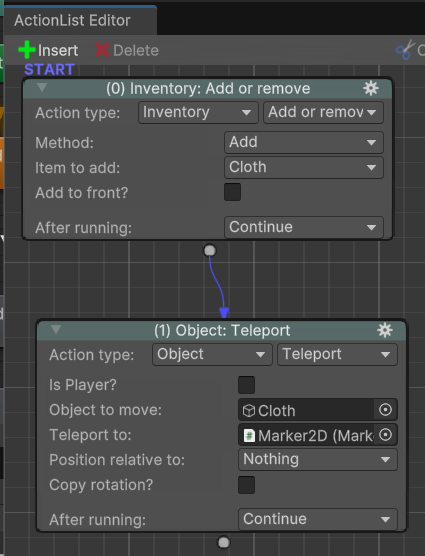
This made it a hotspot automatically adding a collider onto the shape. I then added a use interaction onto the object in the inspector. This took me to the Action List Editor where I made a simple set actions that happen when the player clicks and picks the cloth up.
It adds the item to the inventory and makes the cloth object “disappear” by teleporting it to a 2D marker off screen.
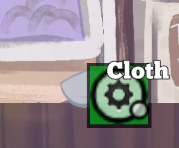
What it looks like onscreen when picking the cloth up. The text and menu icon were created by Adventure Creator.
The end goal of the scene is to clean the dirt off the window so I wanted the player to be able to interact with the dirt and understand the goal, then once they have found the items be able to return to the window and finish the protoype.
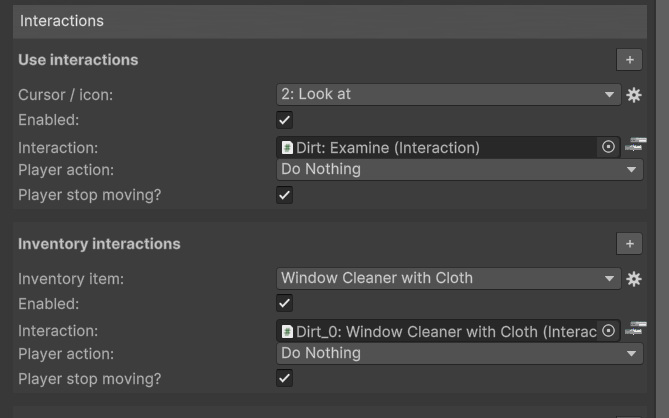
So there are two interactions on the dirt, one, a look at interaction where the player simply observes and then an inventory interaction that lets the player use their items to interact.
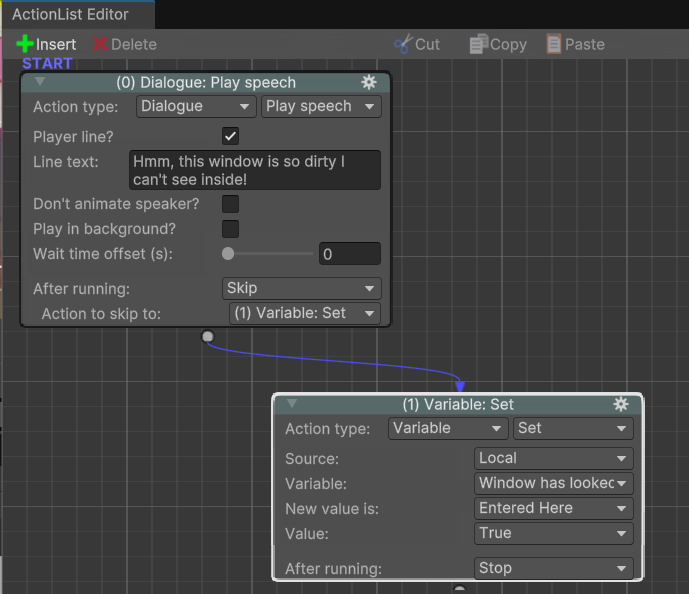
In the action list for the first interaction I made a dialogue action of Mabel expressing her frustration. Then from this action I added a variable that makes it so that the game can keep track of if the player has looked at the window, this is important as if the player has not when speaking to Jackie she will not offer to give them the cleaning solution.
For the actual cleaning interaction AC’s inventory system lets the player drag and drop to combine the items making the new item, which only needs to be dropped on top of the dirt triggering this action list.
I first made a teleport action to get rid of the dirt asset, using the same 2D marker as before.
I then used an inventory action to remove the combined window cleaner item.
Then a dialogue action from the player acknowledging the result.

NPC
I then made a new character wizard for the NPC – Jackie. This configured her and allowed me to use her in the interactions as she gives the player one of the three items. Configuring her made an NPC game object and held the sprite asset and allowed me to add interactions to her by making them children of the NPC game object.
In the hierarchy in the NPC folder I clicked and went to the AC section and made a new conversation.
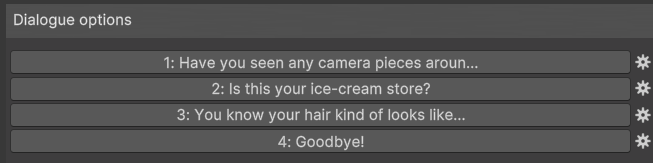
In this objects inspector I created four dialogue options.
I then added a use interaction to the NPC game object. In this one’s action list editor I made a new action – Dialogue Play Speech, which means when you click on her she automatically says this line of dialogue.
From there I made a start conversation action, dragging and dropping the conversation I made previously. From this action I could now create branches of dialogues and loops, even variables too.
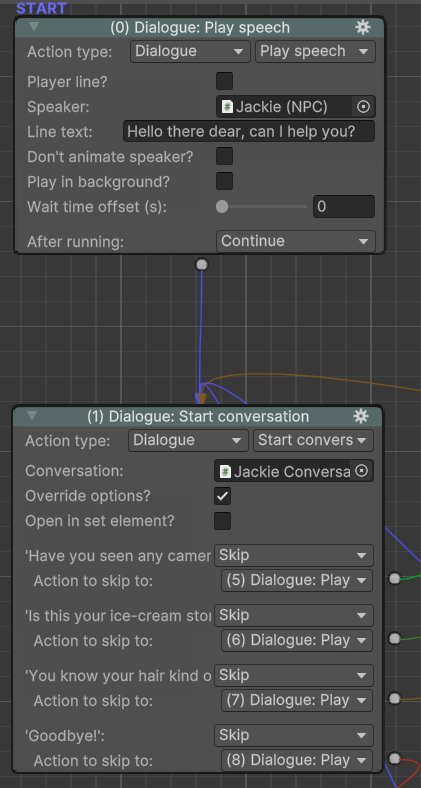
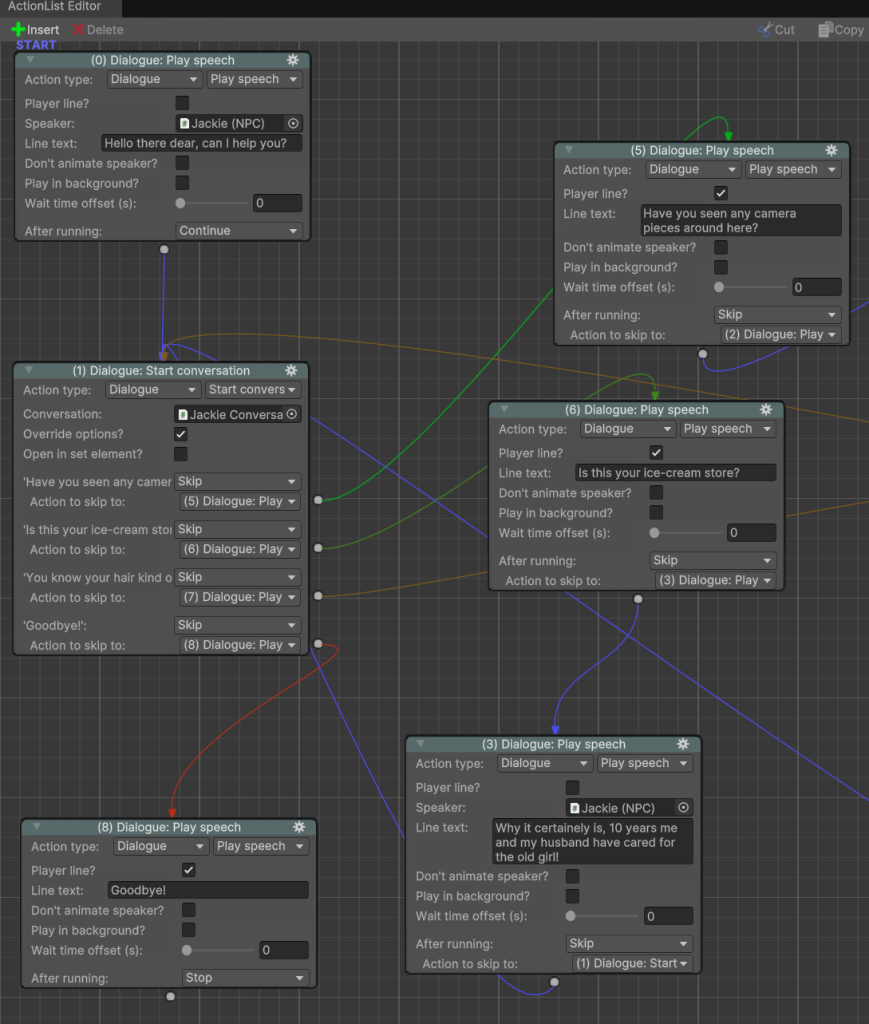
Left side of action list
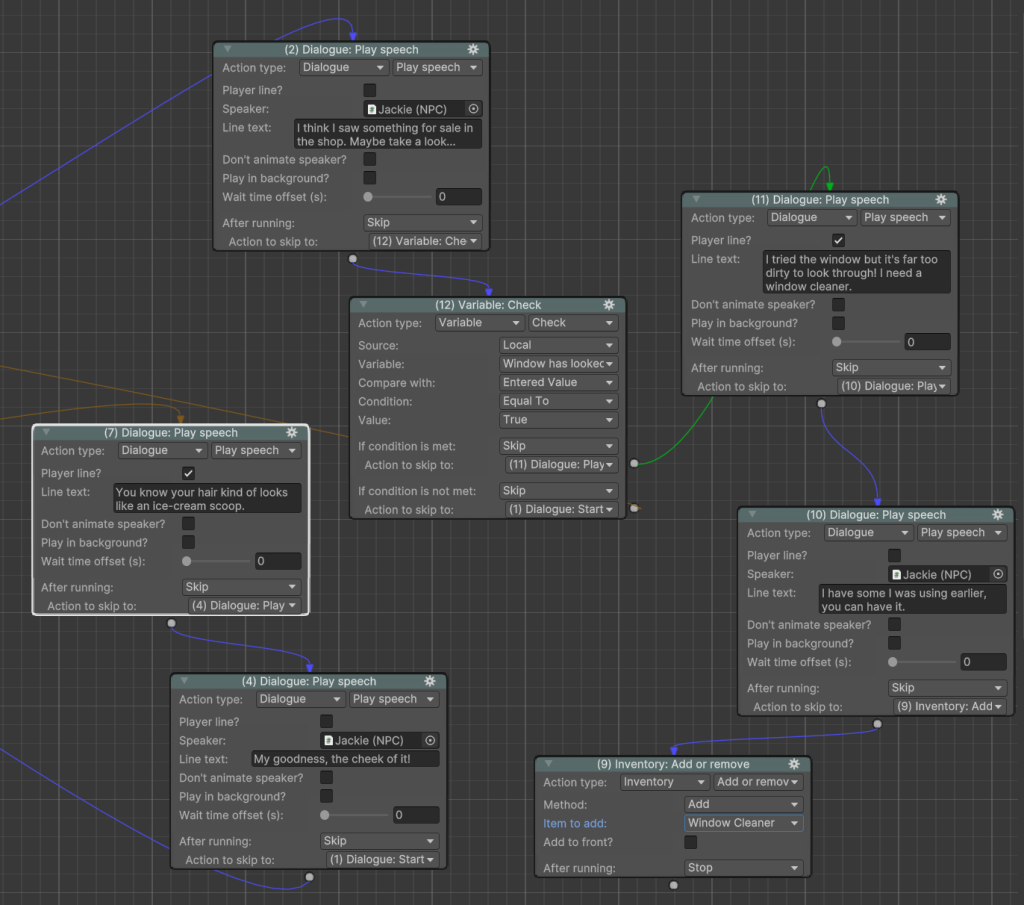
Right side of action list
This is the final action list, it simply contains the dialogue options that the player can respond to Jackie with and the variable action that triggers Jackie to either give the player a clue or to give her the cleaning solution.
Player Character
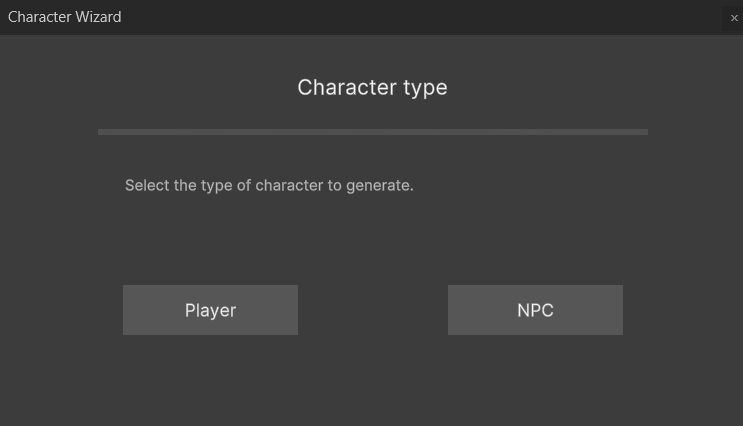
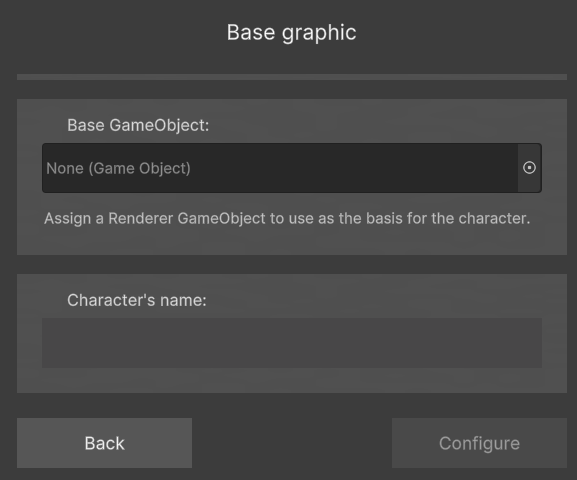
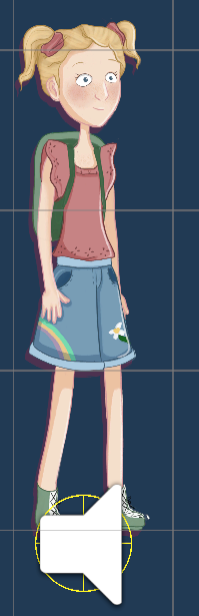
To make the player character, Mabel, I used the Character Wizard assigning the PNG asset and naming her. Once configured it adds the character to the scene with an audio source and animator attatched.
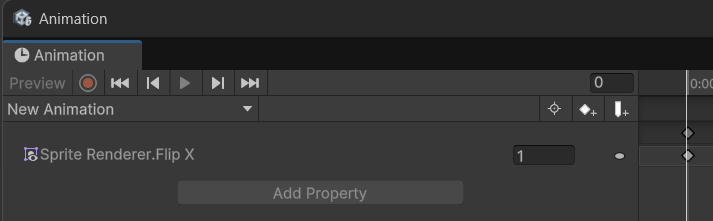
I then made her a prefab in the project and got to work animating her. I wanted this to be simple as it is only a proof of concept so I focused on making her flip which way she is facing depending on where the player clicks.
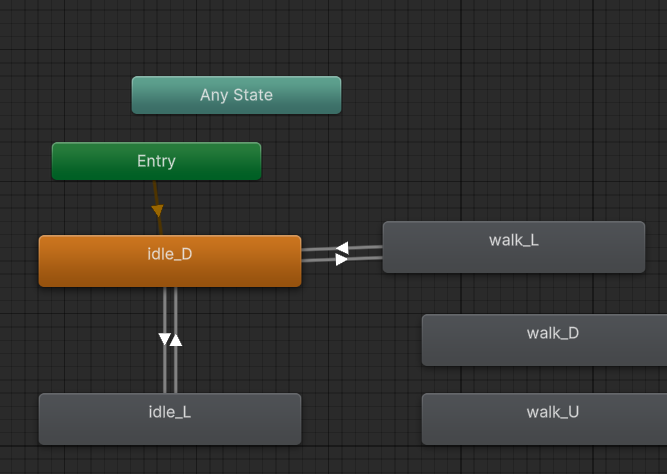
To do this I made a new animation and put the flipped image of her into it and saved. In the animator controller I then put this animation of her flipped to the left into the walk left animation state and idle left animation state.
The idle down is her nomral resting position flipped to the right to let these all link I dragged arrows to and from each state.
Finishing Touches
To create the visual style I want in the game I overlayed a low opacitylens flare image used I used in the concept art for the game but I put the characters on a seperate layer to help them stand out in the scene. I really like how this looks overall and I think it accomplished my goal.

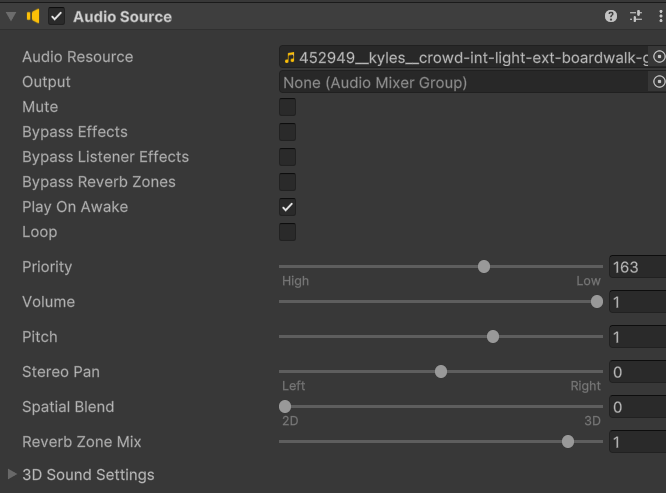
To create some ambience in the prototype I created an empty game object in the scene and attatched an audio source element to it, importing a free boardwalk “walla” audio file
To end the prototype I made a new scene and put my art for the funfair environment into it. I then created a square game object and added some text.
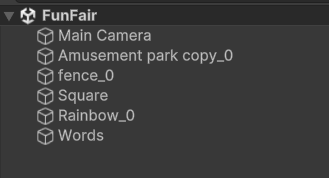
The scenes hierarchy
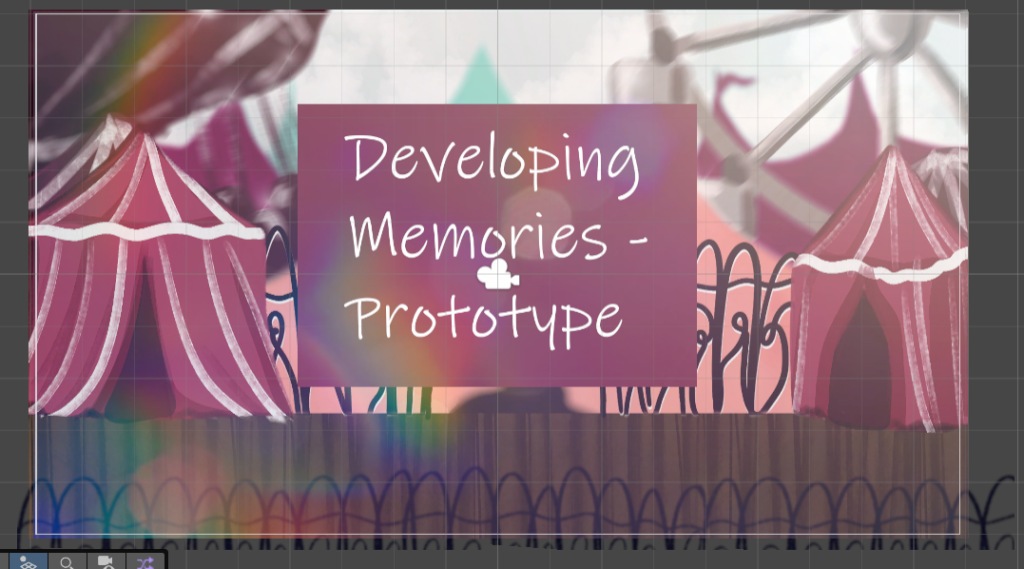
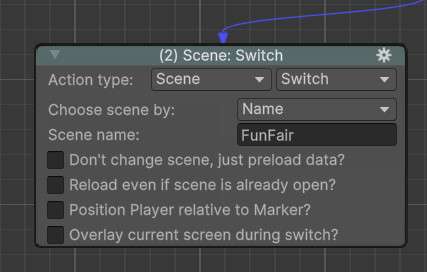
To access the scene I added a scene switch action onto the final interaction on the dirt, so that after the player exclaims taht they can see through the window the scene changes.
To build the game I went to the build profiles and selected the web option, made sure it was to my specifications then just clicked build and selected the folder I wanted the game to go to.

Itch.io Page
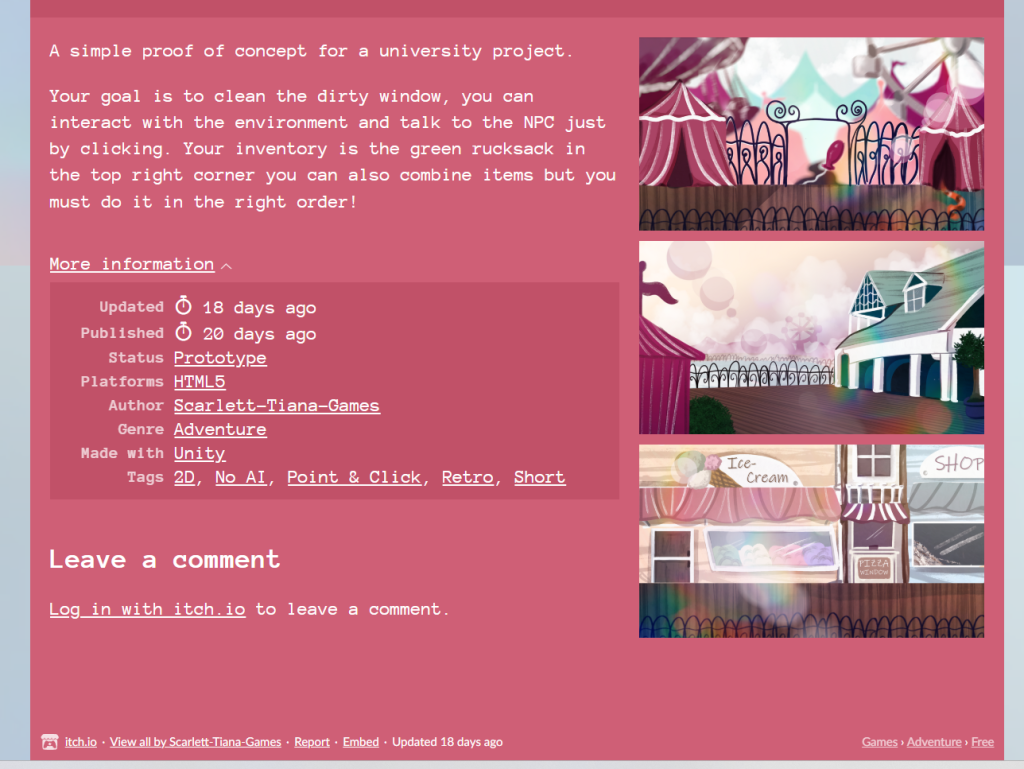
After the game was finished building and exporting I unzipped the folder and added it to Itch.io as a HTML game to be played in the browser.
I decorated the page with the games main colours and added some screenshots to make it feel busy and exciting. I also added the poster I made for the presentationto the top of the site.
Leave a Reply