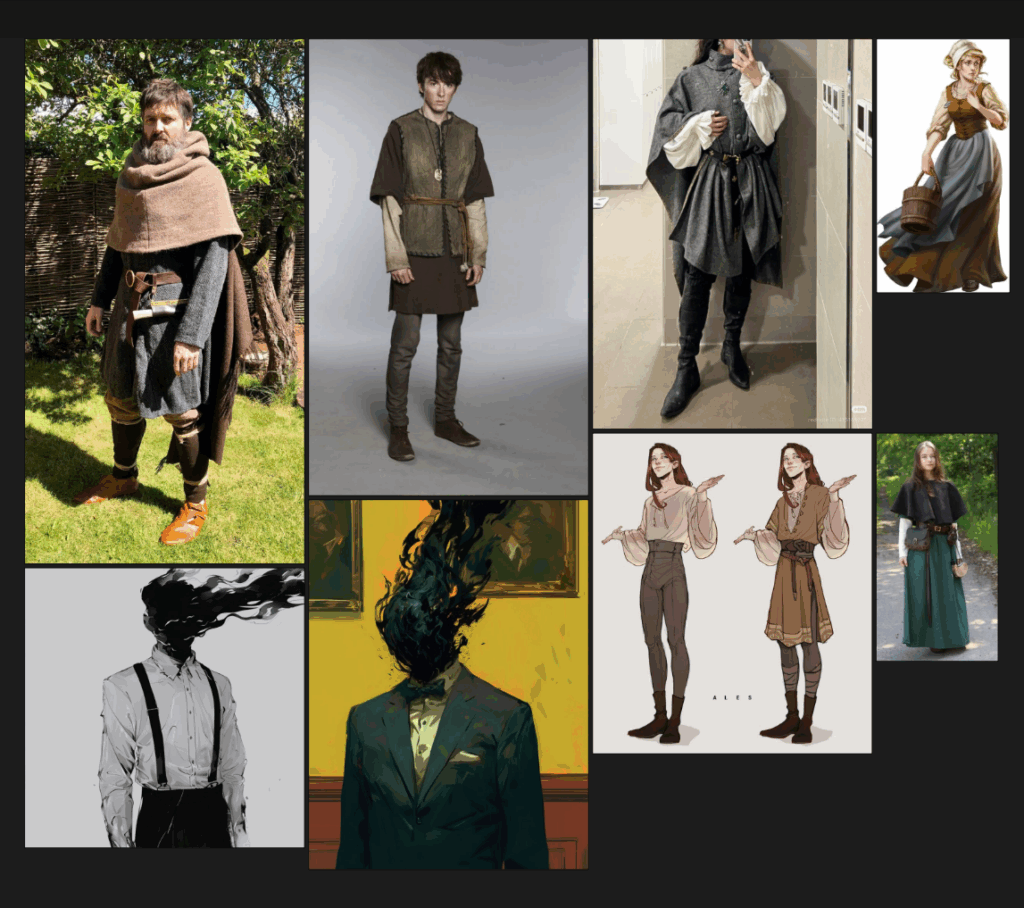
I hadn’t ever really touched pixel art aside from Minecraft skins, but for this GGJ, our team of 4 decided on a pixel art looking theme as we had less than 3 days and I took the role of Character Artist / Designer.
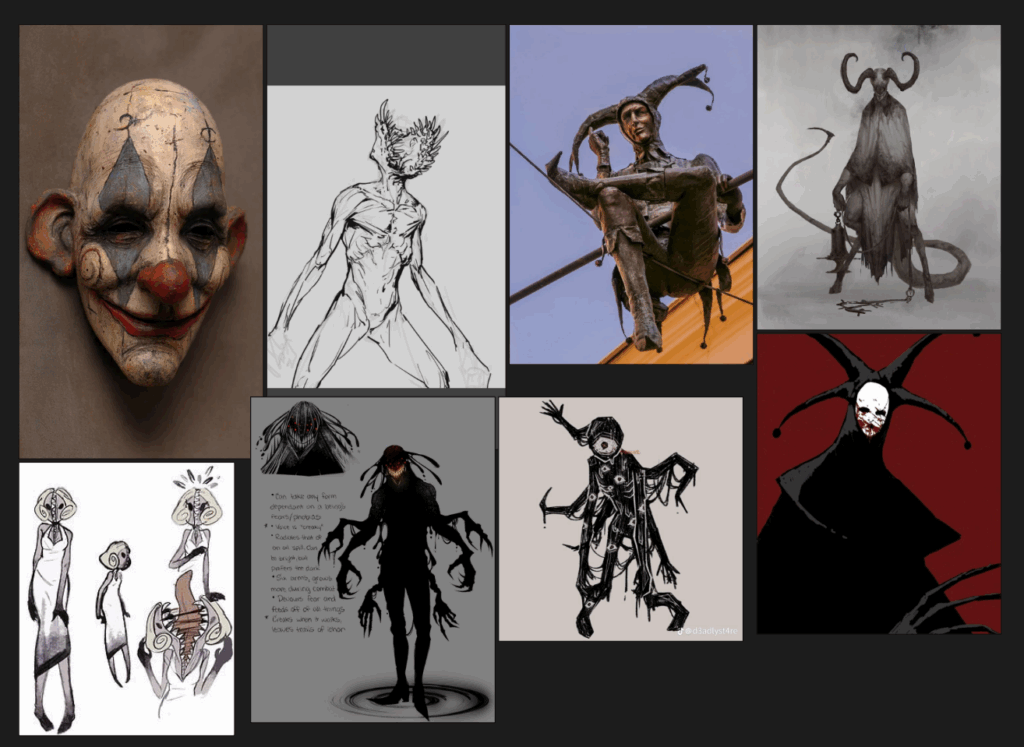
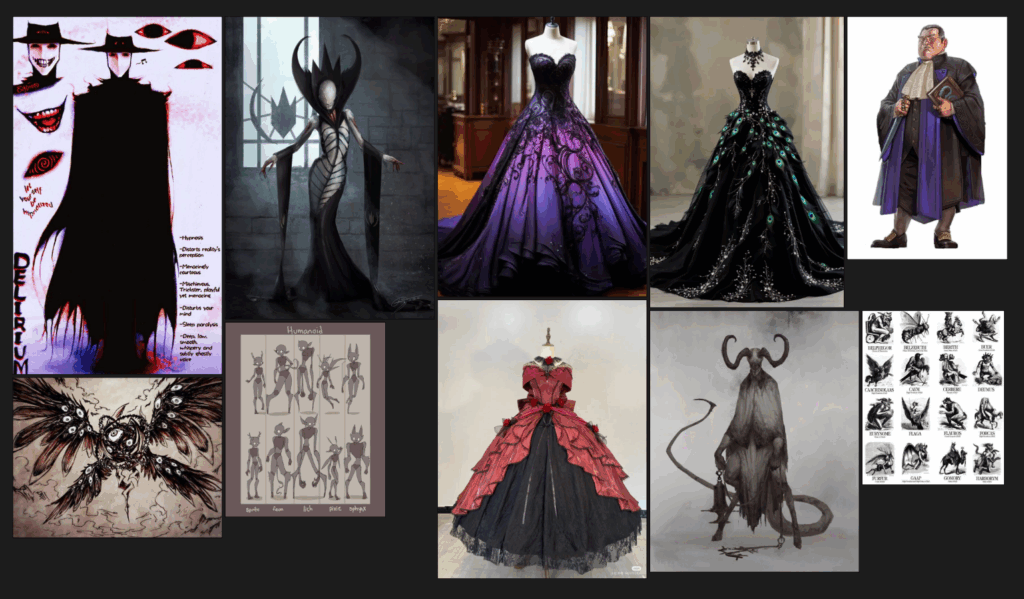
The GGJ theme was masks and we decided to base our platforming game around infiltrating a demon masquerade with a medieval gothic theme.
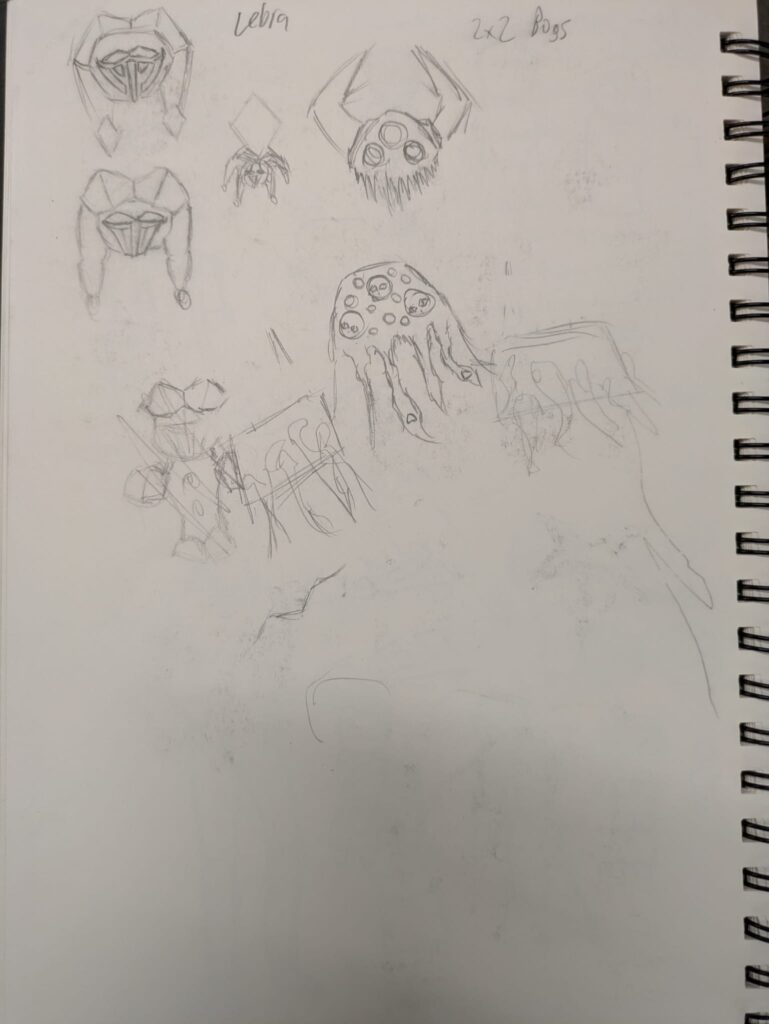
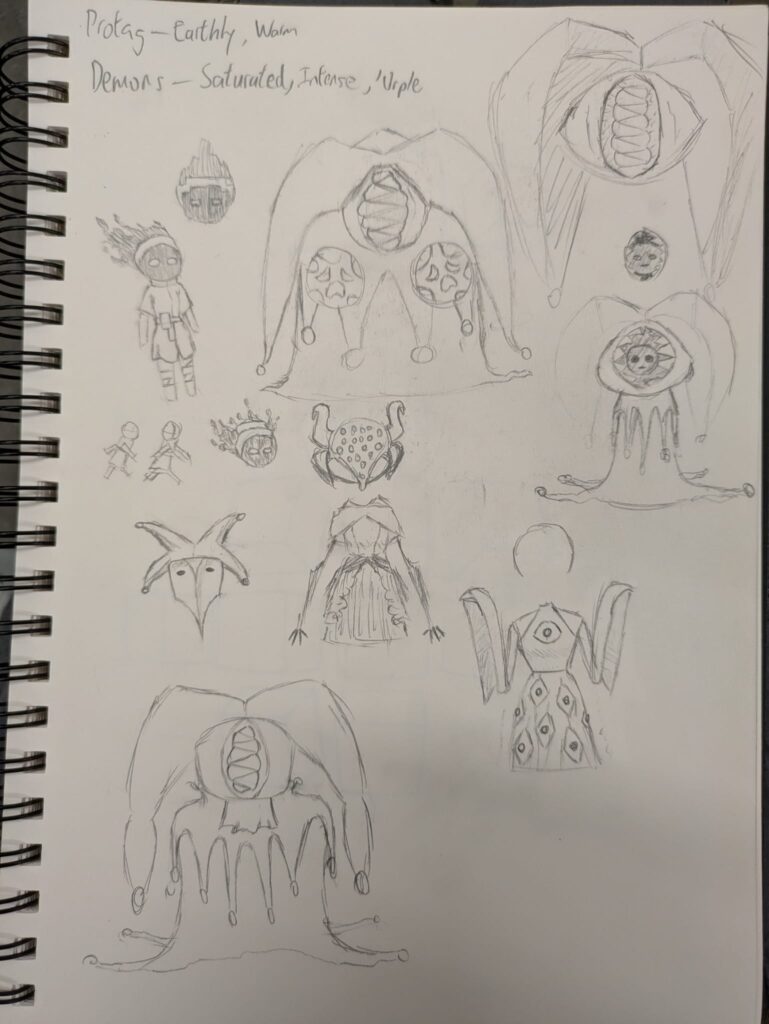
Sketches made before we finalised the themeSketches made after we finalised the theme
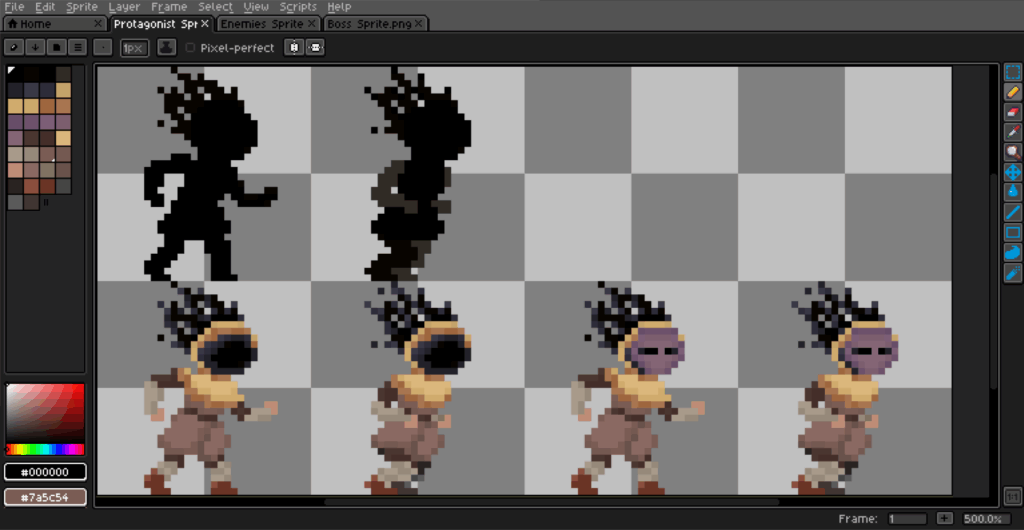
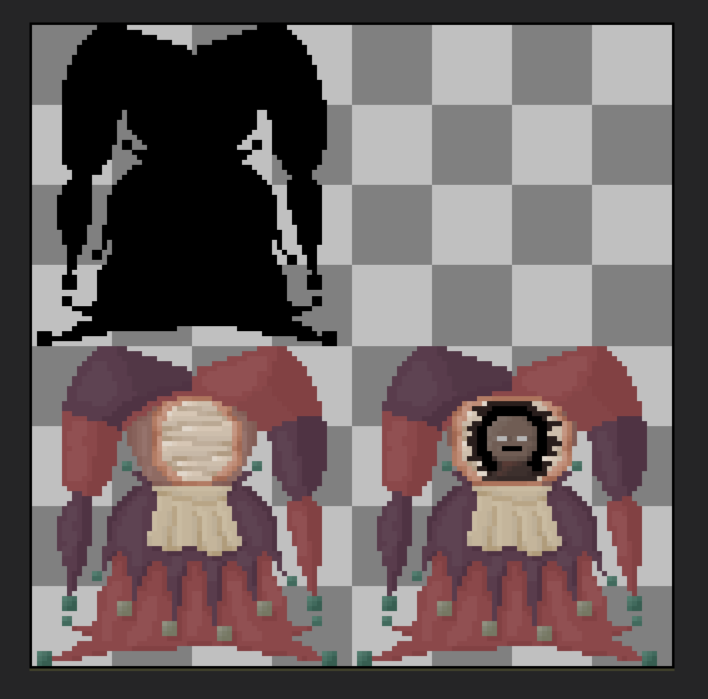
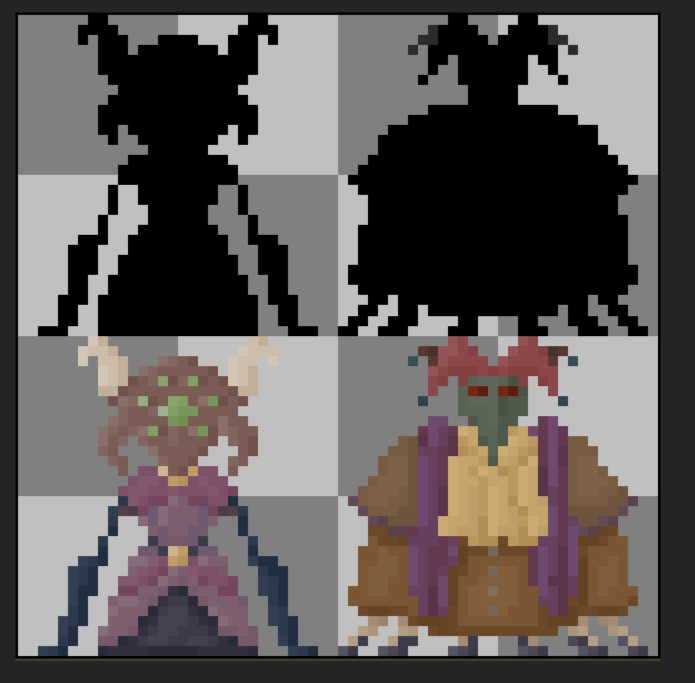
I then made character sprites based on the sketches. I was informed that making rough silhouettes of the characters first would help with their readability and the advice was vital.
Protagonist / Player Character Sprite
For the protagonist / player character, I made a simple animation + masked variant for them. The story, although unexplained in game due to time constraints, is that the protagonist got their face stolen by a face stealing demon and has to infiltrate a demon masquerade to get their face back from it.
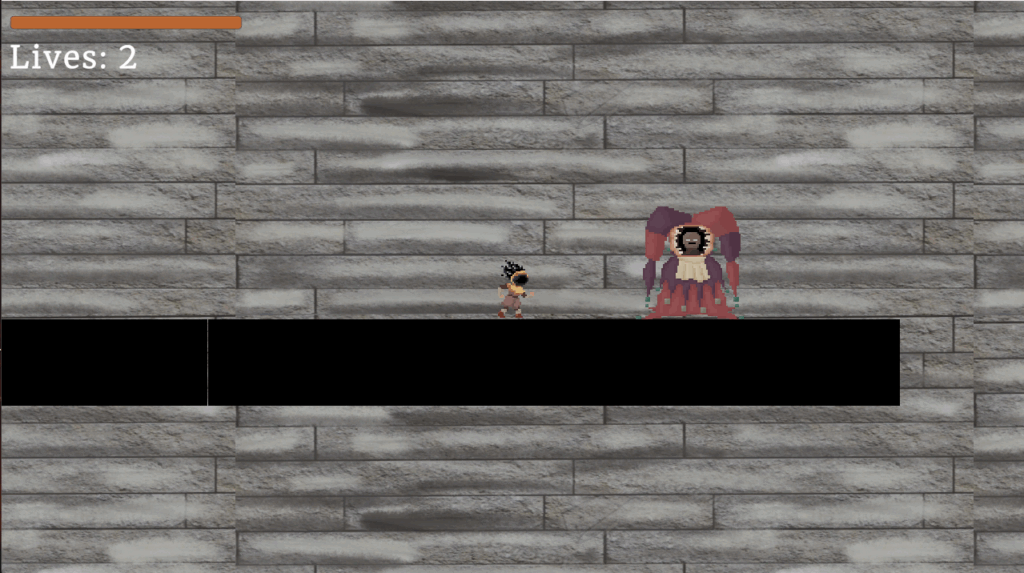
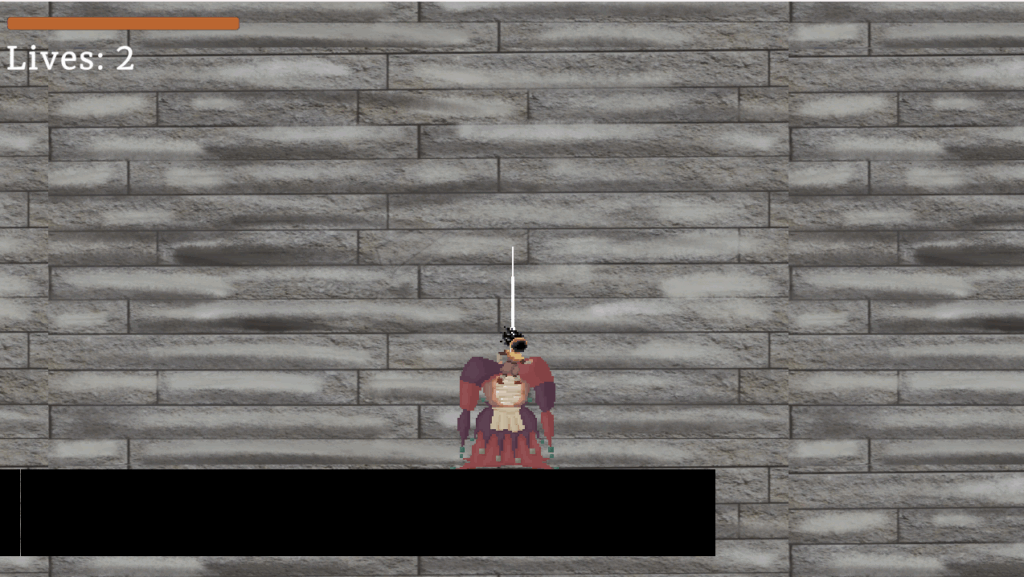
Face Stealing Demon, who is a Boss Enemy. This Demon has Stolen the Protagonist’s face and they must defeat it to get it back.
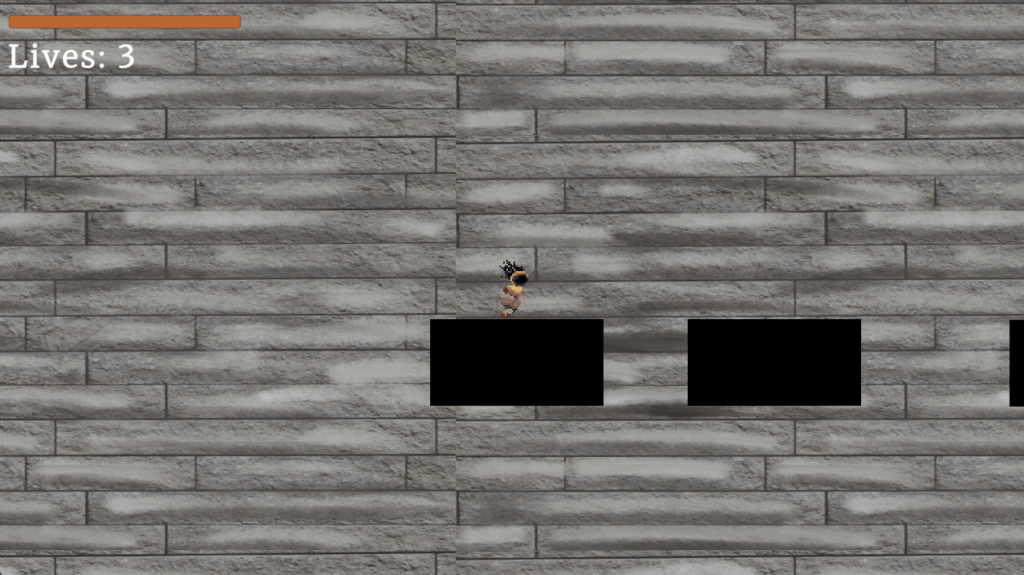
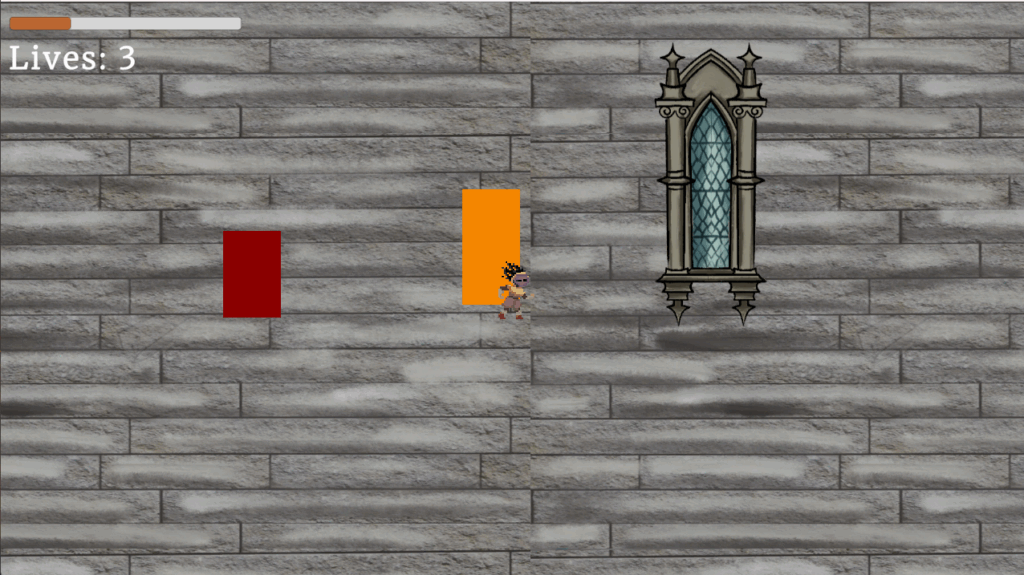
Demons are invisible unless when a mask is worn, but when the mask is worn the player cannot see the platform they’re standing on.
‘Generic’ Demon Enemies.
Screenshots of the final game:
When Protagonist wears mask, they can’t see the platform but can see enemies (red blocks). Programmer didn’t have time to put in sprites for enemies.The Face Stealer Boss.Defeated by getting jumped on
MoodboardSketches2D Reference for 3D useLeftover body base model from abandoned project in BlenderTopology Modelling + ModifiersCape is an In-Game Asset I imported as ReferenceMade this to accomodate the CapeMy finished model without the modifiers, only topologyA cut version which is easier to test import into Helldivers 2UV EditingIn-game asset Im replacing on the left, I also transferred the weights (armature data) from left to rightTest Import into Helldivers 2 to make sure I can start texturing with a valid modelCustom alphas I madeColour schemes I tried out in 2D firstFinished (but not finalised) model textured in Substance 2D PainterRoughness MapAmbient OcclusionRoughness + AO + NormalMetallicTextued model put back into BlenderImported into Helldivers 2Not very satisfied with the proportions (weight data problem) and colour scheme (lighting difference, especially bc the 2D sketch, interpreted into Substance Painter, then exported to Blender, and then imported to Helldivers 2 caused the end result to look sub optimal. The colour scheme is also too bright for Helldivers 2, which looks semi grounded.2D Front & Side sketch used as references in 3D Modelling processHow reference is usedForgot to take screenshots of the topology modelling process…Separate UVs/Meshes for the inside & outside
I first started with sketches of this idea of aesthetically redesigning a stormtrooper for Helldivers 2 with these sketches
I realised to make it look more helldivers, I should redesign it more angularly, with many layers to make it look more industrial. Looking back, I did heed this observation, but not to an extent which I should’ve, looking back.
I also decided to just tackle the helmet for the time being.
Afterwards I made rough 2D illustrations of what I wanted it to like from the front, side and back.
I used these 2D illustrations as an outline by putting them in Blender and using them as an overlay when I modelled.
This is my first time using Substance 3D Painter, and it proved not as complicated to get used to. I had previously used Blender to texture my models, and I still did to prepare this one for Substance Painter. SPainter was able to really enhance my model, and its export settings were invaluable for my importation of this model into Helldivers 2 via a blender addon public modding tool.
I learnt a lot about how games compact different texture maps of a model into a single image. SPainter helped a lot in getting the specific channeled maps I needed to be imported into Helldivers 2 (and Kamilla thx). I then used the image editors Photoshop and Gimp to merge these channel maps into usable texture maps importable into Helldivers 2. Gimp proved to have more useful capabilities than photoshop in this aspect.
After importing my textured helmet into Helldivers 2, I realised I kinda designed it wrong. I designed it without considering how small it would appear in the game. While modelling it, the helmet would take up my entire screen and so I modeled and textured it according to such scale. I should’ve exaggerated many details so they may appear more visibly to a player.
I alleviated this problem slightly through use of emissive (glowing) elements to highlight details which were unobvious to a player’s perspective, that being heatsinks I modelled at the bottom. Unfortunately other details I had modelled at the bottom part of the helmet could not receive the same treatment, so they remain largely unobservable.
Overall I am quite satisfied with this helmet I made. I might make some more altercations in the future, and maybe even a body.
-November
I have started to redo the helmet, starting off by pulling an older save of it which did not have any modifiers applied yet. This time my goals are to take into acccount the scale at which Helldivers 2 players will see this helmet at, which is at this scale.
I have started off by adjusting the size of details which were not visible to Players in the previous iteration such as the ears and chin. I have also added some new details to it alongside making it more anatomically correct.