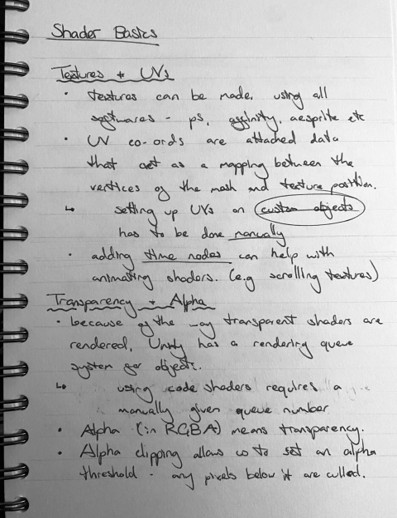
Textures & UVs
- Textures can be made using all types of software: Ps, Affinity, Aesprite etc.
- UV co-ords are attached data that act as a mapping between the vertices of the mesh and texture position.
- Setting up the UVs on custom objects has to be done manually.
- Adding time nodes can help with animating shaders (e.g scrolling textures).
Transparency and Alpha
- Because of the way transparent shaders are rendered, Unity has a rendering queue system for objects.
- Using code shaders requires a manually queue number.
- Alpha (in RGBA) means transparency.
- Alpha clipping allows us to set an alpha threshold – any pixels below it are culled.

Vertex Shaders
- Meshes are made of vertices – each frame, Unity needs to read the vertex data and figure out where to show vertexes on the screen.
- In shadergraph, we have some control over these vertex shader stage, and can move them around.
- Tesselation is the ability to create new vertices between existing ones before running the vertex shader.
- To implement, tick ‘Tesselation’ in the Graph settings, which adds 2 new output blocks.
- Object space: abstract mesh data where vertex points are defined relative to the mesh origin point
- World space: where vertex positions are relative to the world origin.
- Clip space: where vertex positions are relative to the camera position.
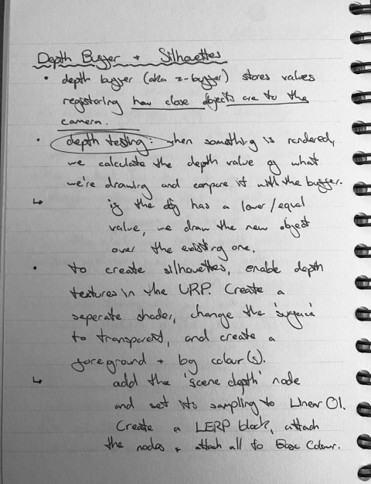
Depth Buffer & Silhouettes
- Depth buffer (also known as the ‘Z-Buffer’) stores values registering how close objects are to the camera.
- Depth testing: when something is rendered, we calculate the depth value of what is being drawn and compare it with the buffer.
- If the object has a lower or equal value, the new object is drawn over the existing one.
- To create silhouettes, enable depth textures in the URP. Create a seperate shader, change the ‘surface’ to transparent, and create a foreground and background colour(s).
- Add the ‘scene depth’ node and set its sampling to Linear01. create a LERP block, attach the nodes and attach all to the Base Colour.
Leave a Reply