This week we had a workshop ran by game designer Venezia Georgieva, who was giving us a lecture on game overviews, game pillars, and game loops.
Game Overview
Escape the stage as a lighting technician who was fallen from the batten mid-show! Hide behind props, avoid the blinding spotlights, and scurry to the beat to evade the keen gaze of the audience… all with a broken leg.
Game Pillars for ‘Break a Leg*’
*Name of Idea 2.
| Escape to the Beat | Try and Try Again | Compare Scores |
| To not be noticed by the audience, players must avoid unstable props, bright spotlights, and move in time to the actors roaring voices to keep anyone from seeing them. We wouldn’t want to ruin the play! | Each level the player ends up in will be more tedious than the last. Players will fail many times before they succeed, needing to remember the layout of the stage and know their characters limits to get off in time. | How swiftly, steadily, and healthily the player gets off the stage all matters for points. Compare your scores with friends to see who comes out on top! |
Game Loop, Complete Levels
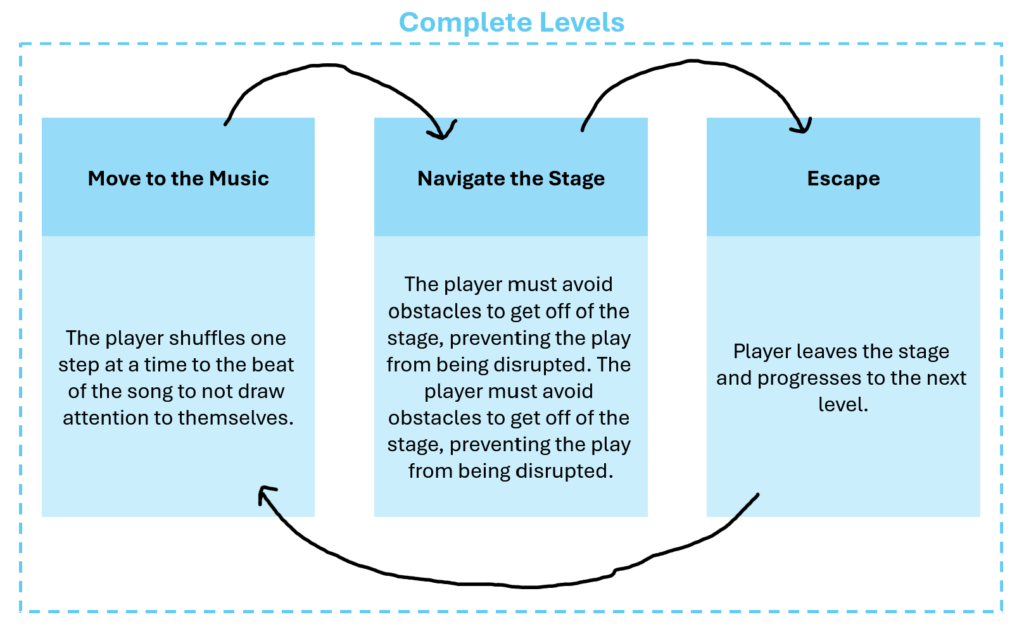
- Move to the Music: The player shuffles one step at a time to the beat of the song to not draw attention to themselves. (+ Points)
- Navigate the Stage: The player must avoid obstacles to get off of the stage, preventing the play from being disrupted. (+ Points)
- Escape: Player leaves the stage and progresses to the next level.
Game Loop Research: Friday Night Funkin’
After completing the game loop exercise, I decided to play and analyse Friday Night Funkin’, a rhythm game that uses arrow keys like I plan on doing.
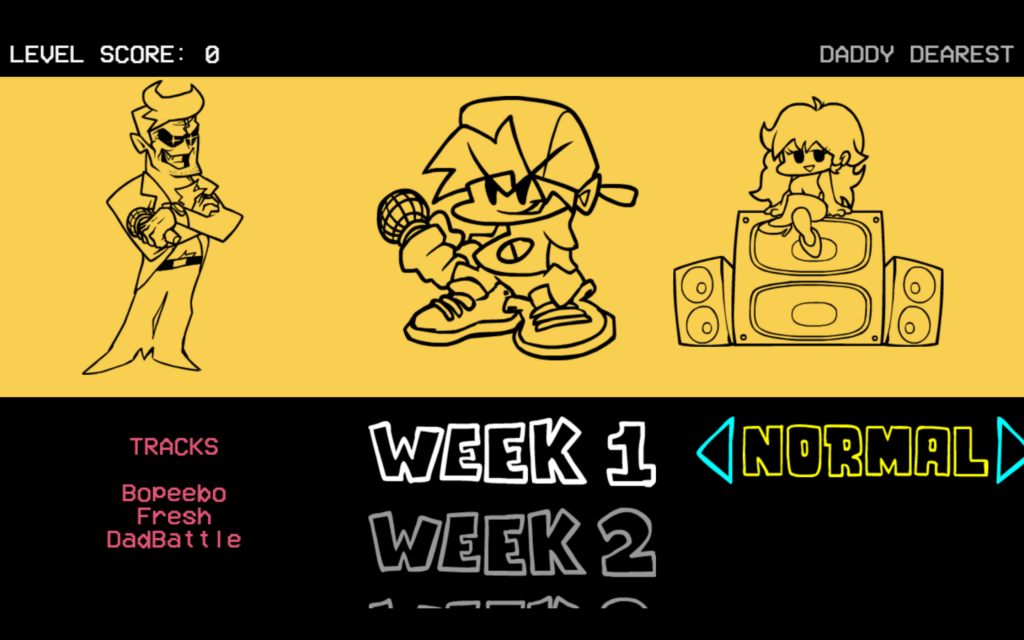
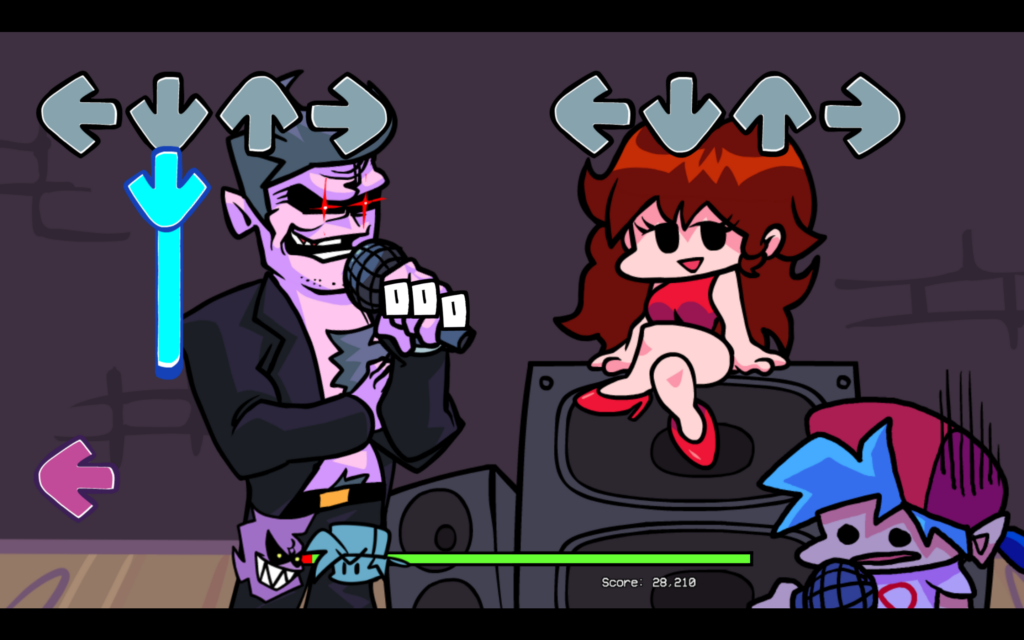
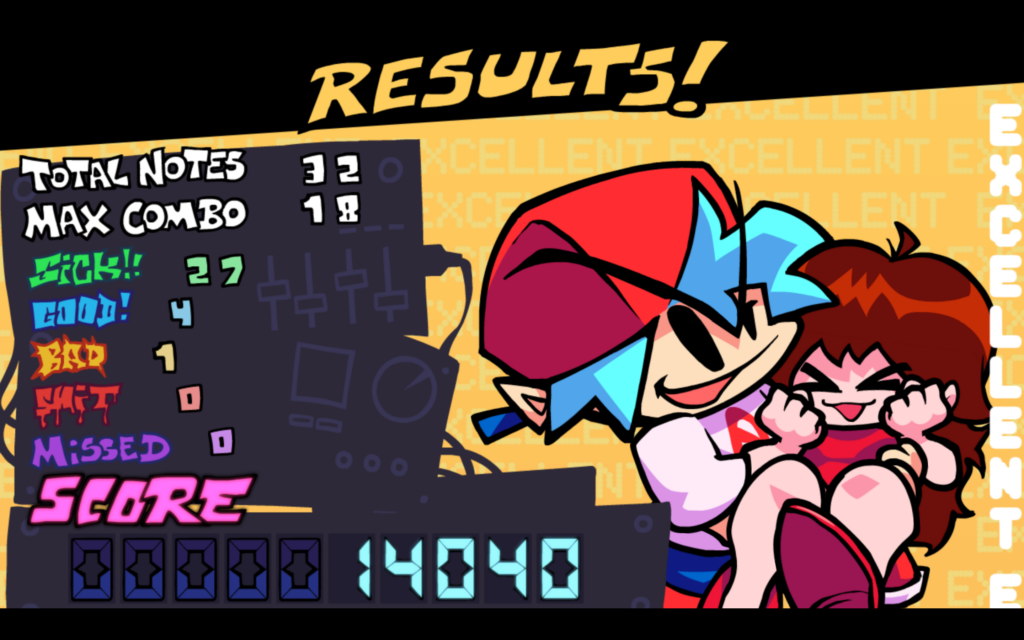
Friday Night Funkin’s game loop is slightly simpler than my own game idea, but it’s a very similar concept. Press the arrow keys in time to win.
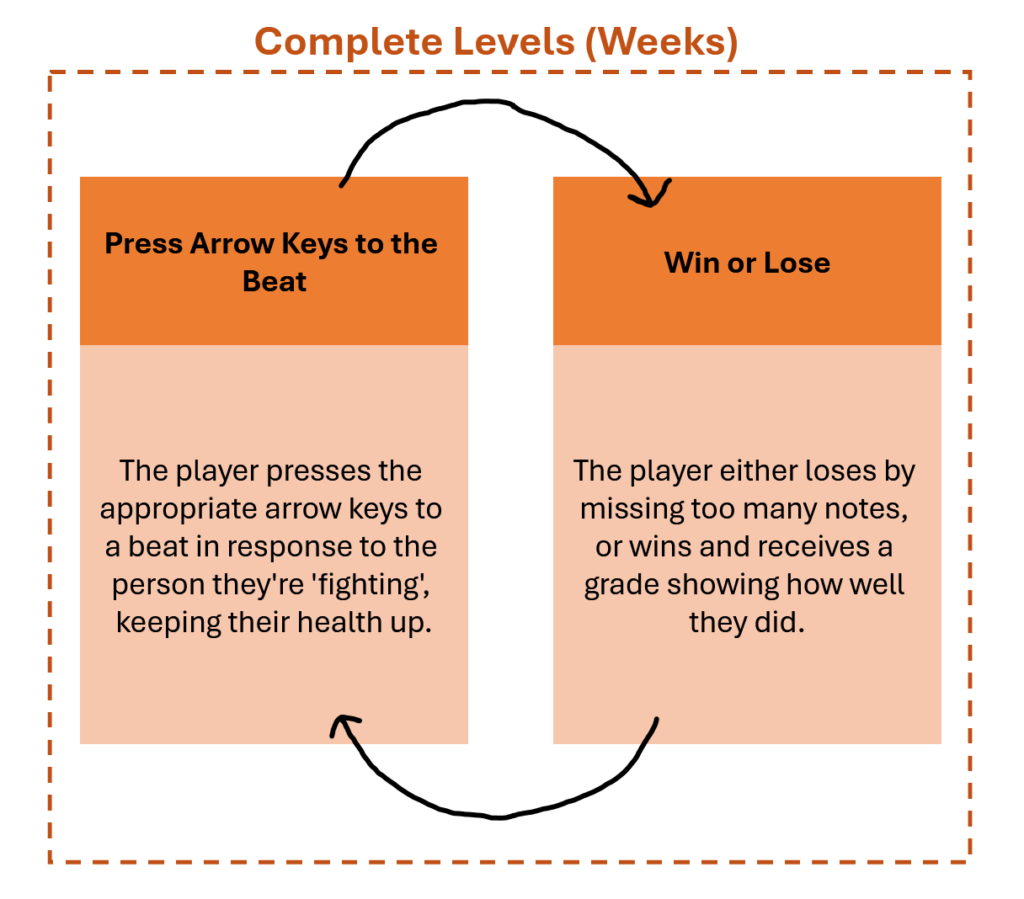
- Press Arrow Keys to the Beat: The player presses the appropriate arrow keys to a beat in response to the person they’re ‘fighting’, keeping their health up.
- Win or Lose: The player either loses by missing too many notes, or wins and receives a grade showing how well they did.
Friday Night Funkin’ is a very popular game in the rhythm gaming community, and so sticking with a similar game loop to them is probably a good idea.
Mason also informed me that it is apparently very common for people to change the key bindings in more difficult weeks or modded versions of the game, as its easier to spread out the controls so you can play with two hands rather than one. Though, we discussed that perhaps only having the choice to play with one hand (arrow keys if you’re right-handed/WASD if left-handed) adds a challenge that players will have to overcome. With this in mind, I think that the difficulty (speed) will probably have to be lowered throughout the game for it to be fair.
Prototype Progress
Before doing anything else, I added some temporary collider boxes and a capsule (placeholder for ‘actor’), just to decorate the scene slightly. This was also beneficial to test out collision in my scripting.
The main part of my game is the ‘rhythm’ mechanic, and so I felt it urgent that I add some form of HUD to the game, even if it wasn’t working, just to show people what it may look like in future.
One of the main features of my game is it’s comedic value, and so I leaned into it by tracing pictures of ridiculously-posed feet which would act as the arrow-key buttons.
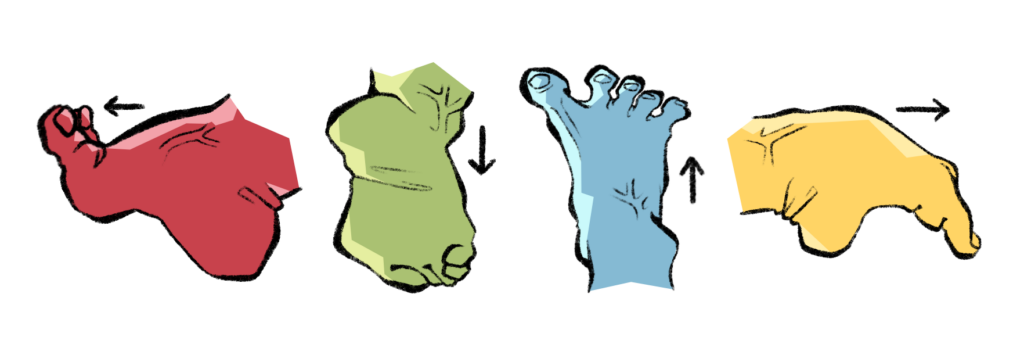
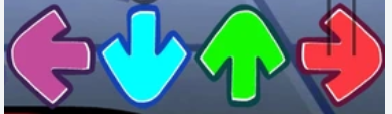
After playing around with the placement of the feet, I thought that the camera position being in first-person was quite basic. I also had a conversation with Mark about my prototype and he thought it was strange that my game even was first person, as he imagined my game being in a top-down perspective.
This gave me the idea to change the cameras perspective. I placed the camera near the players feet (player currently a capsule) in hopes that if the game gets picked up, the group working on it would add a scuttling animation of some sort, which I think would add to the comedy.
I also think having the players feet in view frames the HUD quite well.
Below is the feedback I received after showing the demo to the class. Overall I think people were very kind to me considering how bare bones it was, but some very useful feedback was still given to me.
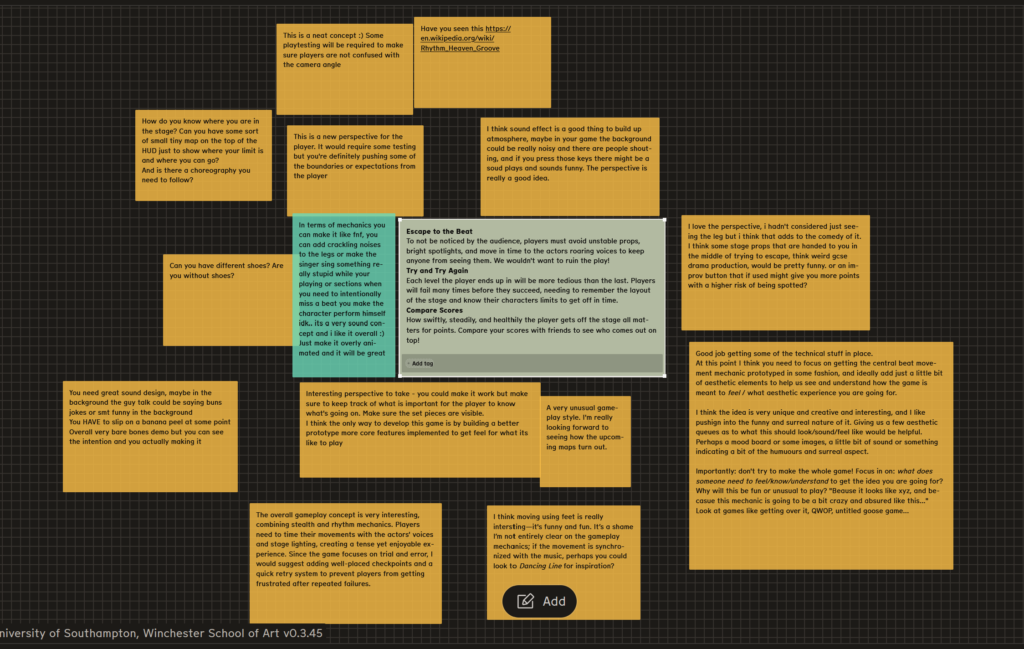
https://www.nodenogg.in/910lisa?view=spatial
People overall said that they…
- …liked the new perspective, but slightly concerned about how much the player could see.
- …think I should add sound.
Audio
I began improving my prototype by adding audio.
Firstly, I found music (The Flower Duet– part of the public domain) on YouTube that will be what the ‘actors’ are singing, and what I will be matching the arrow keys to for the rhythm part of the game.
I then used a URL to MP3 converter to add the file to Godot.
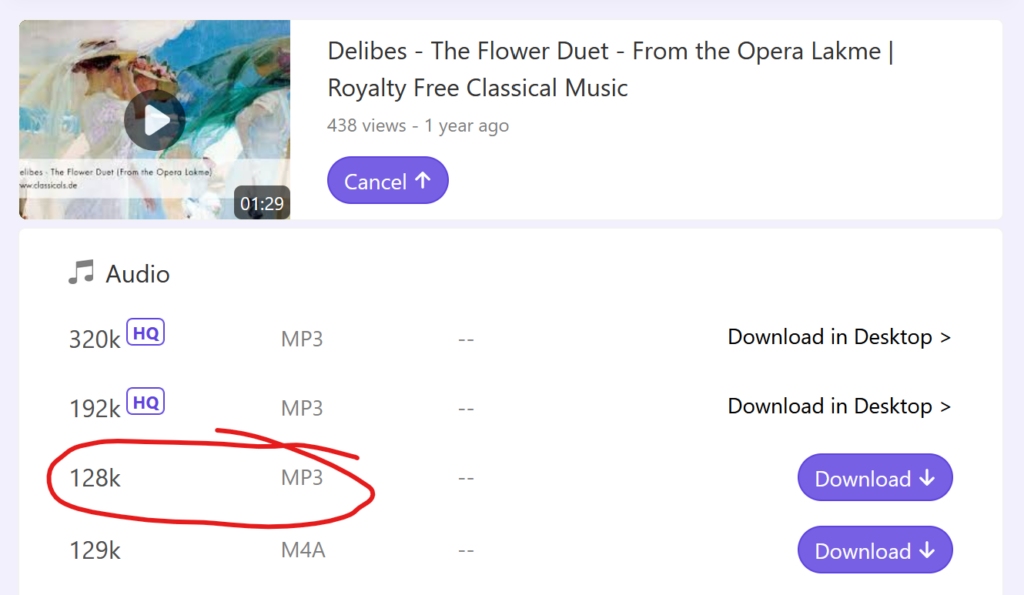
https://www.youtube.com/watch?v=y20I1N23rIw
I also found a squeaky shoe sound effect online, which I imported into Audacity and clipped for the part I liked the most.
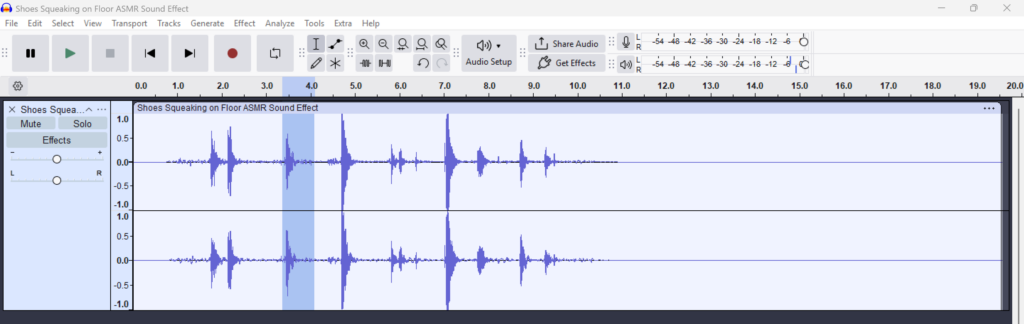
After I imported it into Godot, I used the script below to change the pitch of the sound effect randomly so it wasn’t so repetitive after every step.
squeaky_shoes.pitch_scale = randf_range(0.8, 1.2)
squeaky_shoes.play()
Model
Using the website Sketchfab, I downloaded a free model of a person to import to my game. People playing my prototype were concerned about how much the player could see, and so I think having a persons legs where the capsule was makes it a lot clearer where the player is meant to be going as it doesn’t block the screen as much.
I also thought replacing the ‘actor’ capsules with this model would make it a little more obvious what they were as well.
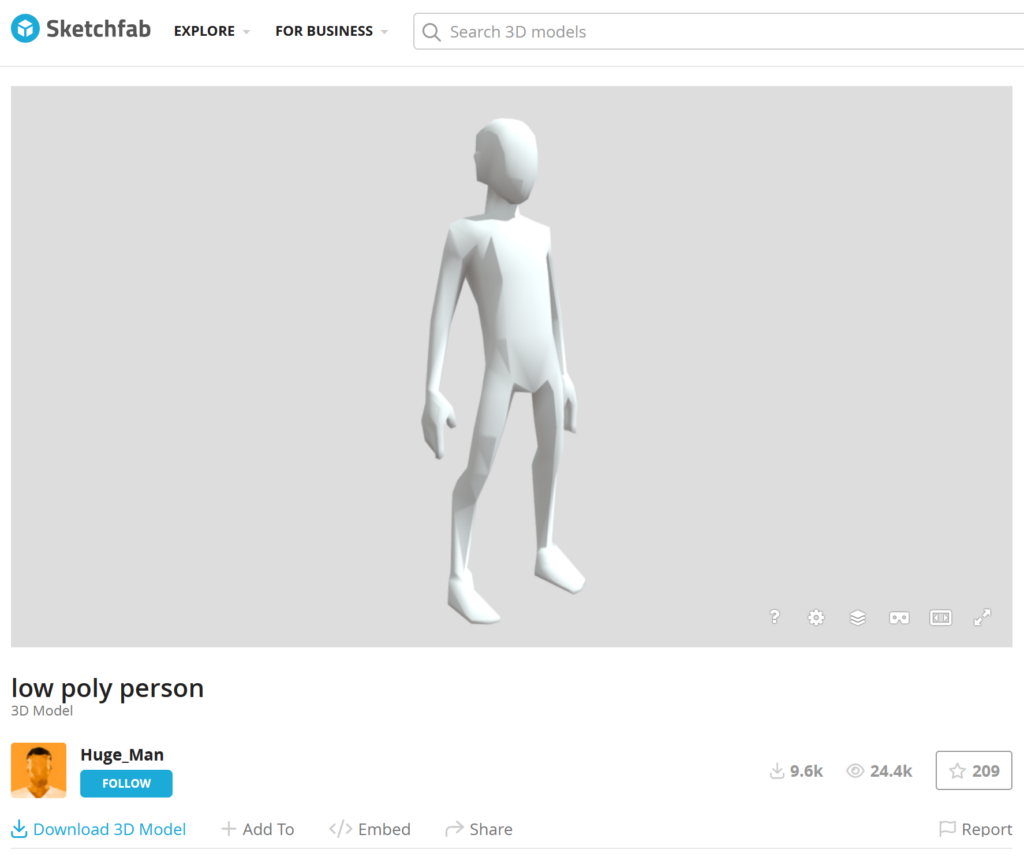
https://sketchfab.com/3d-models/low-poly-person-45f547ac6ed54583aa497db938684150
Below is the updated prototype with both audio and updated character models. Now the level also resets (music file plays from start and player goes back to coordinates they were at the beginning) when the player collides with a wall.
Textures
The final touch up to my prototype this week was adding textures. In Procreate, I made a few quick textures to add to the various 3D boxes in my prototype, which just made it look a little more polished.
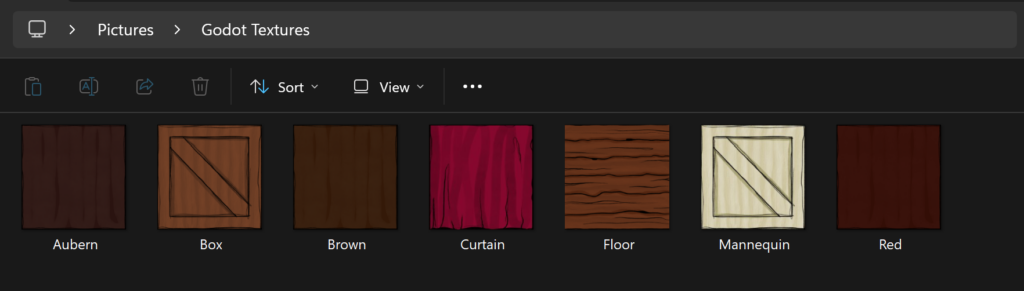
I also played around with adding textures to the imported 3D person model. It was a little more confusing then dragging a texture onto it as they were a pre-downloaded FBX file and required a new scene, but eventually I figured it out.
It turned out the ‘Box’ Texture I made looked really good on the 3D person model, so all I did was changed its colour to be more creme, and so now the models looked more like mannequins rather than out of place gray figures.
I also completed the scene by adding audience seating and a roof, as shown above, which made the prototype look further polished.
Leave a Reply