This week I have the final whispers installation and public gallery show. It is a bank holiday so we did not go in on Monday.
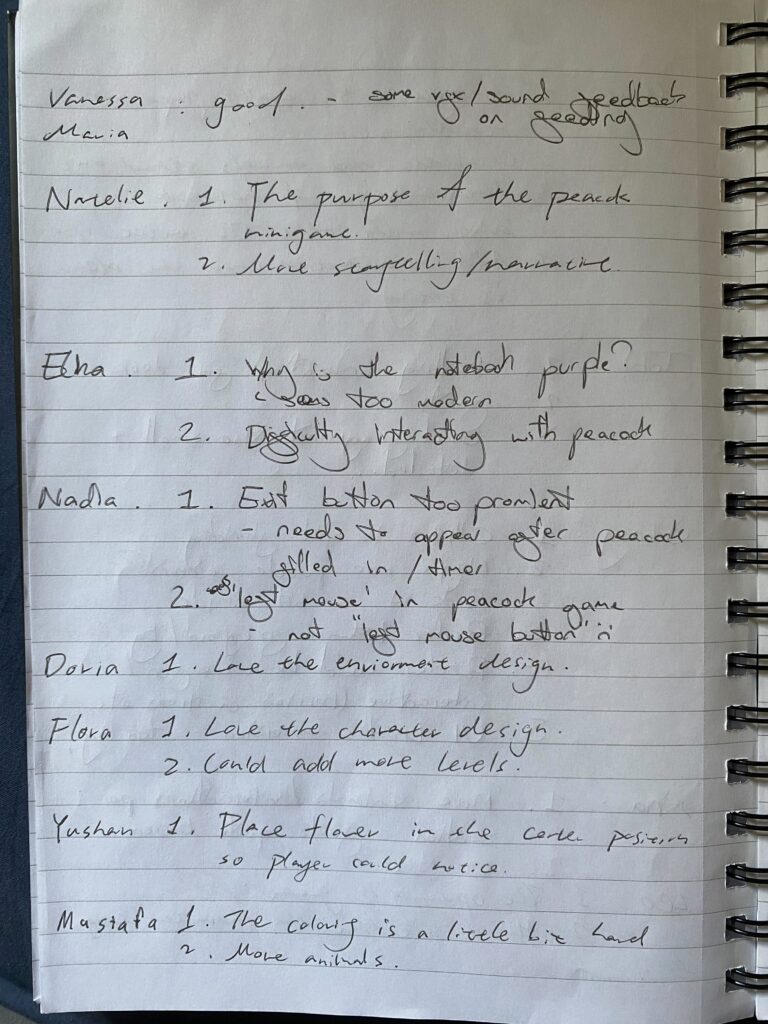
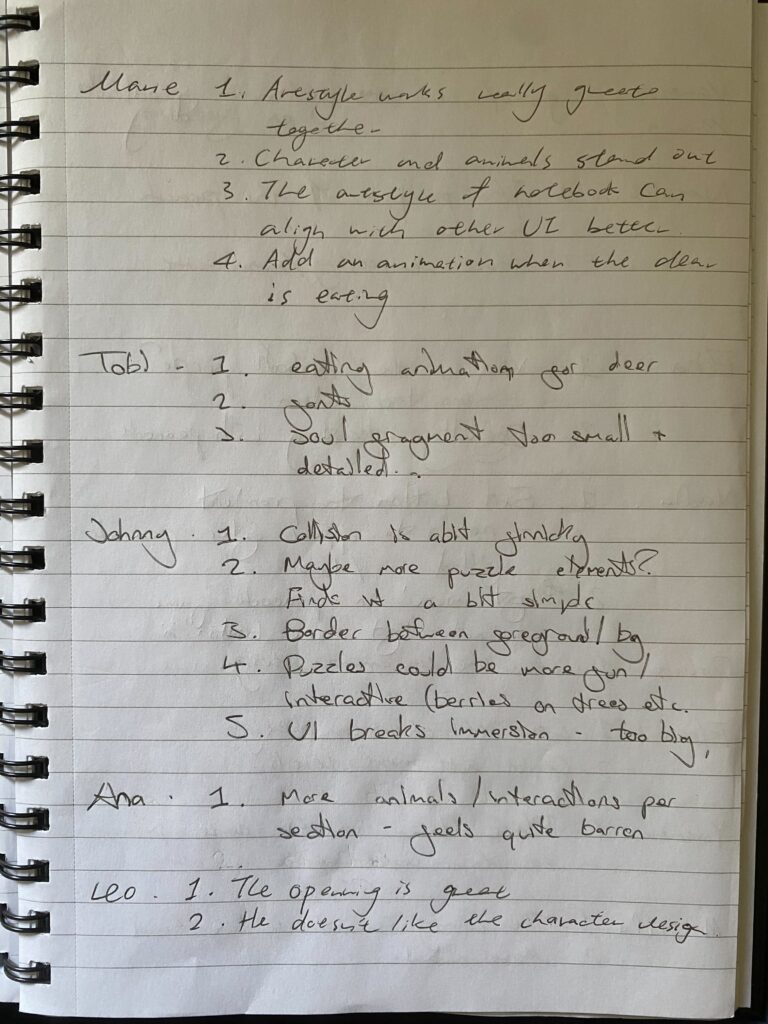
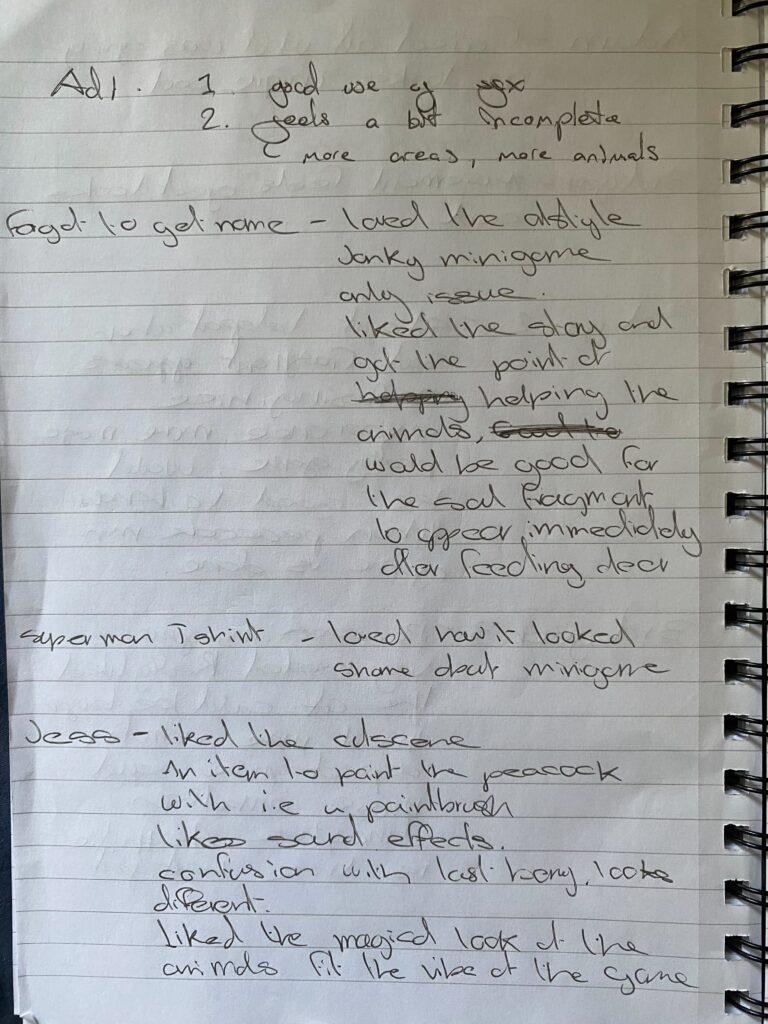
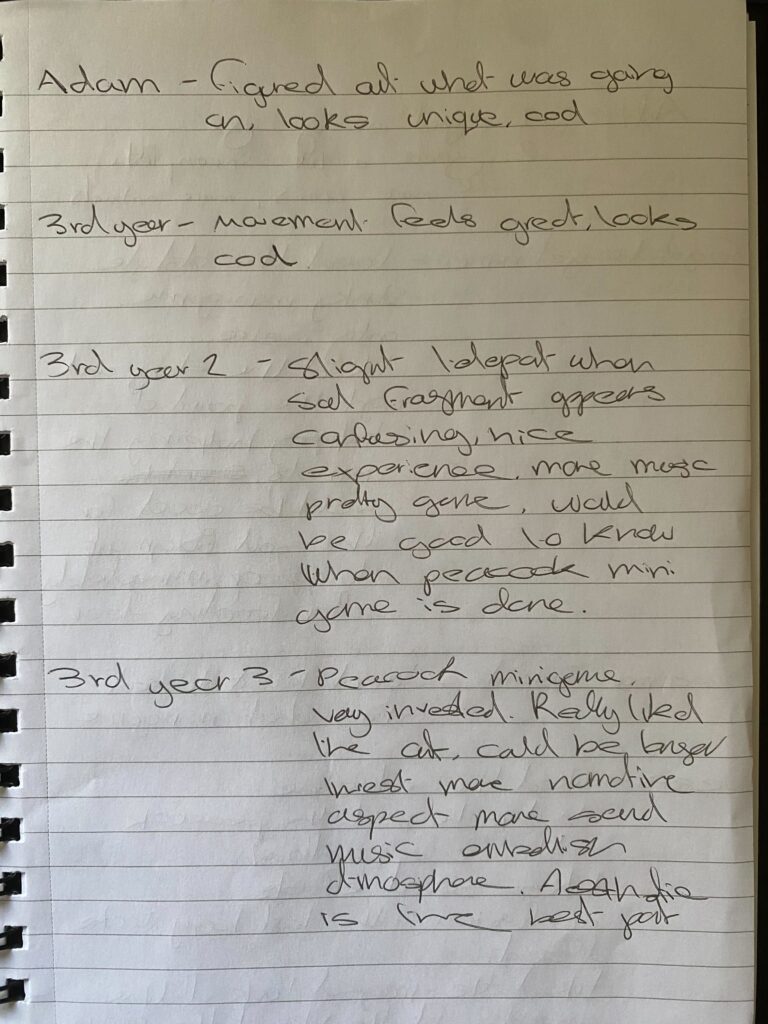
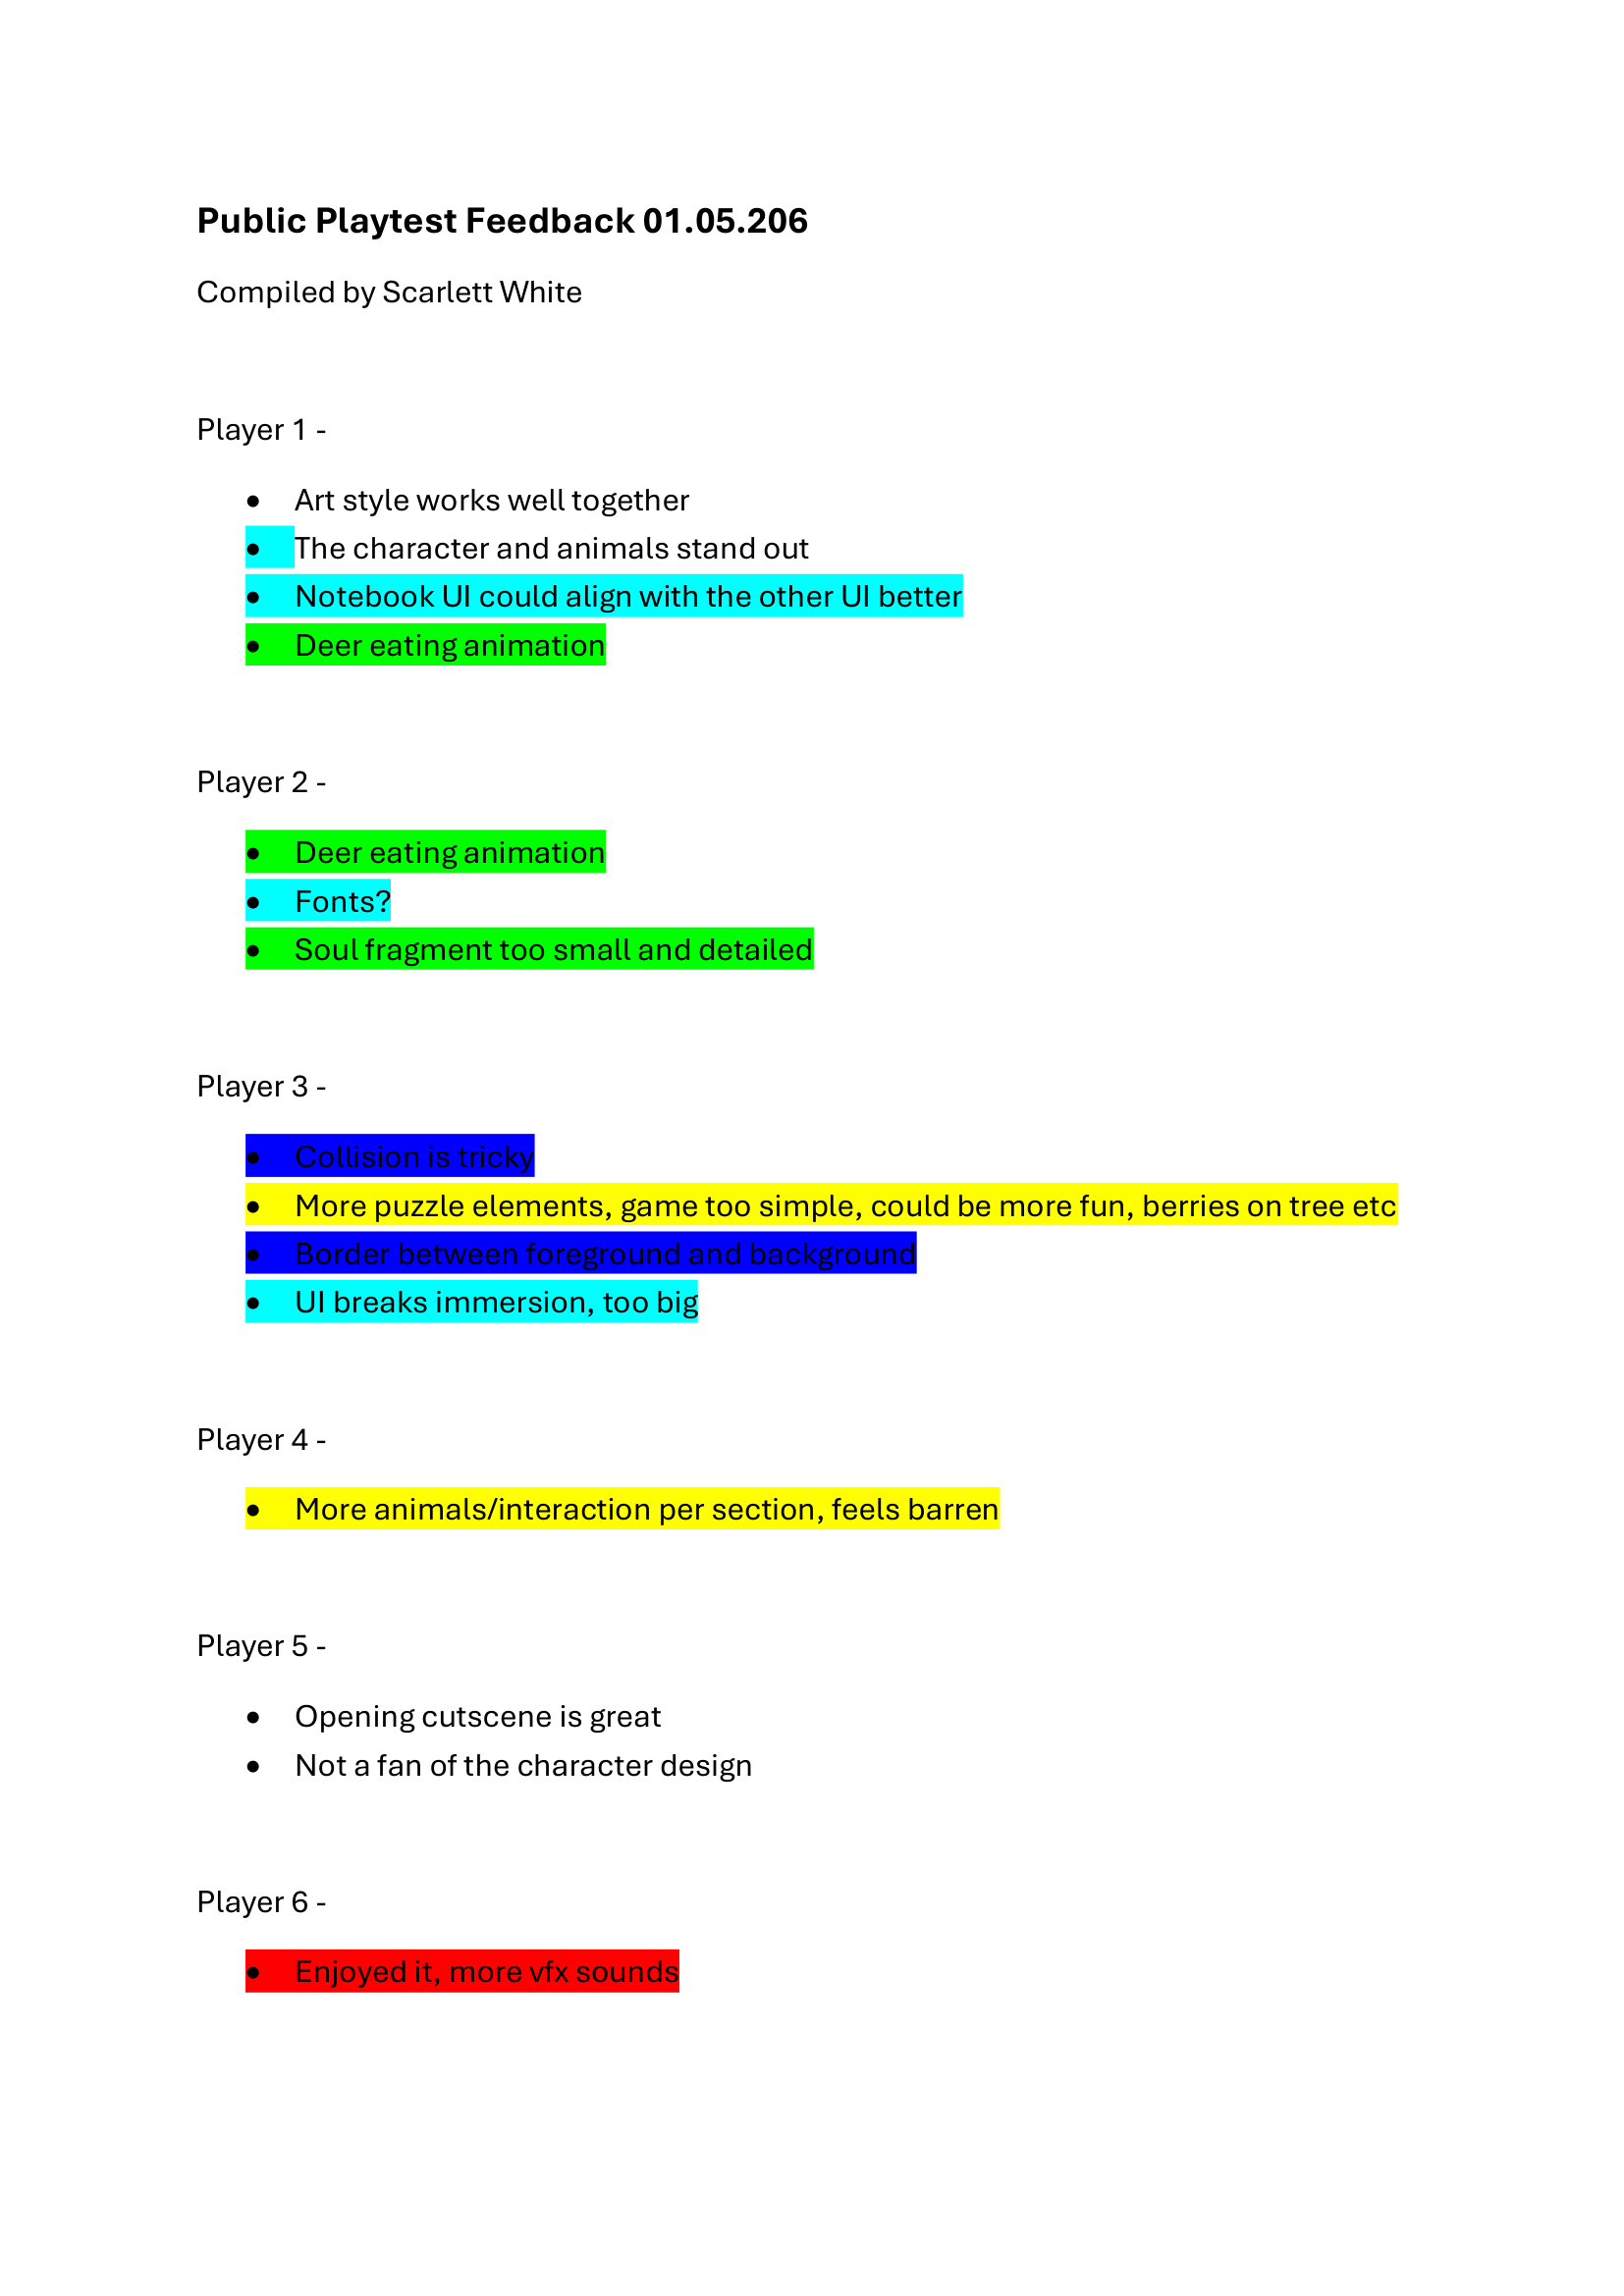
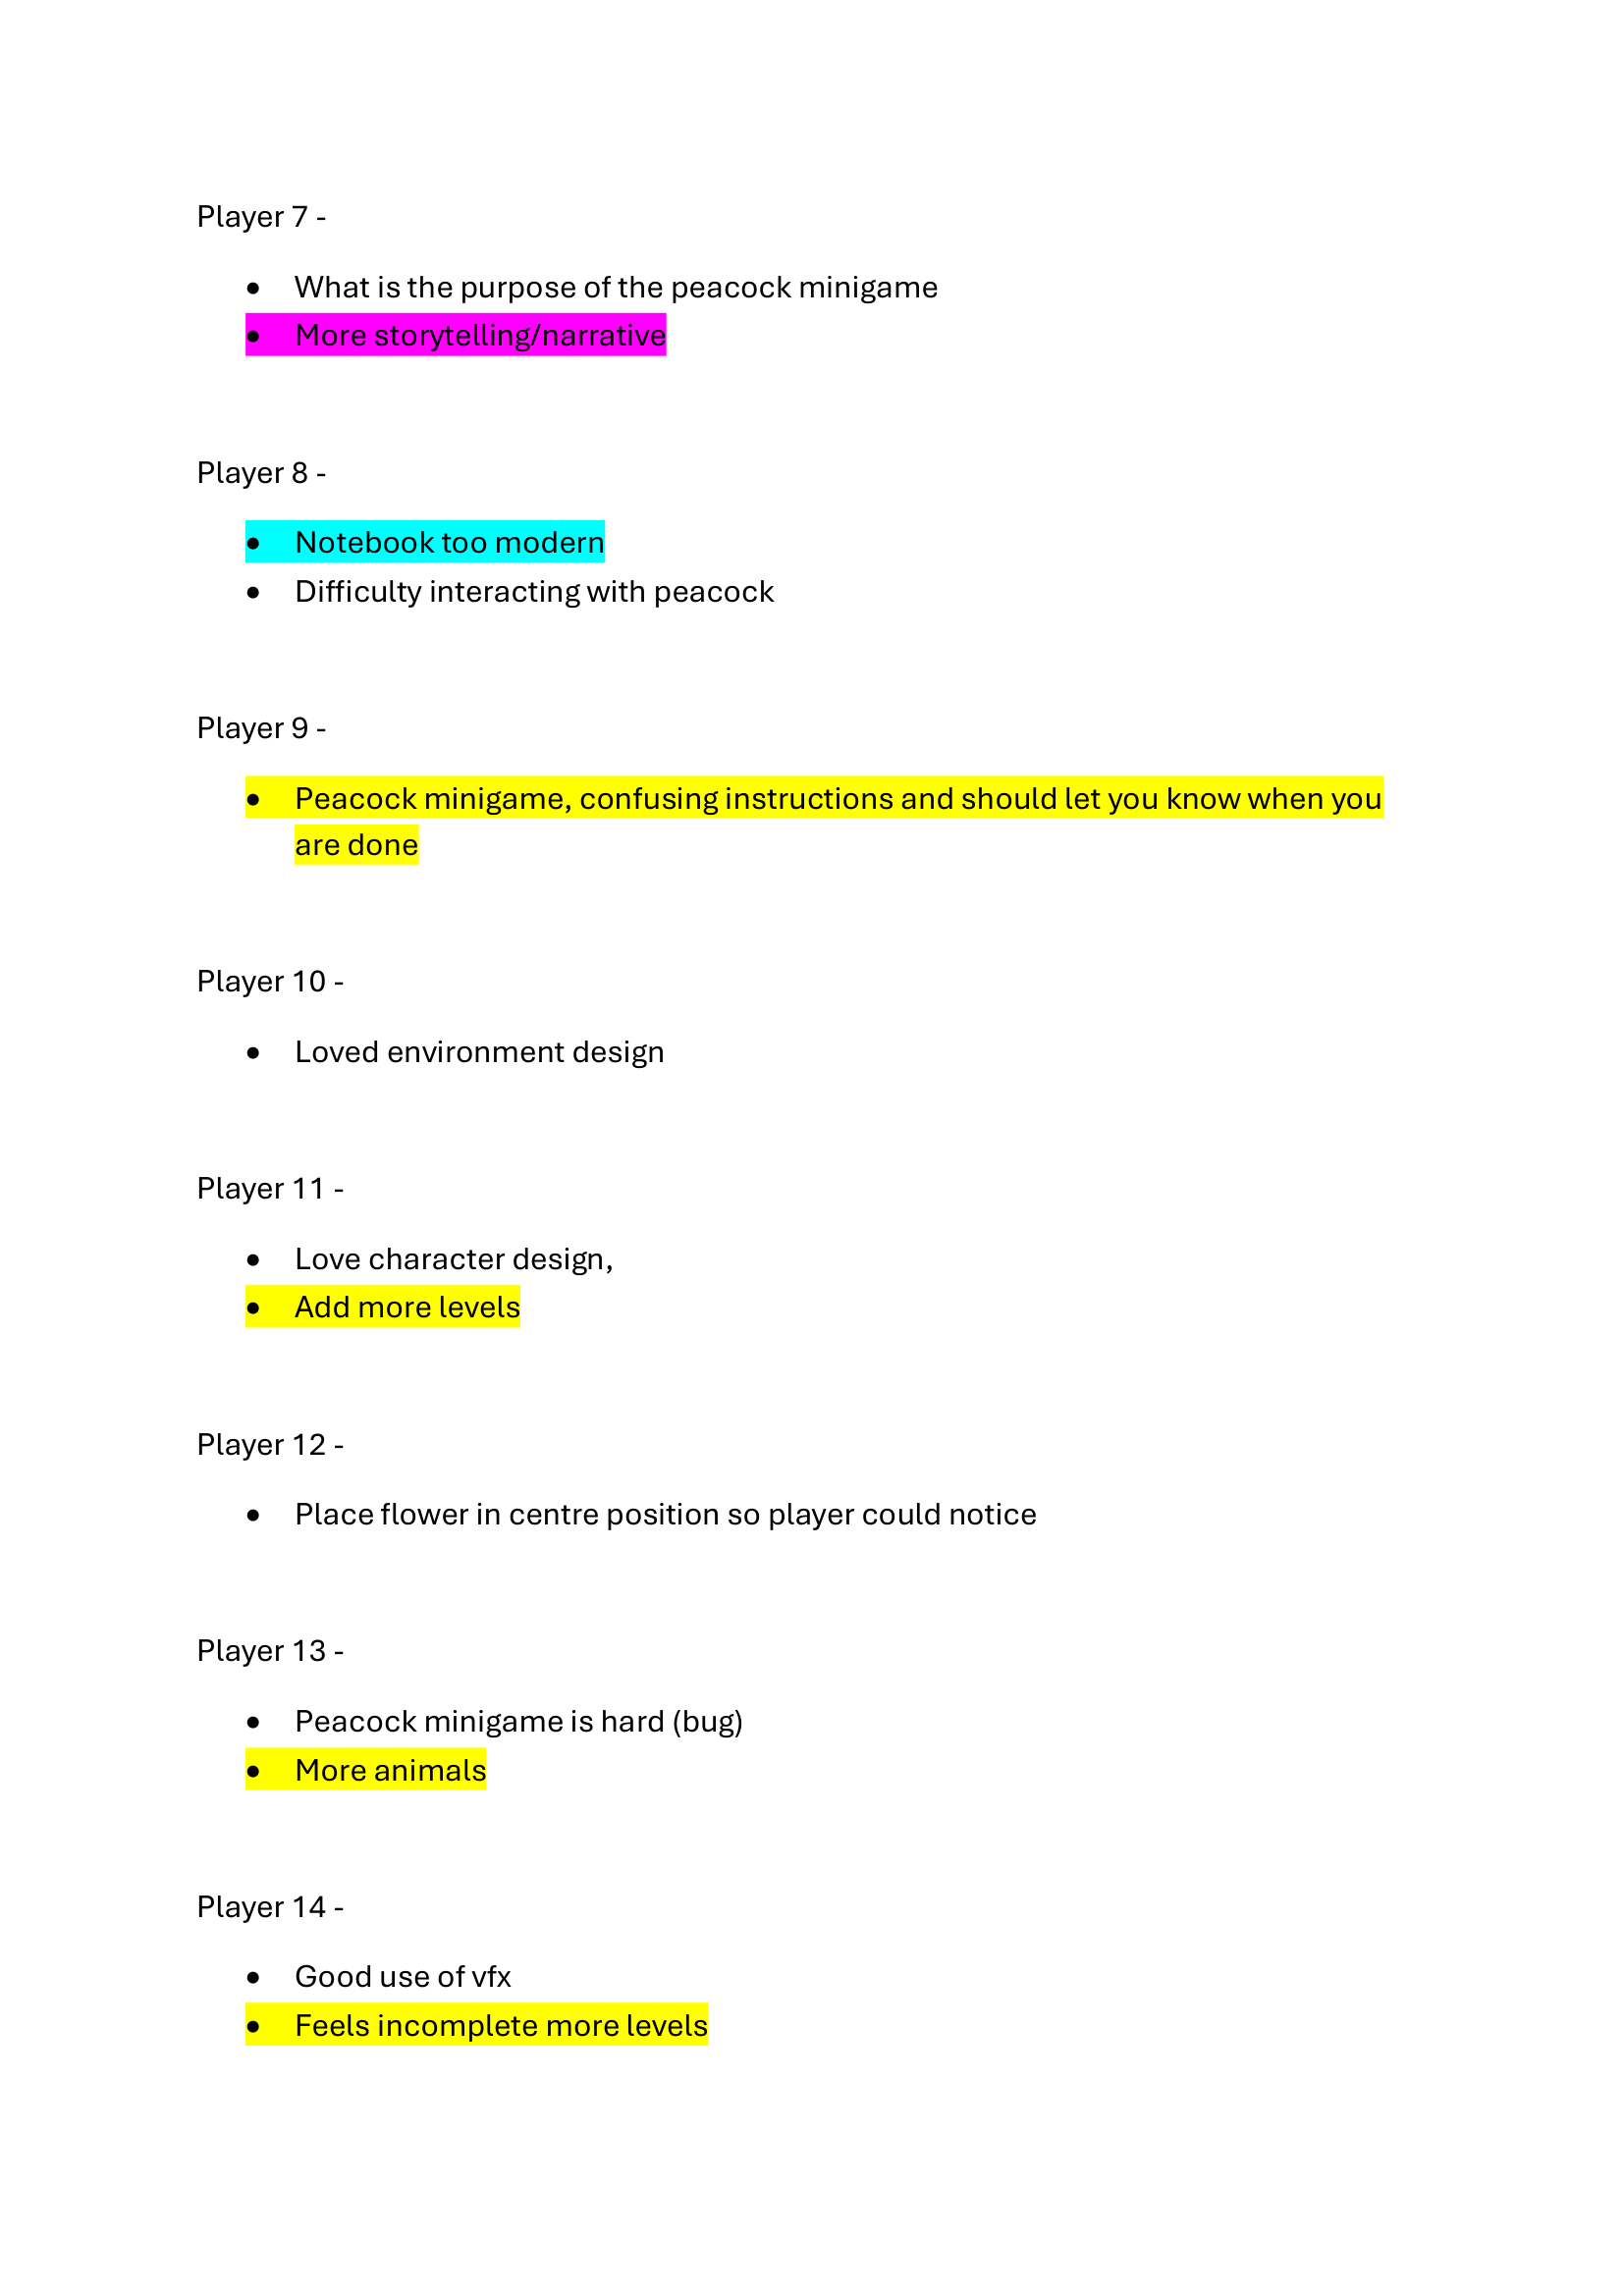
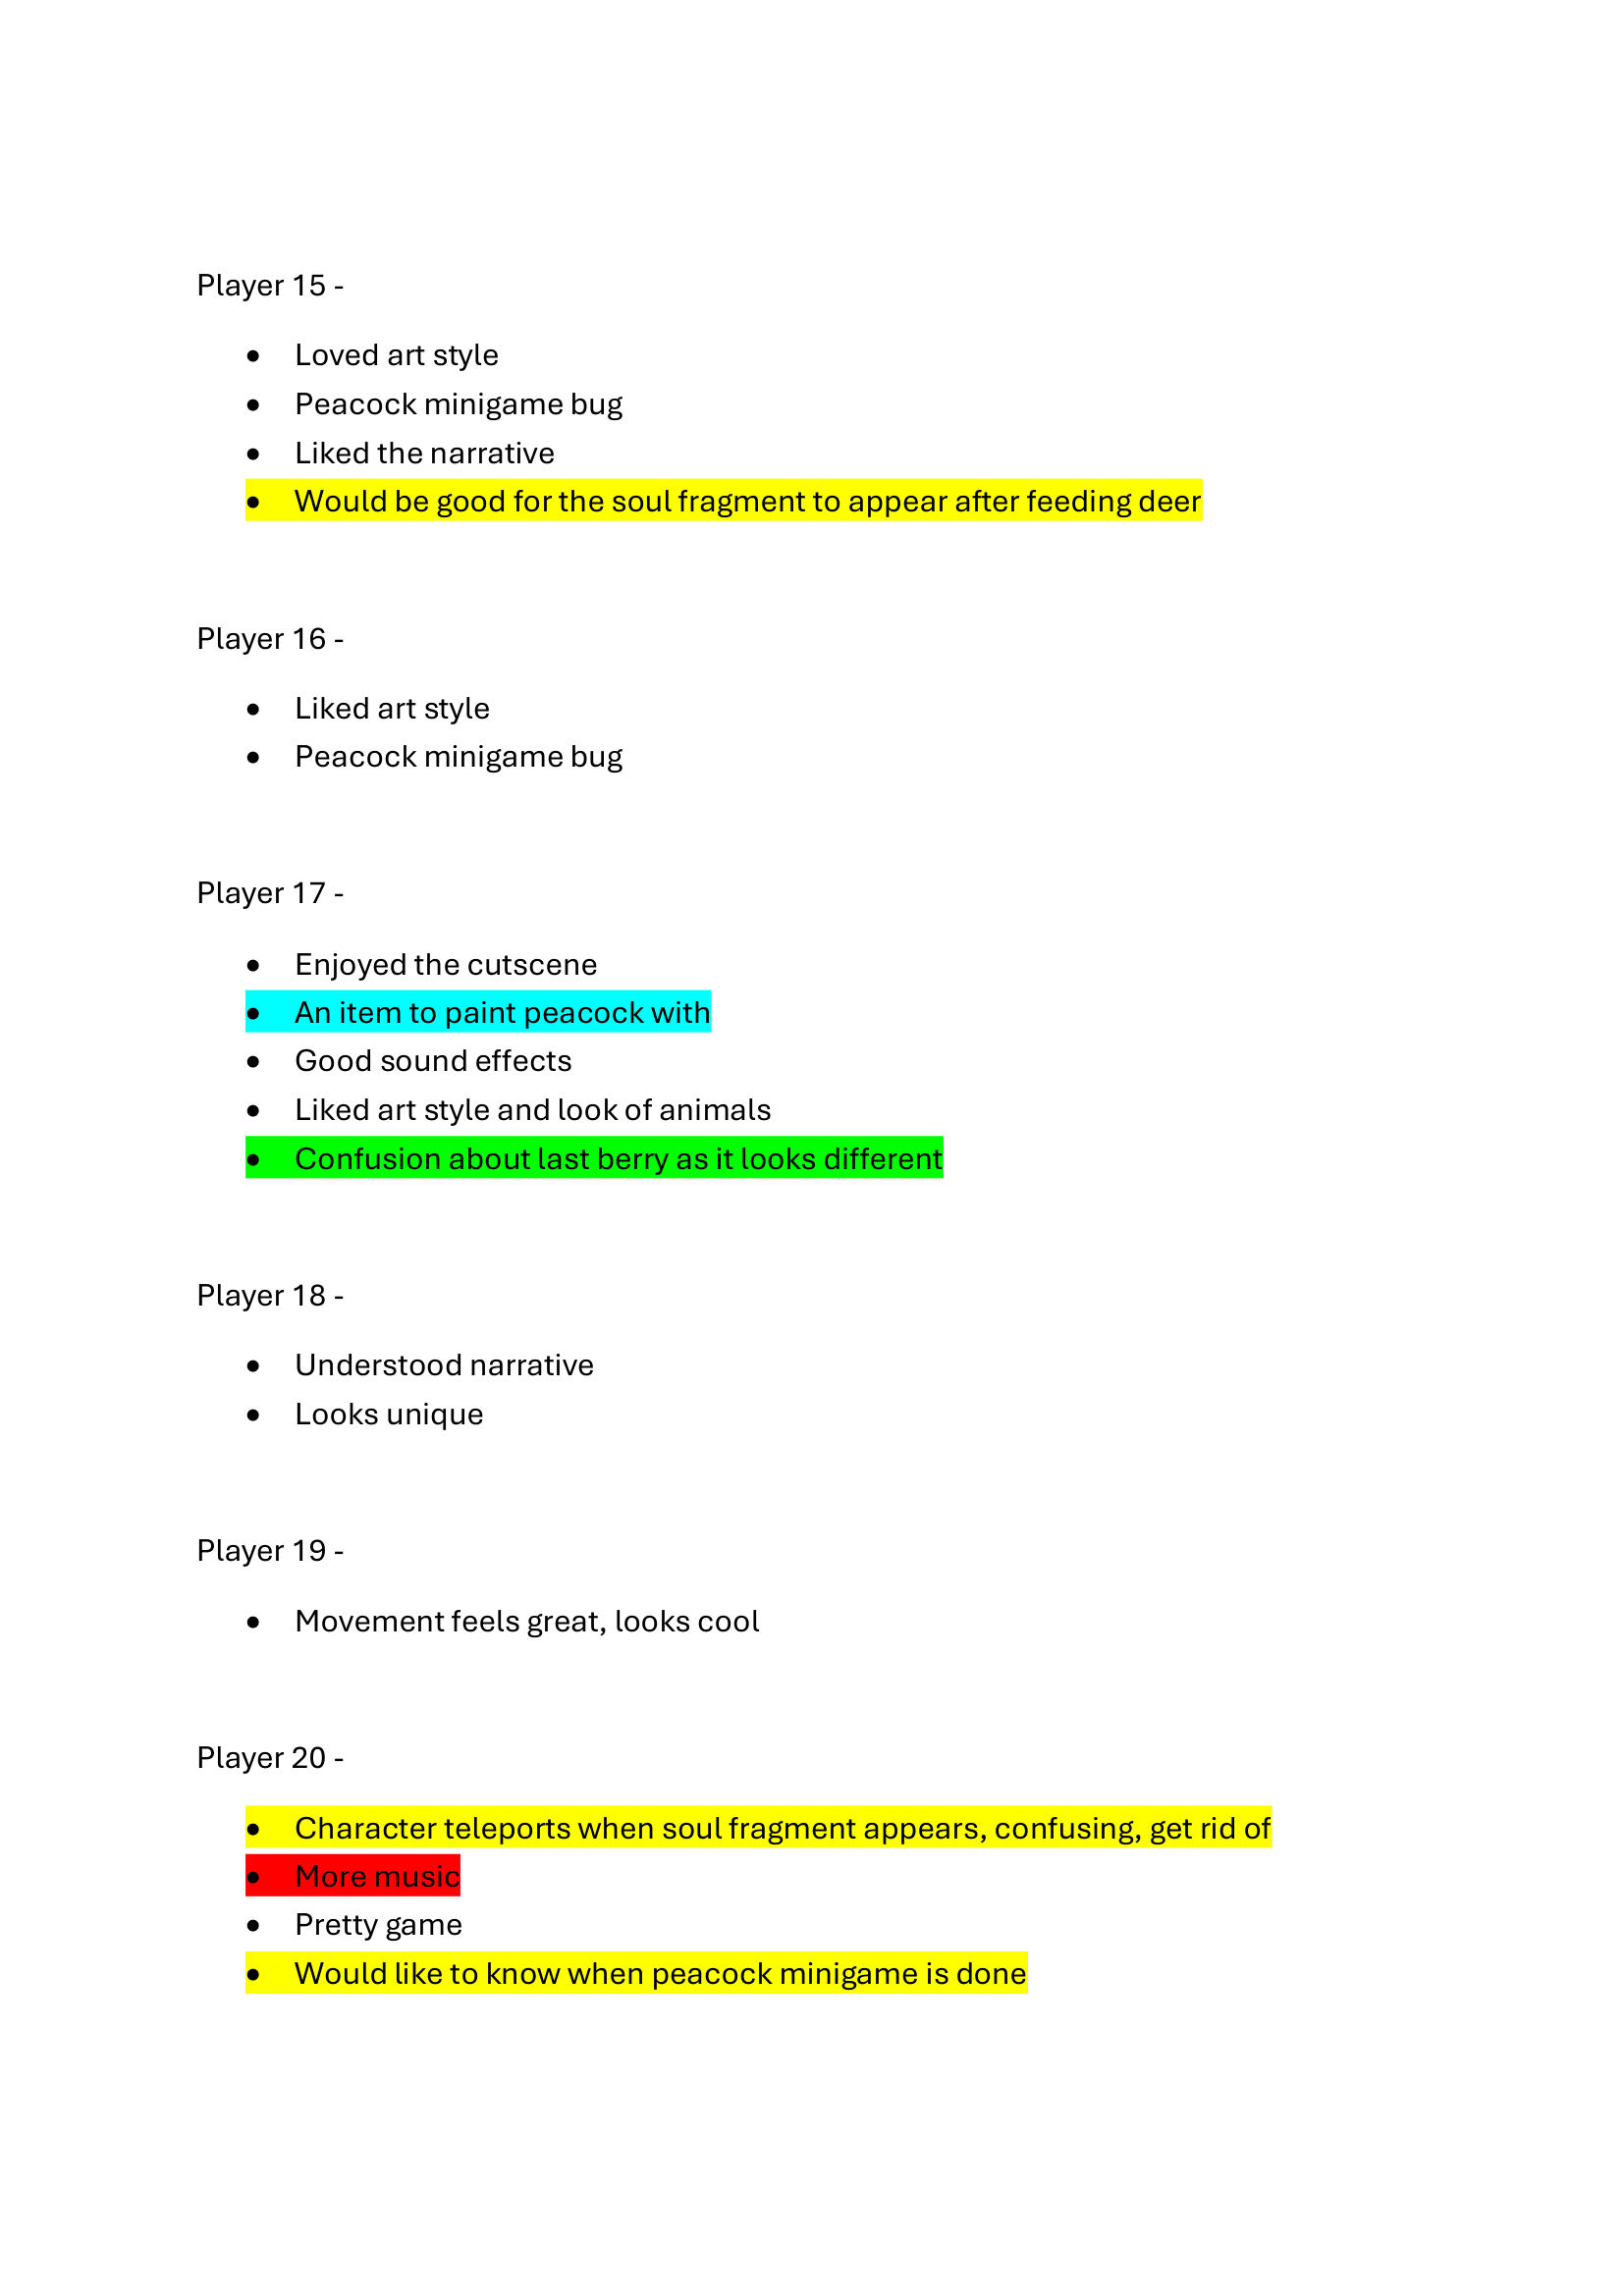
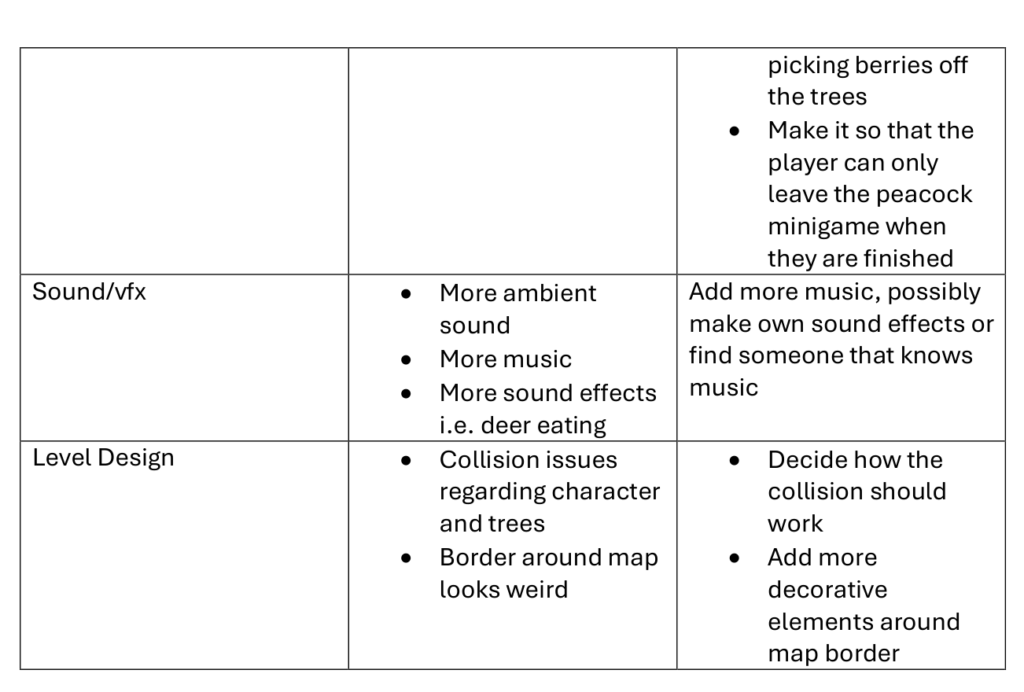
After the public playtest I took the feedback we had written down and compiled it into a word document. Looking for where feedback overlapped and making a table of the key bits and how we would fix them if we had more time in the project.
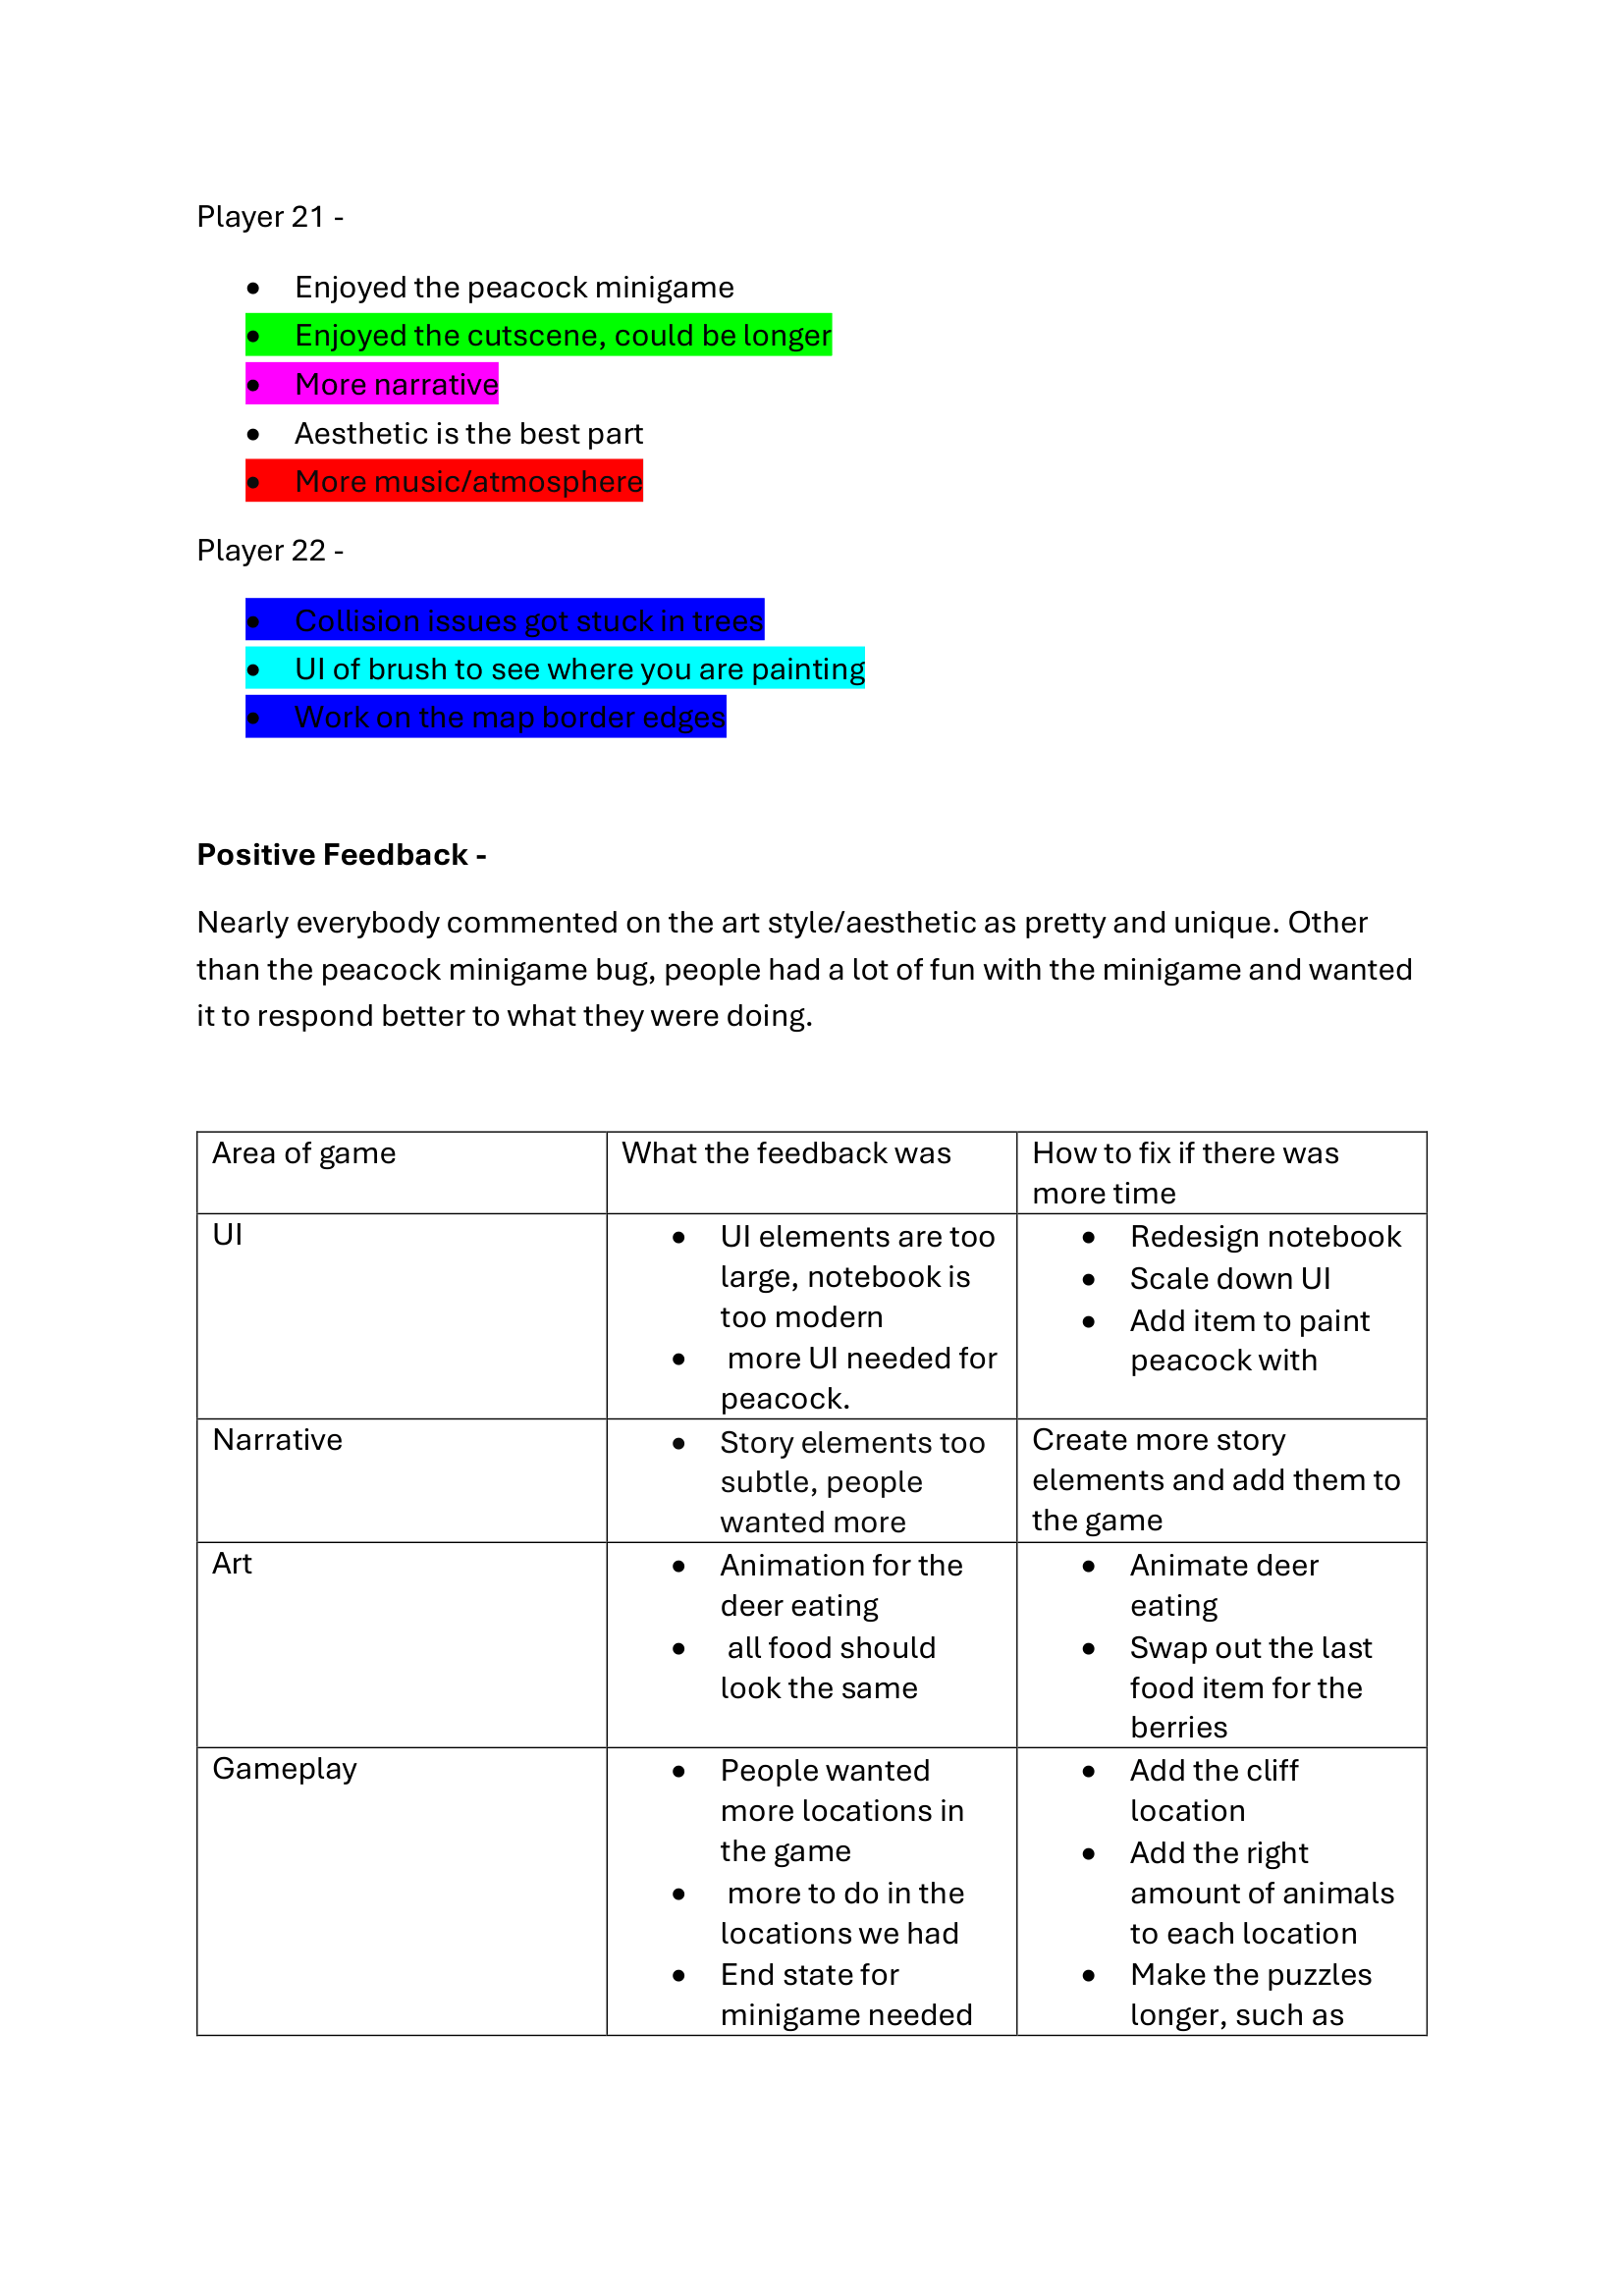
The feedback we had each written down during the event.
The final word document and table. I have shared this with my team in our slack channel so they can edit if they spot anything is missing. All of this work as well as a playtest retrospective is on the team website.
On Tuesday the 5th I went and set my work up forWhispers
On Thursday during the tech hours I continued to ensure that any new posts made on the team website were in the site menu and continued to update my own site.
During the afternoon lecture the department head came and gave a talk about year 3, what will be expected of us and the general overview of the modules. It was helpful to be given an idea so that when year 3 starts it will not be to overwhelming as the workload and speed of the projects is much more intense it seems.
We will also be moving to a new building (hopefully) so we got to see the floor plan and how it will be much more open plan, with all of the years being able to see each other work. Whilst this will be good to integrate the years better I am also apprehensive as such an open space sounds quite overstimulating to me. The last thing he covered was that in preparation for year three we needed to have a Linkedin and join the year three/alumni group. I already have a Linkedin so will just need to ensure it is up to date.
Next week is submission week so I will devote it to ensuring all of my posts are finished and I have asked my PAT to look over my work in the Monday lesson so I can see if anything is lacking.
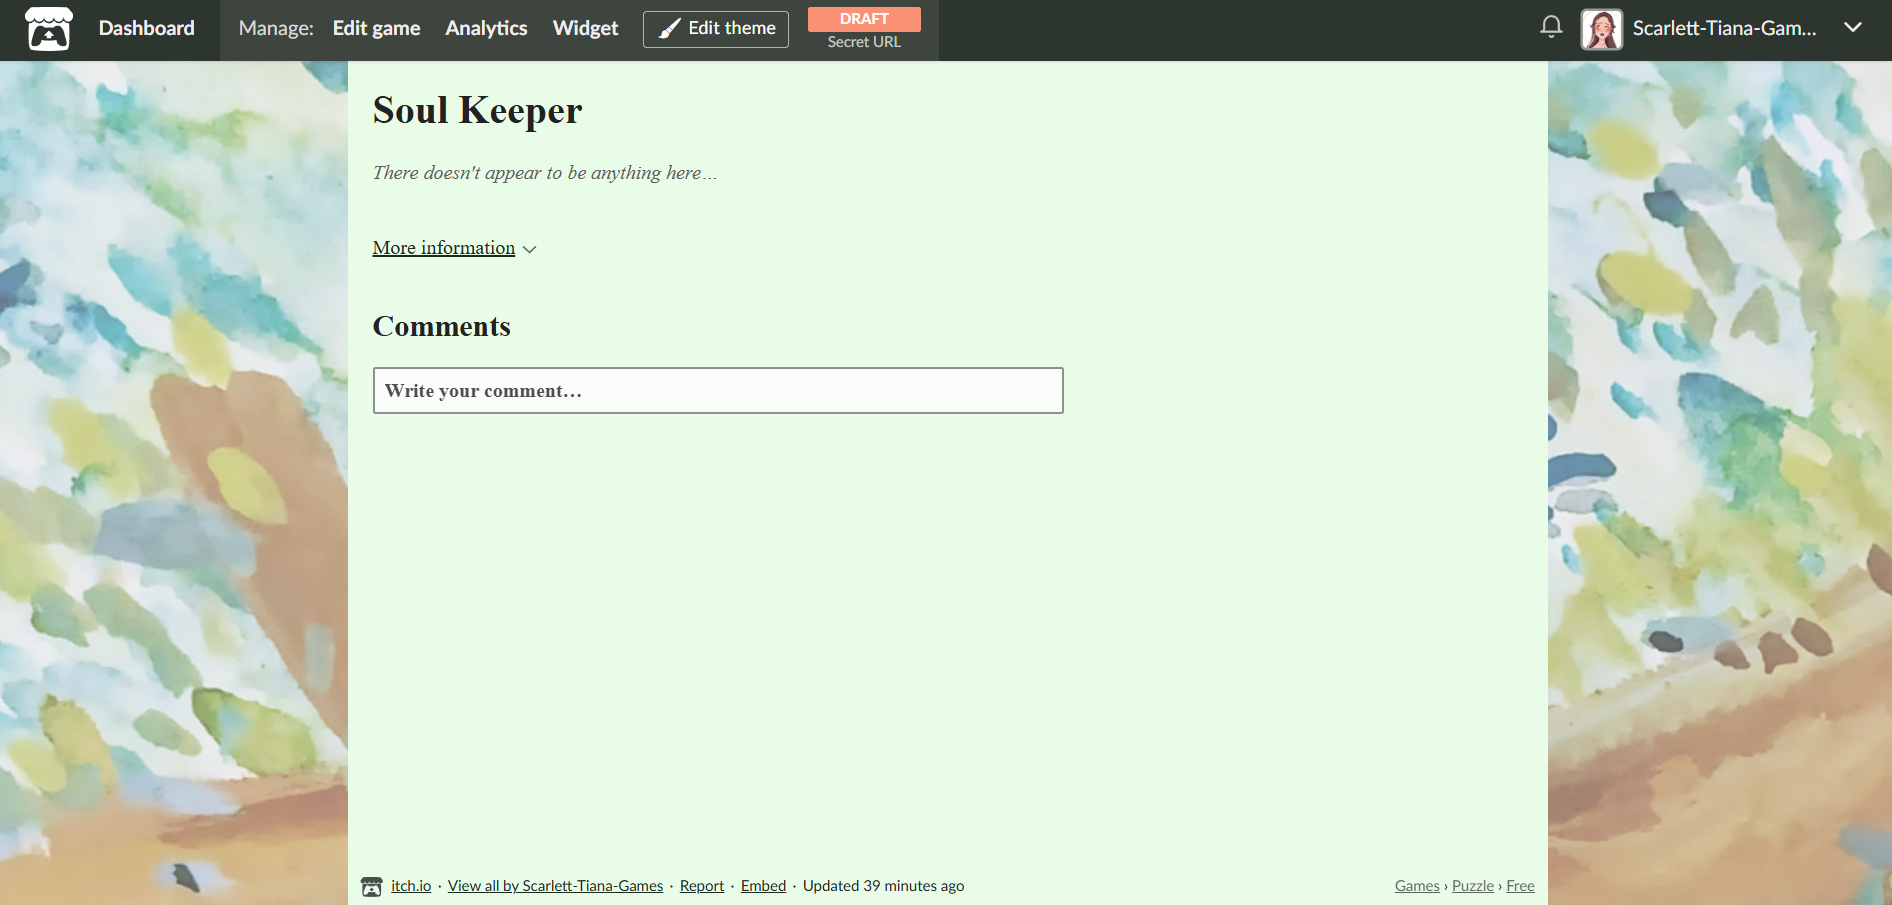
On Monday as the deadline for the other module was at 4pm I was the only member of my team in the class in the morning. I spent the time making an Itch.Io page for our prototype and messaging my team to try and coordinate when we would have the team meeting in preparation for friday. It was eventually decided that the team meeting would happen on Tuesday unfortunately I had a prior commitment and could not make it, though I kept my team updated by giving a deadline for when I would have the cutscene finished by, the end of wednesday.
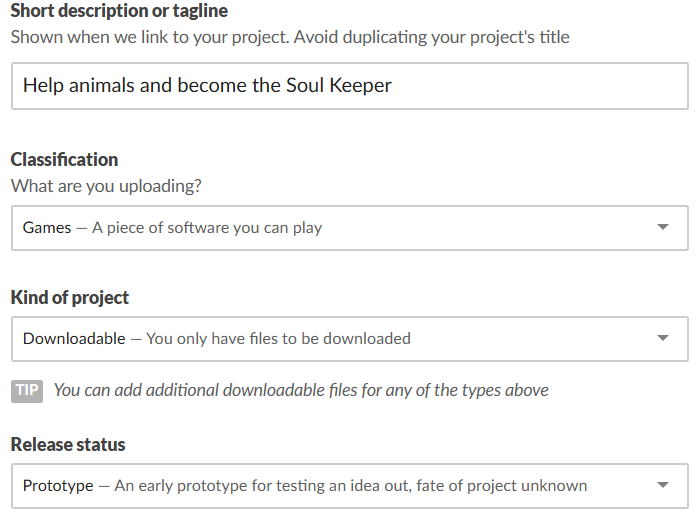
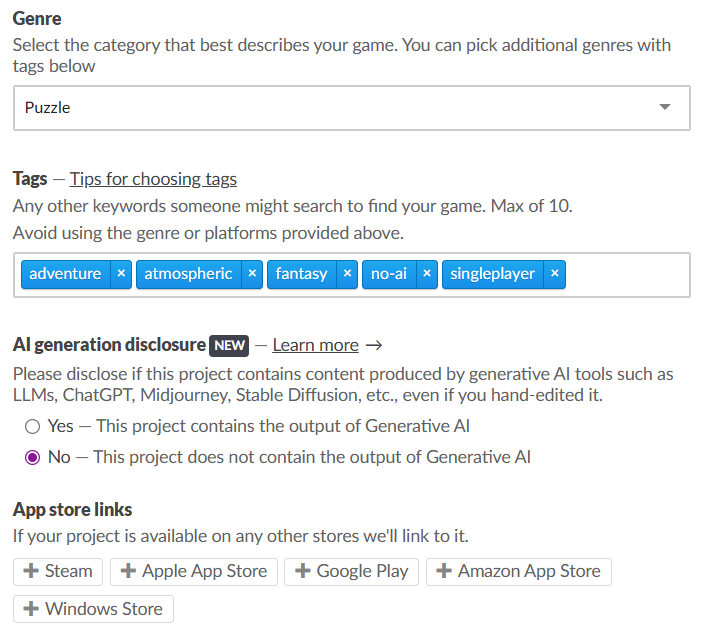
These are the settings I chose for the game, I kept the the tagline short but informative. Once the build is complete we will upload the files to be downloaded. I have messaged my team and once they have replied will add them as admin to the page.
For the look of the page I used the background art along the sides and chose a mint green for the bulk of the page, and a dark green for the writing. Once the environment artist is done with the poster it will go at the top of the page.
Before the public playtest I spent my time refining the cutscene.
During Thursday’s tech hours I updated the itch.io page more adding a description for the game – Become the Soul Keeper, protector of nature and guardian to all animals.
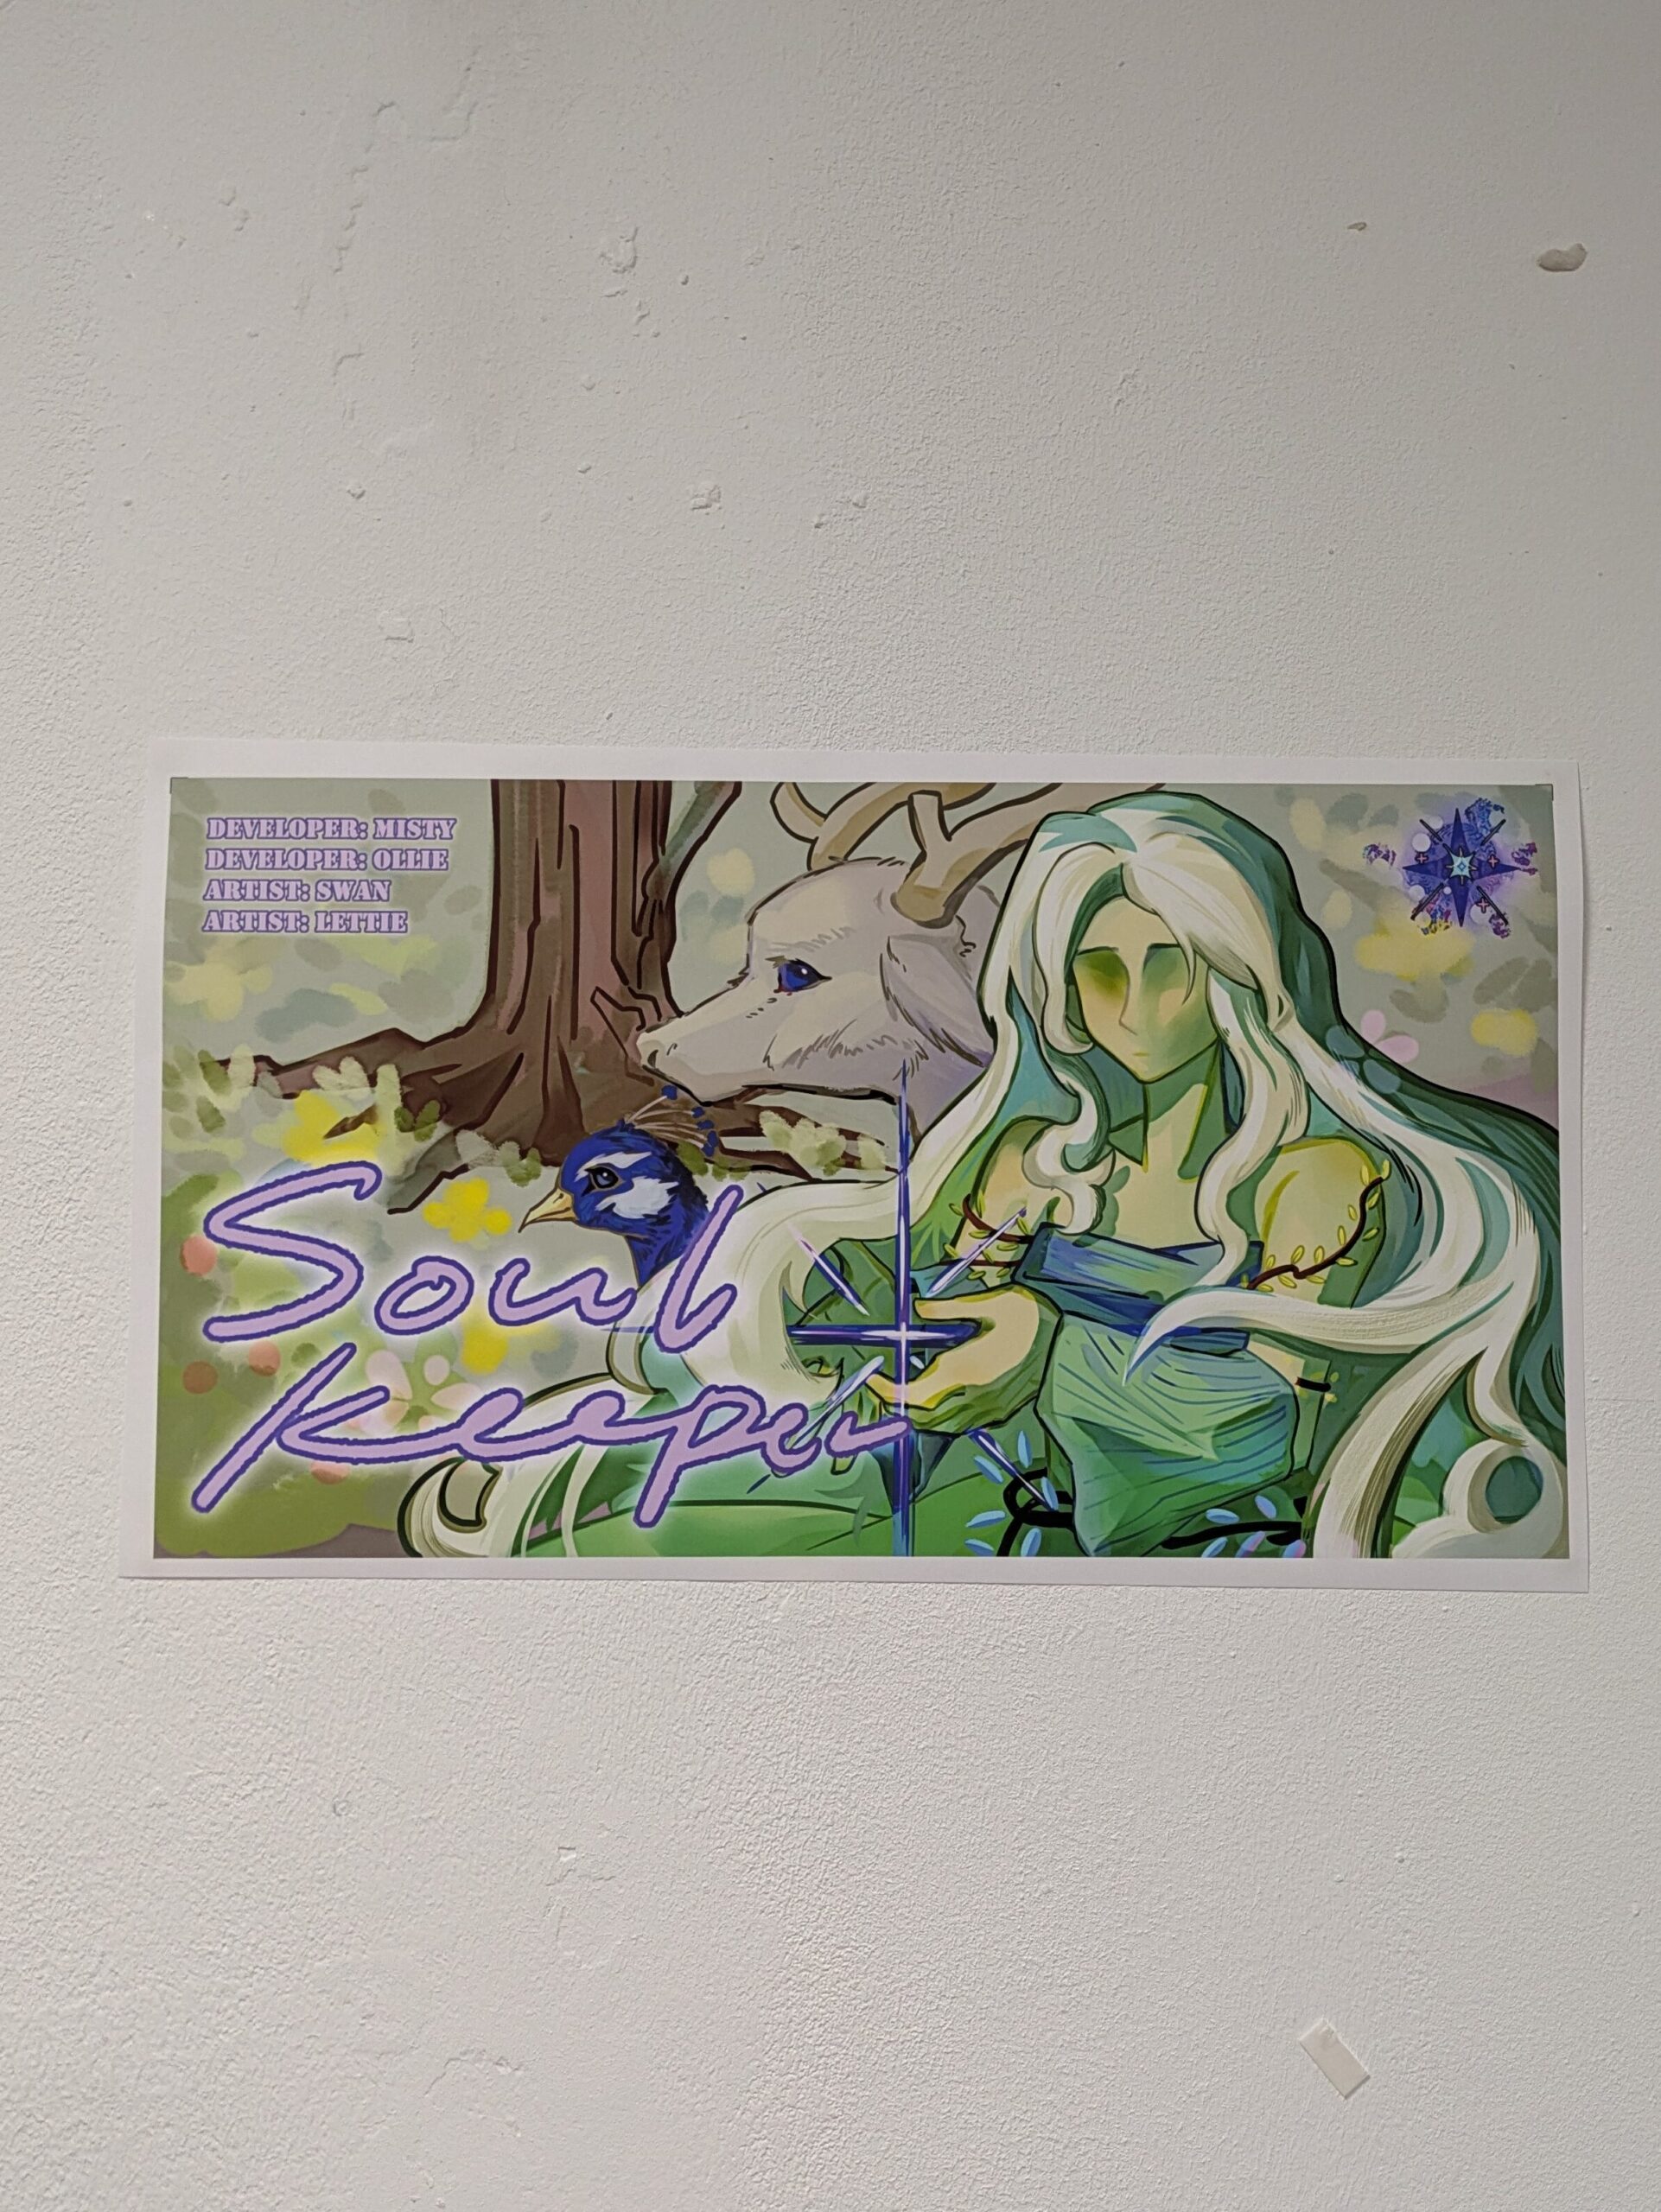
On Friday we had the public playtest in the cafeteria. We arrived at 11 to check the game ran smoothly and put our printed out poster up. The mechanics Designer had uploaded it to Itch.io the previous night.
This is the printed out poster on the studios walls.
After some trial and error everything was working except fo rthe peacock minigame, the cursor was offset so that wherever you clicked, it thought you were much lower down. Our technical designer tried to fix but was unsuccessful, we decided that the game still ran and that you could still play the minigame we would just let players know what had happened.
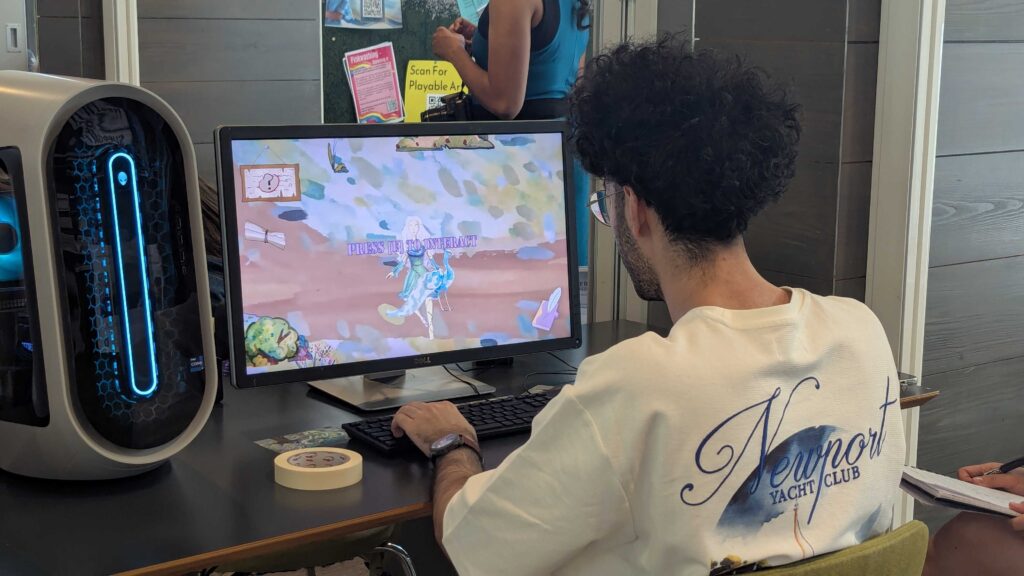
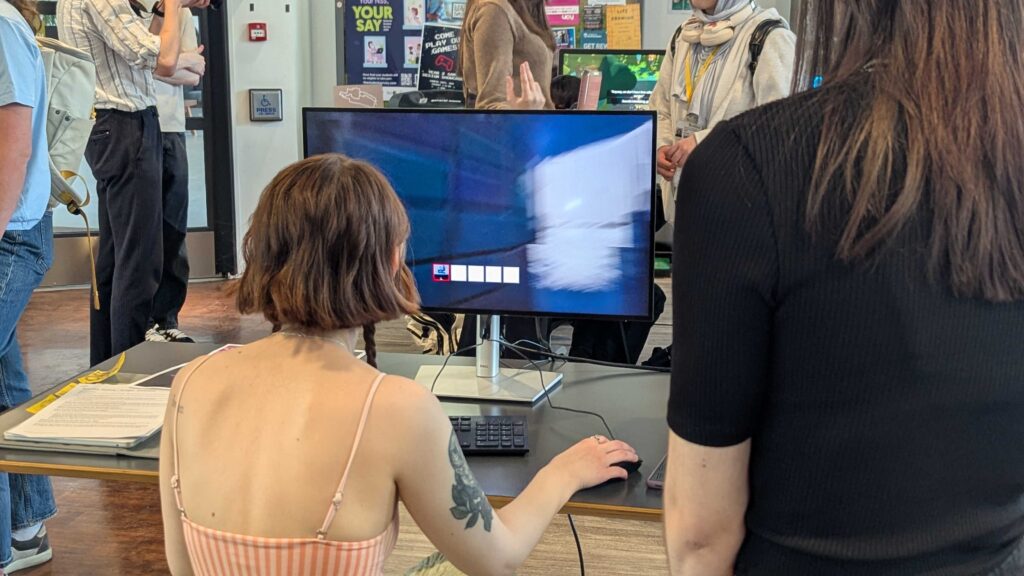
Images from the playtest taken by our technician. Someone playing our game and me trying a peers game.
The playtest was a success we had a lot of fresh eyes on our game and the game ran smoothly other than the peacock minigame we had no bugs. We structured the day by taking it in turns to sit with the game and take notes of how the players were doing and any feedback they had for us.
It was also very nice to see and fully play every groups game. I managed to play every one, it was also cool to see my game idea better realised than the prototype I had.
Next Steps –
As it is week 10 the deadline for submission is coming up, I will now compile the feedback into a table.
This week was the first week back from easter break, due to personal reasons I could not make it back for the monday lecture.
Catching up from blackboard I understand that the public showcase will be on Friday the 1st. We should have a working build of our game that is accessible through an Itch.Io page, we also need to create a poster to market our game.
On Thursday during the tech hours I focused on updating my wordpress, spellchecking etc. I also looked at the team website and ensured that all finished posts were added to the site menu.
During the afternoon lecture we had a guest over zoom that runs a consultancy for games studios, 8-bit Studios. The talk was very informative and opened my eyes to a side of the industry I had not given much thought to before.
The consultancy mostly works with indie studios so they went over things that studios should do when setting up.
Write a founders agreement.
Allocate responsibilities of who will manage the paperwork side of stuff.
Do not shy away from talking about money.
Write revenue share agreements
They went over when you should get lawyers involved in your studio.
Involve when dealing with a company
get lawers involved to read over publishing contracts to ensure that they align with your studios values.
The last thing they did was go over some common legal terms and what they mean.
NDAs – Hard to impose consequences, most commonly used when under a publishing studio for the purposes of marketing.
Internal Policies(HR) – make sure your studio has certain policies inplace at the beginning like accessibility ones, even if not immediately needed.
Employee Rights – Maternity leave, sick days and leave.
For the rest of the lesson we had a short discussion over who should make the poster, I initially offered to do it but the environment artist had already made a fantastic start.
I then turned my attention to figuring out what I needed to do for the rest of the week. The deadline for our other module is soon so I spent the rest of the week alternating my time between finishing off my business plan and drafting keyframes for the opening cutscene.
Next Steps:
I need to work on my cutscene animationfurther. A team meeting also needs to be sheduled so we can build and test that the game works.
This week we had a guest speaker, Dan Emmerson. This was very exciting as I am a huge fan of his game Shutterbug. He spoke about game art and the different pipelines that emerge.
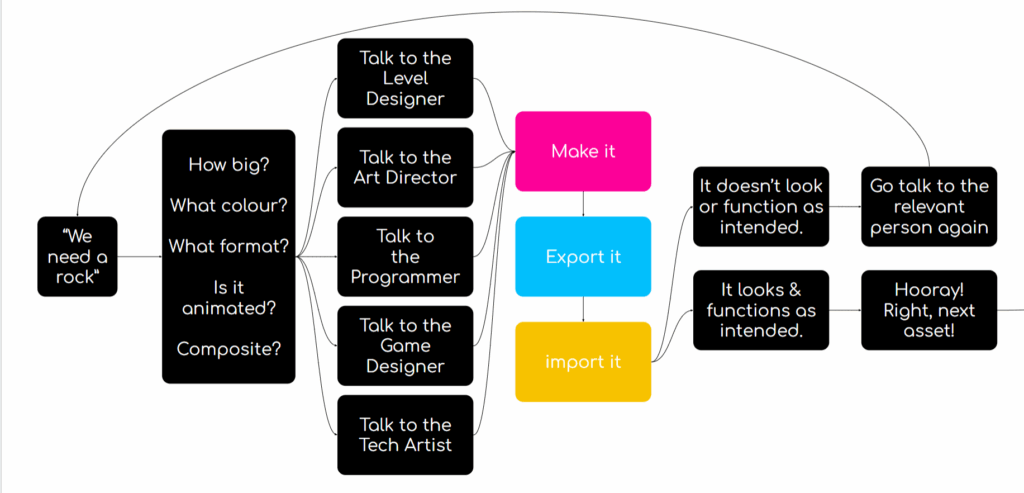
He covered in simple steps the game art pipeline
Step 1 – making the assets
Start small and simple with greyboxing and functional assets
Software choice does not matter just stay consistent across the project
Step 2 – Exporting
Use naming conventions like Rock_Large_Mossy to easily keep track of your assets.
Sprites should be in Po2 format like 512, 1024 etc
Spritesheets should be used
Do not be lazy and make sure you are sticking to the rules you have set
Step 3 – Importing
Once things have been imported still keep track of them and organise them within the project such as grouping by type or by asset
Constantly test how assets look in game against each other.
Playtest Thursday 19th March
We spent the morning workshopping bugs and ensuring our game runs smoothly. I worked with the mechanics designer to implement the visual effects for some reason I could not get them to work using the URP so we sought help form the technician who showed me another way to access the same effects. Then for the particle systems we just downloaded them then reimported them into the different branch on Github.
During the playtest we took notes and observed the players to pick up on things they might not mention. Our Mechanics Designer took all of the feedback and transcribed it for us here.
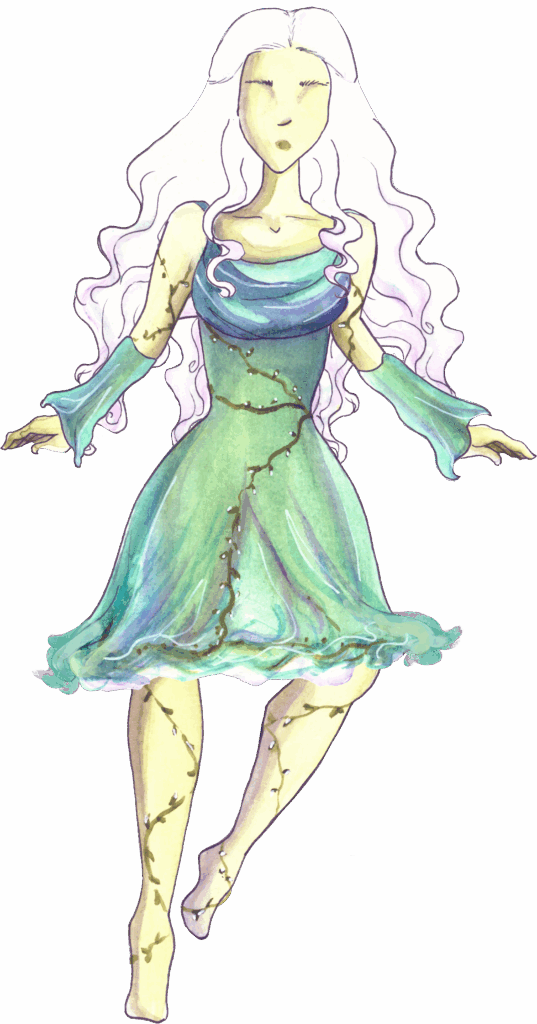
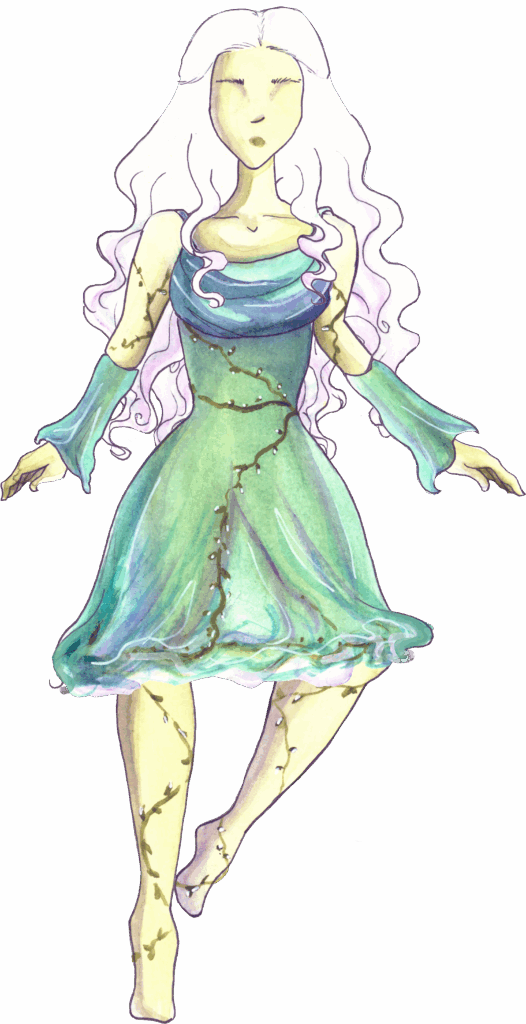
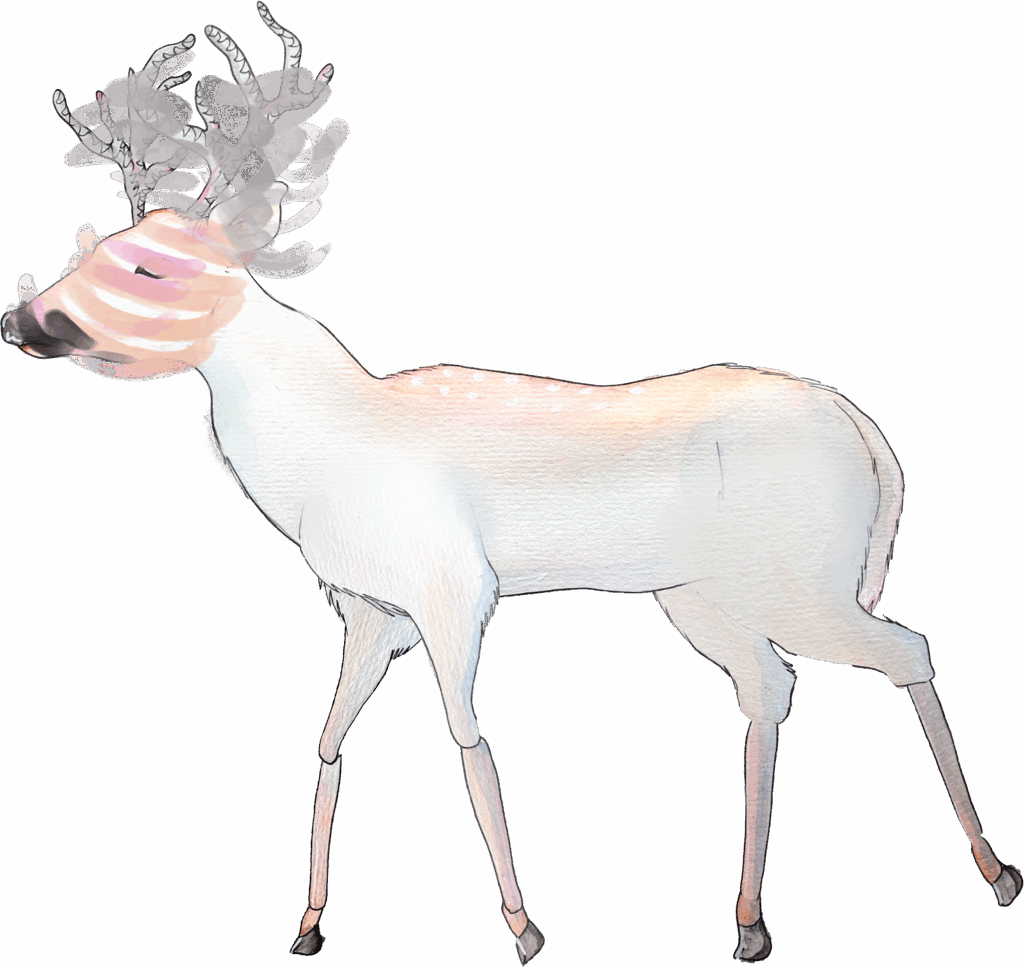
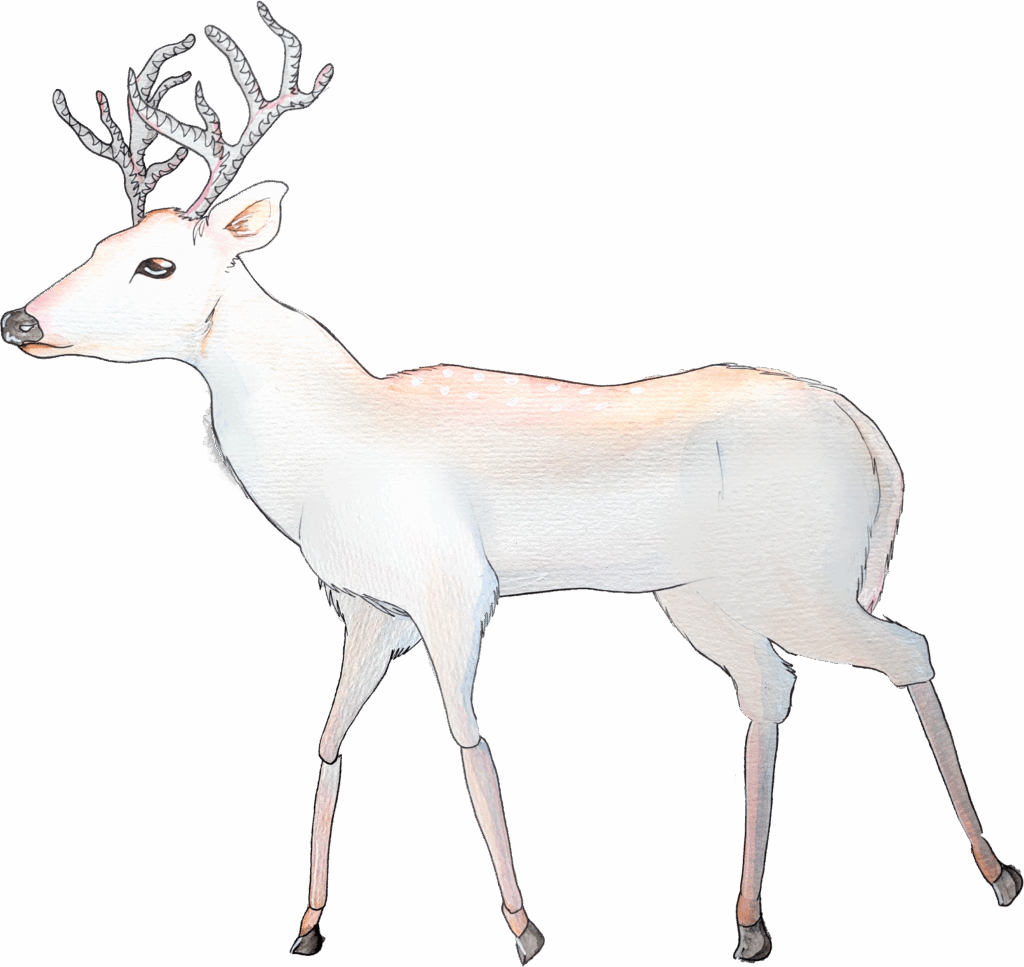
Things that I need to work on are: the character leans left too much when facing left on the idle animation and the deers walk cycle is stilted.
Before
After
To fix the character I opened the frames in Photoshop and selected all of them together and used the skew and distort tools to fix the issue. This was the easiest way I could find, to avoid this in the future I need to work on my anatomy and find ways to flip the drawing whilst I am creating it.
Before
After
I believe that the issue with the deer has happened because we took the smear frame out for the playtest as it was too fast and looked weird to fix the walk cycle I just took the smear frame and removed the effects so that it’s head was normal.
Next Steps –
Next week is Easter break so I will be prioritising resting over the break and simply using the time to organise and update my website. I will also be working on my entry for the macmillan illustration competition.
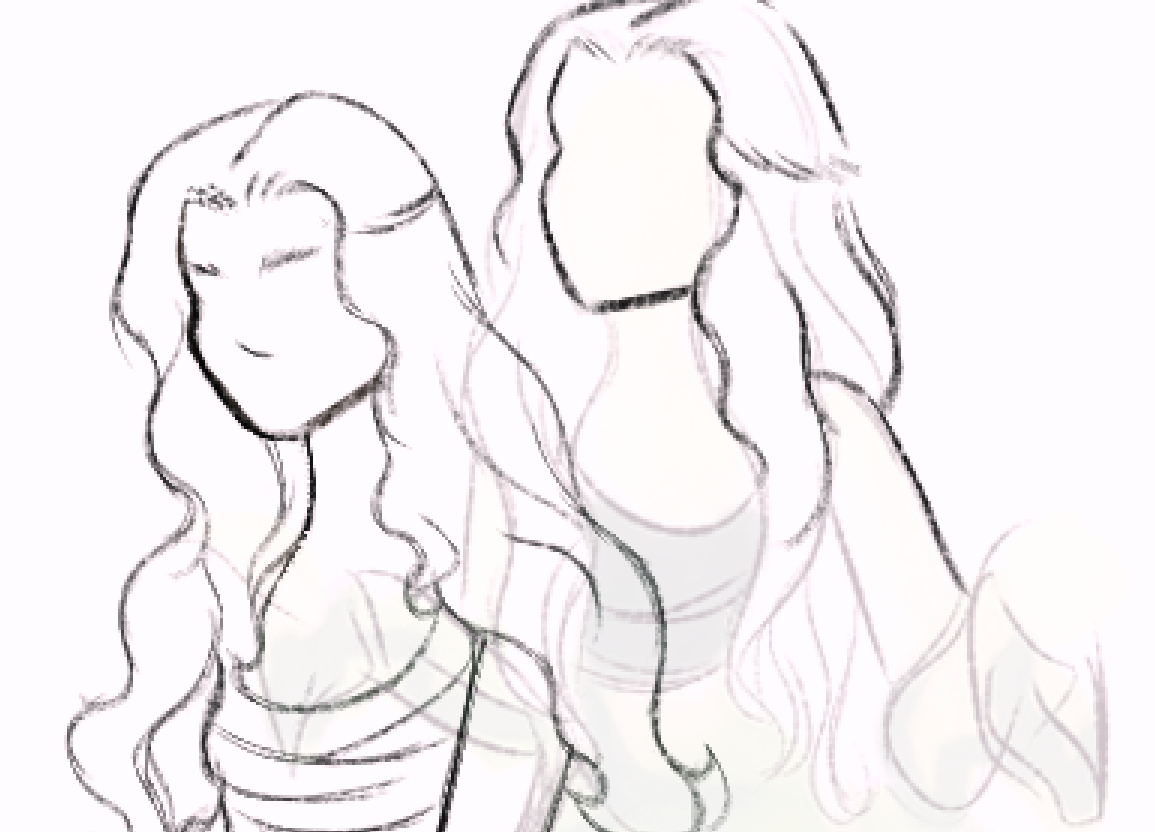
During formative feedback week, After talking with my PAT she wanted the character to be more graceful and ethereal. I decided to go about this in two ways, one was to update the characters idle and move animations and the second was to create an opening cutscene, as this will be hand drawn and animated frame by frame and can make the character smoother.
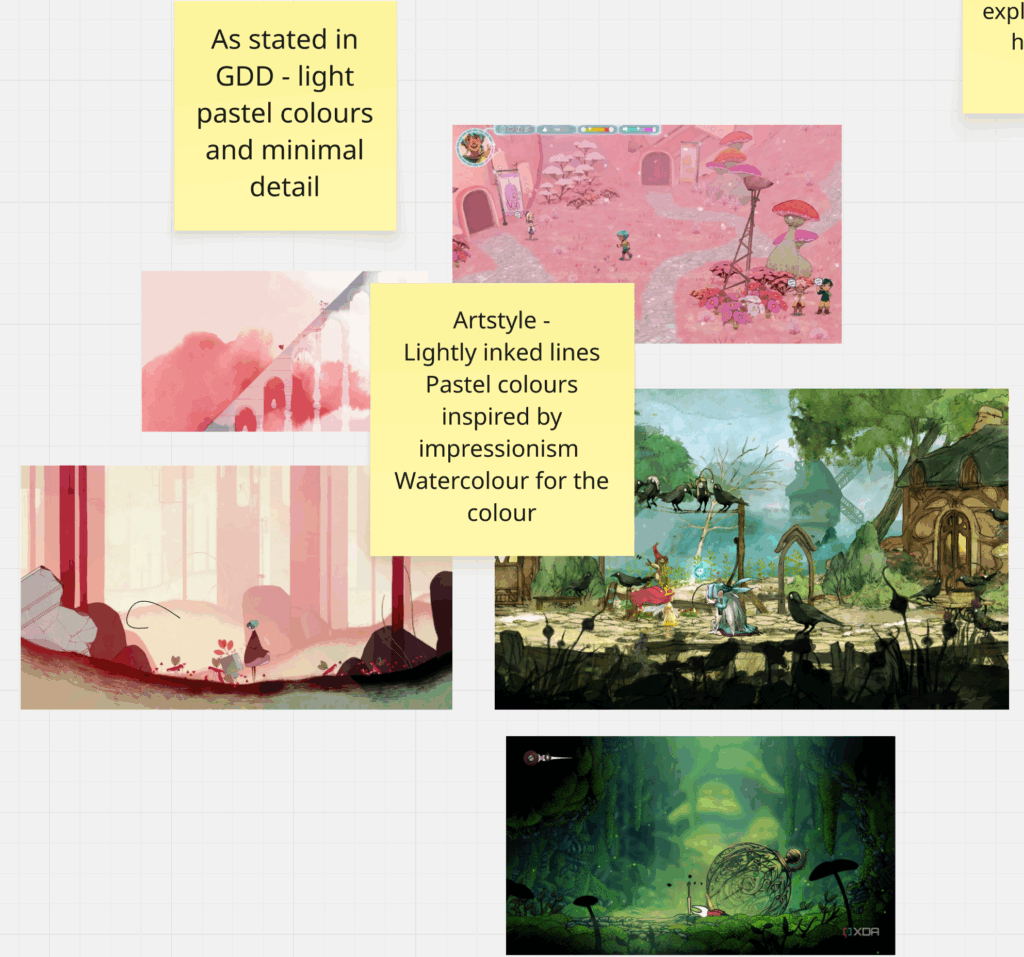
Before I began drawing I refreshed myself with the team mood board about the art style.
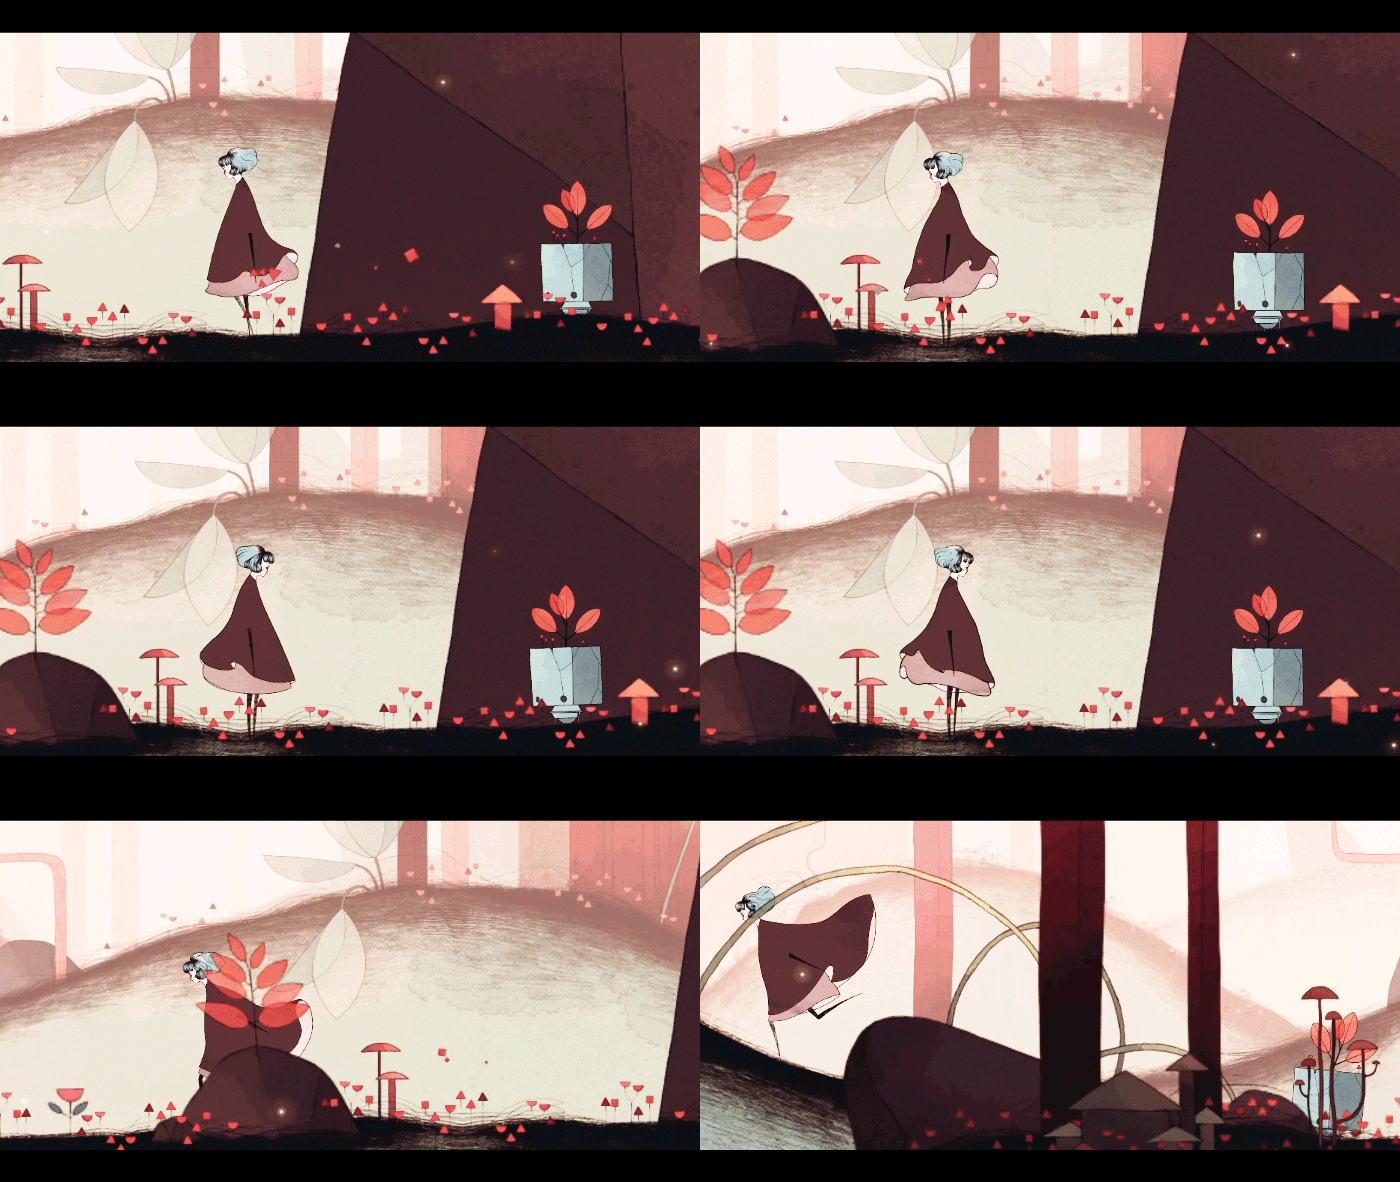
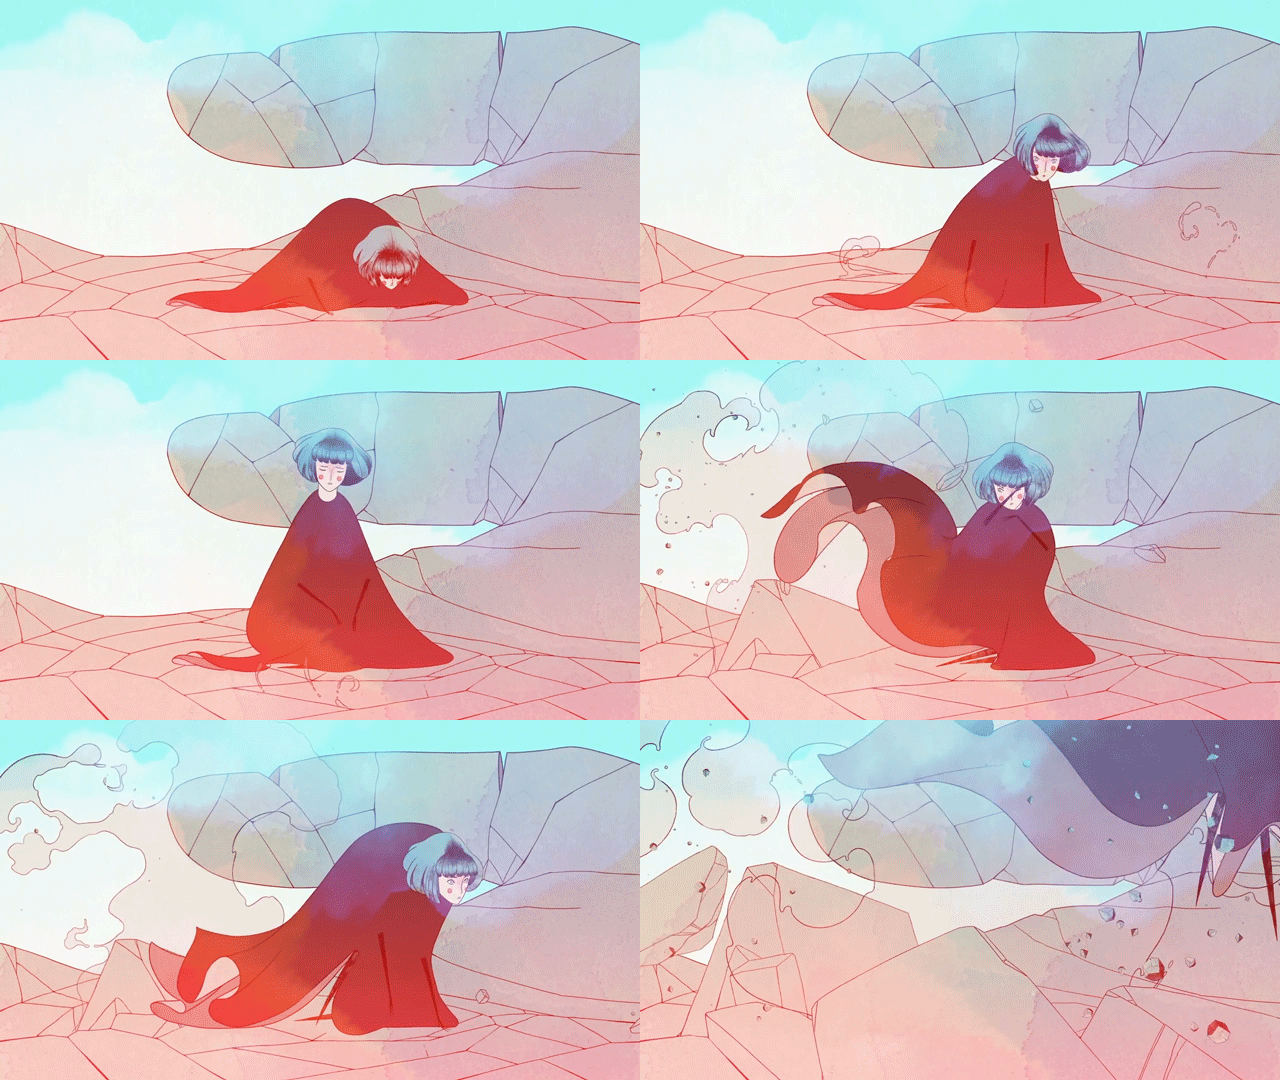
In this mood board we looked at the game Gris as recommended by our lecturer, for the cutscene I searched for some animation references from it. I do not believe I can make my animation look as smooth or refined as Gris but I will certainly be using it as inspiration.
First Draft
This cutscene plan was in the GDD so for my first draft I created a variation of how it looked.
This was the original version in the GDD.
“Starting cutscene. The MC is waking up from slumber in the middle of the forest, covered in flowers and grass that turns in her hair and clothes as she gets up. This location can have the same environment as the Lakeside.”
To create what was specified in the GDD I knew I would need a good reference so I enlisted my sister to film a short video of the characters movements I then went through it and screenshotted key frames. I took these into Ibis Paint x on my tablet and created a draft of frames.
Speed paint from Ibis Paint X
In this speedpaint I am importing the keyframes and tracing over them, I then am using the eyedropper tool on the finished character and quickly adding colour to the sketches. I also experimented with different types of backgrounds, by warping the finished environment painting to fit the perspective and playing around with different layer blending modes. I ultimately paused this idea for this iteration and created a mock up of what it looked like in the GDD. I then exported the different frames, 12 in total.
First Draft put together in Flip a Clip
This is what I put together in Flip a Clip (a frame by frame animating software.) It is 15 frames in total at 3 frames a second. Using the brushes in the software I added some movement in the background and on the trees. The ease of use in this software helped me iterate versions quickly and try out different techniques.
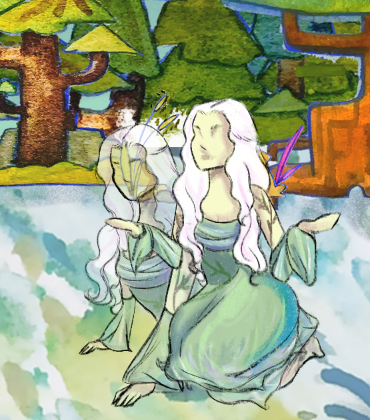
The first version was 3 seconds long and felt very stilted. After watching it a few times I got the idea to add in low opacity versions of the previous frames to act as a smear frame and simulate more movement than was actually happening.
Second Draft
After I had the first draft I sent it to my team to see if they liked where I was going with it, they did and I promised them I would have the final one ready the Wednesday before the playtest
I decided to make the final version in Photoshop as I am very comfortable with it and it is what I have been using to animate the whole project.
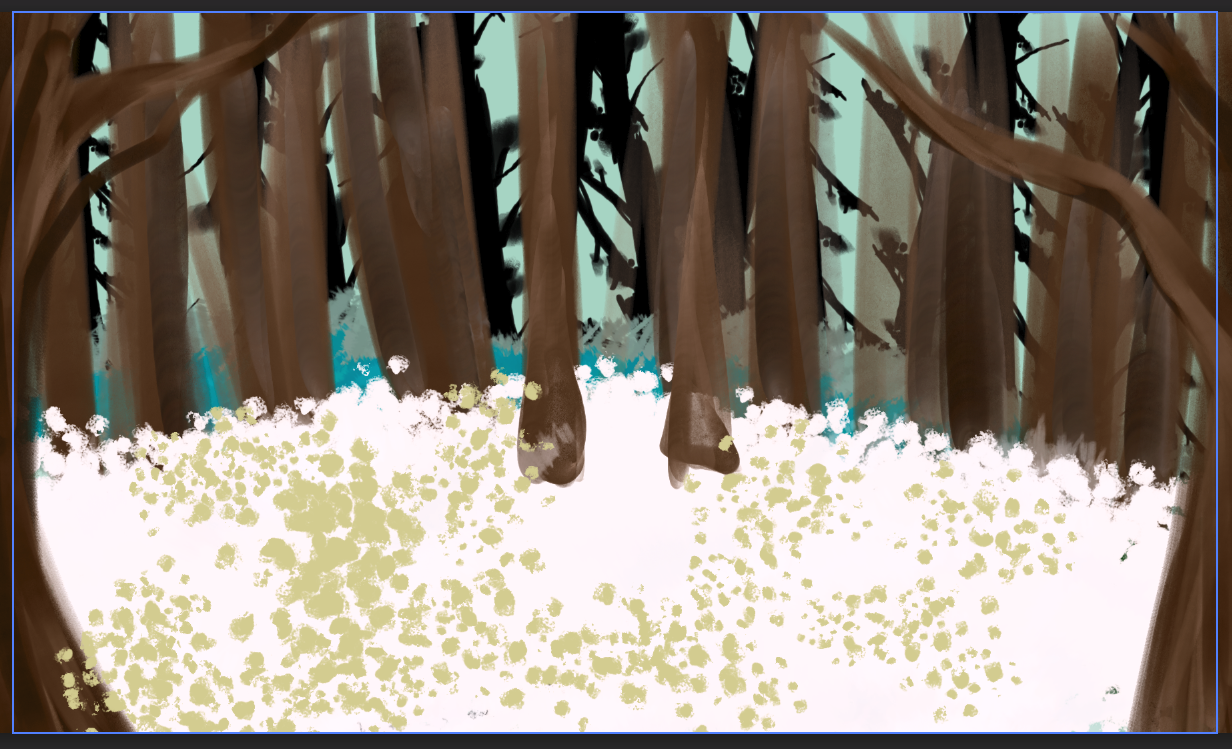
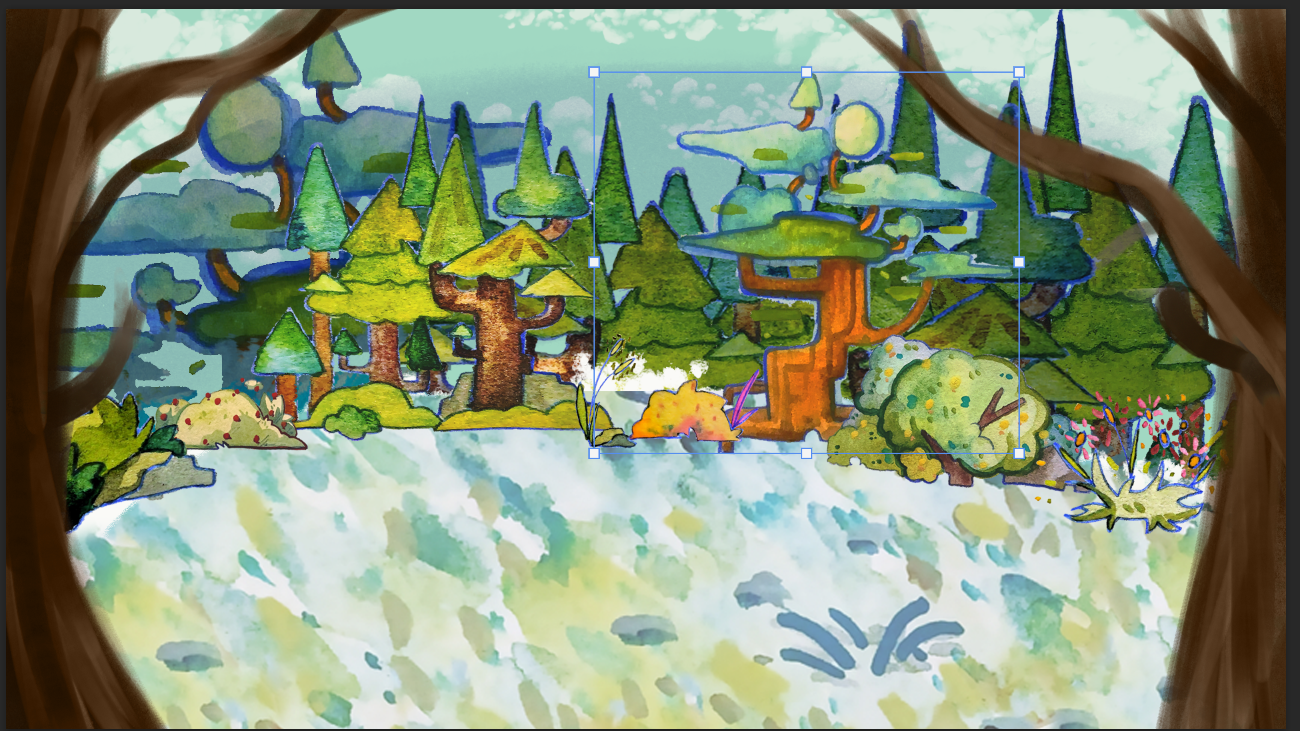
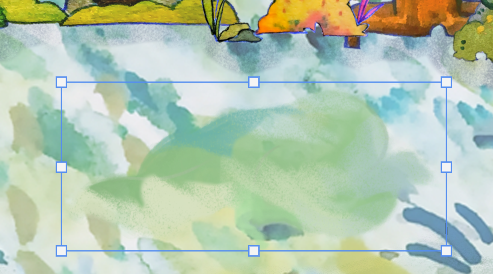
The first thing I wanted to get done was to have the background finished. Using watercolour brushes I began painting my own inspired by the environment artists work. Midway through doing that when It looked like this, I realised I was being silly and making life harder than it needed to be. All of the environmental asssets had already been created, I should just use those. I found them in the shared slack channel and imported them into the file.
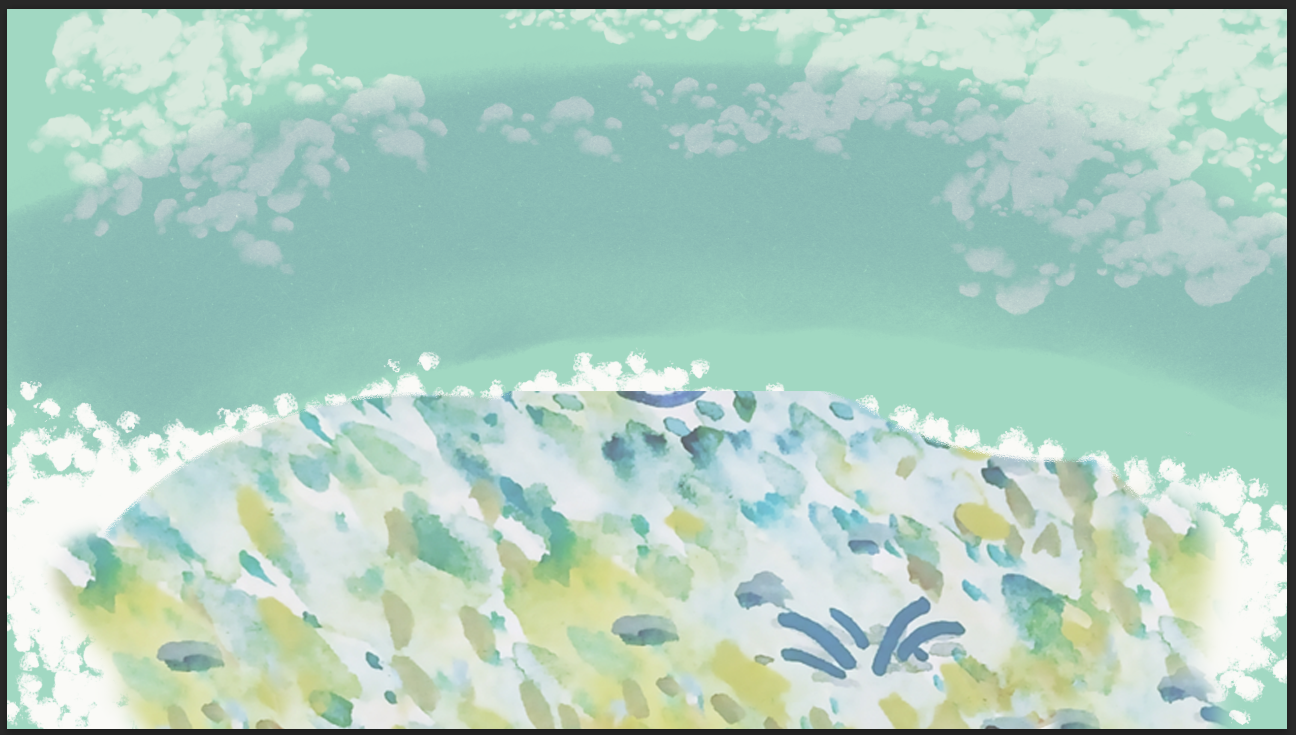
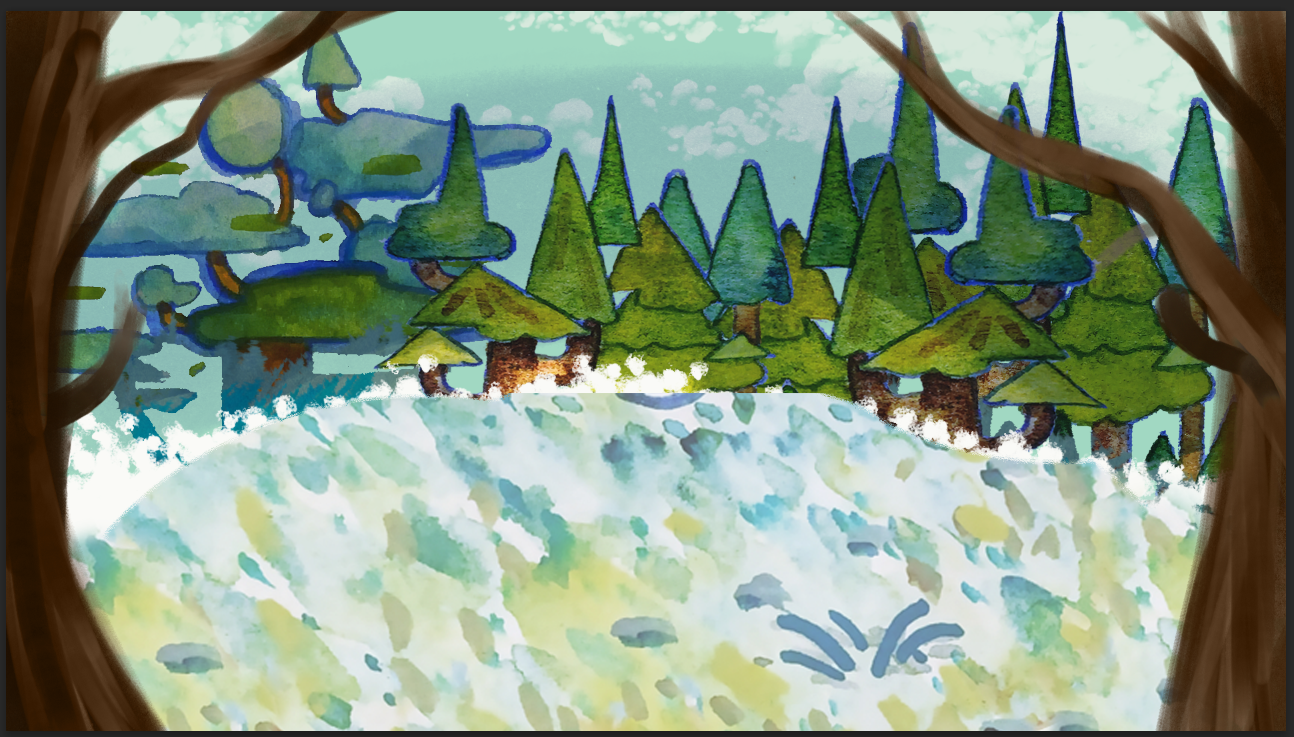
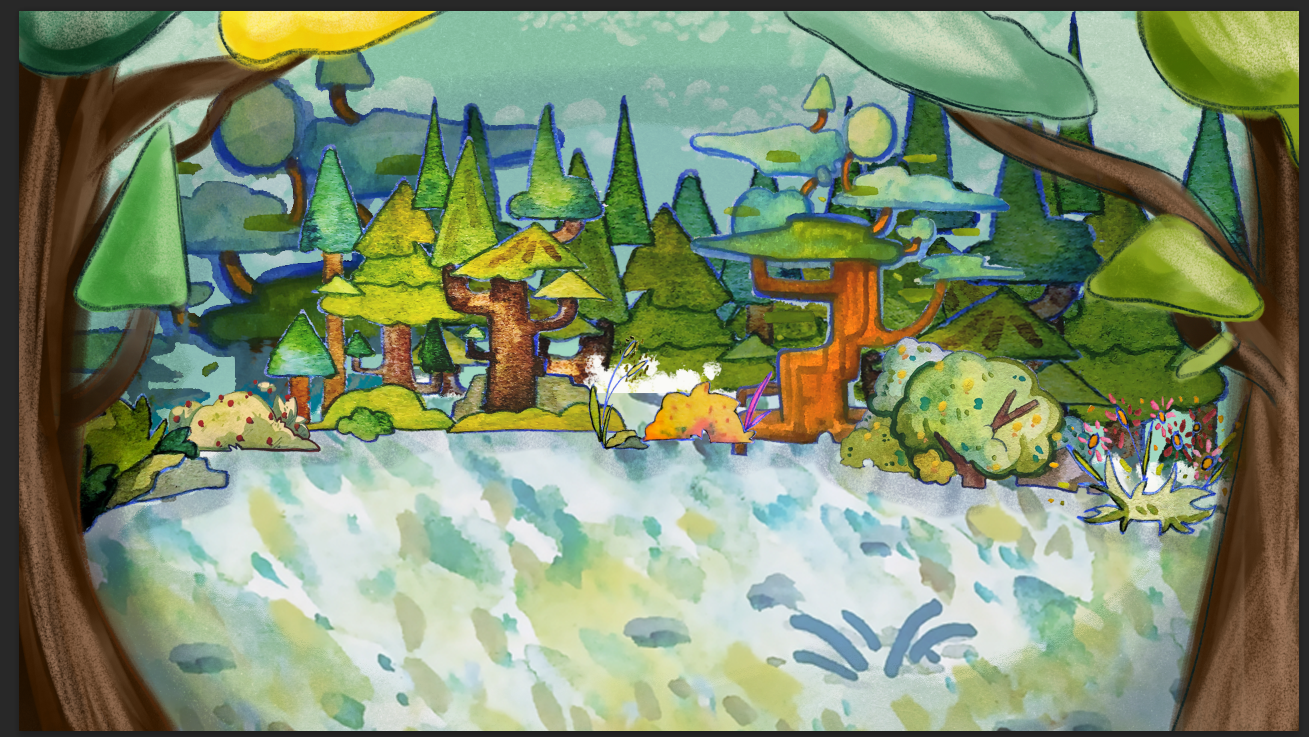
Using the ground painting I roughly rounded out the edges and added some white dotty texture around the edge. I added clouds and a dark streak to signify shadows in the back. I then added in the trees the envrinment artsit made and used a clipping mask over all of them to darken them as if they were in shadows. To frame the scene I kept the two trees around the edges of the screen.
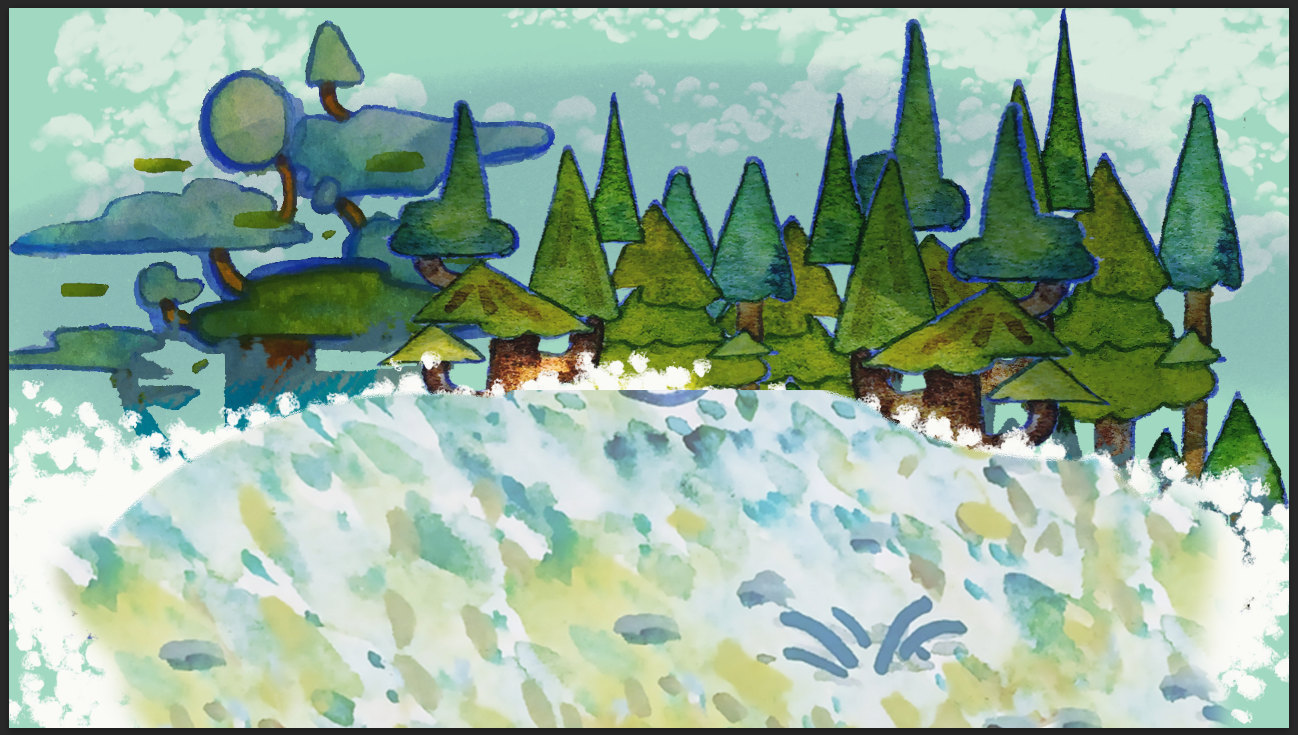
I then added in midground trees and the foliage assets to hid the awkward sharp edges where I’d cut the ground out. At this point I was really happy with how this was looking. The final elements I added were interestingly shaped leaves on the trees to match the current trees. I painted these on myself mimicking the style.
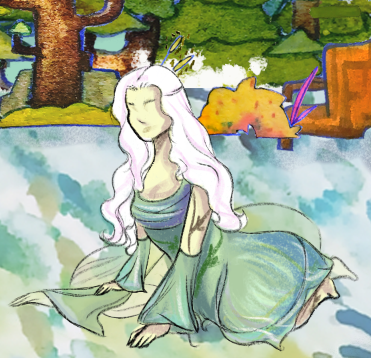
To test this background with the character I imported only the frames of the characters movements and created a gif. After making this I was excited as it was coming together now and I could fully envision the final product in my head.
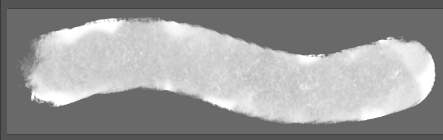
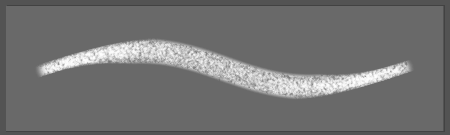
To try and replicate the physical watercolour textures I used these two brushes. The left one for the colours and sahding as it is a watercolour replica brush. The left one has texture that matches watercolour paper texture.
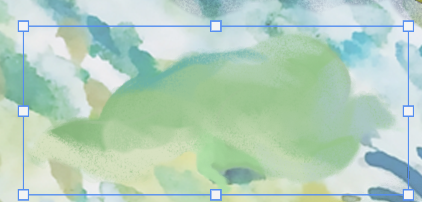
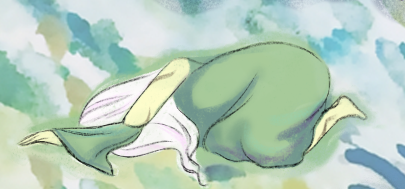
Once I had the background done I moved on to the character. Using my first draft as references for how detailed each drawing needed to be I began painting. For the first frame where the character just begins to form I used the colour picking tool to paint different streaks of ground colour in the shape of the character.
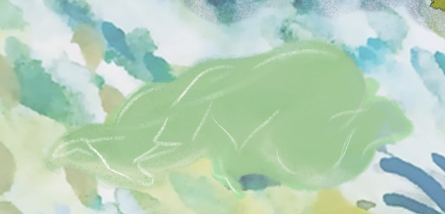
With each new drawing I added more details, such as white lines that then turn into black lines and the green colour becoming more prominent.
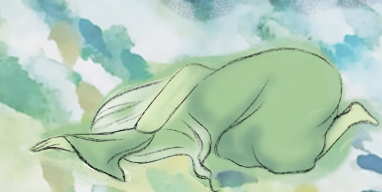
Before finally the character becomes rendered with bright colours, the final things that materialise are the vines on her skin.
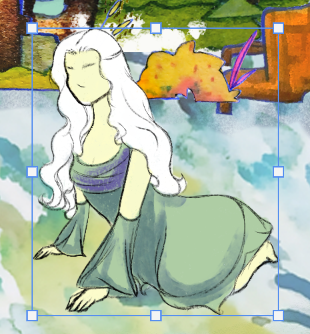
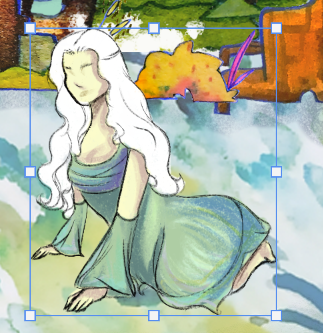
For the frame where she’s pushing herself up I worked slowly methodically with the lines first then flat colours then shading and details.
Once that frame was fully coloured and shaded I hid the colour layers leaving just the lines and then began drawing the sat up frame, using the previous as a reference to make sure the sizing between each frame was consistent. As in the first draft it was not.
As with in the first version I kept the low opacity “smear” frames, as I really liked the effect it created.
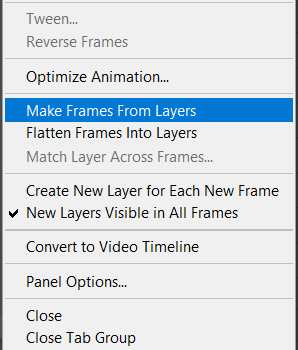
When it came time for the animation itself I copy pasted my layers into a different Photoshop file to preserve them. I then merged layers into individual frames as the only way to make frame animations is to make frames from layers.
Once I did that I had a timeline of frames I set the delay to 0.2 so that it was not too quick. I then tweaked it by duplicated frames until I was happy with the length and speed. I then exported it as an MP3.
Sound
The sound for the cutscene is important, I had a good idea of what I wanted it to sound like so i went onto Pixabay and began looking for sound effects and music.
For when the character materialises I wanted it to sound like a plant as she is being made from organic materials. I found this sound effect of plant leaves rustling against one another.
As the custcene itself signifys a beginning both fo rthe character as she is “born” but also for the player as they begin a new game, a new experience. I wanted the music to sound hopeful and like it was rising. This works nicely and fits the mood I was envisioning.
To match the games soundscape I also found this of birds singing and wind rushing to try and give the scene more life as I made the decision to not animate the background as it was outside of my skills.
Adobe After Effects
Now that I had sounds and the video itself. I created a new Adobe After Effects project. I chose this software as I had briefly used it in college. In this menu I added the video and the sounds then all I had to do was click and drag them into the timeline to add to the finished video.
I began by lining up the sound effects. This was easy enough for the ambience and the music as it just needed to play throughout the whole video. The plant sounds were a bit more complicated. After researching I discovered I had to keyframe the audio levels, so when I wanted the sounds to start I put a keyframe in the timeline wih the volume on then when I want it to end I put a keyframe on the timeline with the volume off, this creates a subtle fade out.
what the sound looked like in the timeline.
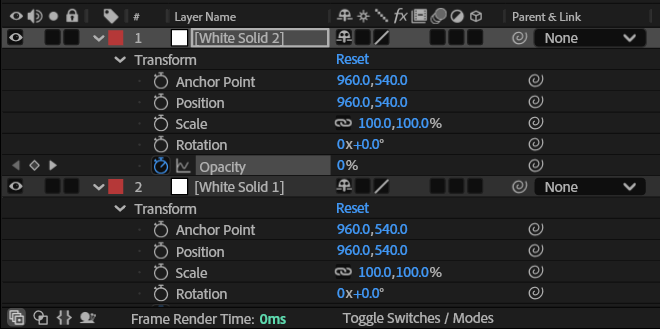
At the beginning and end of the cutscene I wanted there to be white fade ins and outs. I achieved this in much the same way like the sound effects by using keyframes for the opacity elements of a white solid I had added to the timeline. I put three keyframes in, One where it was at full opacity then another where it was at 50% then the final one where it was at 0%, this created the natural fade in. For the fade out I reversed the keyframes and put them at the end.
Once I was happy with how it looked I exported the video by rendering it, as the cutscene is only 9 seconds this did not take very long. I exported two versions, one with the music and one without. I will now send these to my team and see what they think.
Without musicWith music
Final Thoughts –
After sending them to my team I received the feedback that the one with the music is the better of the two, though the music is a touch too technological. But they really liked the cutscene itself. I also sent the video to some outside people who were unfamilar with the game and project to get a fresh perspective.
The feedback was positive especially for the unique look of the video. I am very happy with it and think it is successful, when I began to make it I did not think I would be able to so I am proud of myself that I managed to create something that is not half bad.
The use of effects in Unity was recommended by my lecturer to add more visual appeal to the game. Me and the techncial designer decided to independently research into them and see where we ended up. For my research I went to youtube and watched videos on the subject.
In the first video he used animation on the trees to give them the impression that there is a breeze. I liked this and think this could be a good addition to the game.
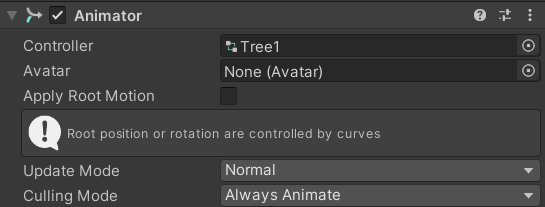
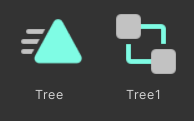
To do this I made a new animation and attached it to the tree in the inspector.
For the actual animation I hit record and and used the rotation of the trees to move them right, make a keyframe then move them left and make a keyframe. The end of the animation needed to be the trees in their natural straight position. To make the effect subtle I dragged the keyframes to five seconds so that the movement is perceptible but not unrealistic.
Visual Effects
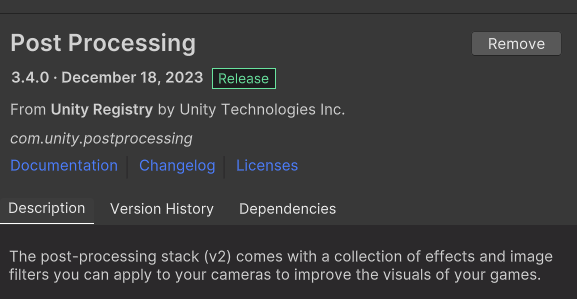
To be able to add effects to the camera I installed the post processing package to the project.
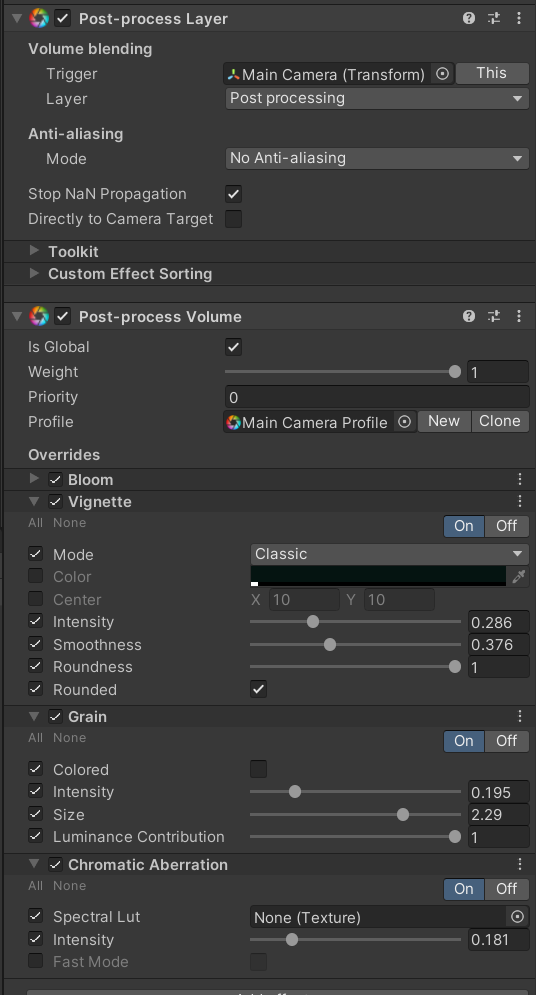
I then went to the main camera in the hierarchy and added a post processing layer, this then allowed me to add post process volume. From this component I could access a whole host of effects.
To the game I added bloom to make the whites glow, a vignette around the corners, grain to add more movement to the scene and some slight chromatic aberration.
In the final game I think all of these would be too much but it was helpful to see what could be done.
Particle Systems
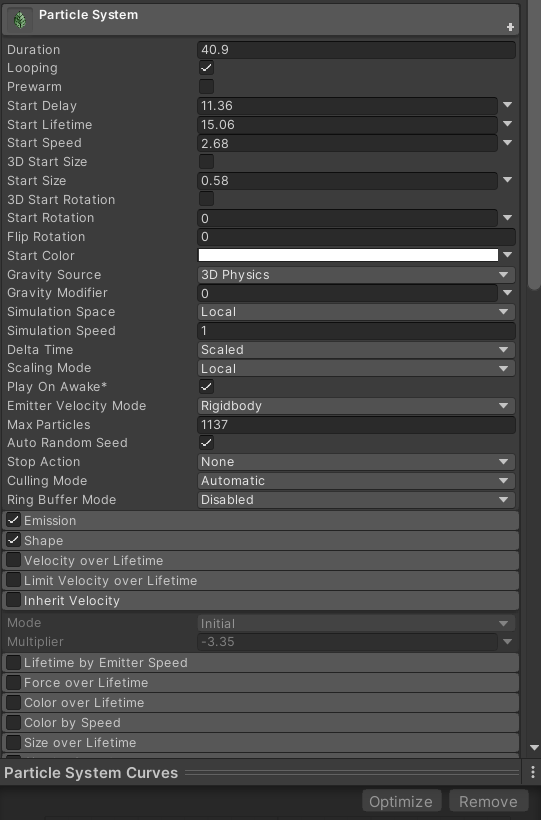
The last effects I wanted in the game were falling leaves and some glowing lights. After exploring Unity’s options I found particle effects. These are game objects that get added to the scenes hierarchy and use real time simulation to create particles. There are many ways to edit these such as lifetime speed and size all accessed through the inspector.
The default particles are airbrushed looking white dots, these are close to what I wanted but I think they could be prettier.
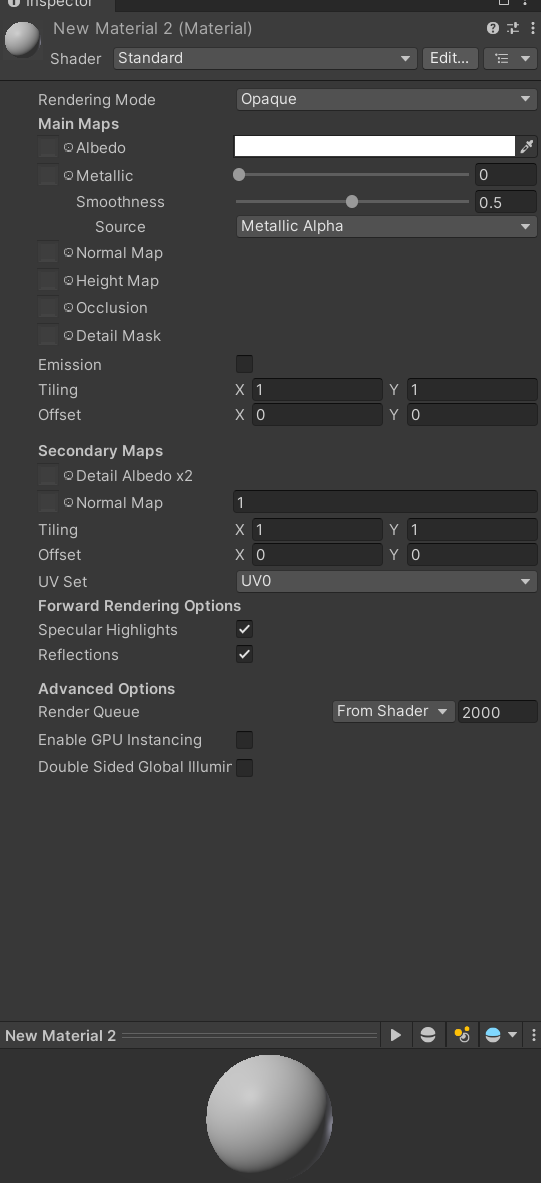
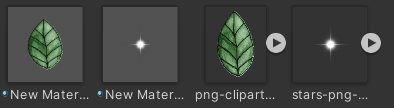
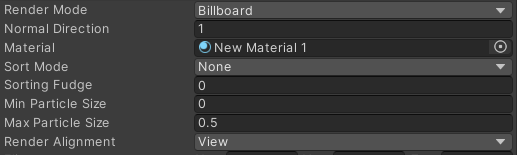
To swap out what the particles look like I followed half of the second Youtube video. I began by making a new material then changing the shader to particles -> standard unlit. I then set the rendering mode to fade and dragged a PNG of the object I wanted into the Albedo window. This changed the material into a flat image I then went back to the particle menu in the inspector and in the rendering section changed the render mode to billboard and dragged in the materials I made.
I am really happy with how these came out though further tweaking to the speeds and sizes is required for the final product.
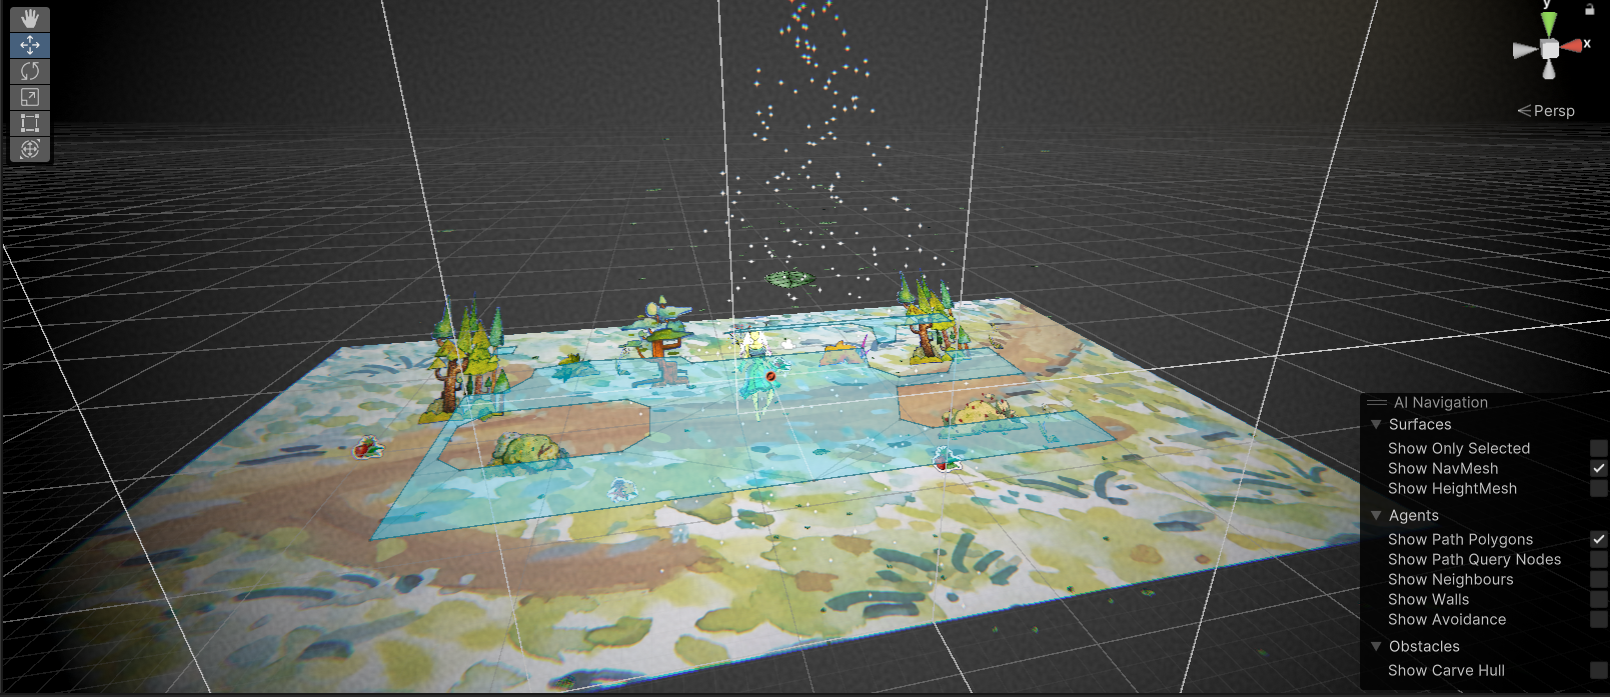
This is the view in the game editor window I positioned the sparkle particles at the top to rain down and the leaves to come in from the top at the side.
These are the final effects in the game I like how this turned out especially the particles and animation of the trees. The post processing visual effects perhaps make the game look too moody. I sent it to my team to hear their thoughts. Before the playtest me and themechanics designer worked together to add them to the game.
This week there are no formal lessons instead, we are encouraged to look back over our work so far across the semester and reflect on what has gone well and what has not.
I also took the week to think about my career goals, booking a meeting with my PAT to discuss the possibility of doing a Masters.
Tuesday Meeting –
My team mostly worked from home during this meeting so I got to work painting the animals.
Thursday 1 to 1
On Thursday I had my 1 to 1. The main things I need to focus on are the colloboration between me and the environment artist and the focus on the characters otherworldly ethereal nature. To do this I will use the other artists work to inform my own, and for the characters next redesign I will focus on making it more natural and graceful. I am also going to work on a draft for an opening cutscene.
Next Steps –
Work more on collaboration by accessing my teams work and using it to inform my own. Try and encourage more communication via the weekly team meeting
As I am going back to illsutration as a career path whilst I was researching the sector I found this competition for an unpublished childrens book. The deadline is the 24th of April – right around when Easter break ends. I think this will be a fun project to undertake over Easter.
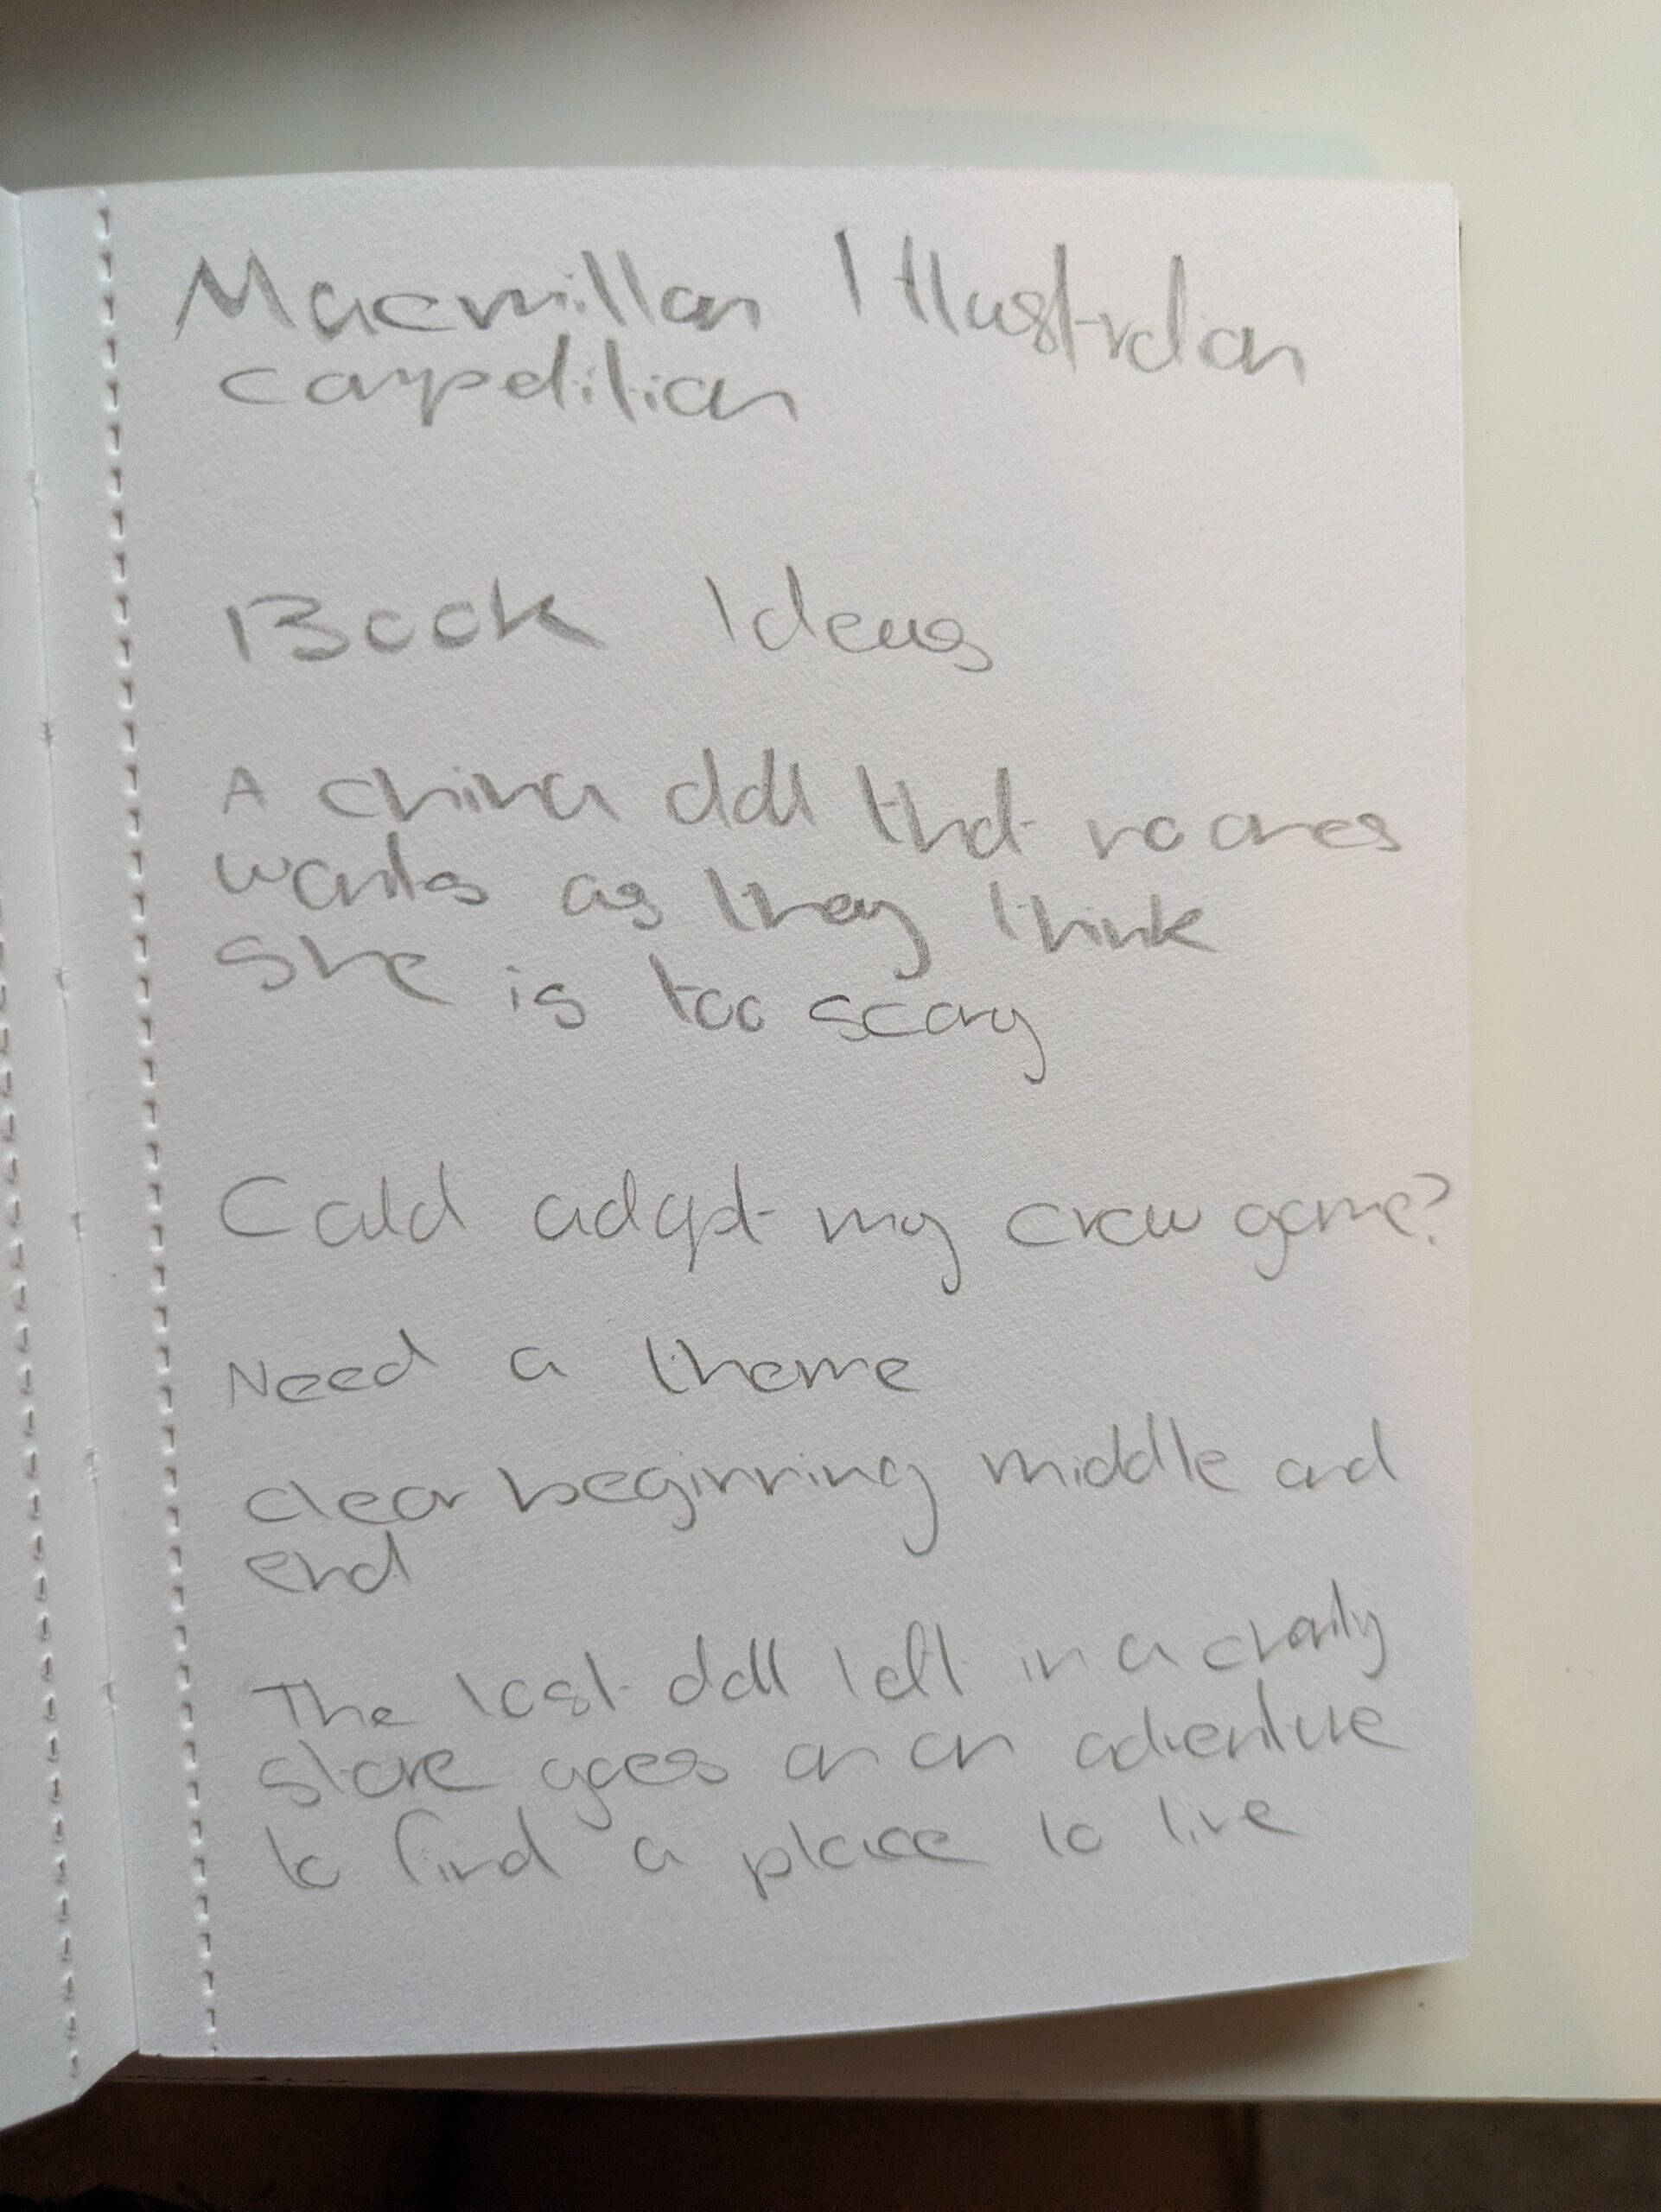
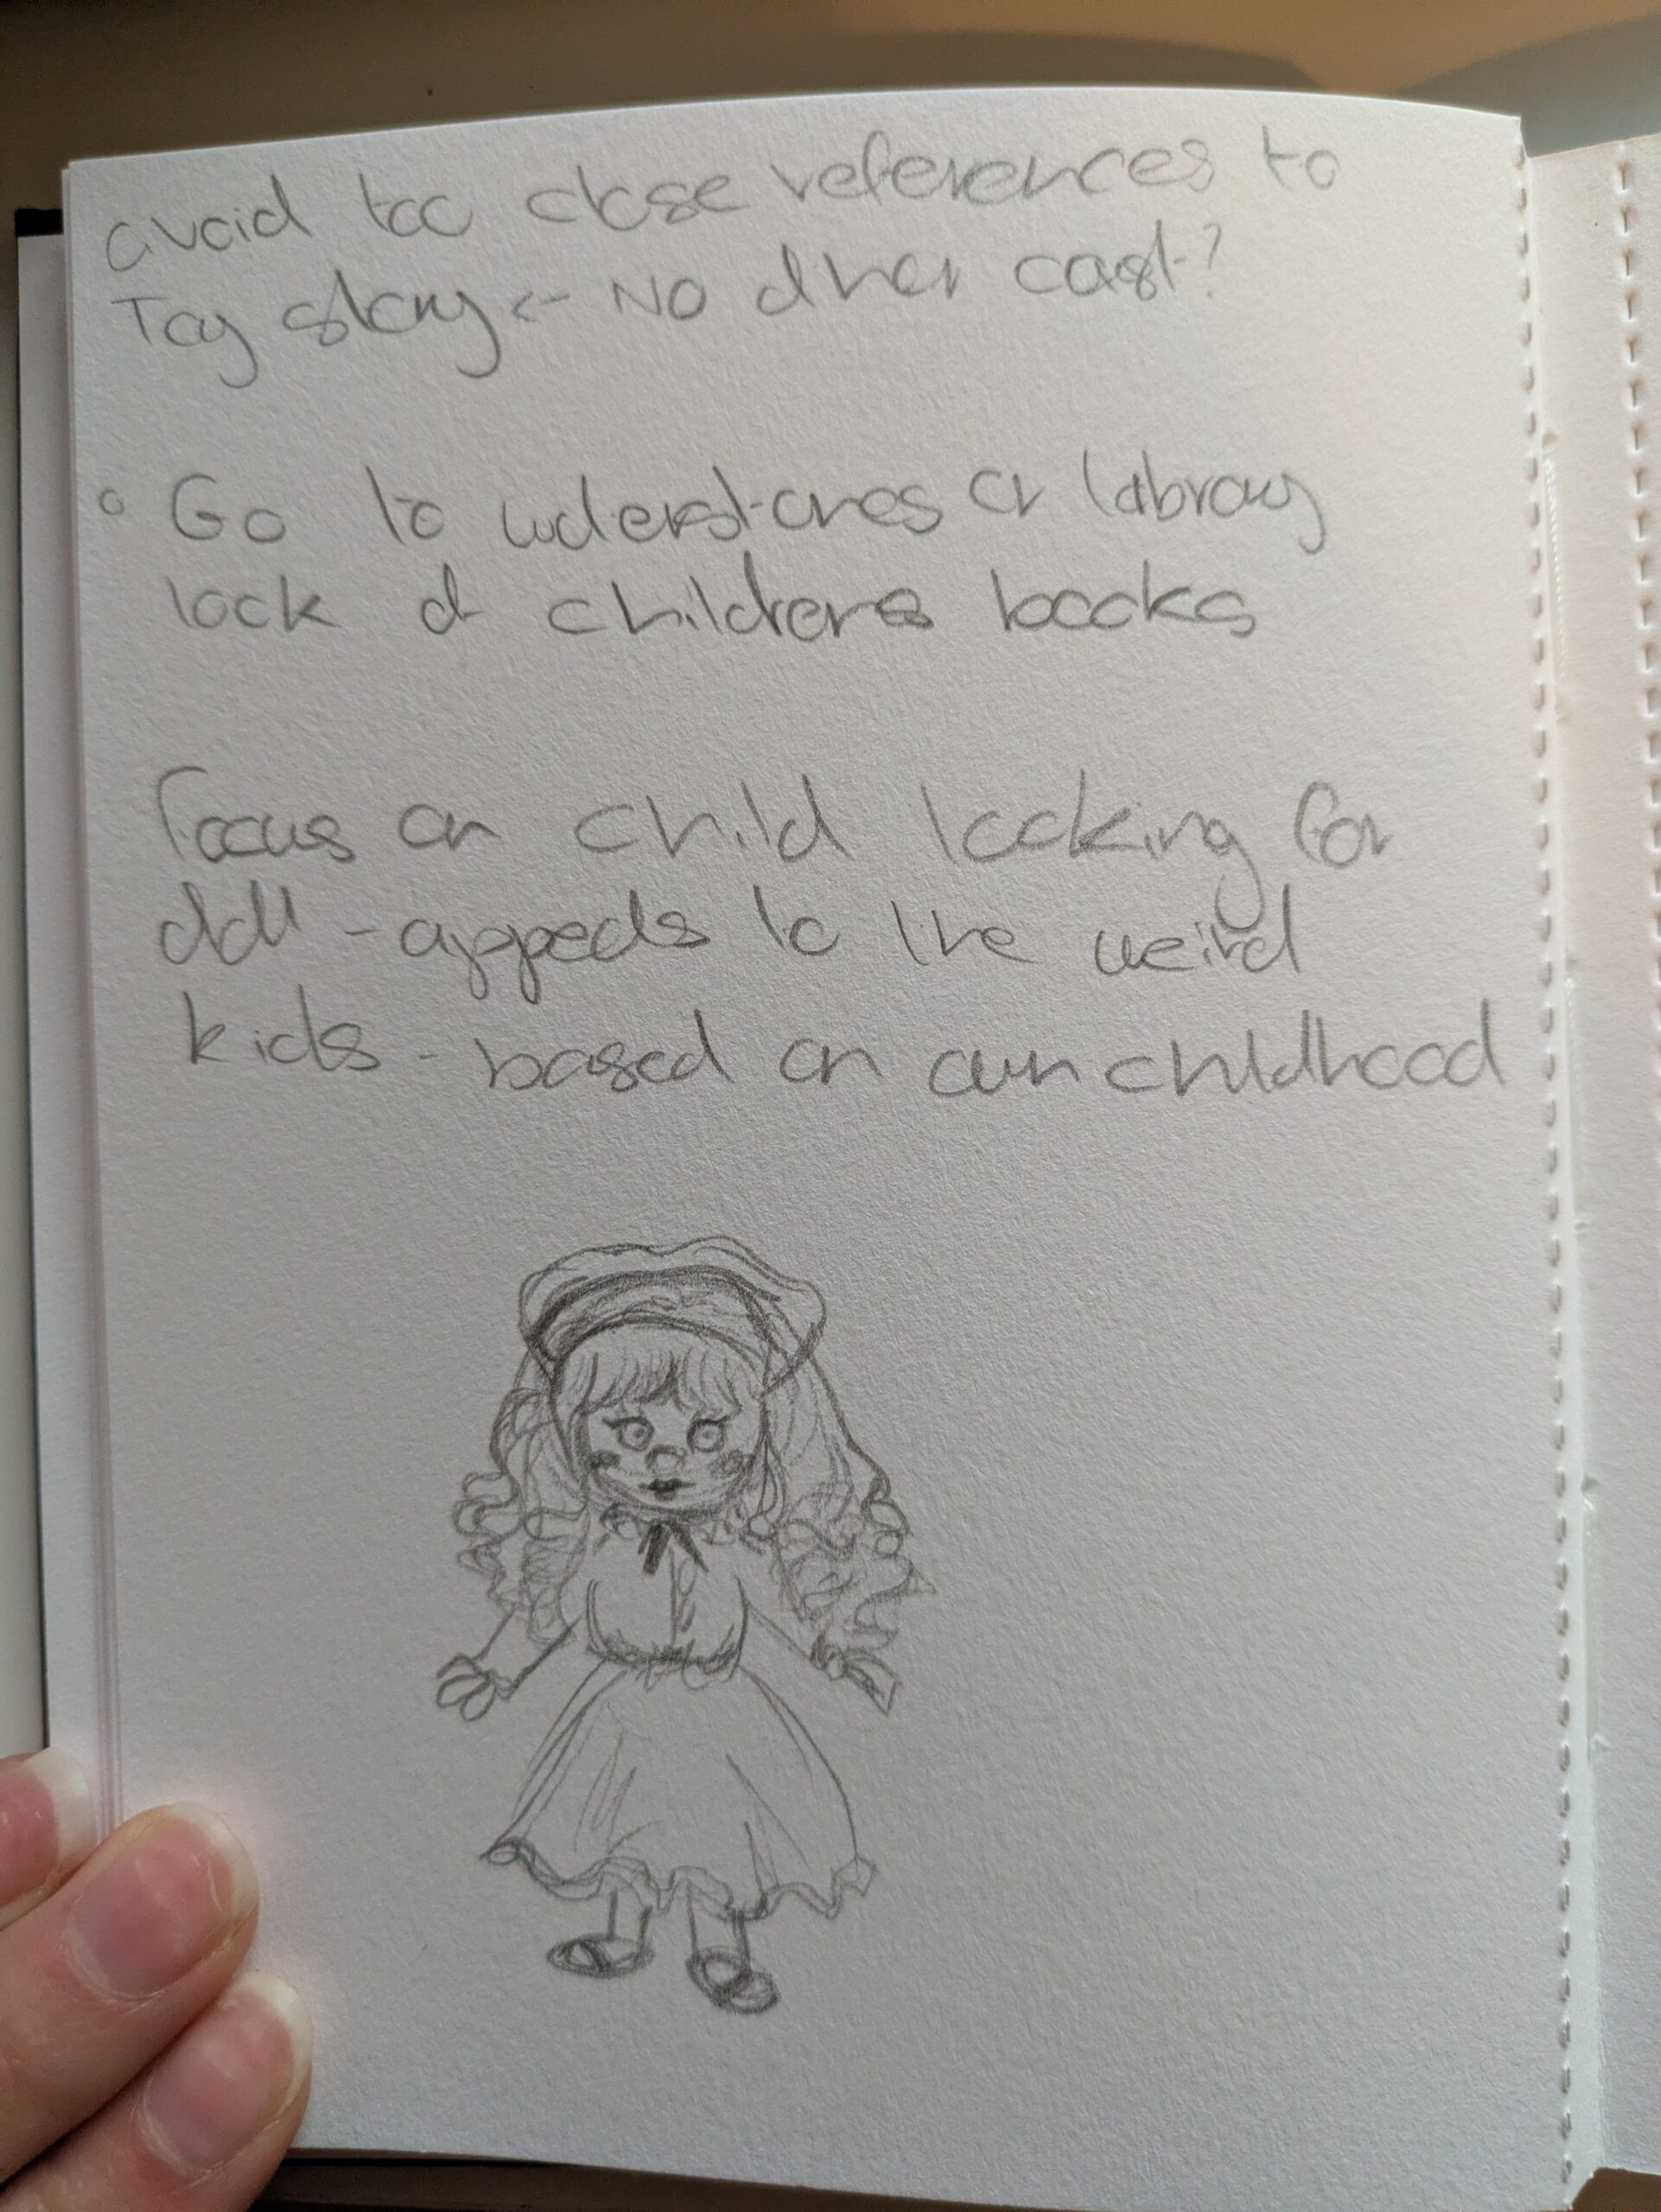
I have never attempted to write a childrens book before so I began the ideation process by thinking of what I liked as a child and what would have appealed to me. This led me to an idea of a book revolving around a china doll or a book about a child that doesn’t like conventional toys
A little notebook I used to quickly jot down initial ideas and musings.
Primary Research
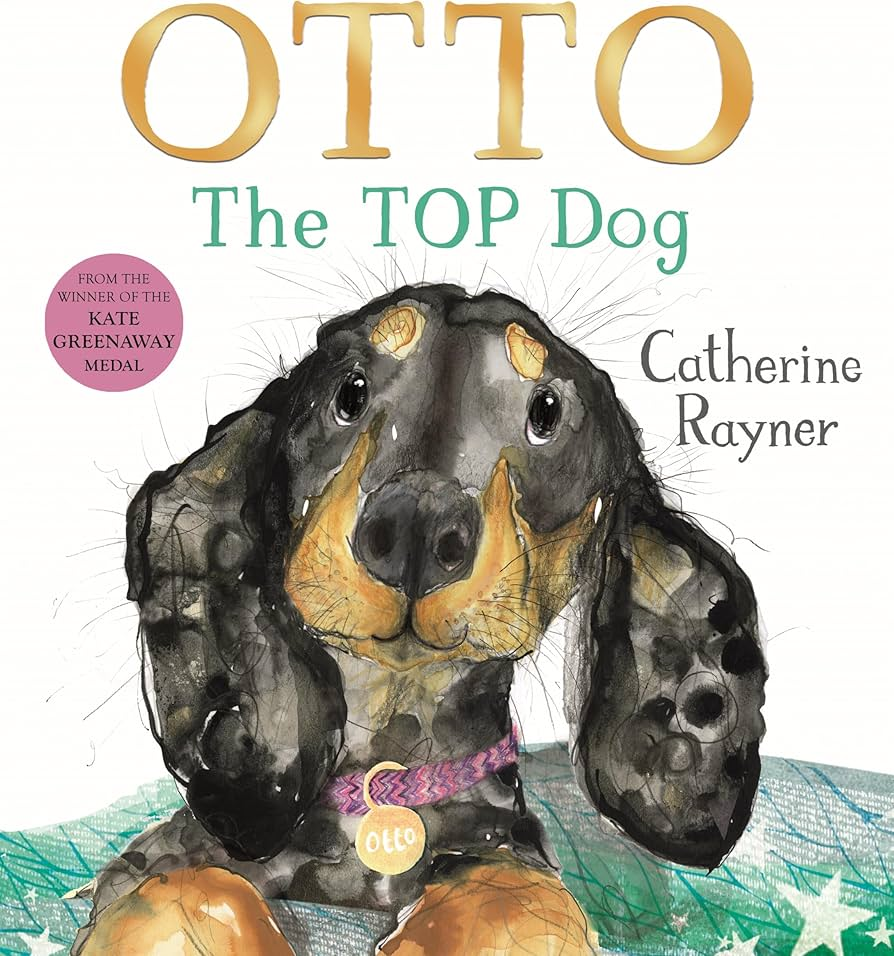
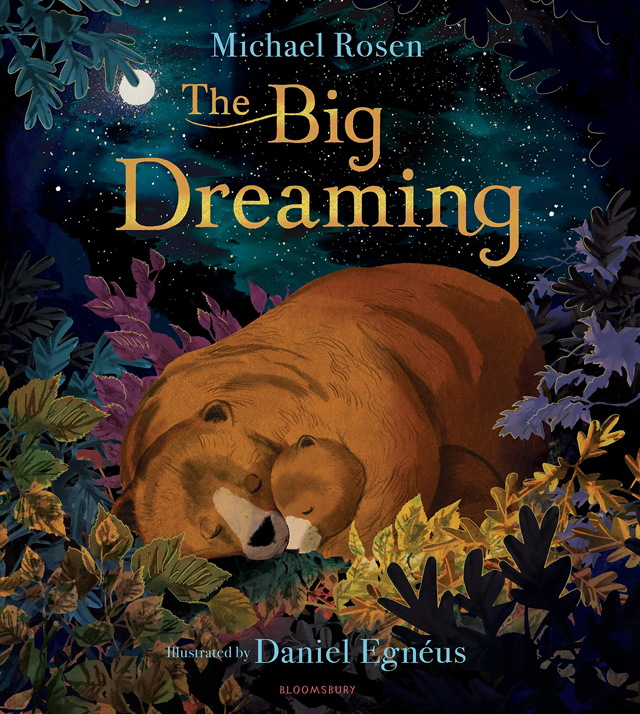
To better understand how I should present the book and the style of writing. So I went to Waterstones and looked at picture books currently on sale.
These two books I liked the most, their writing style is simple and the stories are small, focusing on only a couple characters.
I next revisited the project during Easter break I still liked the china doll idea but I did not have a clear story in mind.
I then decided to combine this project with Mermay an instagram challenge where you post a mermaid every day in May on my art instagram.
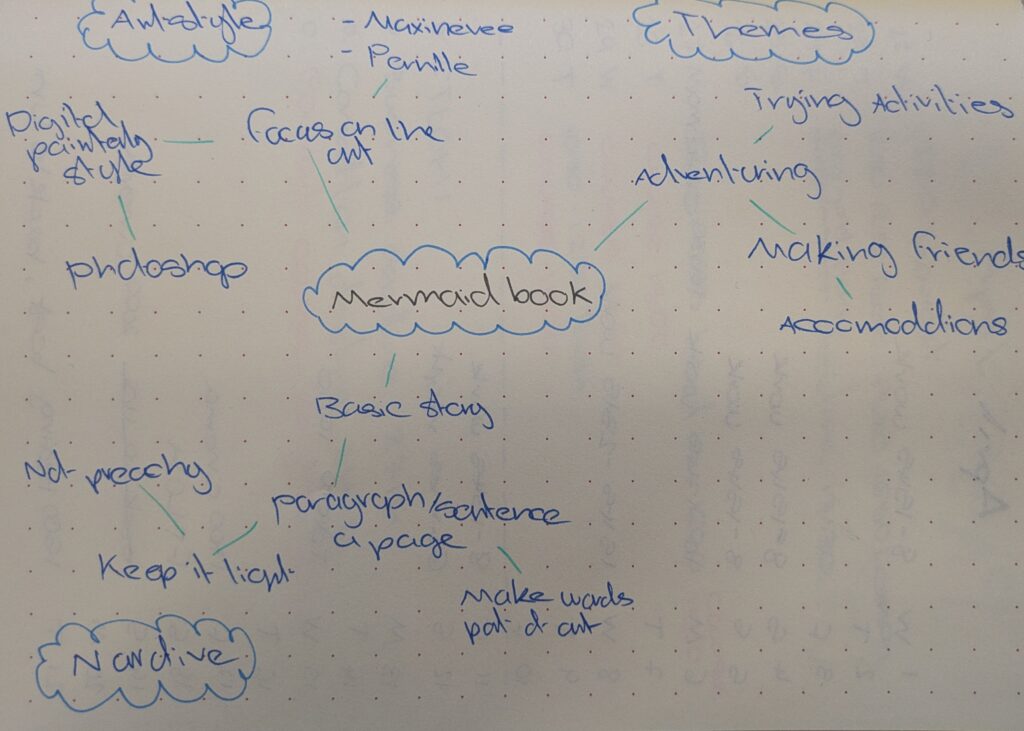
Once this occurred to me I had a lot more ideas and began making a mind map.
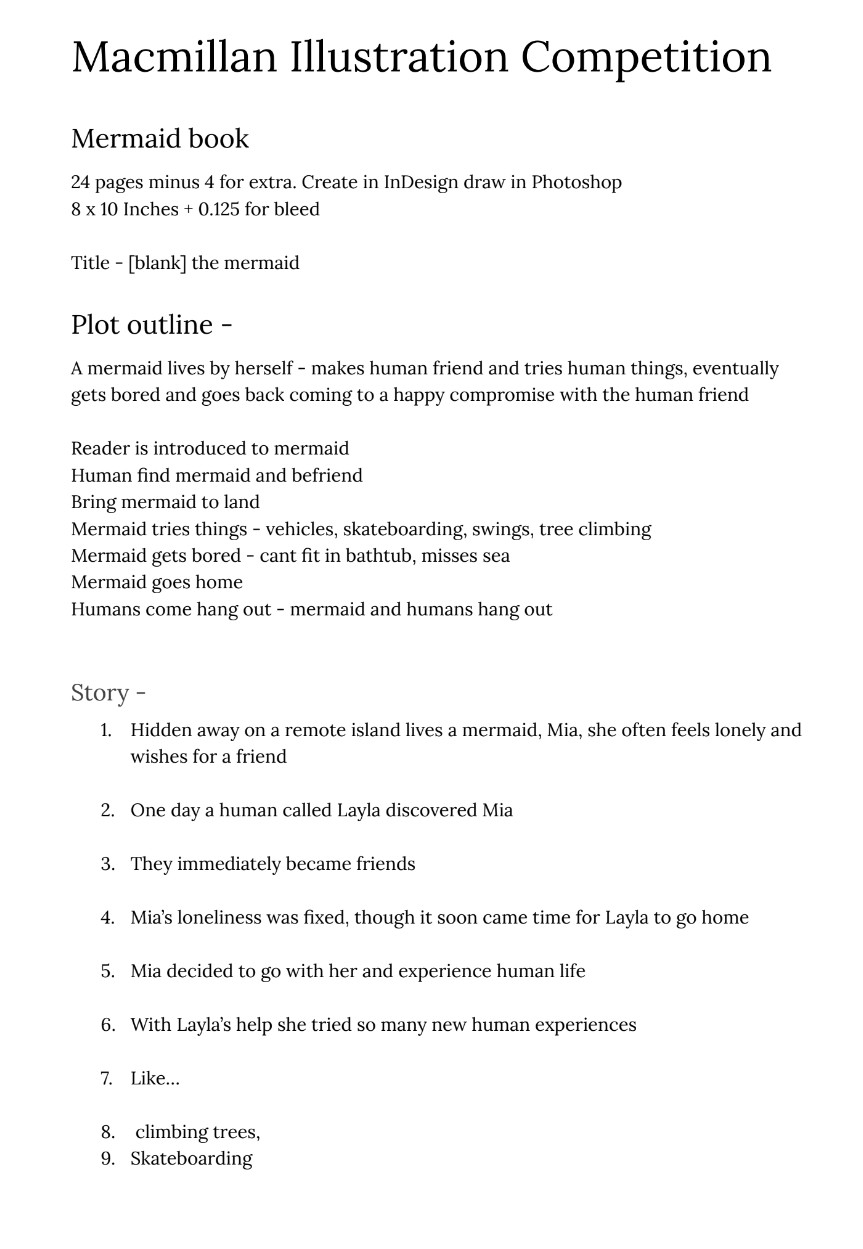
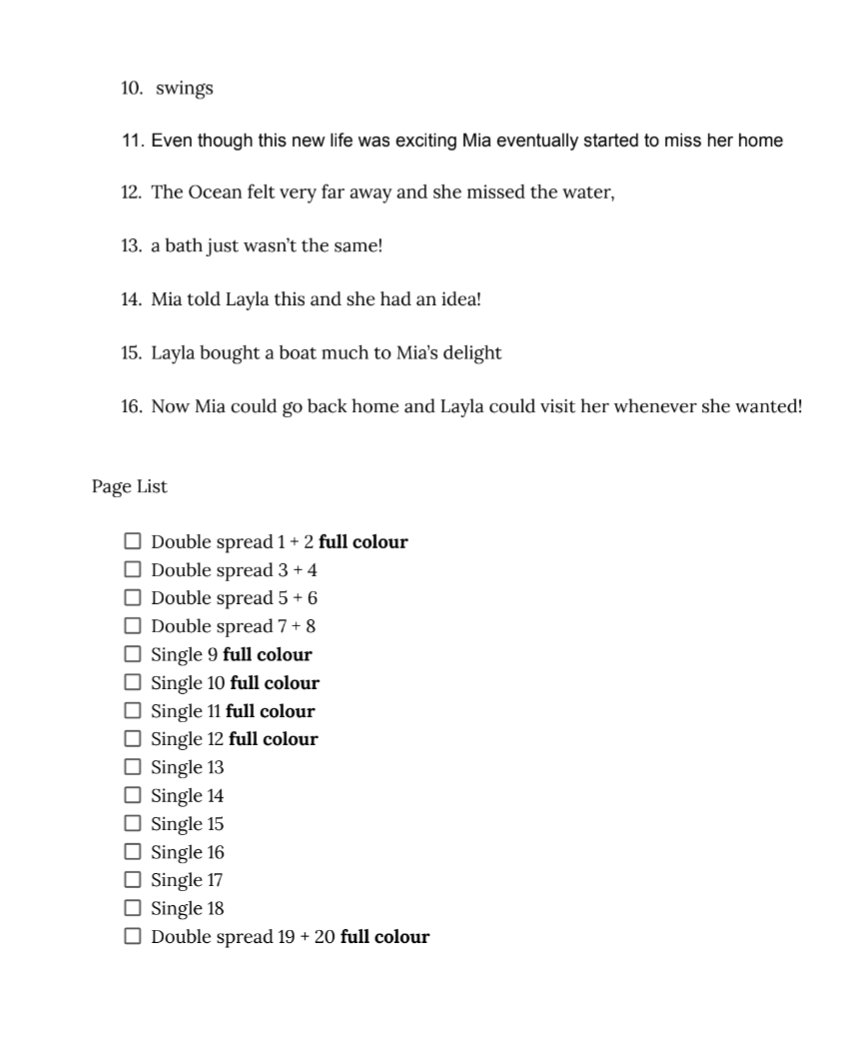
After the mind map I began planning the dialogue and book layout in a google document.
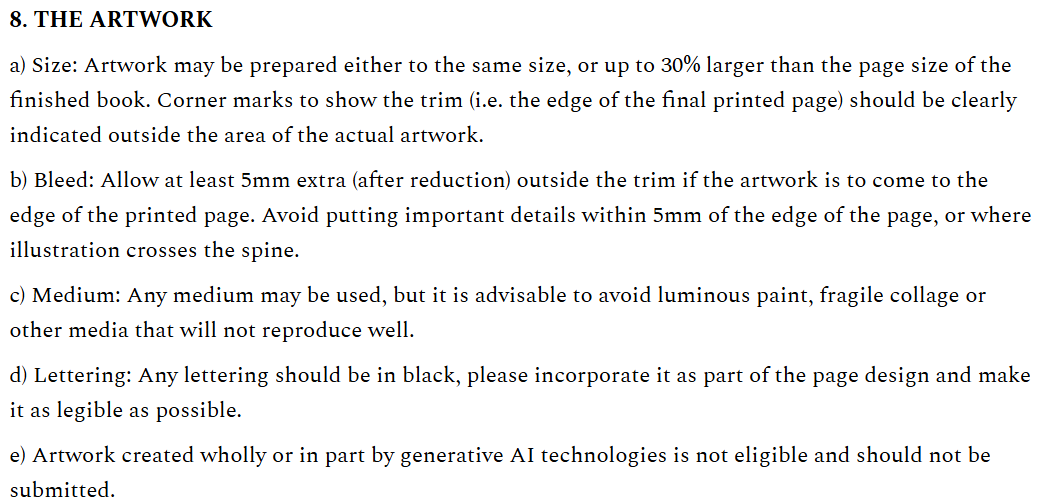
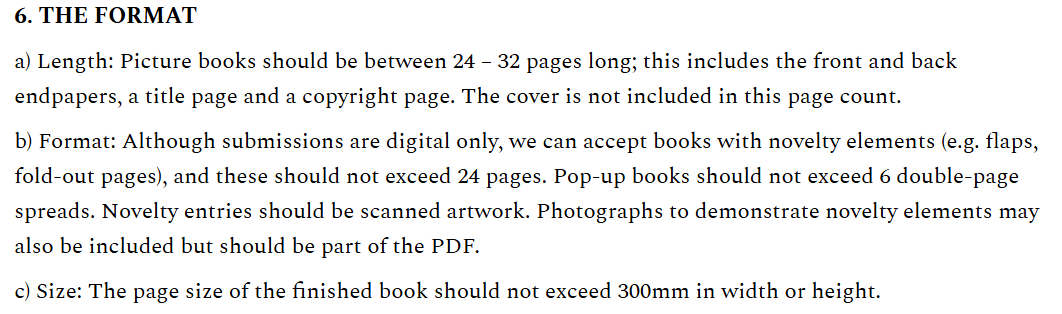
In this document I wrote down the dimension specifications, an outline of the story and the story as it will appear in the book. I also planned out what pages will be a double spread (meaning the picture will span across the two pages) or which one will be single. I also decided which pages I would fully create.
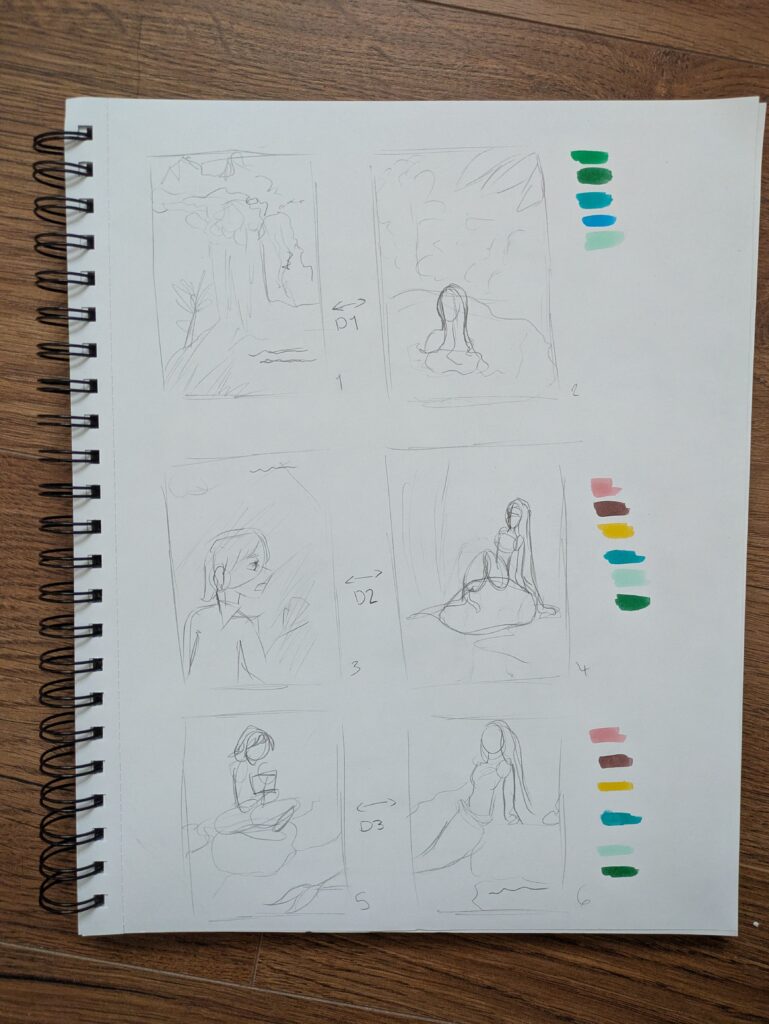
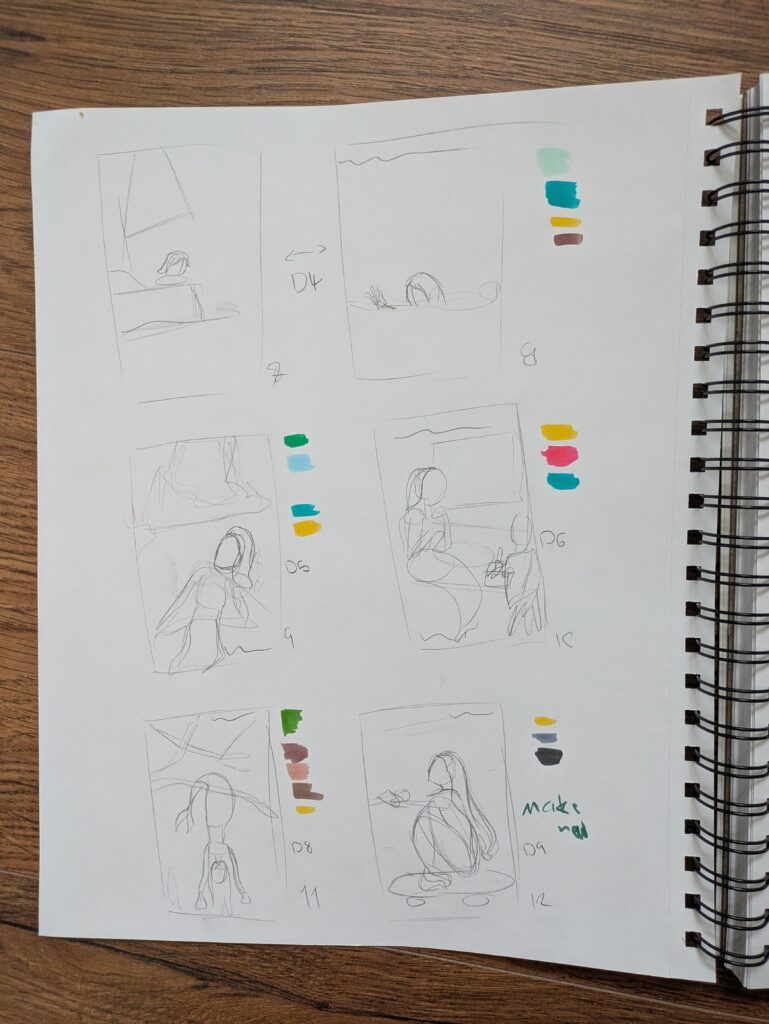
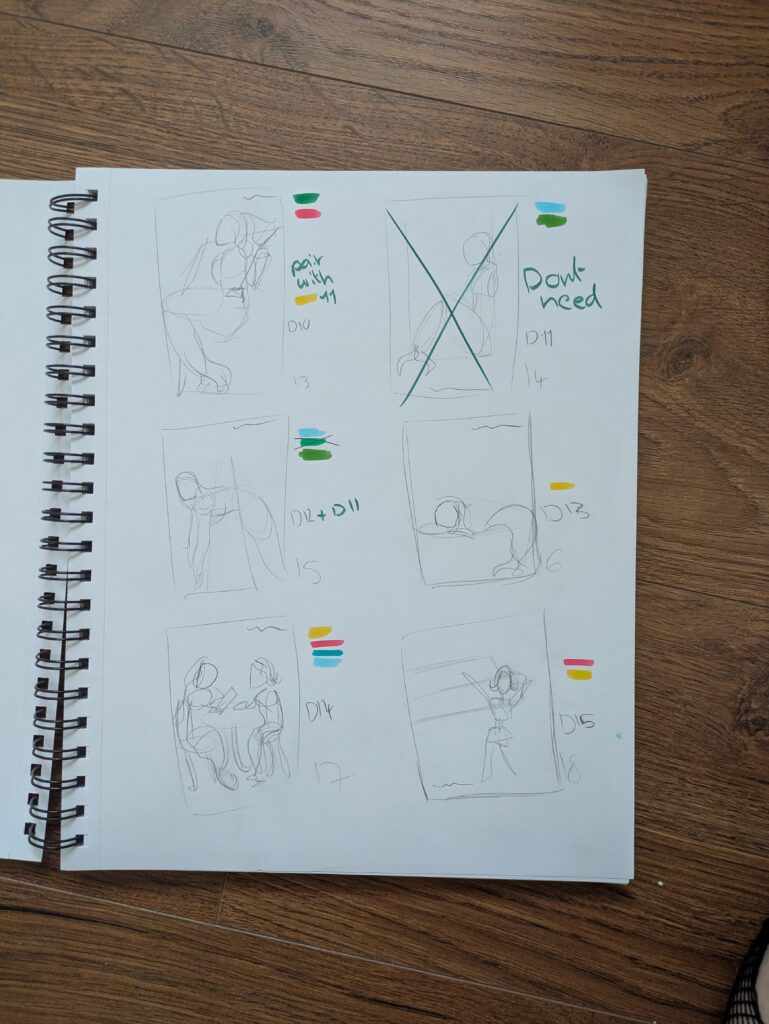
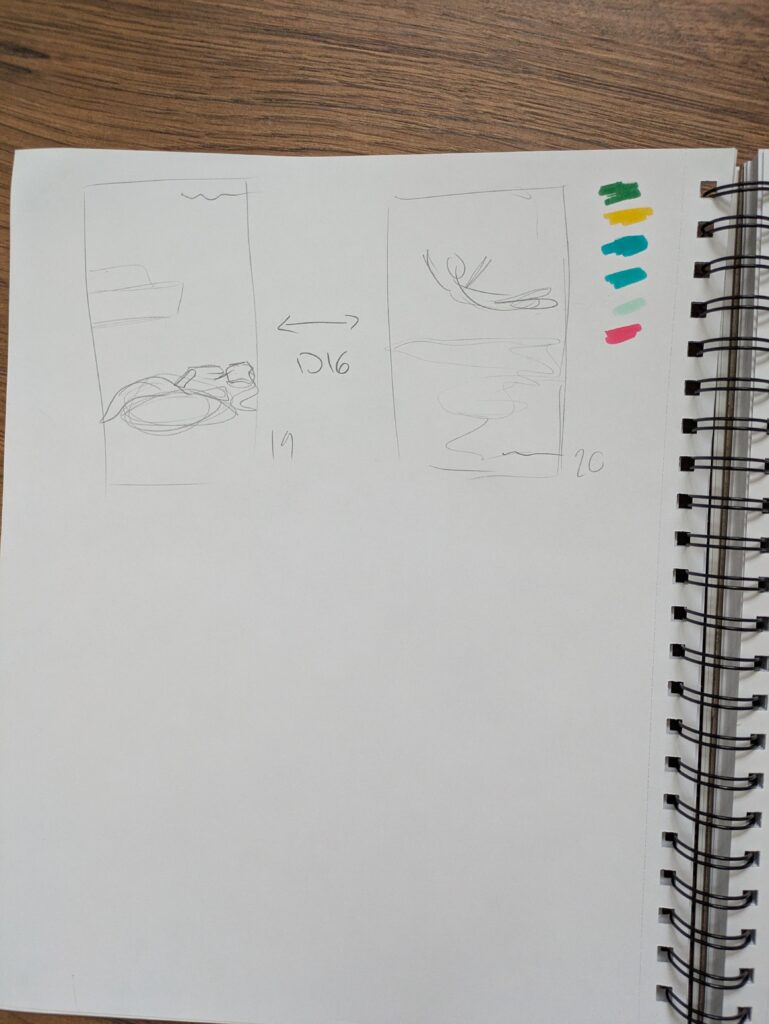
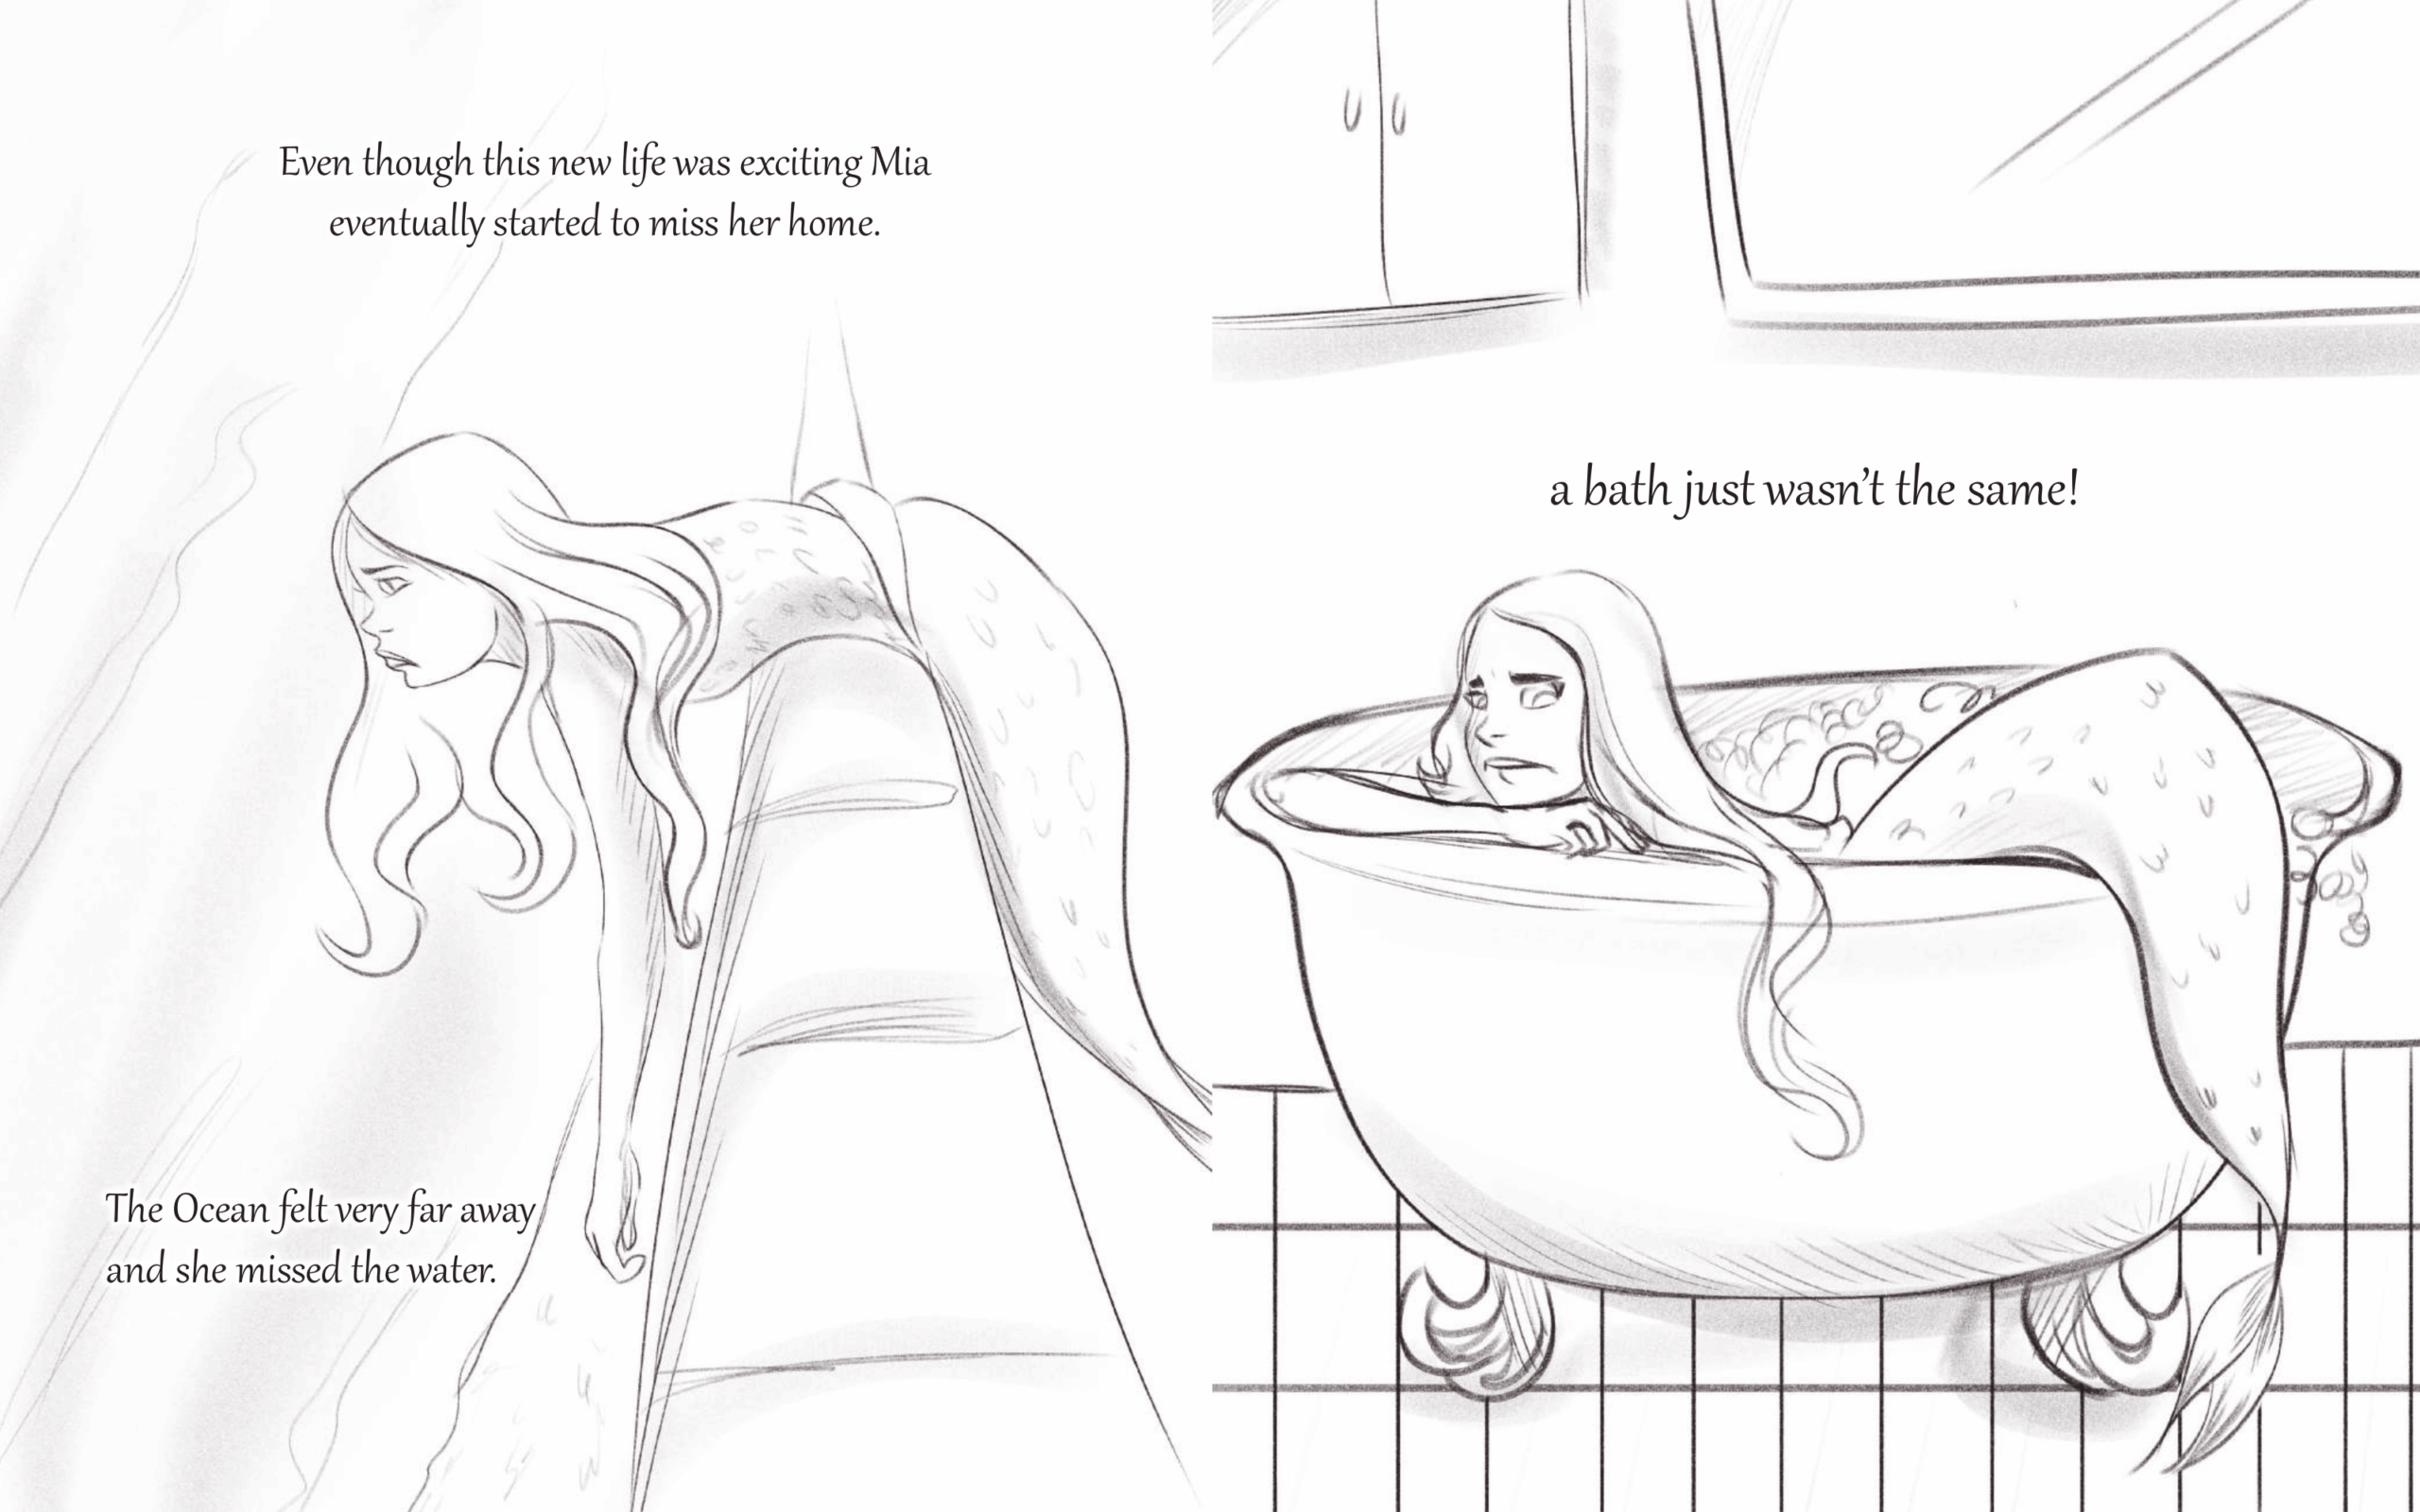
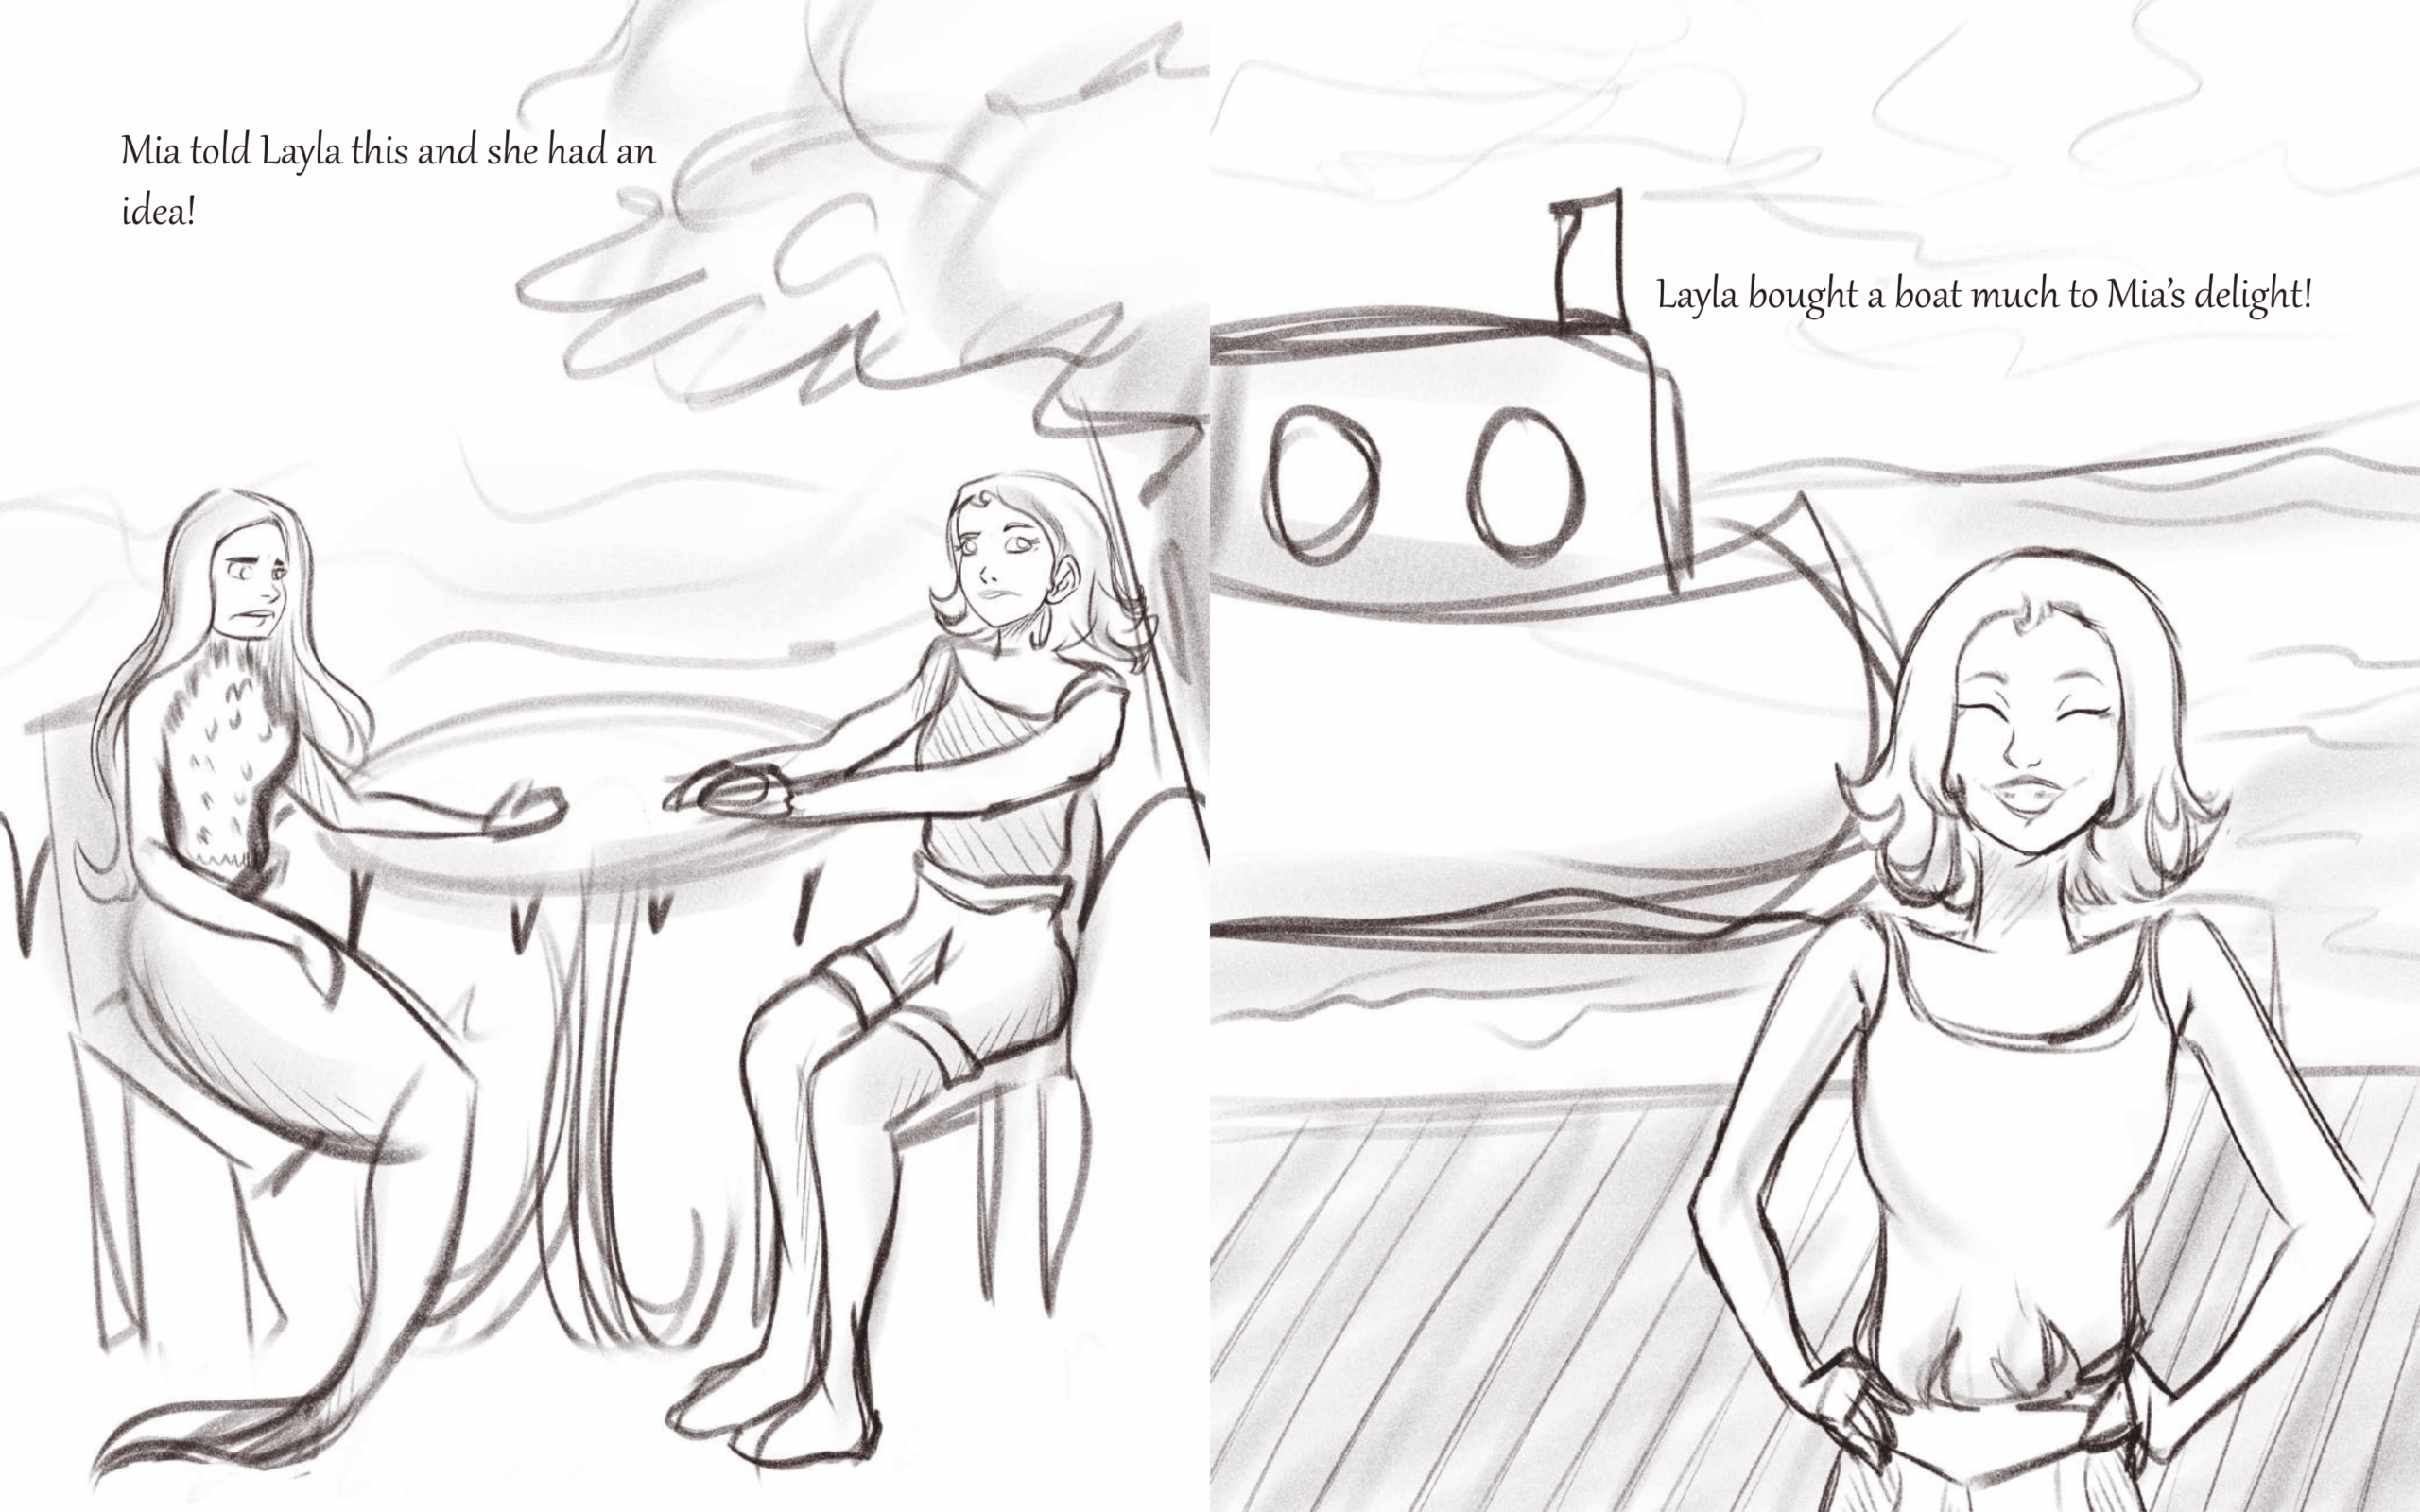
I then made thumbnails of the pages in a sketchbook, I will refer back to these when making the pages.
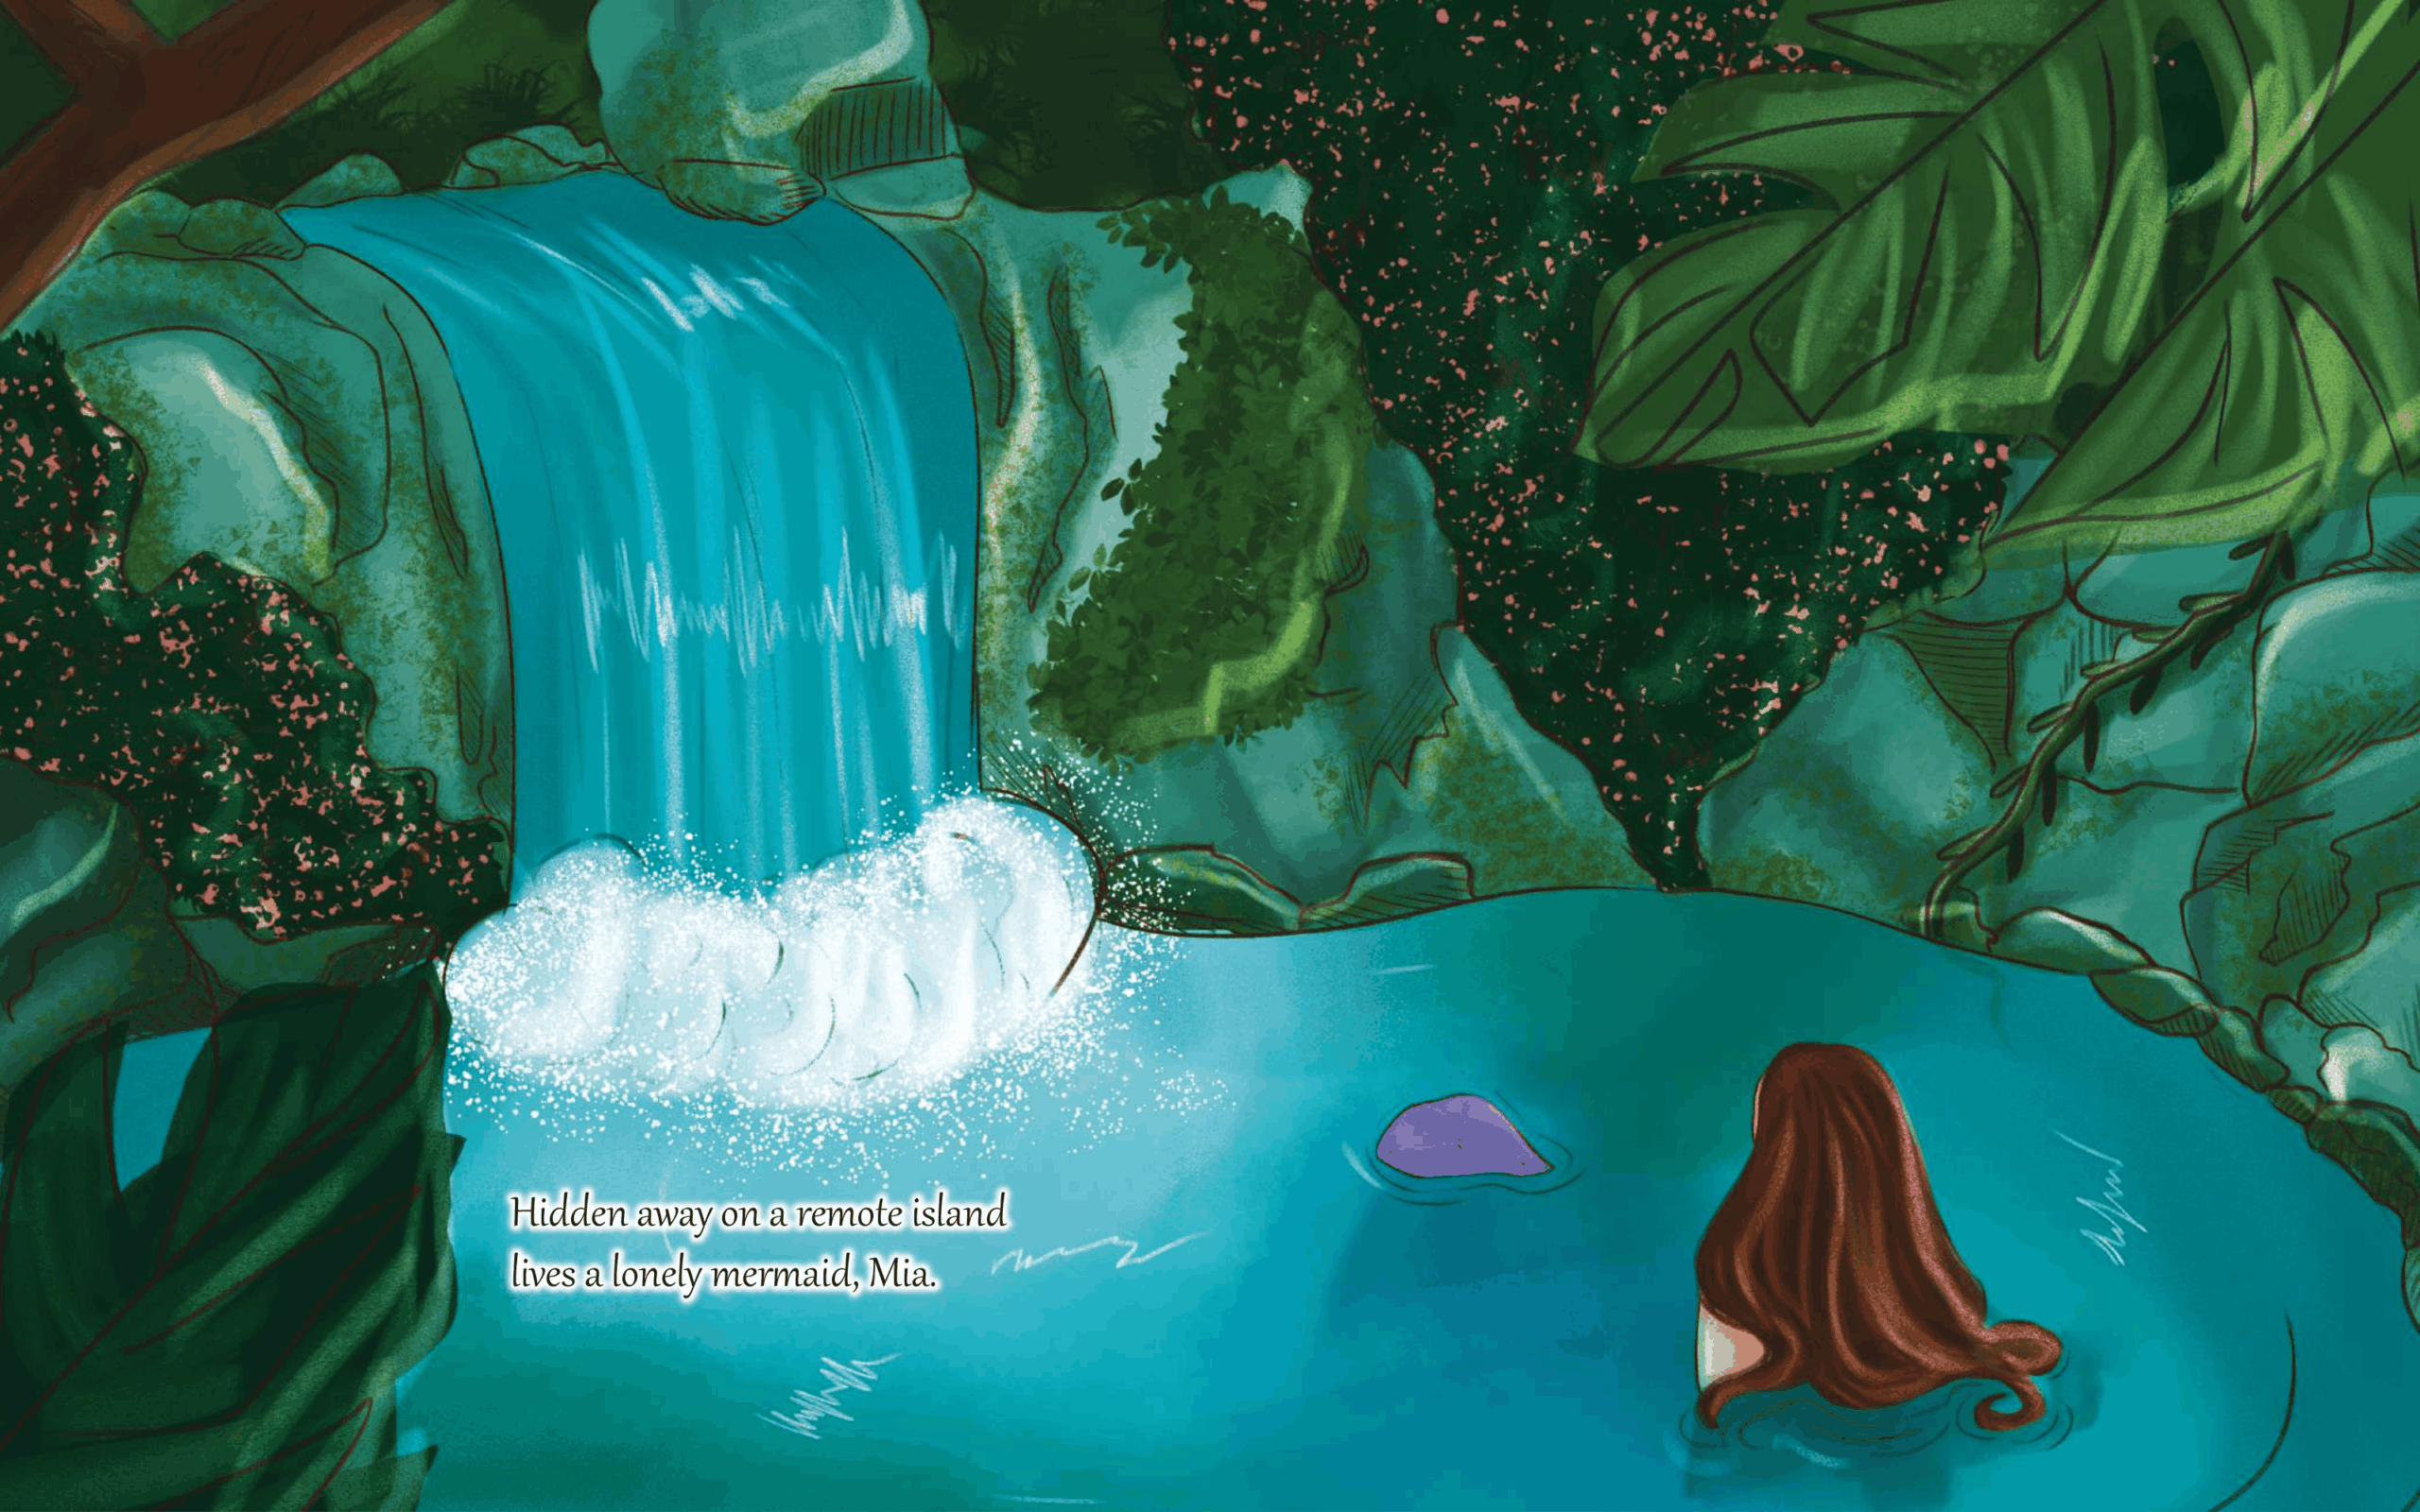
I drew the pages in Adobe Photoshop and added the words in InDesign from where I saved the PDF.
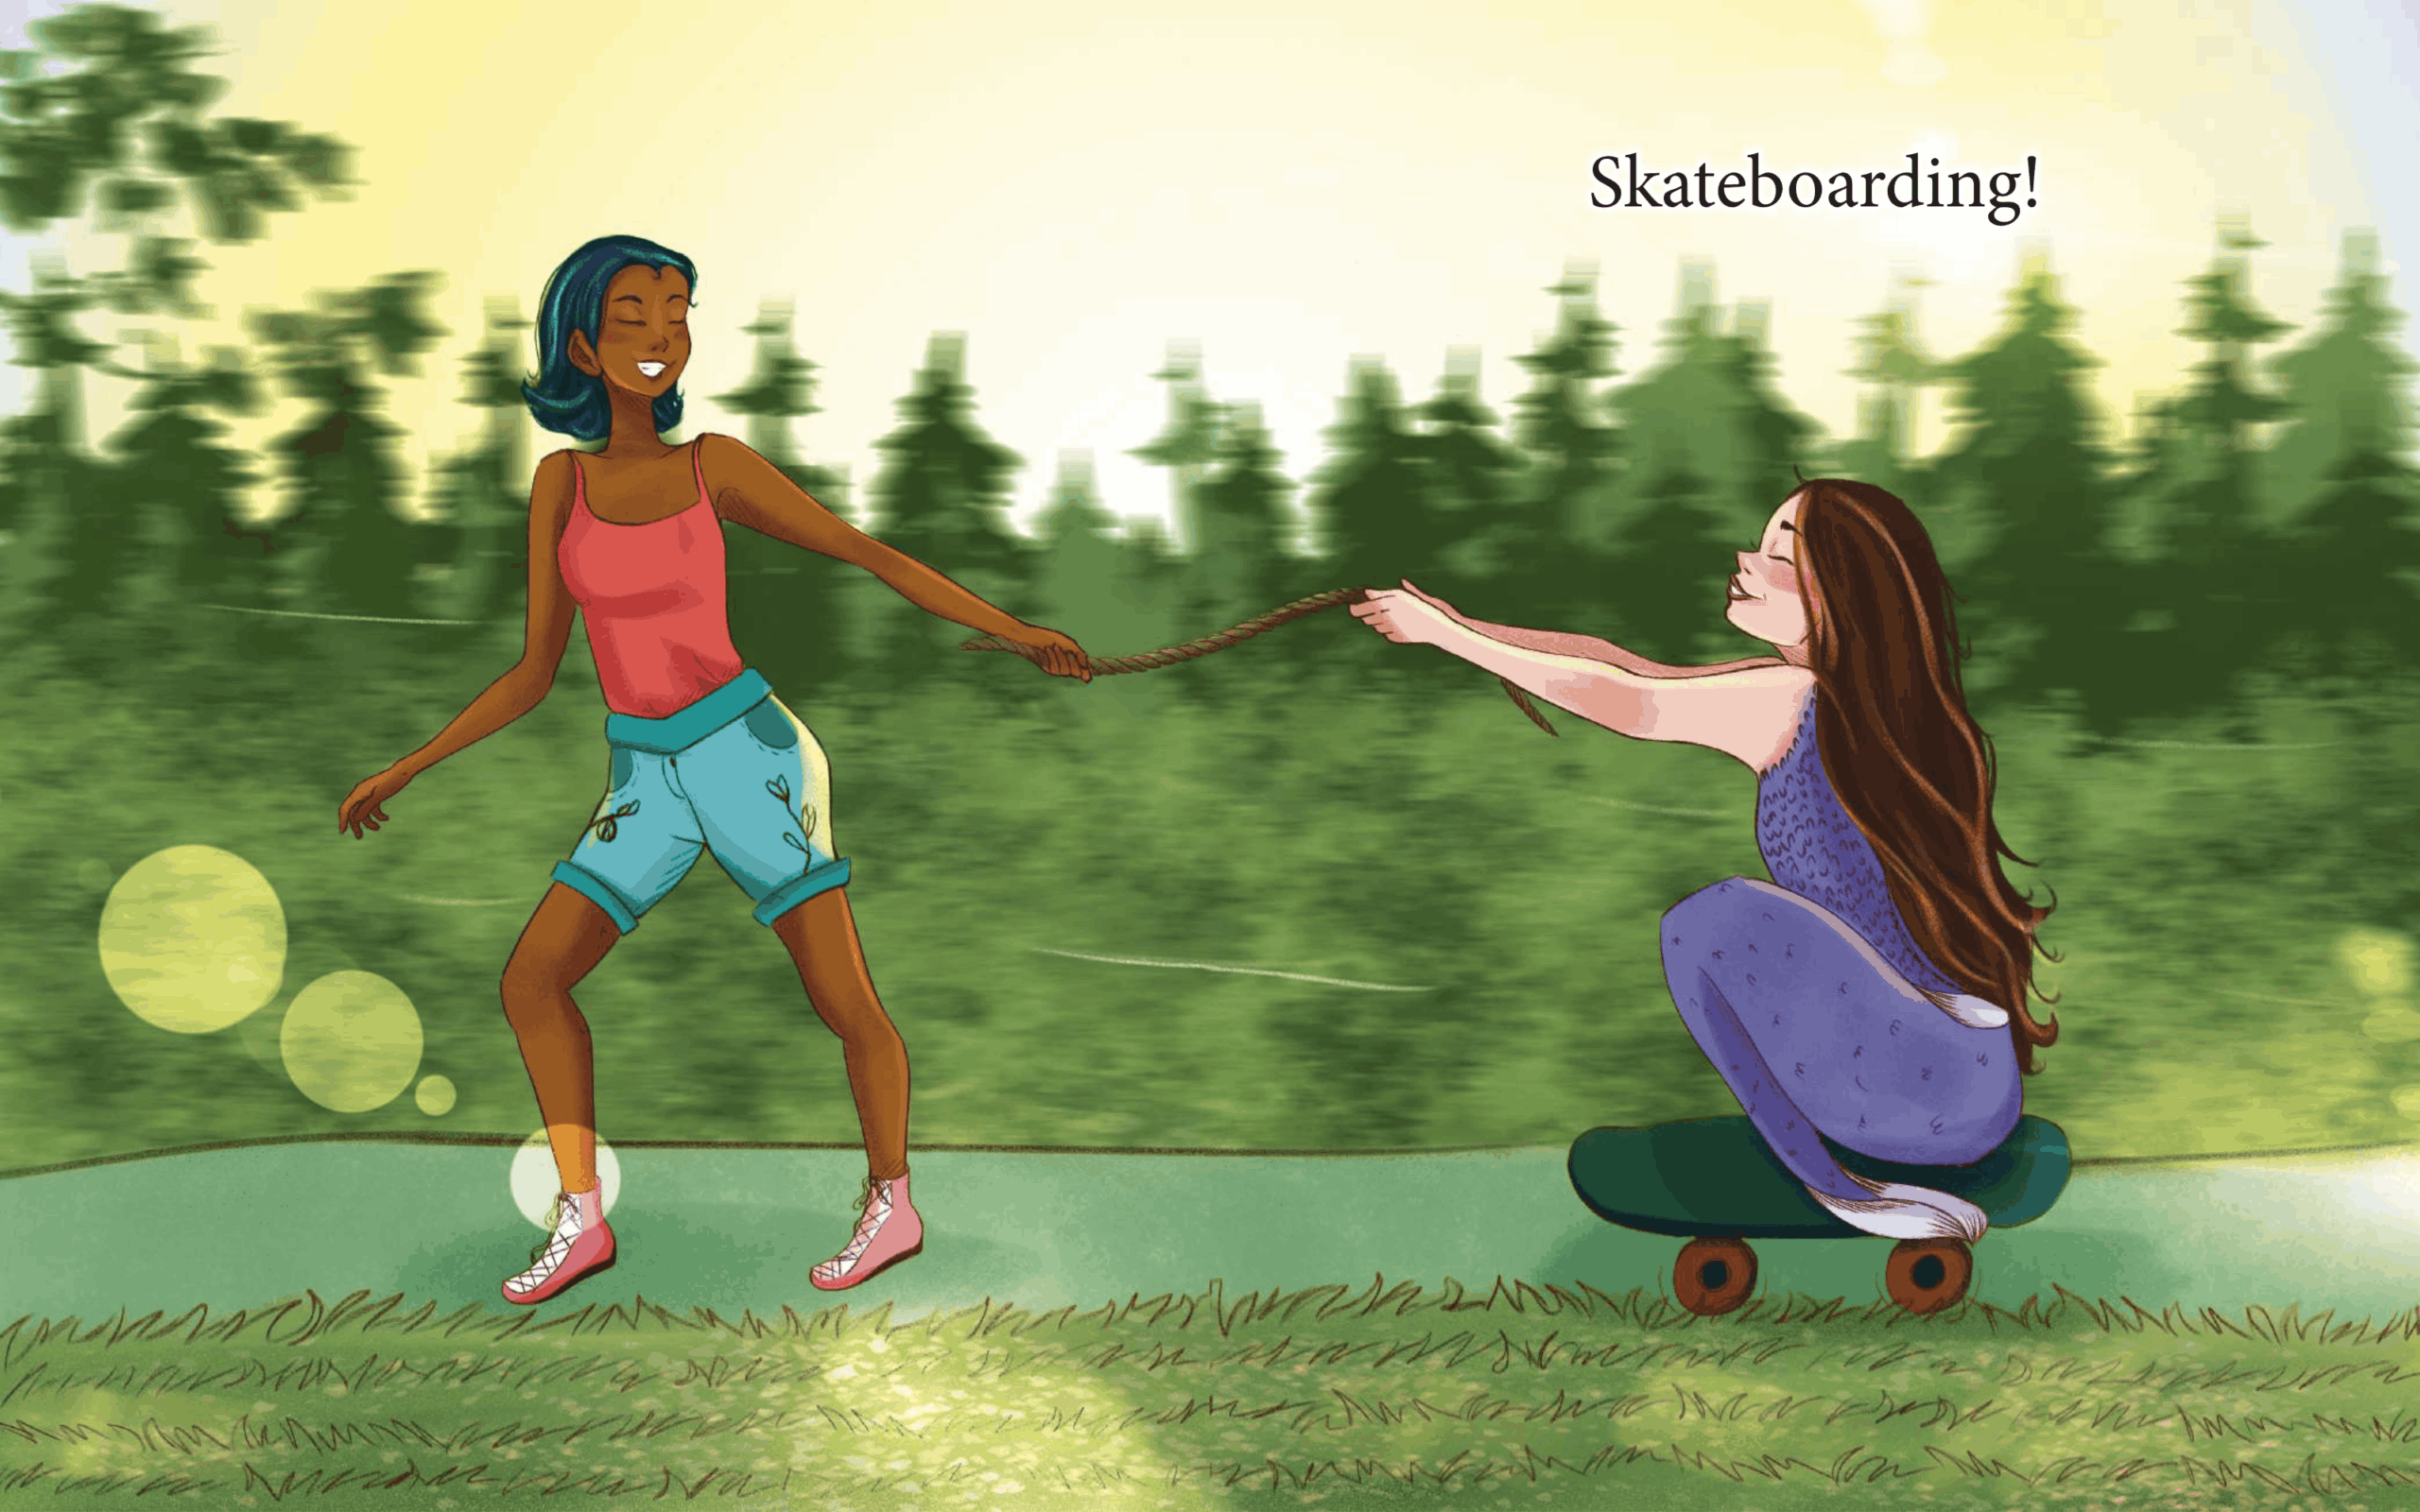
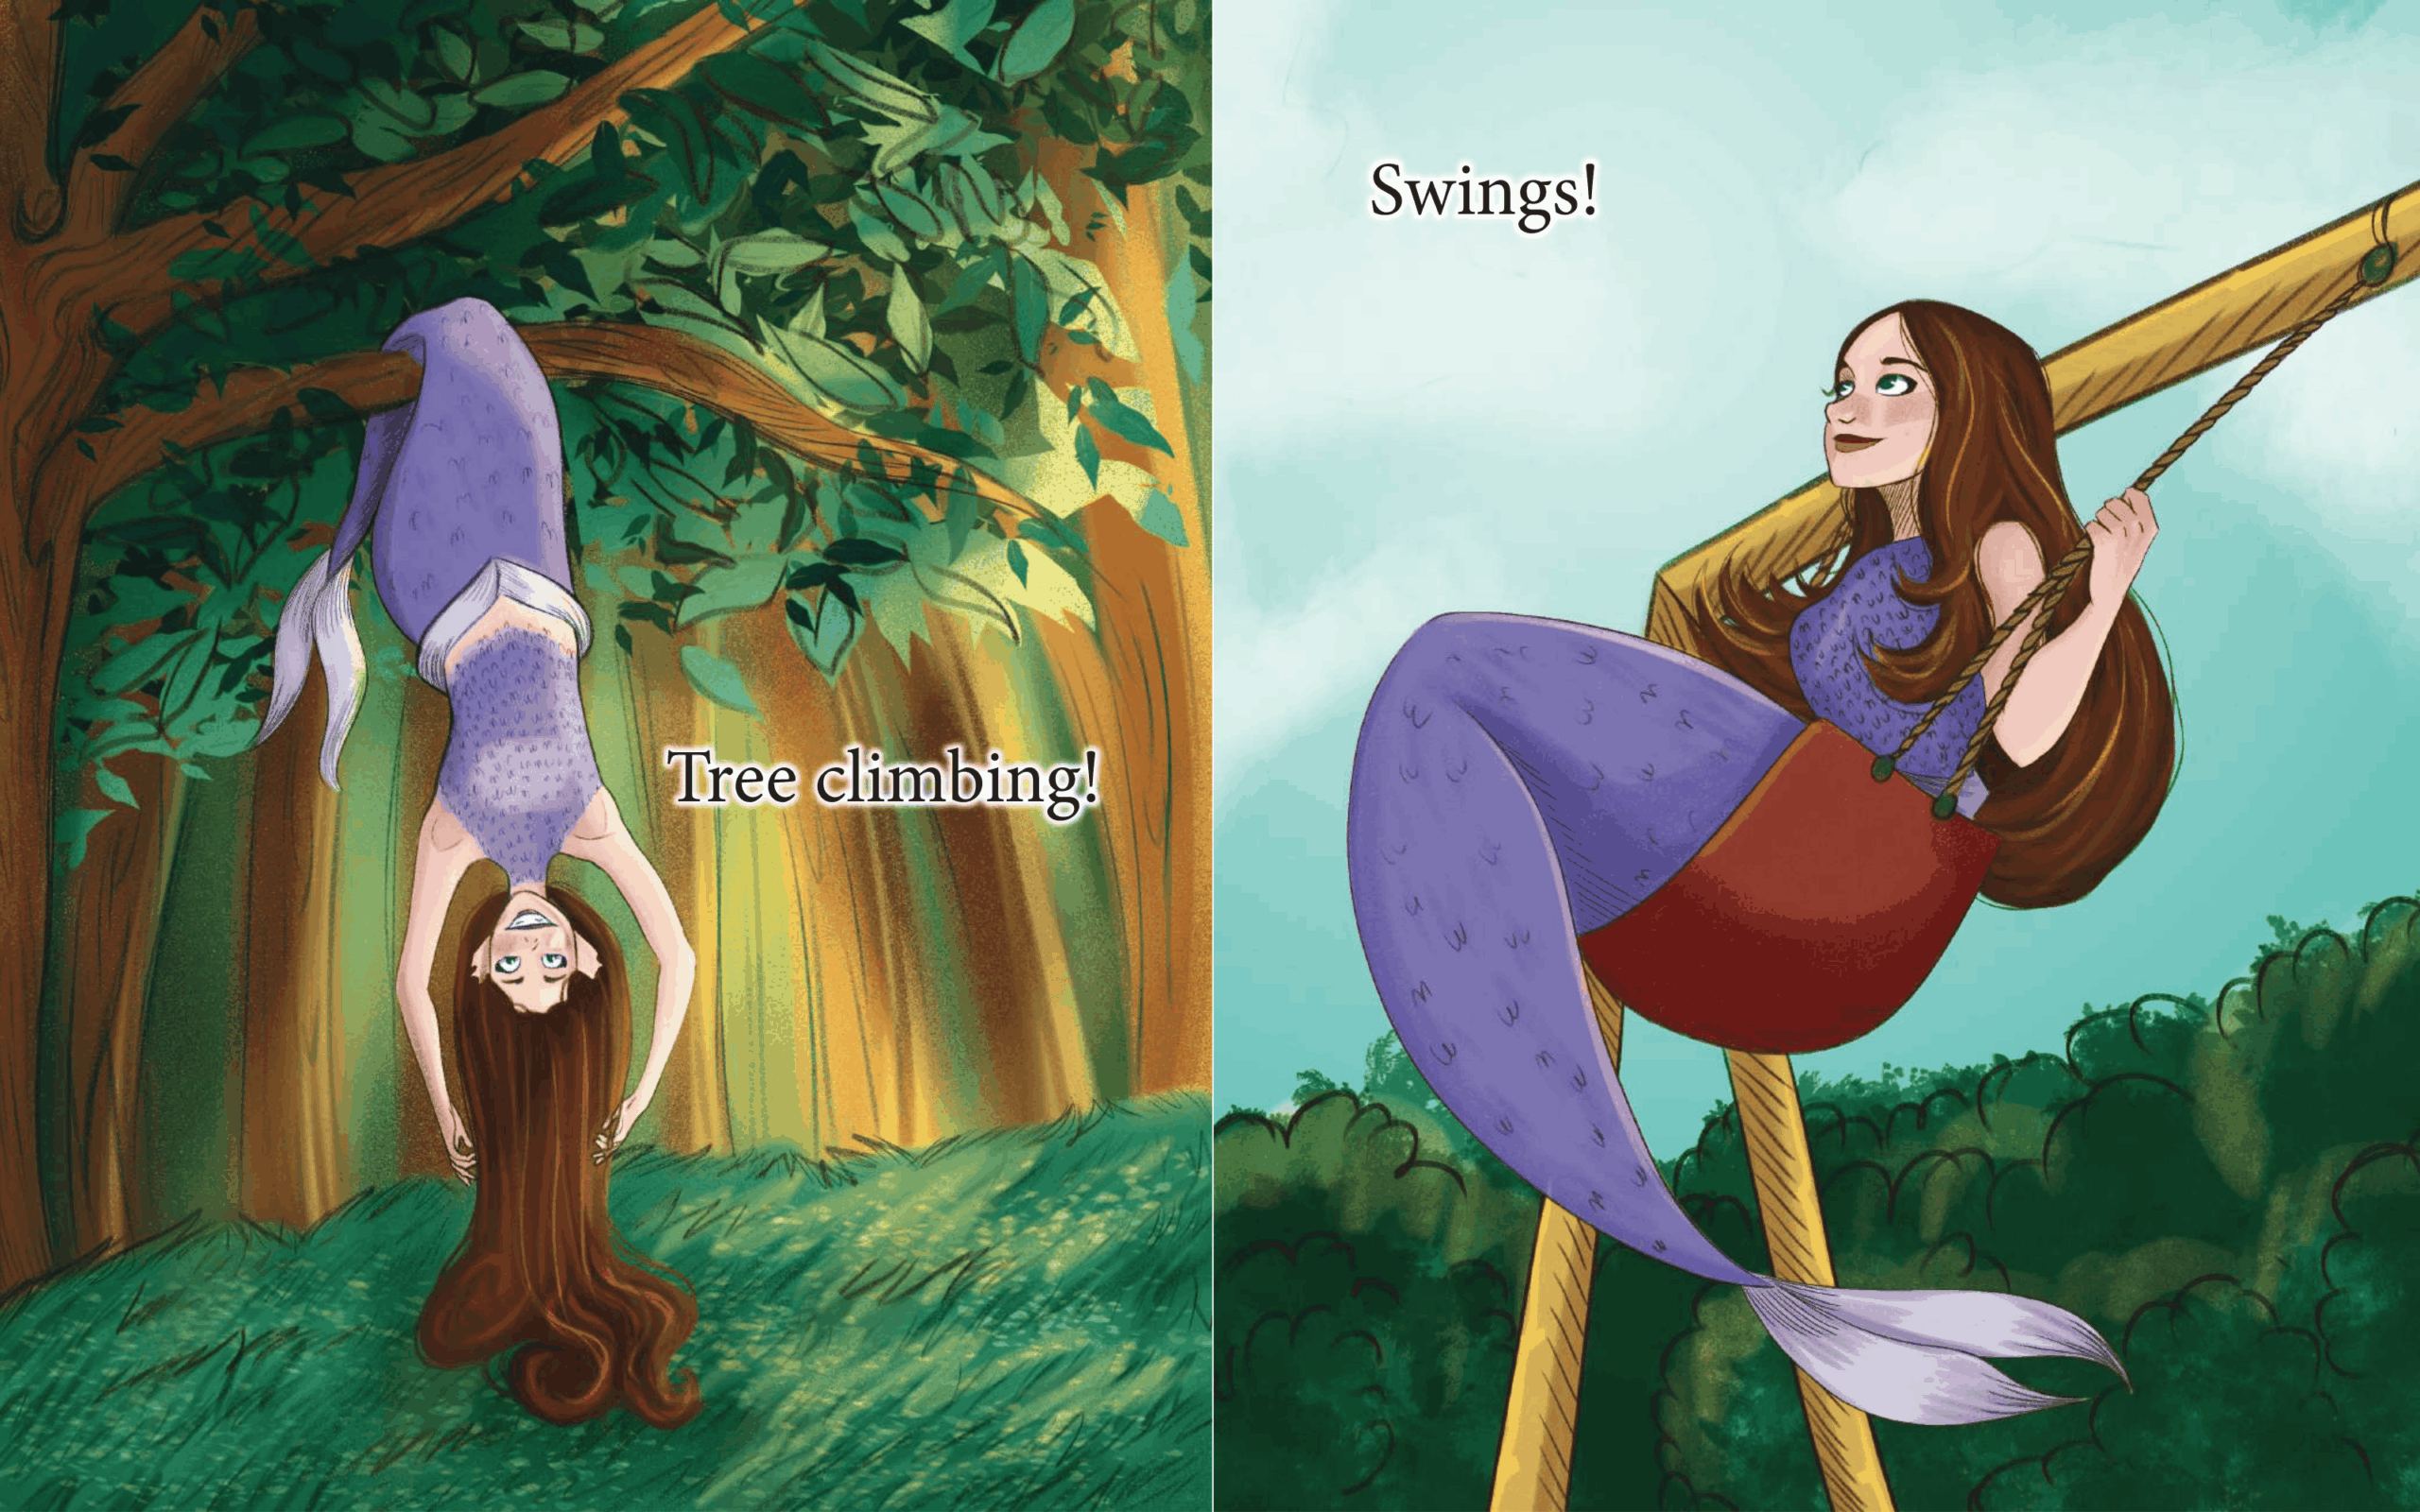
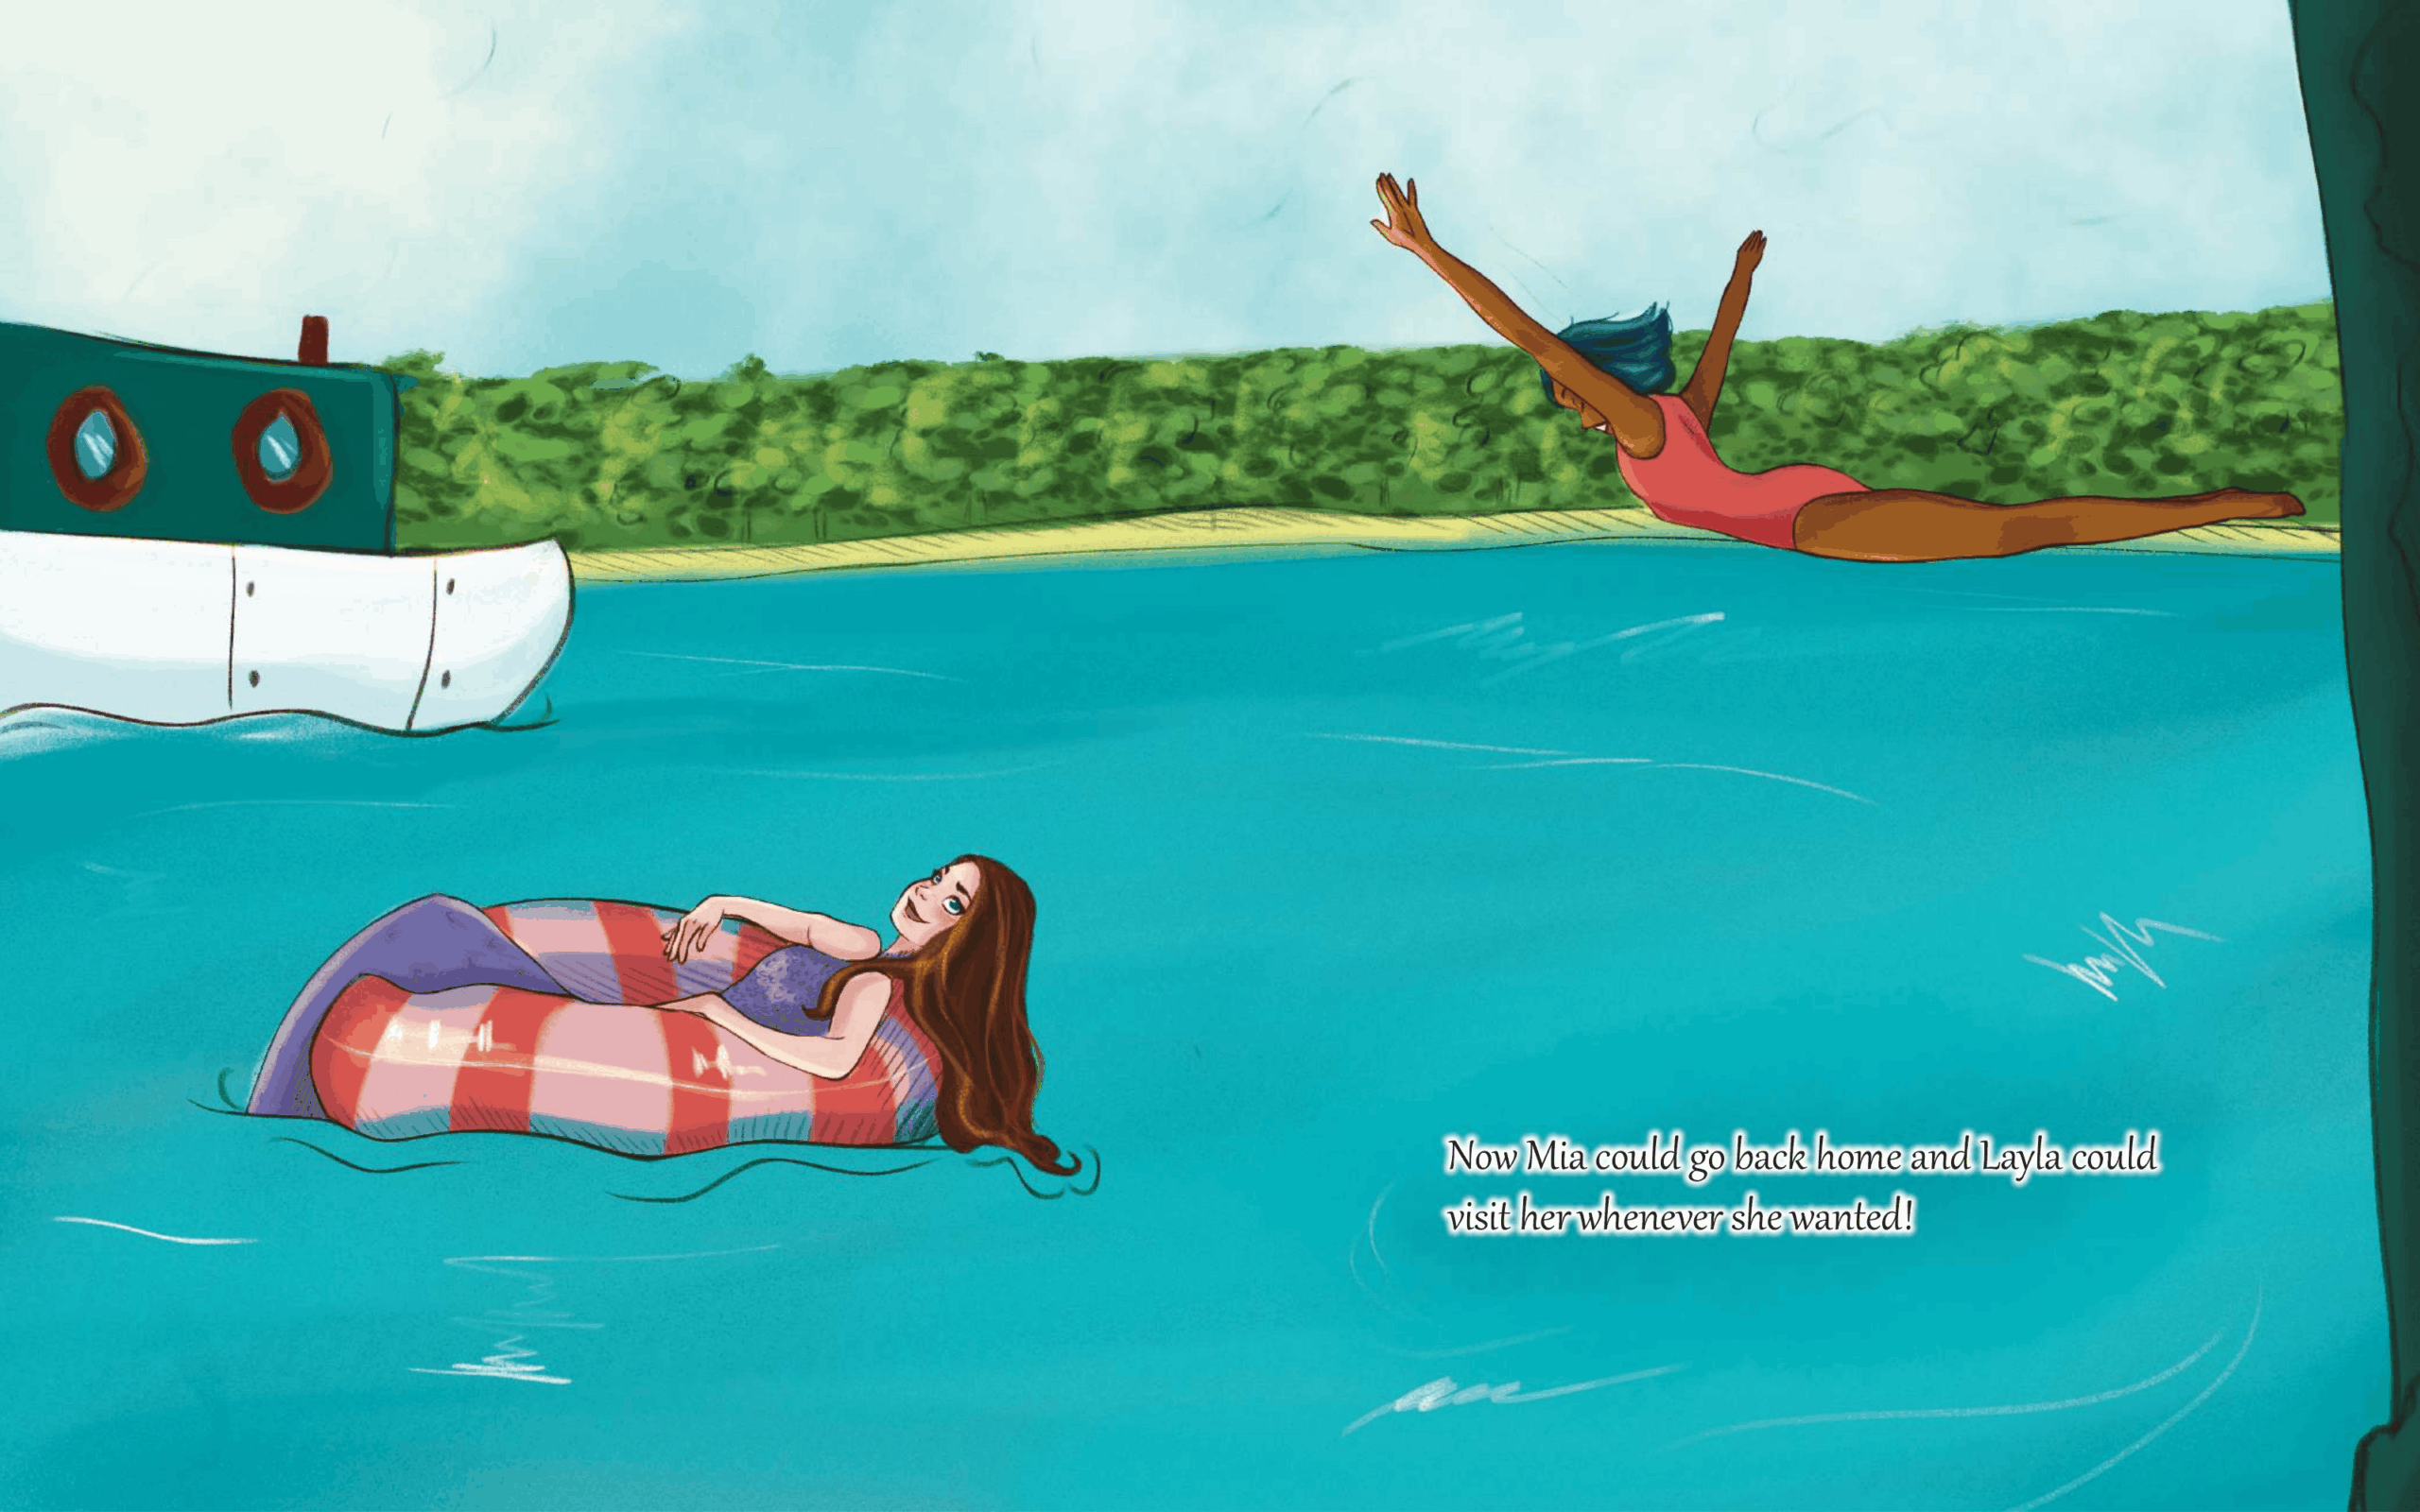
I began by working on the full colour pages as I knew these would take me the longest. Some natural changes came about while I was drawing such as making the skateboarding page a double spread so both characters could be on the page. I added these changes to the thumbnail plan.
This is the final book that I submitted to the competition. I am very proud of myself for finishing the project in under 2 weeks and submitting before the deadline closed. I also am very pleased with the result.
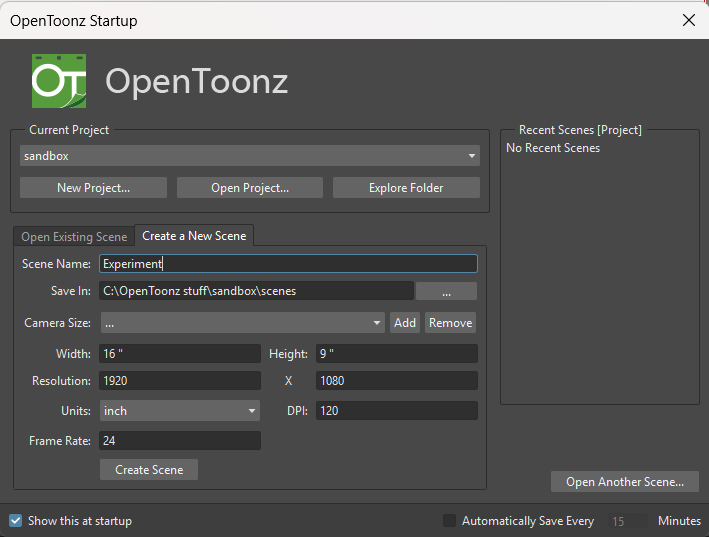
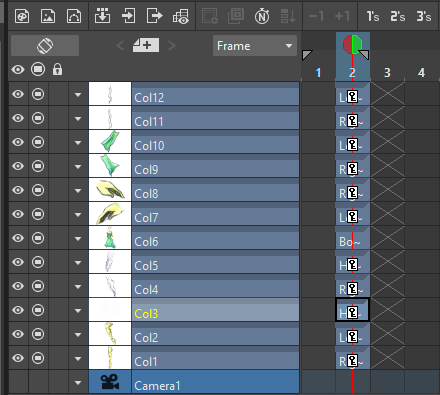
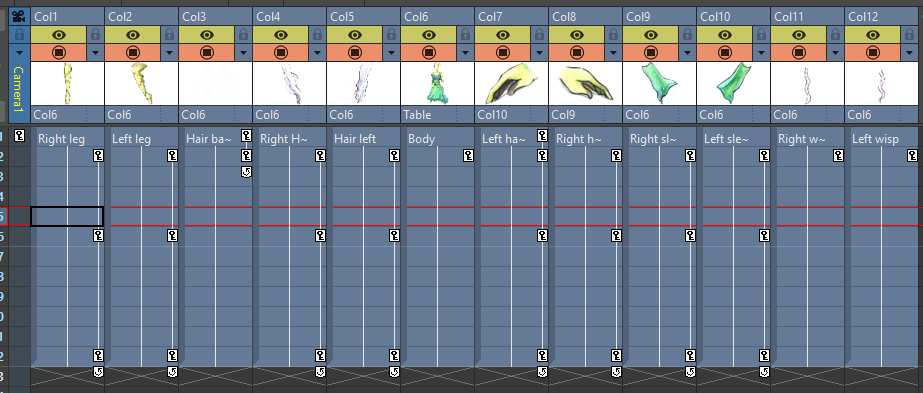
I then imported the differet pieces of the character into the project. This is how they appear in the timeline/frame view, each piece on a different layer.
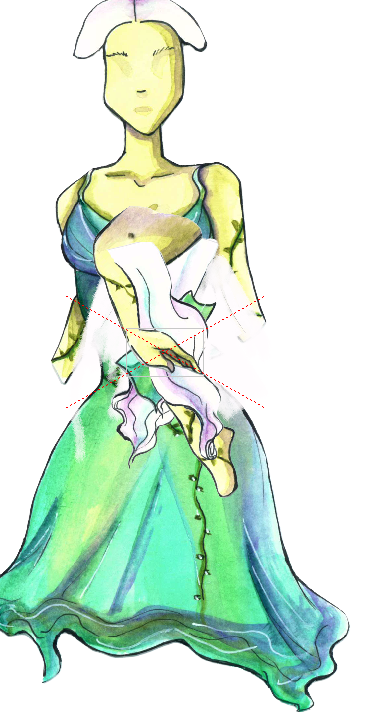
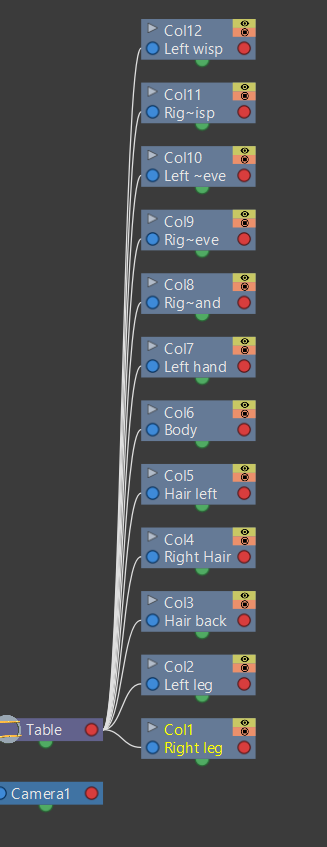
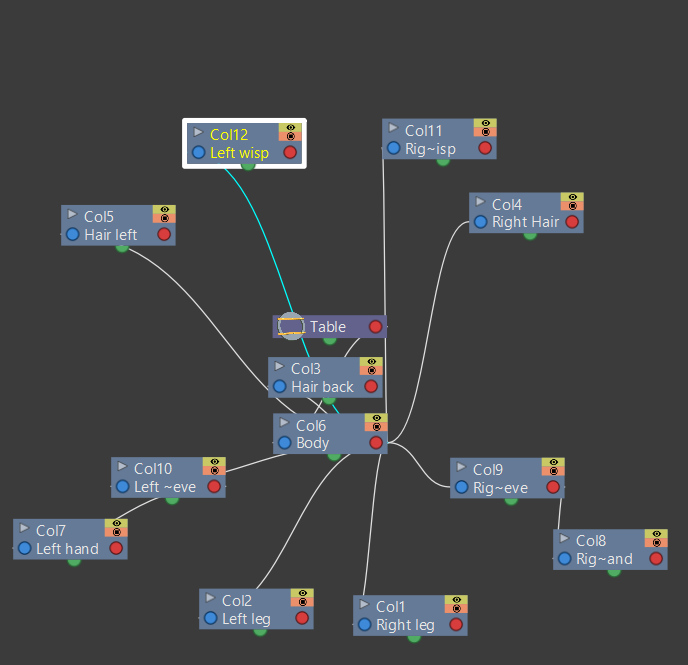
This is the stage schematic view, when you first import the parts they are all attached to the table in order to create the skeleton yo uhave to reorder the pieces. To do this you match up the blue to red dots and recreate the character by having the legs attach to the body then the hands to the forearms and in turn the forearms to the body.
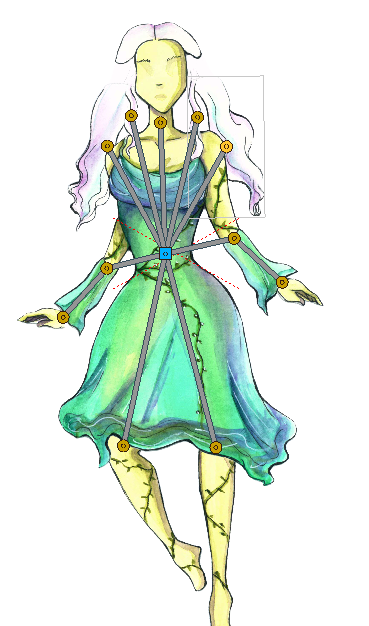
This is what the final skelton looked like, obviousely it does not match up completely as the sprite is a flying one and the head is part of the body.
To make the animation you had to switch to skeleton build mode and then press play and move the parts, if you moved the hand it would move everything attatched to it. Once you had moved it it created a keyframe as seen in this screenshot for the final animation there were three in total for the parts that moved.
This is the final animation I made with the software. This is not very good, I struggled not being able to control each individual part and due to how the skeleton is set up it caused weird residual movements especially on the hands.
I can see the use of this software and I am happy I explored it but ultimately I will not be using it for this project, the different kinds of animation I will be doing requires more software knowlegde than I could feasibly gain in the short timespan we have for this project especially as I am animating animals like the deer and the peacock.
I also just generally prefer to experiment and tweak with my hands until I am happy.
This week we had guest speaker Sarah Cole, she is a self described system and interaction designer. She has experience in a wide range of mediums.
The talk revolved around a more holistic approach to narrative design that is not just focused on the writing aspect.
Digital vs Analog Games
Video Games
Variable flexibility
Depends on tech and narrative design
Game has limited control of player reactions and timing
Board Games
Inflexible
Players must self regulate
Rules can’t easily accomodate different player cababilities
TTRPGs (table top roleplaying games)
Very flexible
GM can modify and tailor narrative
Distilled narrative design
Death of the author
The great detective problem!
Sherlock is too smart the average person would never be able to take the mental leaps that sherlock does. Detective games often struggle to strike a balance between actually letting the player deduce and telling them the story.
Sherlock Crimes and Punishments – An interesting entry in detective games you can come to completely the wrong conclusion and the game will let you convict the wrong person. A good narrative allows players freedom to mess up and be wrong.
Tips –
Sometimes its better to work on paper
Seek inspiration if your stuck – specially outside in the world
Tuesday –
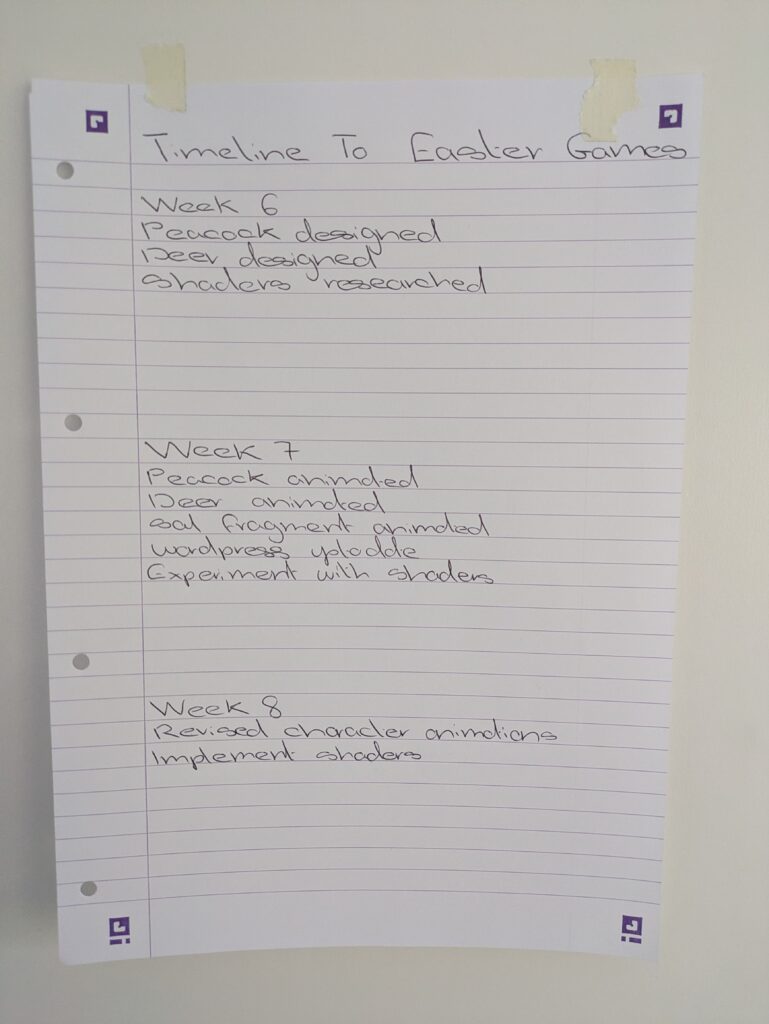
At the meeting on Tuesday as my team members were absent I continued working on the animal designs. I also created a timeline in weeks and the main things I needed to do for our vertical slice.
On Thursday we had a visitor from the careers team delivering a talk about our next steps and how to stay up to date with the games industry.