Peacock
For the first playtest as we had a time crunch I focused most of my efforts in having the player character ready we decided to keep using the environments artist peacock before swapping it for my design.
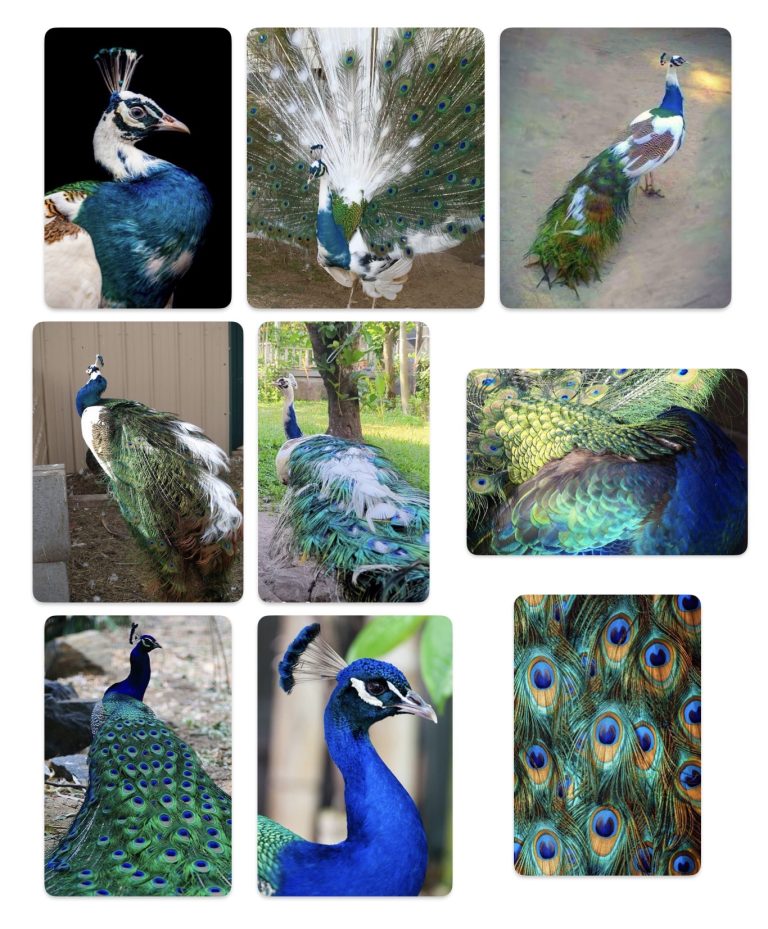
Before I animated the peacock I sought out reference videos of peacocks walking.
What stuck out to me was how their “knees” worked they seem to be backwards compared to a humans so I decided I would need an upper and lower part of the leg.
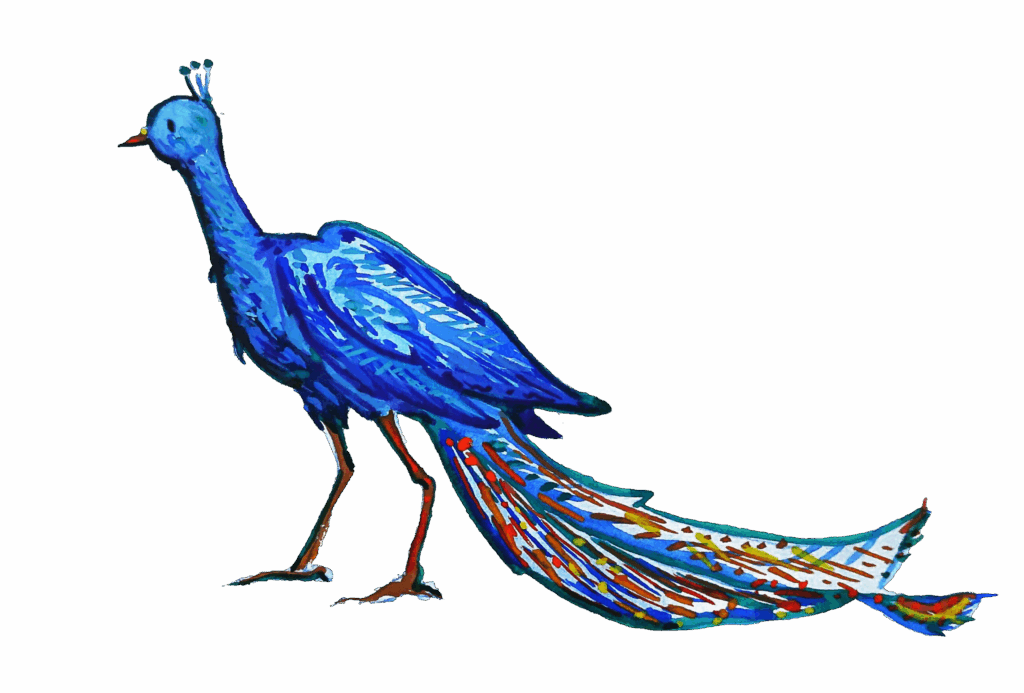
To animate it I cut out the separate parts using Photoshop’s lasso tool. I then copy pasted each element onto separate layers being sure to name each one.
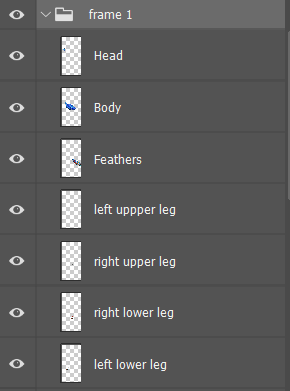
I then created 8 folders filled with the parts and slowly created the key frames by positioning each piece. Once one frame was done I would lower the opacity of it and begin on the next frame using the one below to see where I was.
To create a separation between the character player and the animal I decided to animate at 8 frames instead of the characters 10.
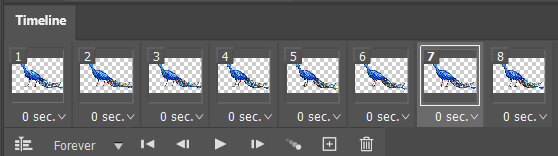
To finish I saved each frame as a separate PNG and sent the folder to our Mechanics Designer.
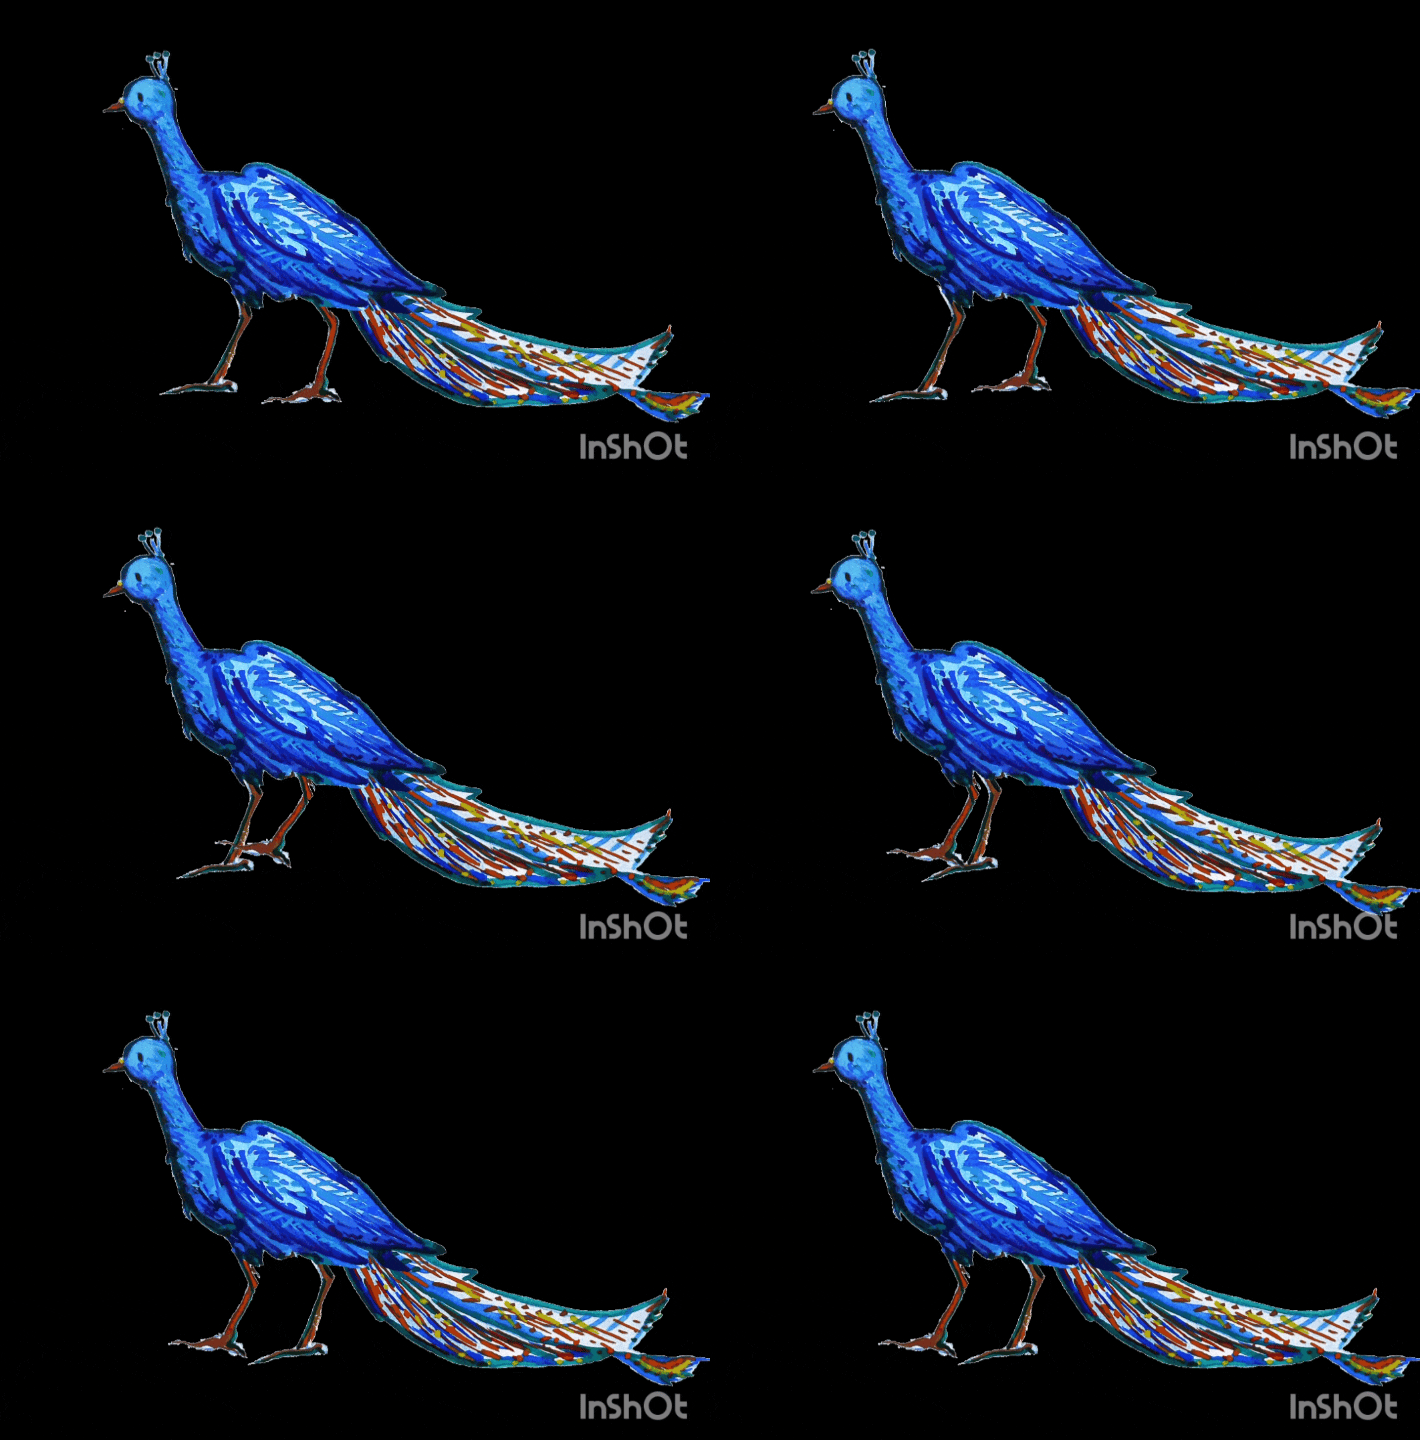
The finished rough walking cycle. even though there are issues I am happy with how this has turned out and it will do for the first playtest.
Peacock Second Animation
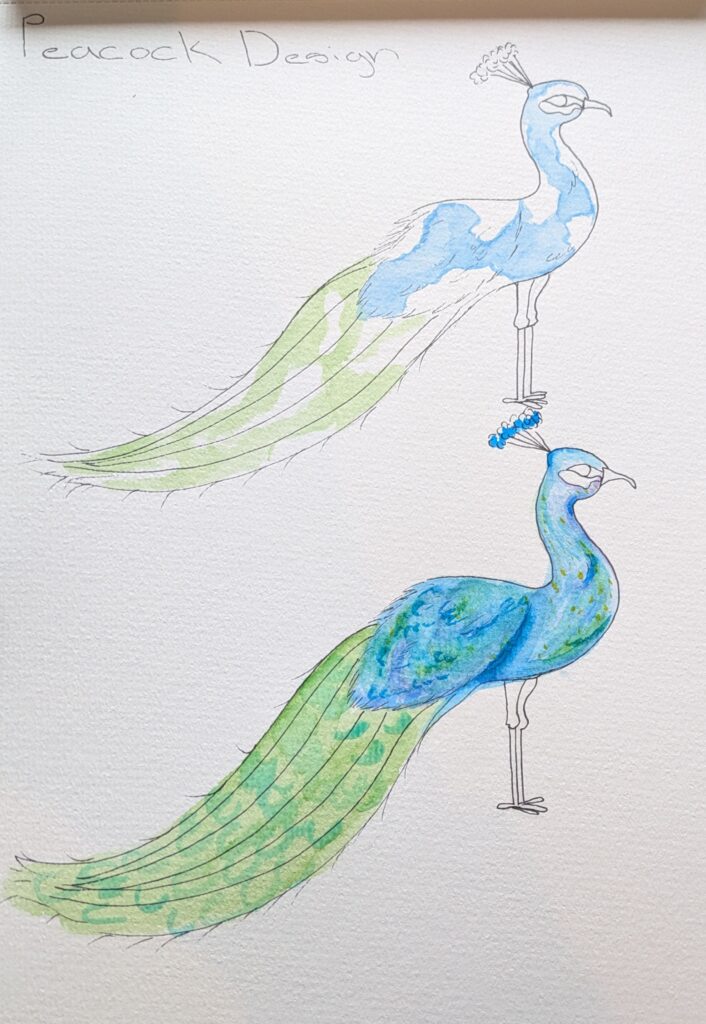
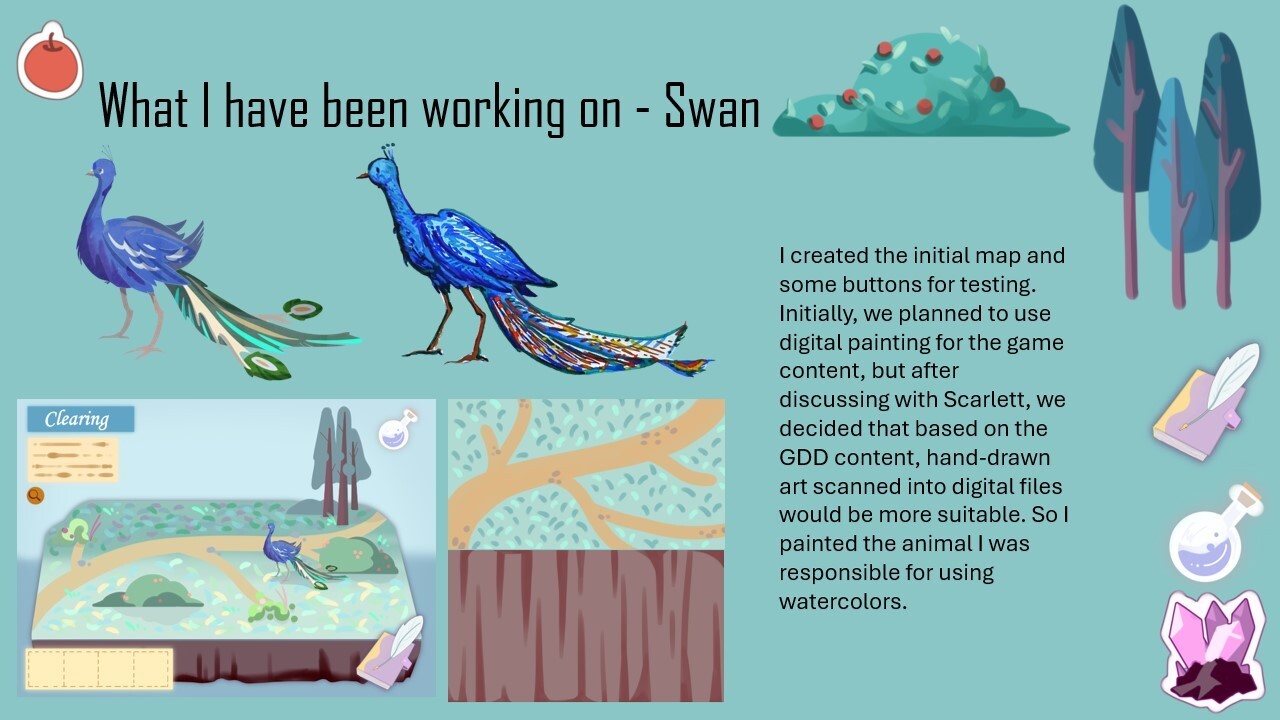
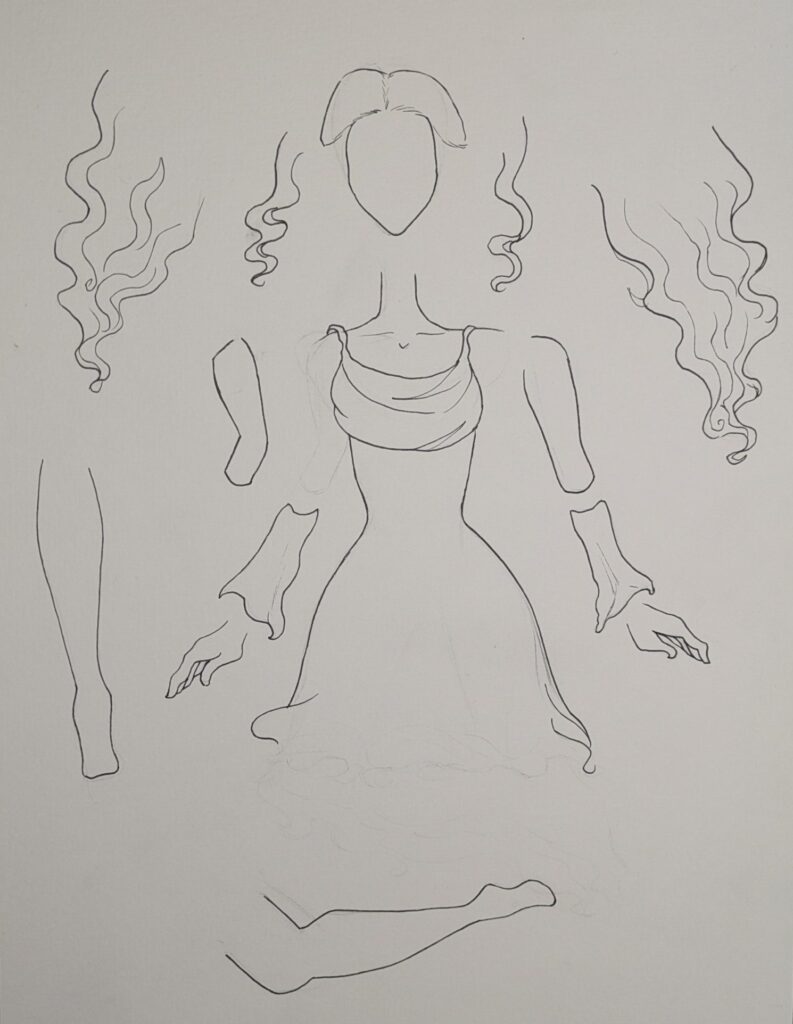
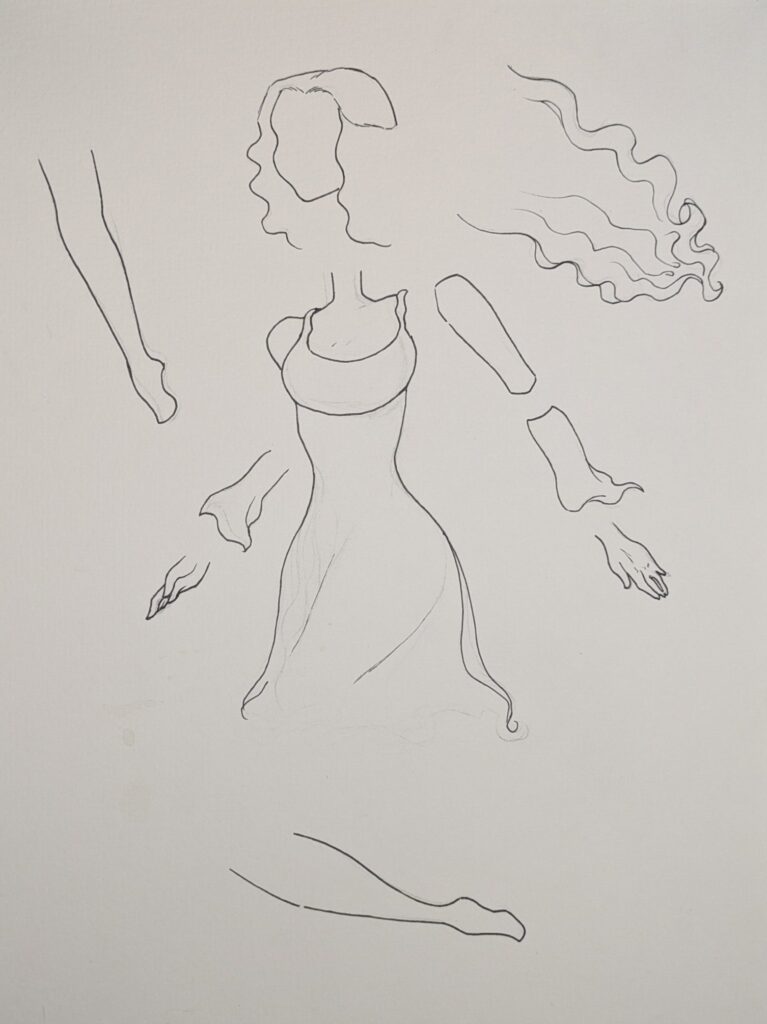
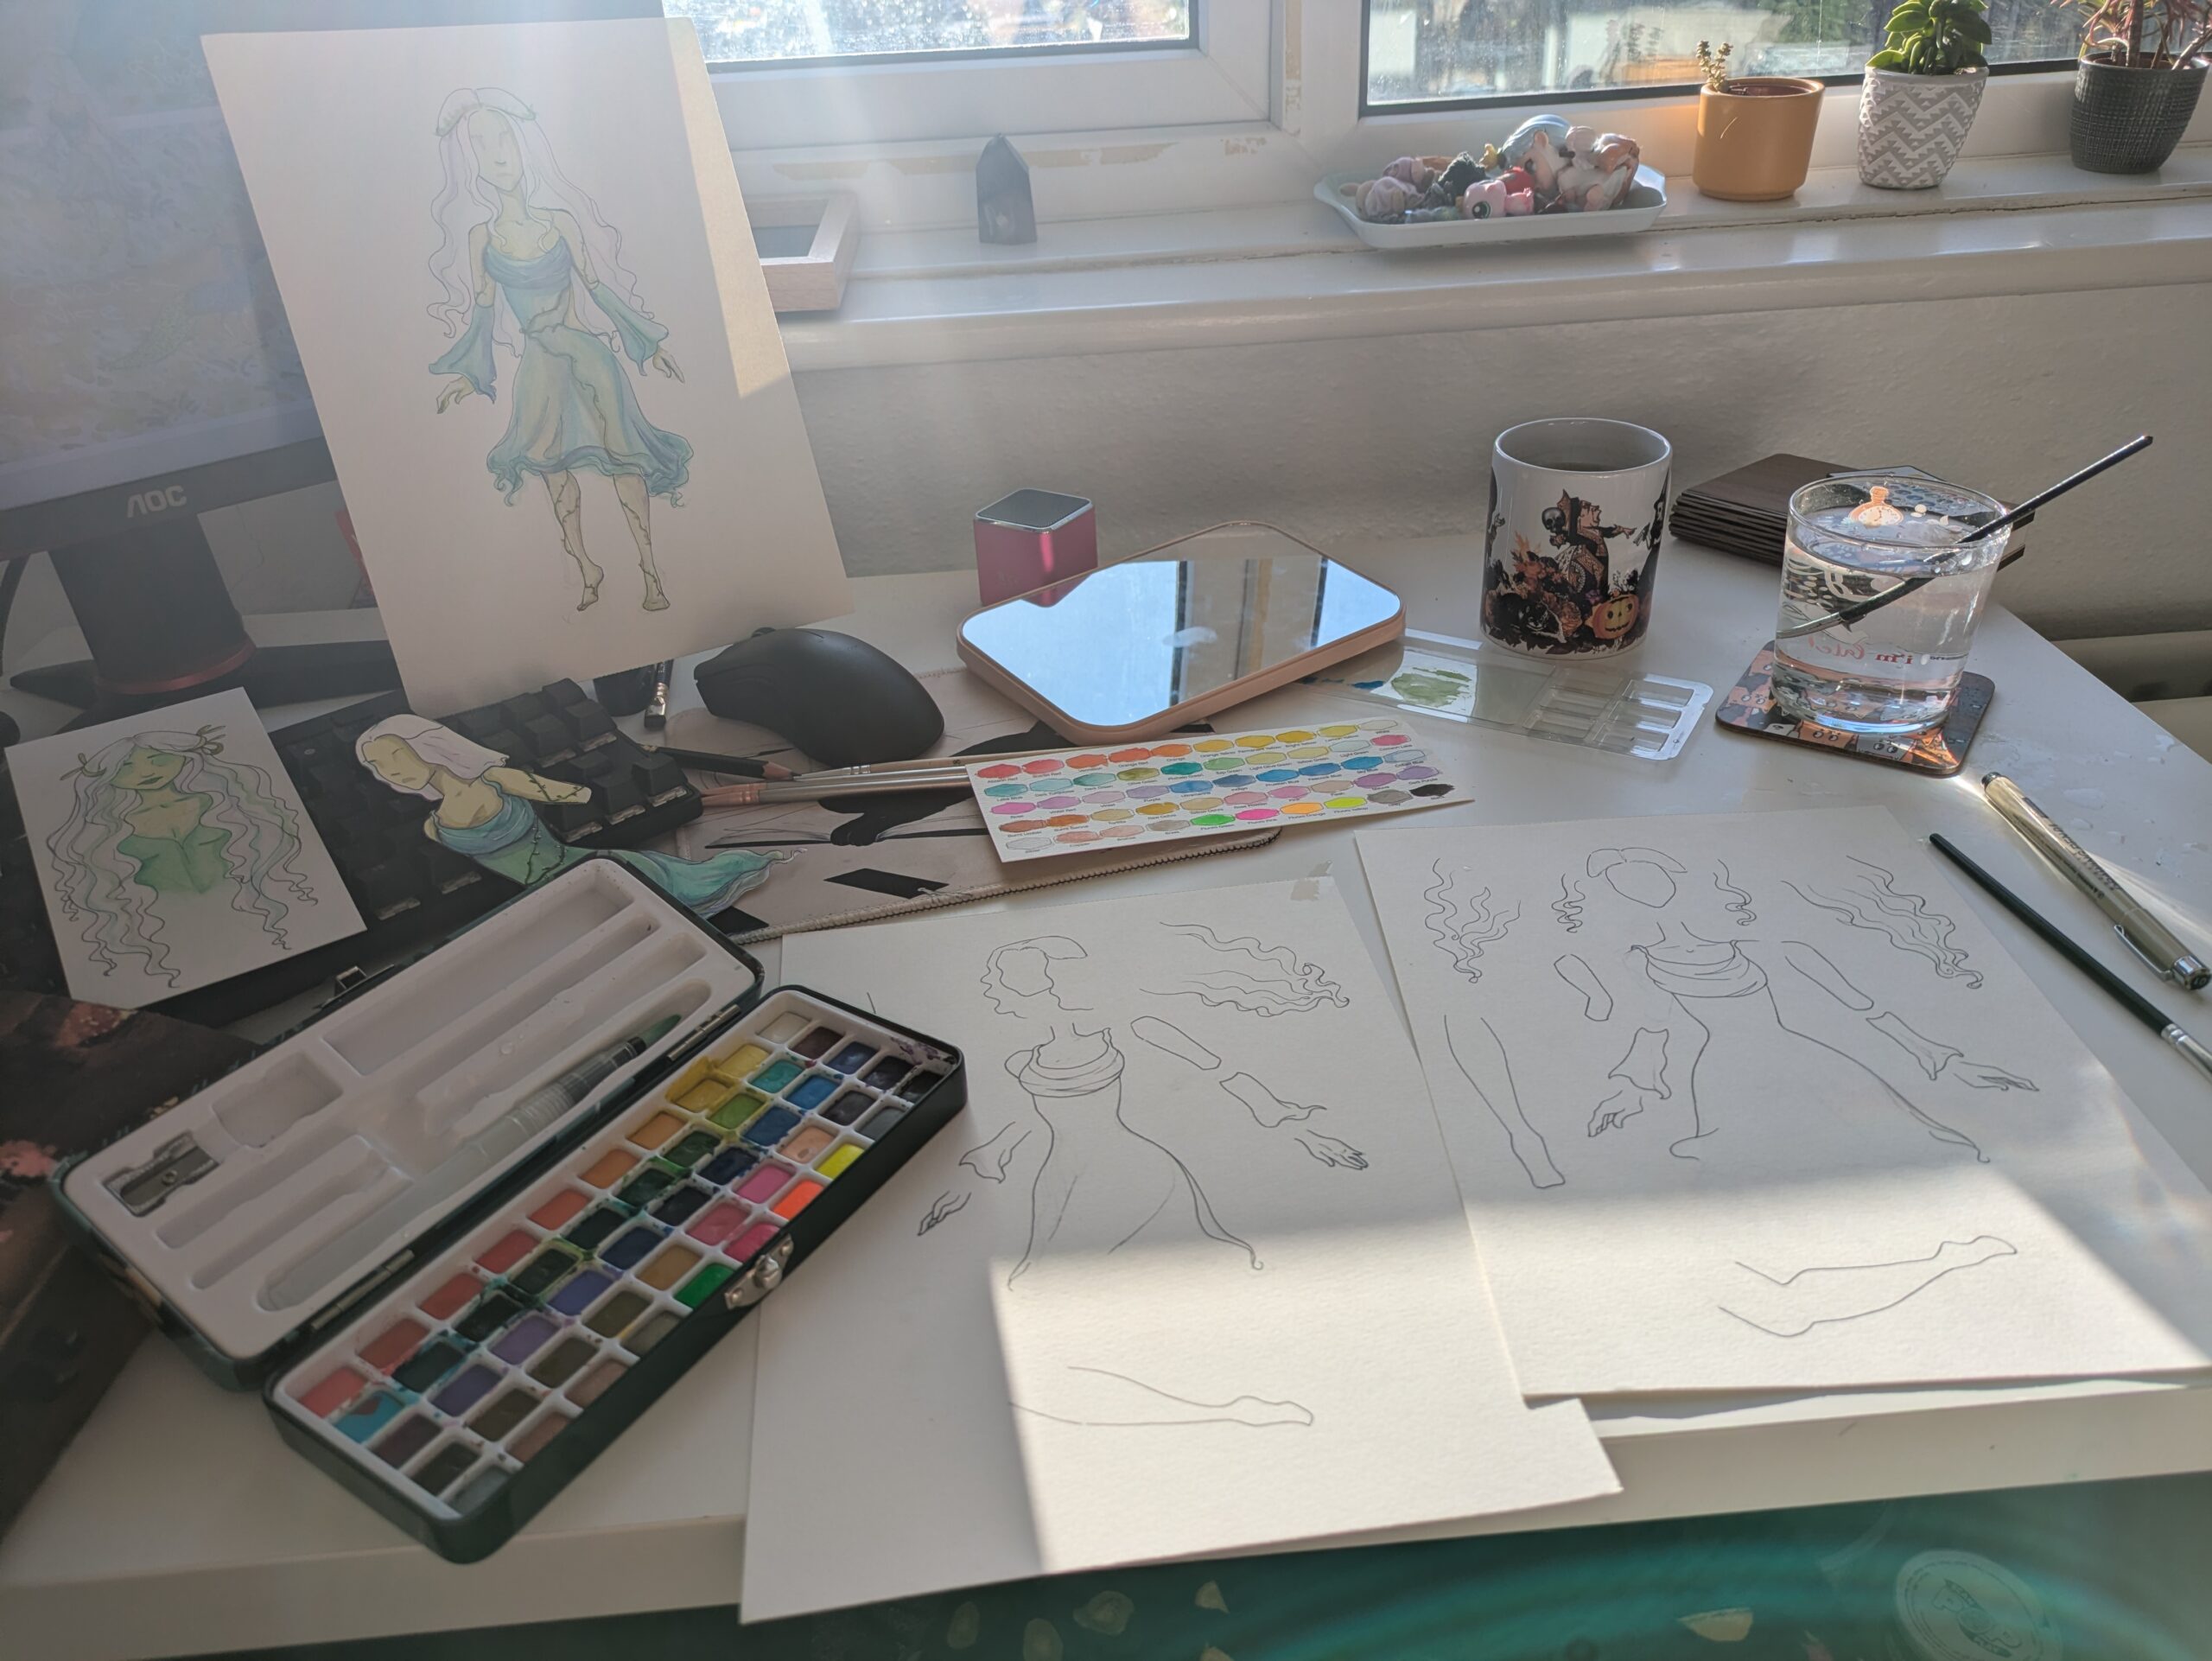
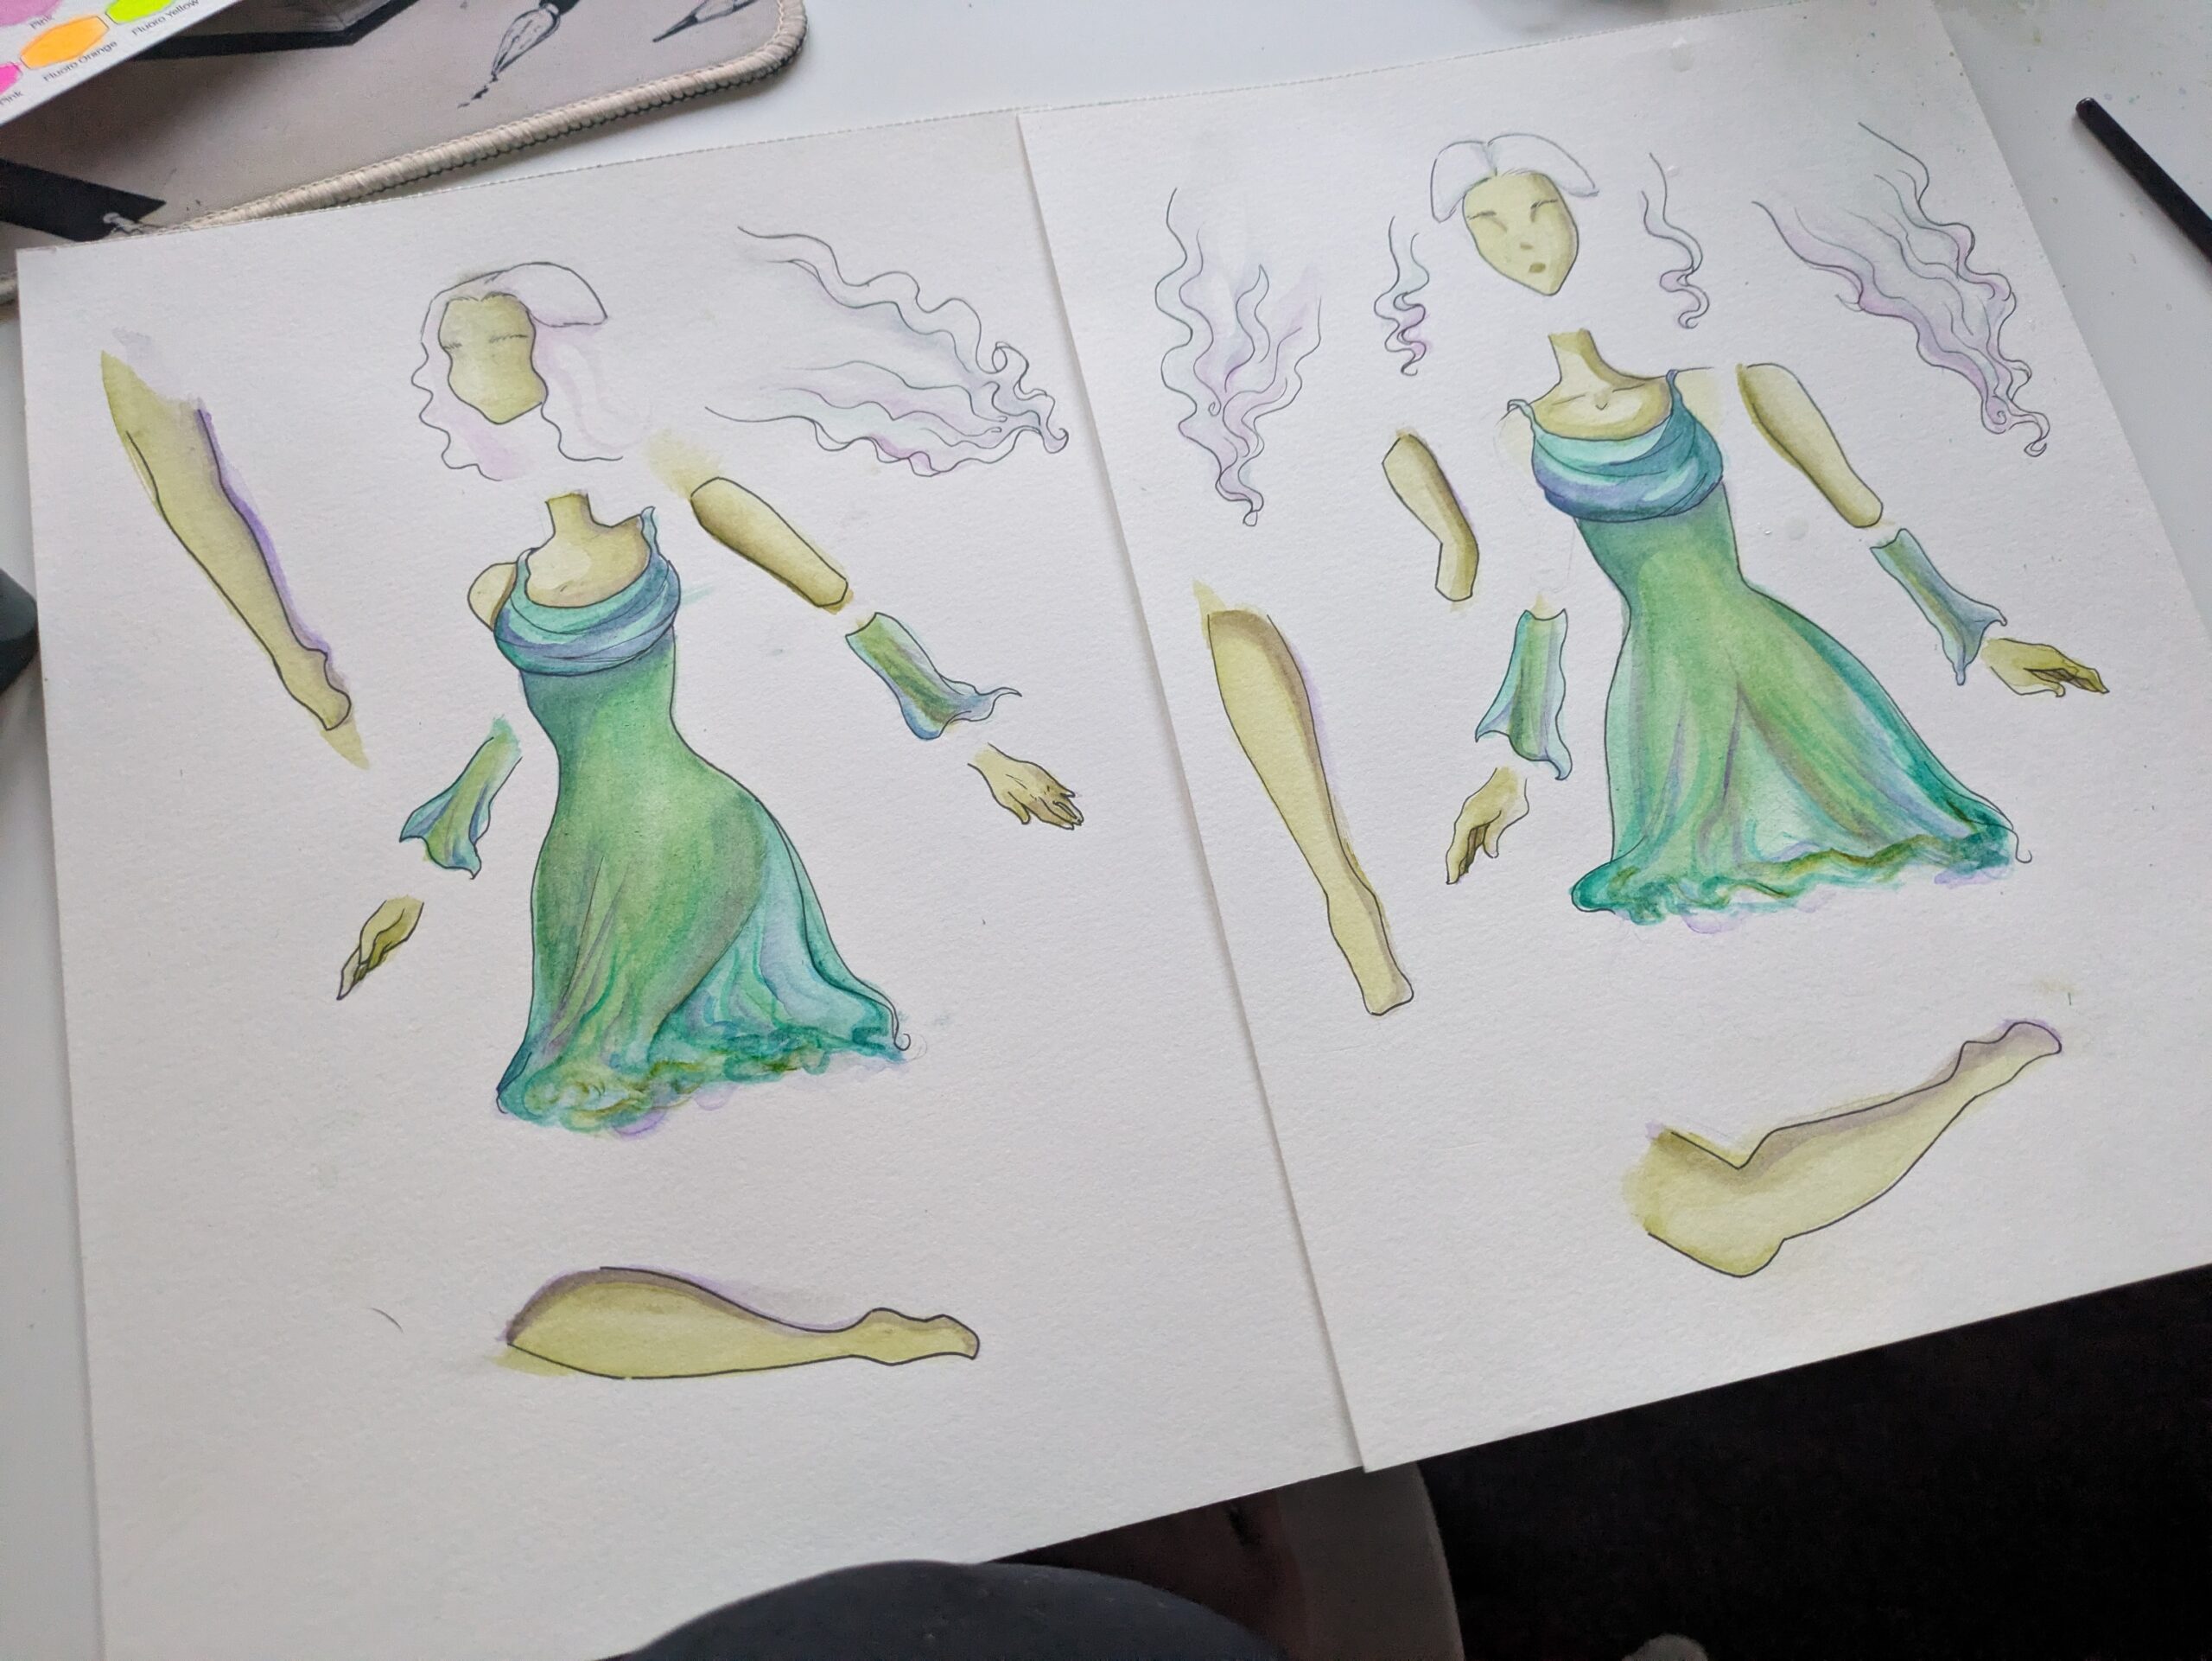
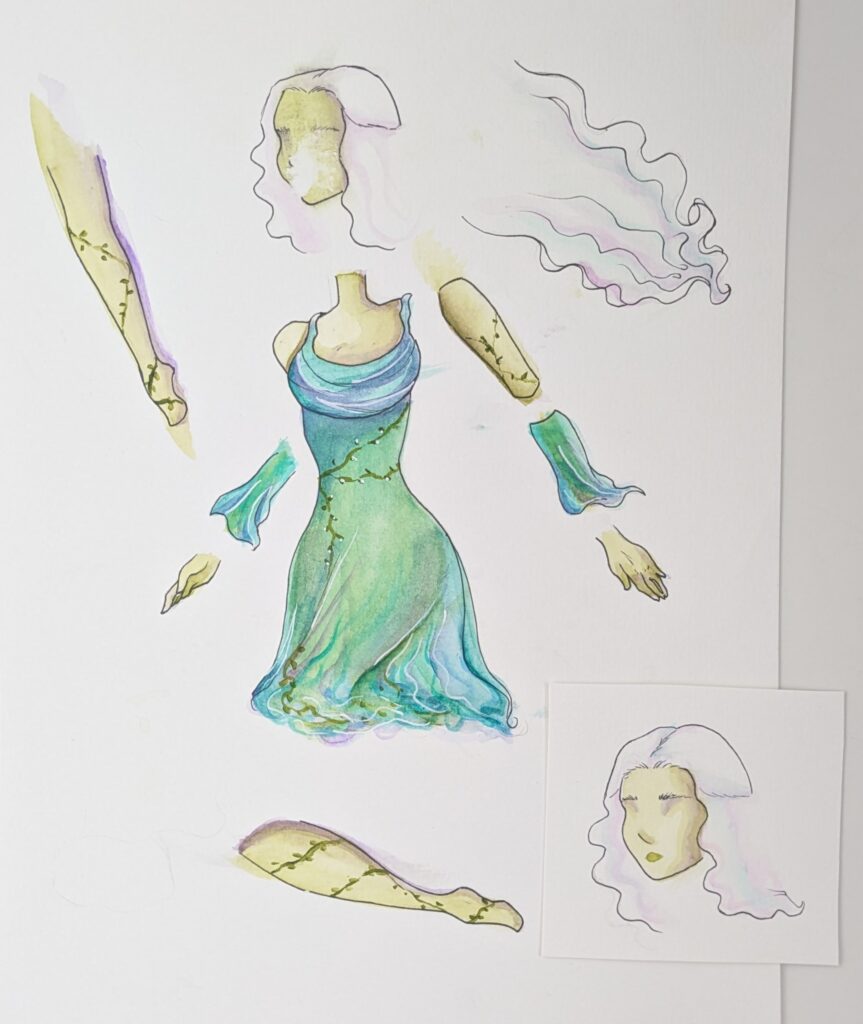
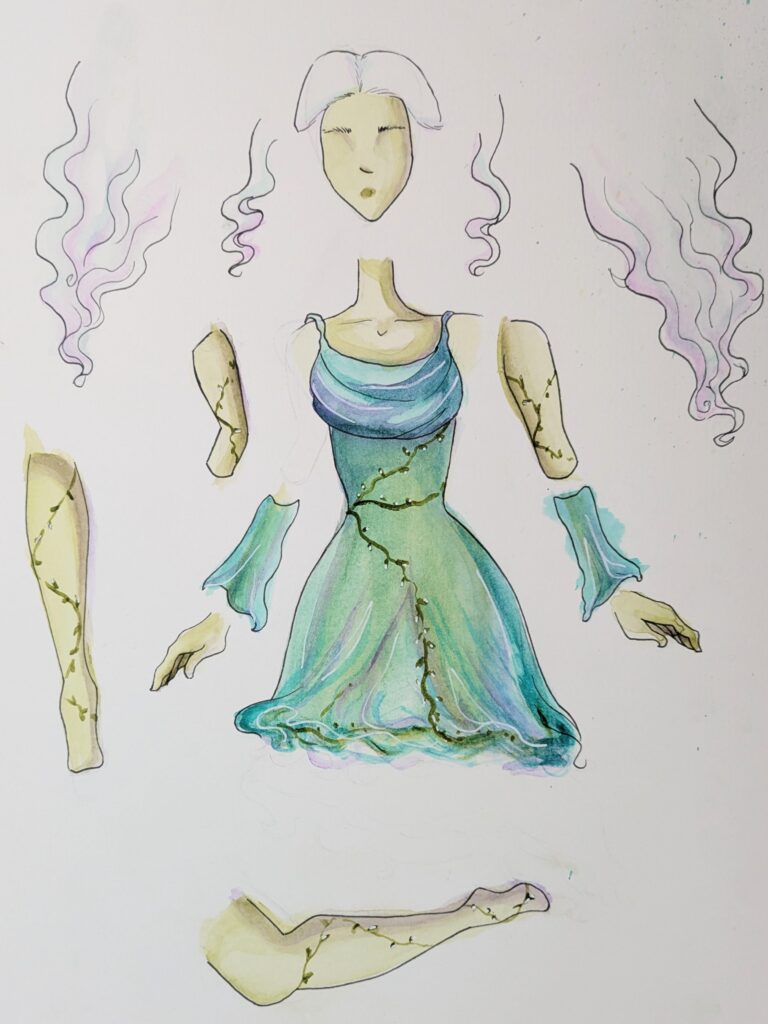
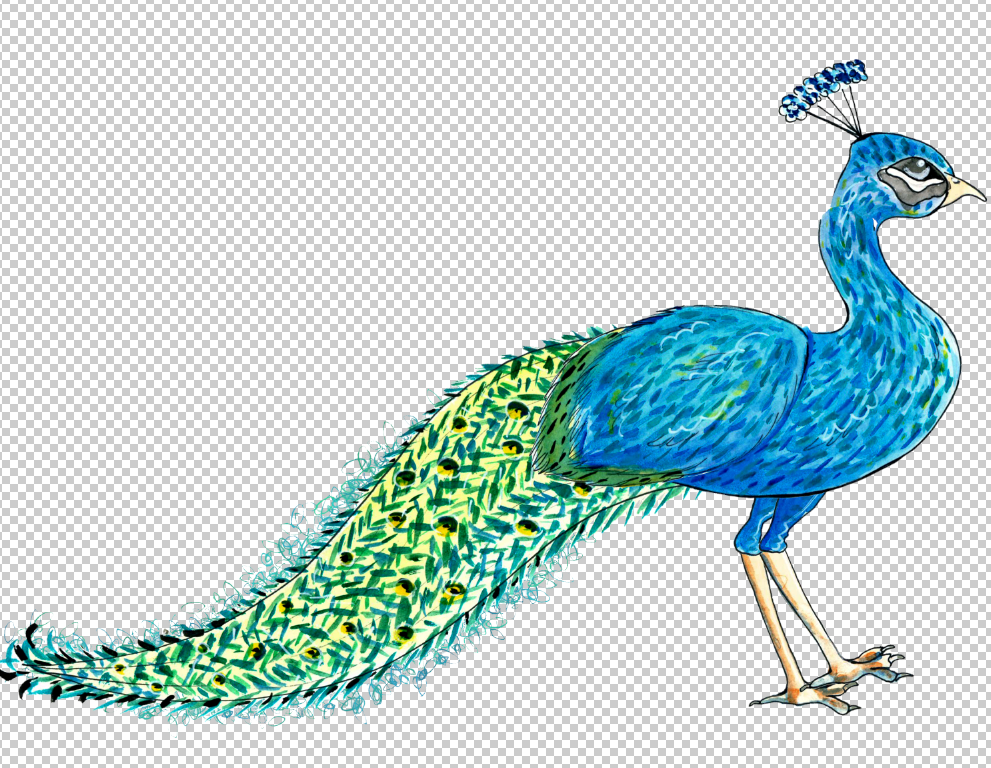
For the next playtest I want to have my design of the peacock fully animated. Once I had designed it and gotten the approval of my team. I took a photograph of the parts and opened it in Photoshop, I did this because scanning it into the printer warped the colours quite a bit. In Photoshop I upped the saturation and levels so that it popped more.
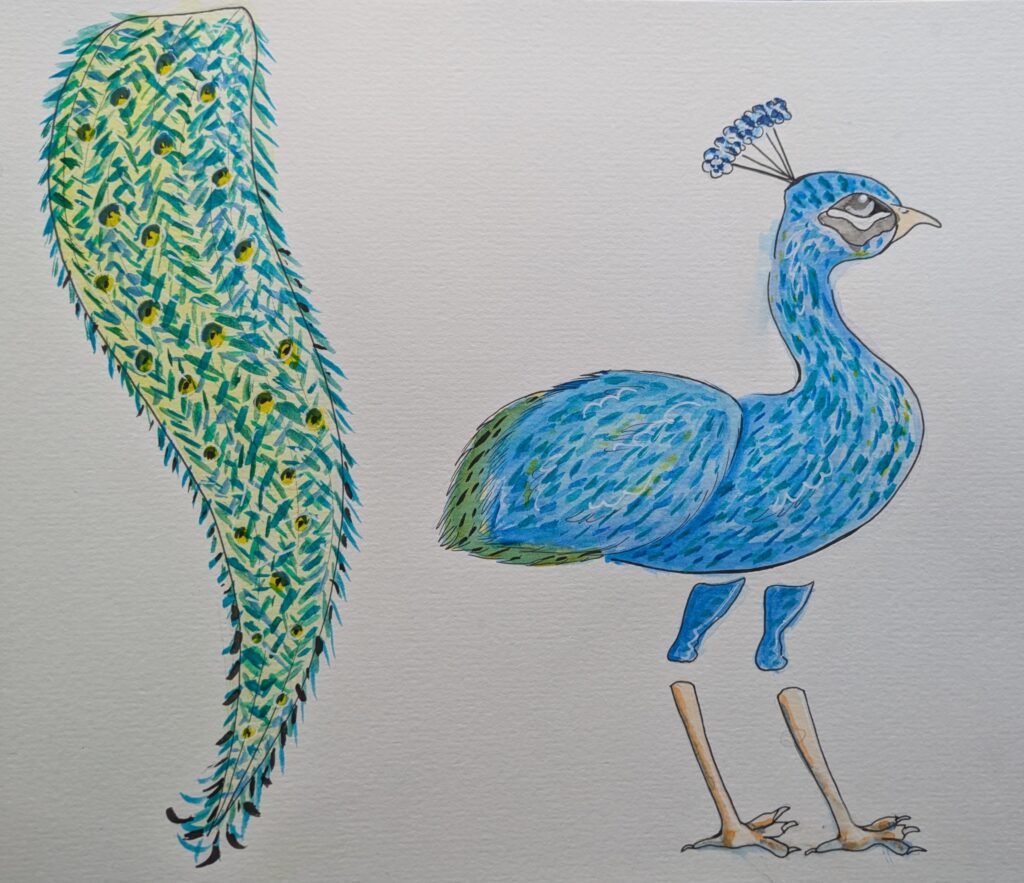
I then used the object selection tool to quickly cut the pieces out. To get things cleaner I went in with the paintbrush tool and cleaned the edges up, filling in any bits that had disappeared. I then copy pasted each part to a new layer, being sure to name the layer so I could keep track of what’s where.
Underneath the bulk of the feathers I used a modified leaf brush that leaves a stamp outline increasing the randomness of the scattering this created a cool feather moving effect.
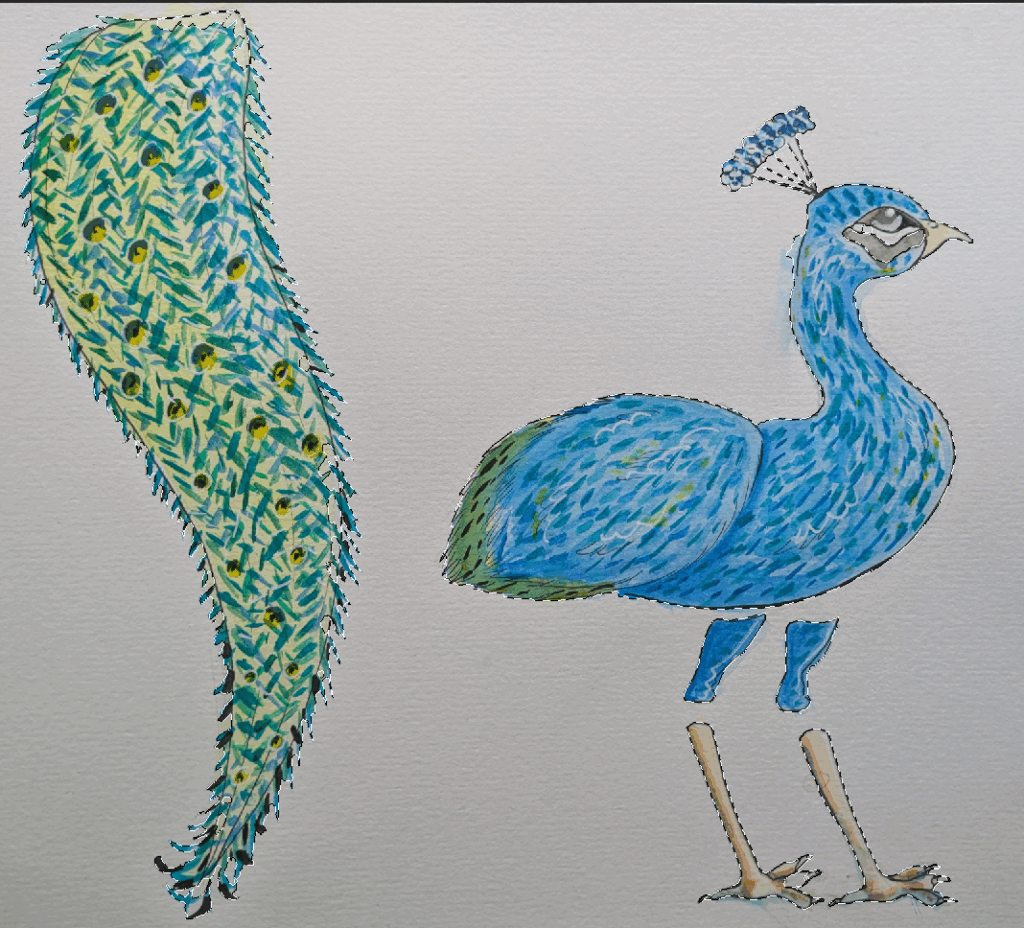
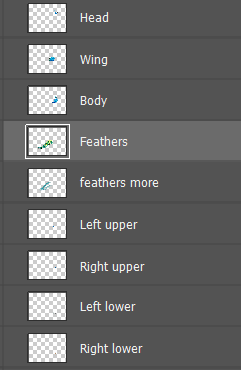
I then organised these parts into a folder and arranged them in my first key frame, I then immediately duplicated this folder as it will both be the first and final frame of the animation. I then made the middle keyframe for this walk cycle I determined this would be when the peacocks feet are crossing over as it steps the next foot forward.
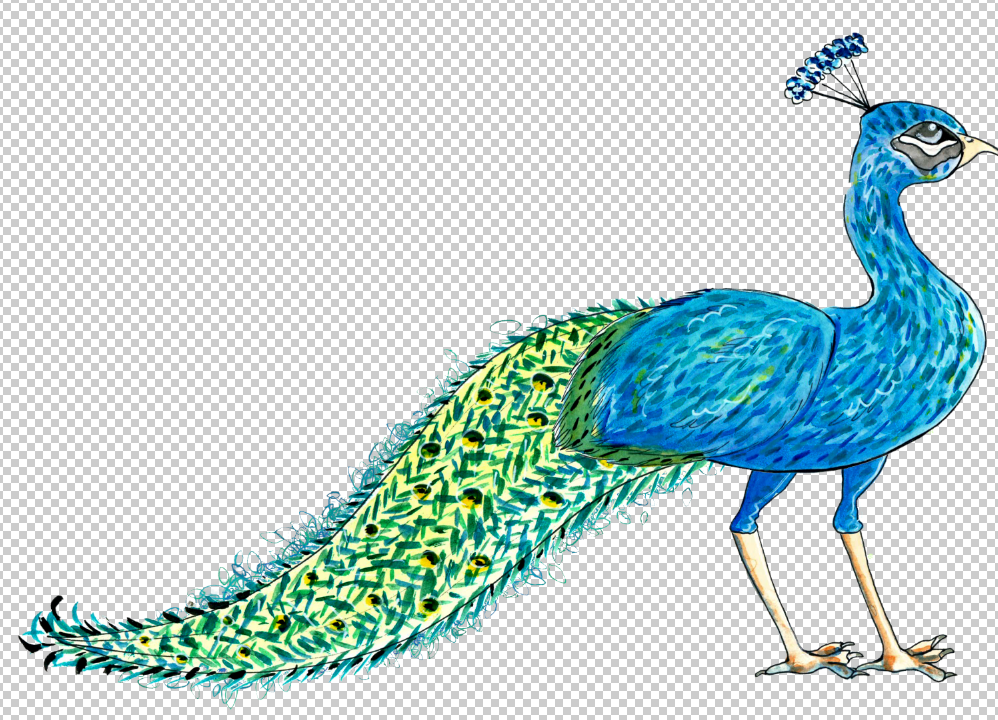
Then I worked slowly and meticulously working one frame at a time with the one below it on a low opacity so I could see how far away I was moving the parts. I worked up to the middle frame and then arranged the next frames to get the peacock back into the first frame’s position, ready to start the cycle again.
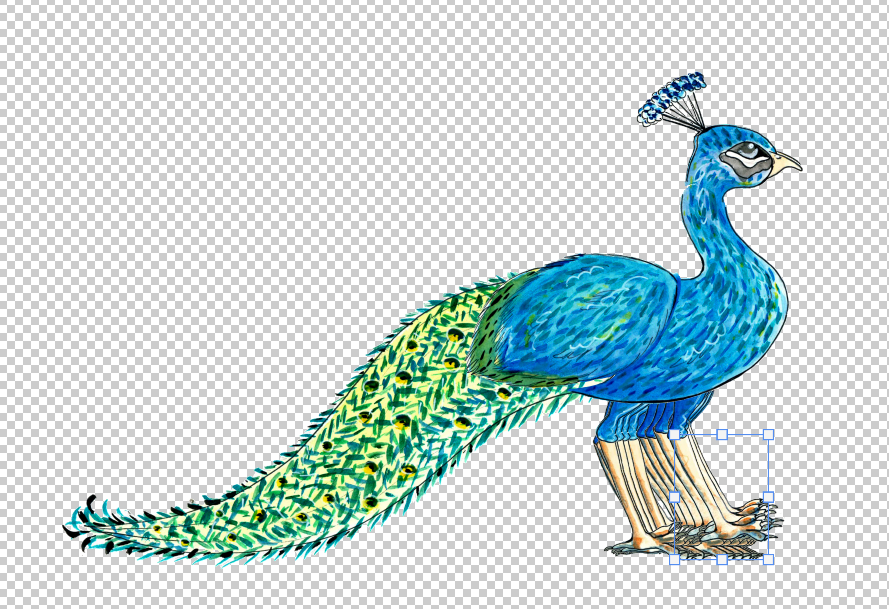
To make sure I was on track with the animation every so often I would make all frames full opacity and visible so I could actually see the movement it would do.
To make the animation I used Photoshops timeline feature to make a frame animation, then I merged all of the groups (after I had backed them up) into single layers then I made frames from layers.
This is what I had, the main issues were where I had cut the neck there were obvious gaps. Using the paintbrush tool again on a new layer in each group I overpainted to cover the gaps.
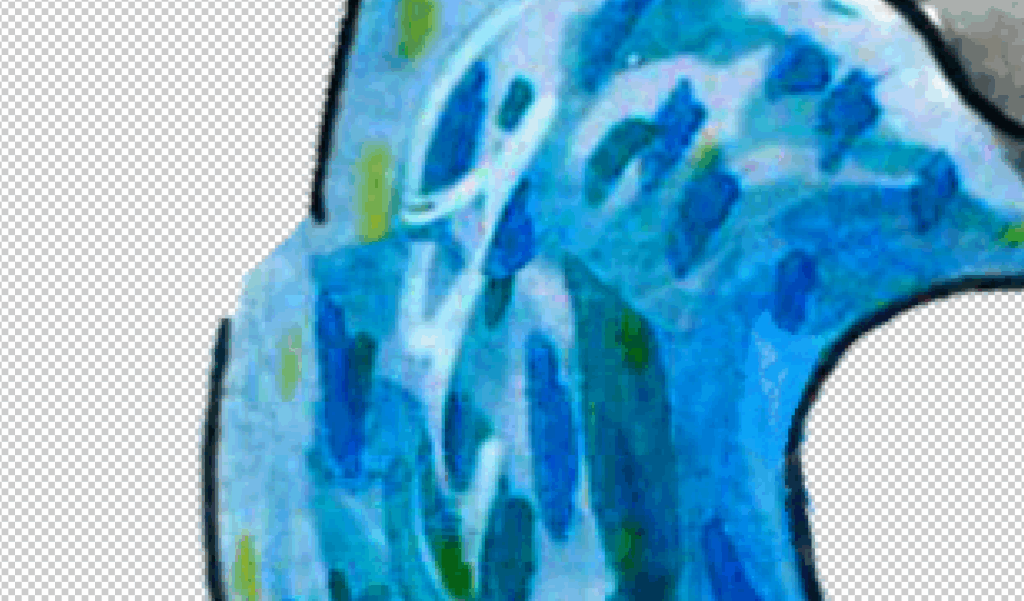
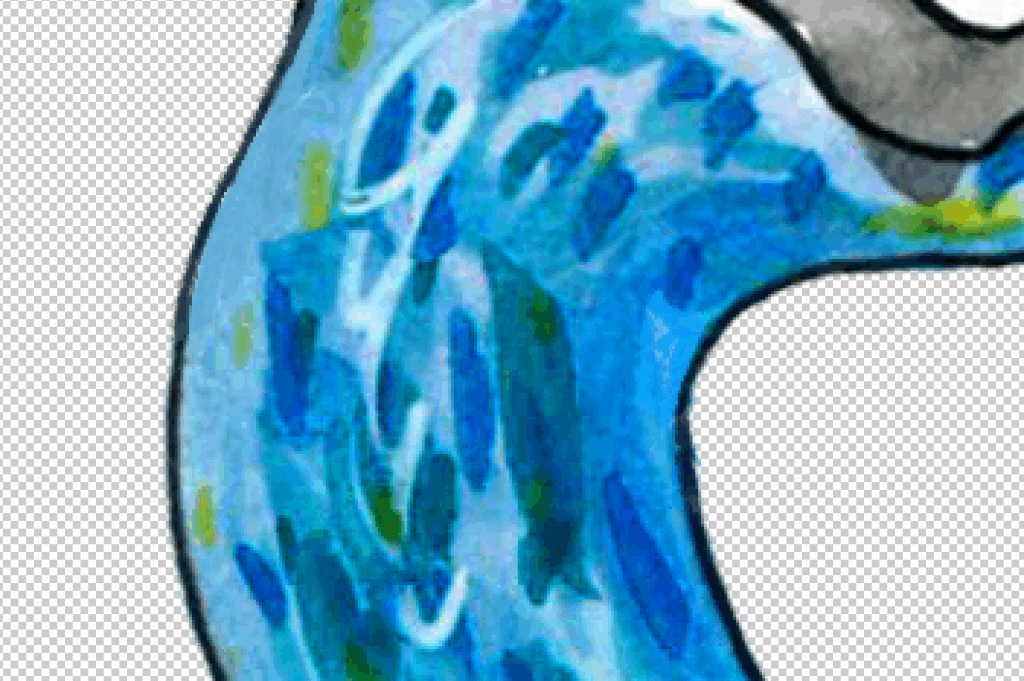
Before and after of the neck as I did each frame individually there are some inconsistencies but I like this look as it makes the neck look like it’s ruffling.
This is the finished animation. I exported all layers as separate PNG’s and added them to a shared onedrive with the mechanics designer so that she could add the peacock into the game. I am really happy with how this came out, I really like the effect on the tail feathers.
Pre-minigame Peacock
For the peacock before the minigame where it has spots of no pigment. In Photoshop I simply used clipping masks over each element and hand painted the spots on, using a low opacity white layer ove the whole peacock to reduce its overall saturation. I then exported the frames and added them to the folder.
Deer
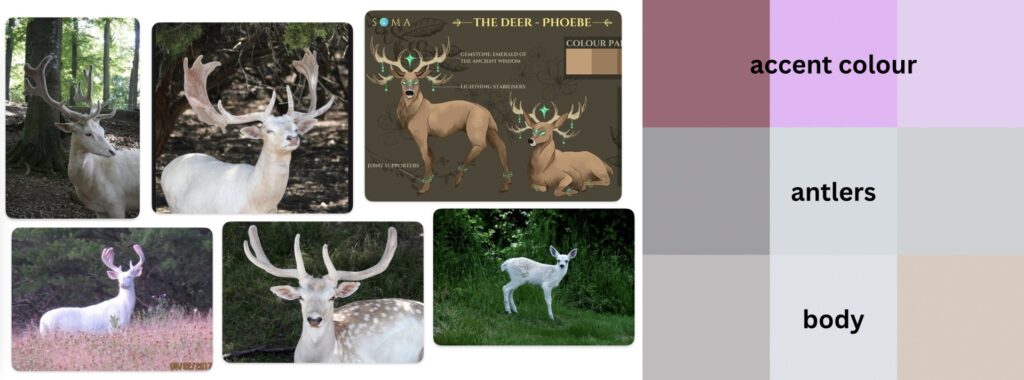
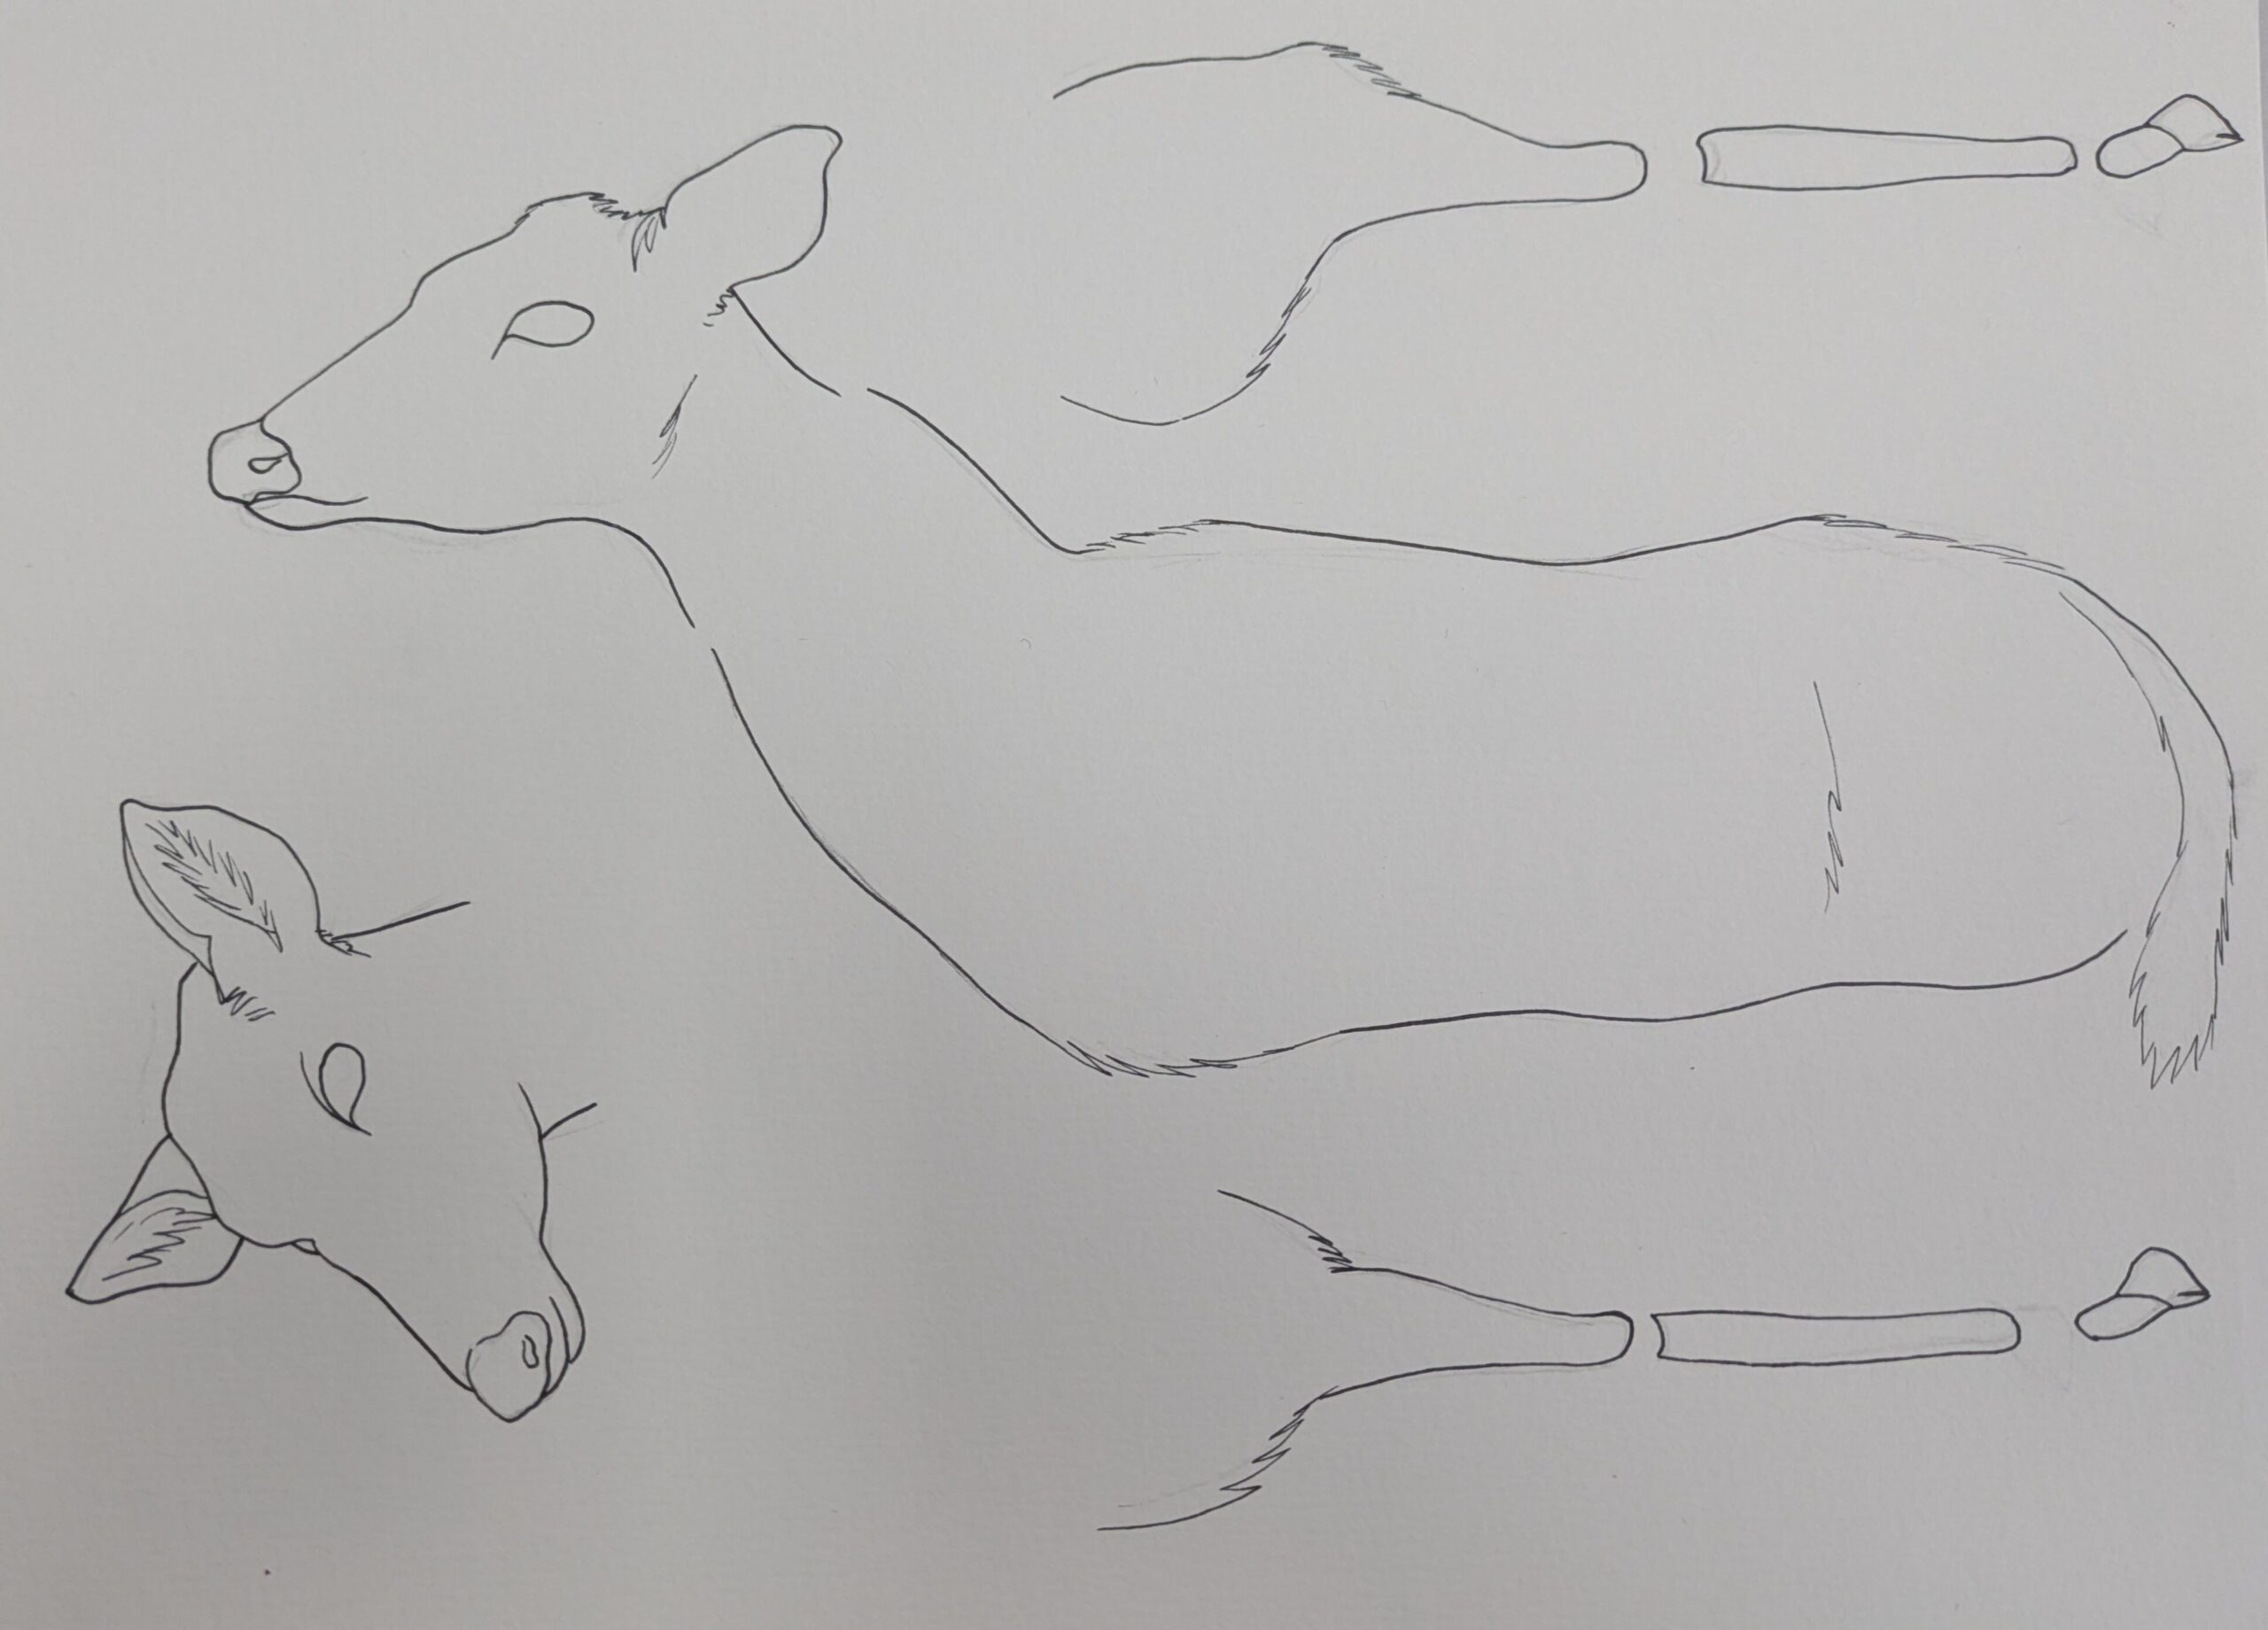
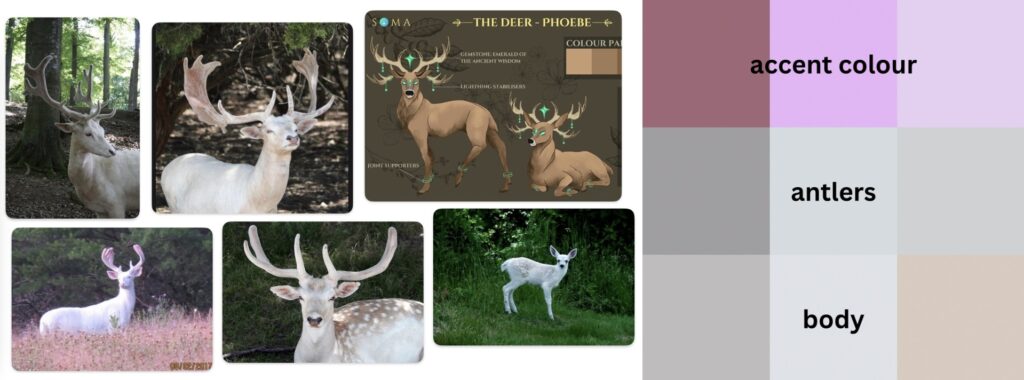
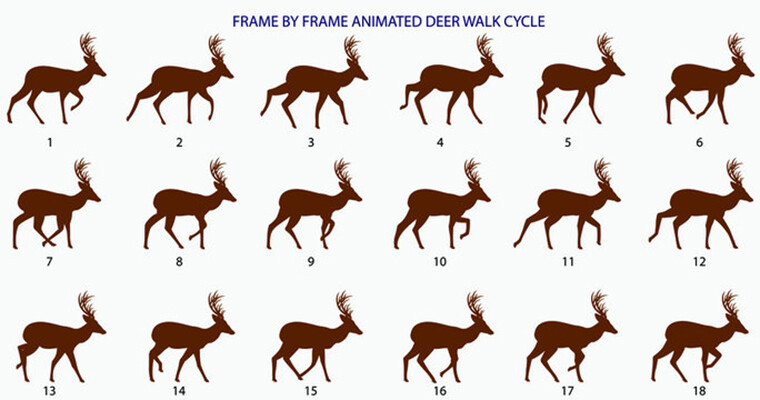
As with the peacock I sought out deer walking references this time in image and video form as deer are more commonly animated.
I then scanned the finished deer parts watercolour into Photoshop using a printer.
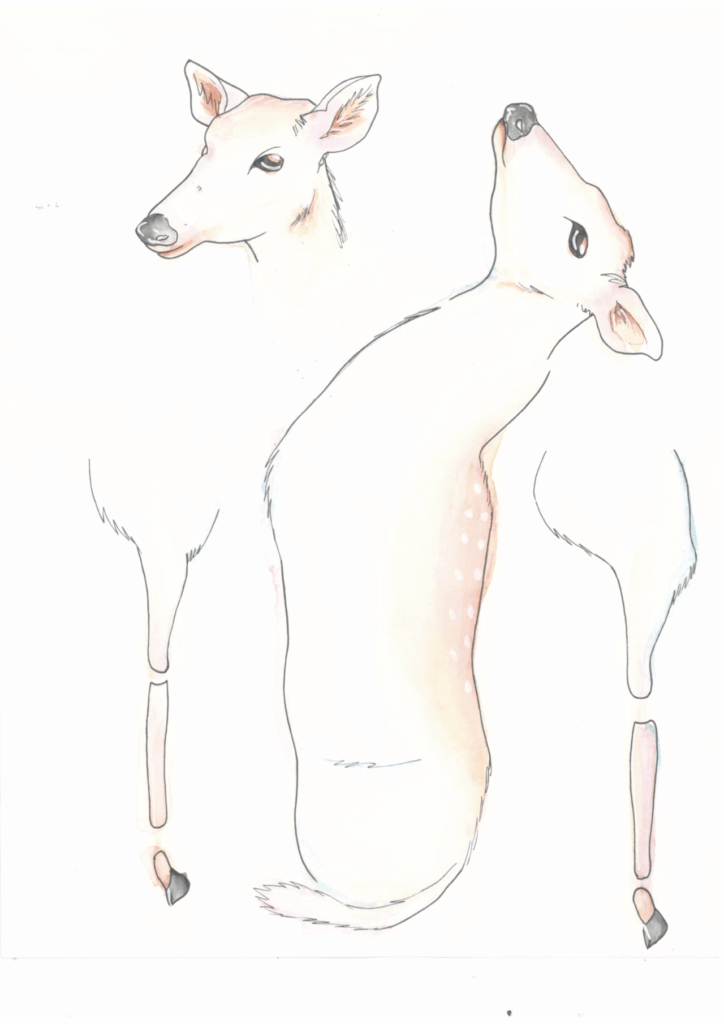
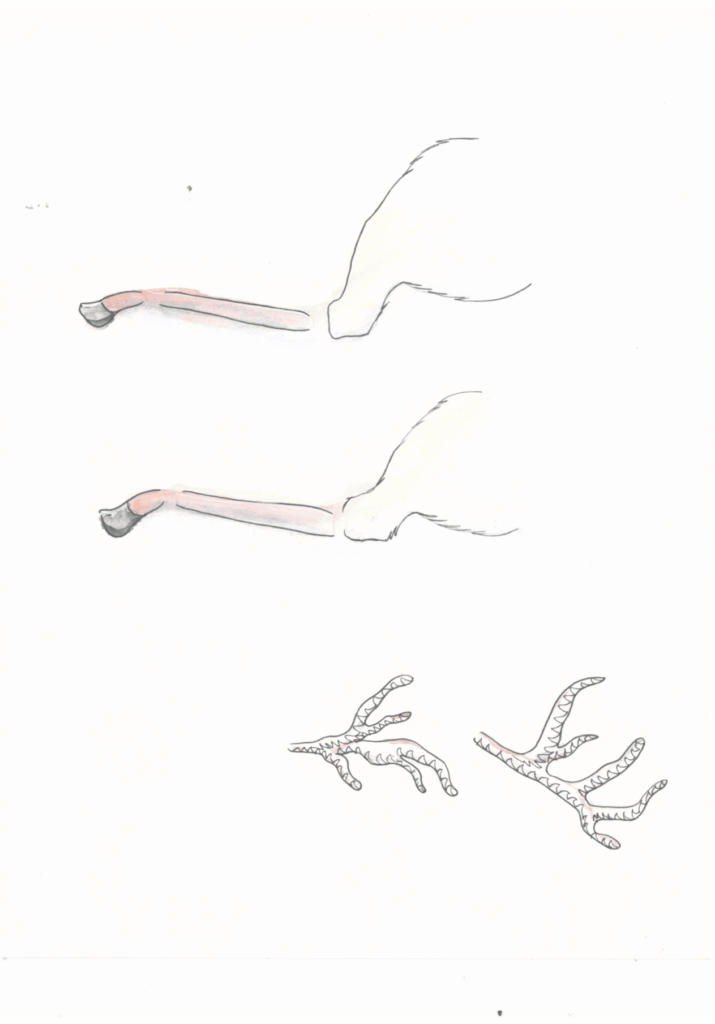
Unfortunately the printer’s scanner was far too bright for the delicate, light colours I used. In Photoshop I tried to fix this by using levels to increase the contrast and saturation. I then went about and cut each individual part out and put it onto it’s own separate layer.
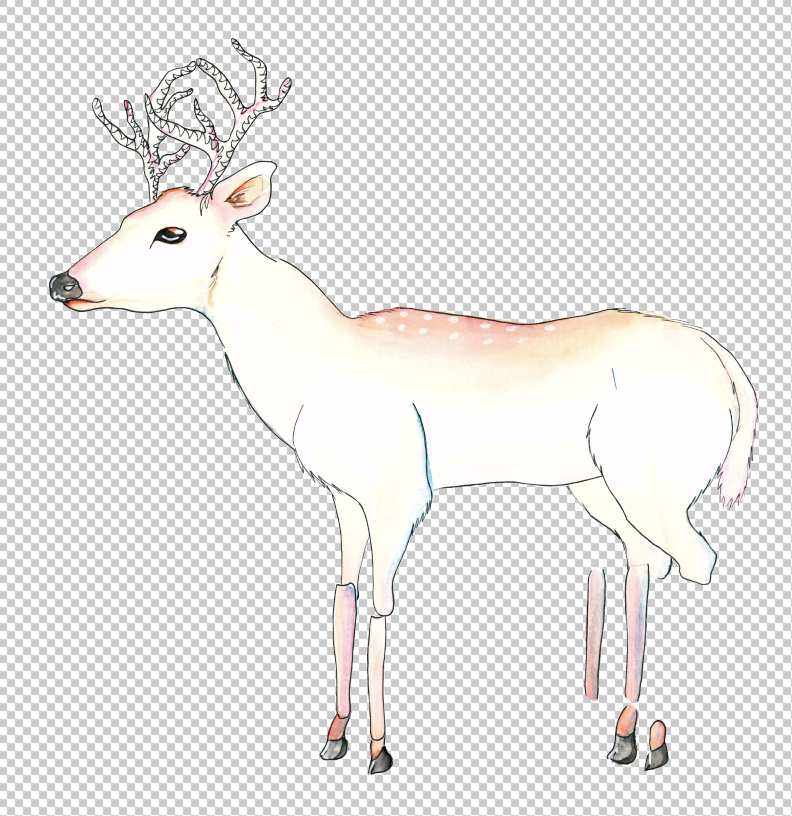
After I had done this however I was really not happy with how the deer looked. It was far to bright and luminous I wanted it to stand out against the darker lake location but not by this much.
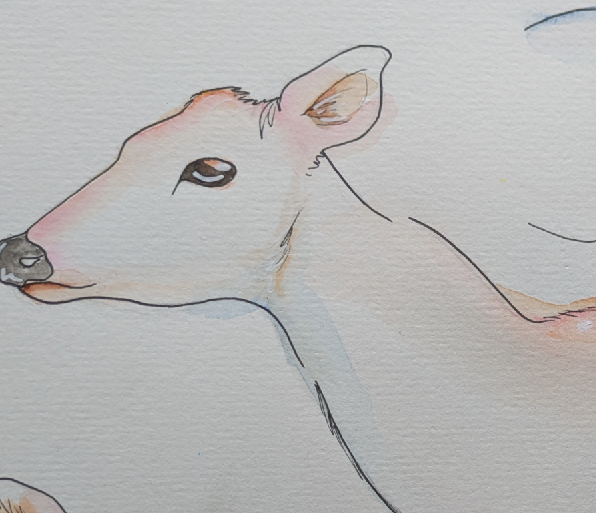
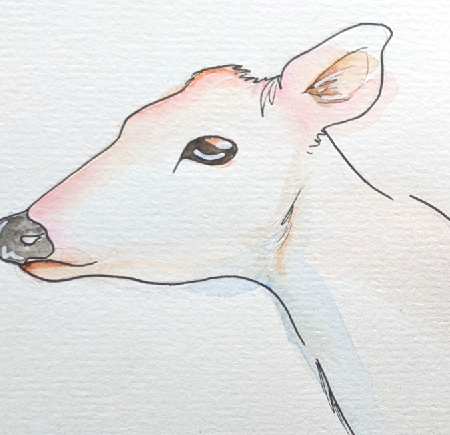
So I opted for simply taking photographs of my painted deer parts as seen below.
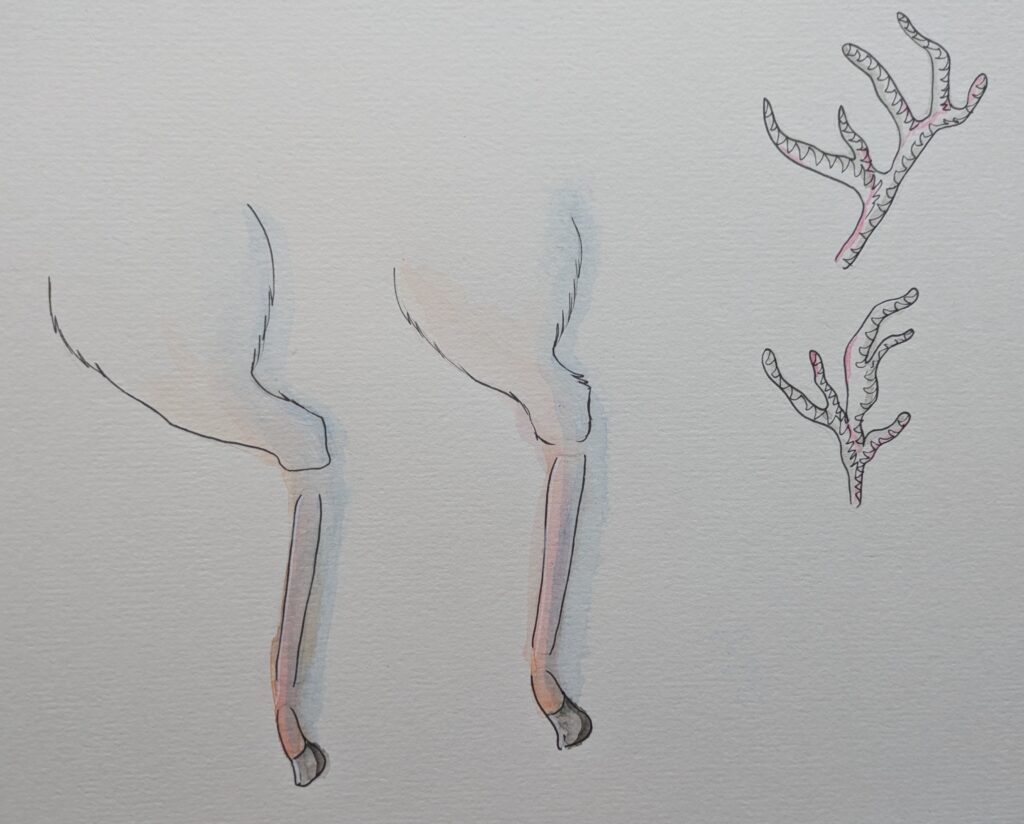
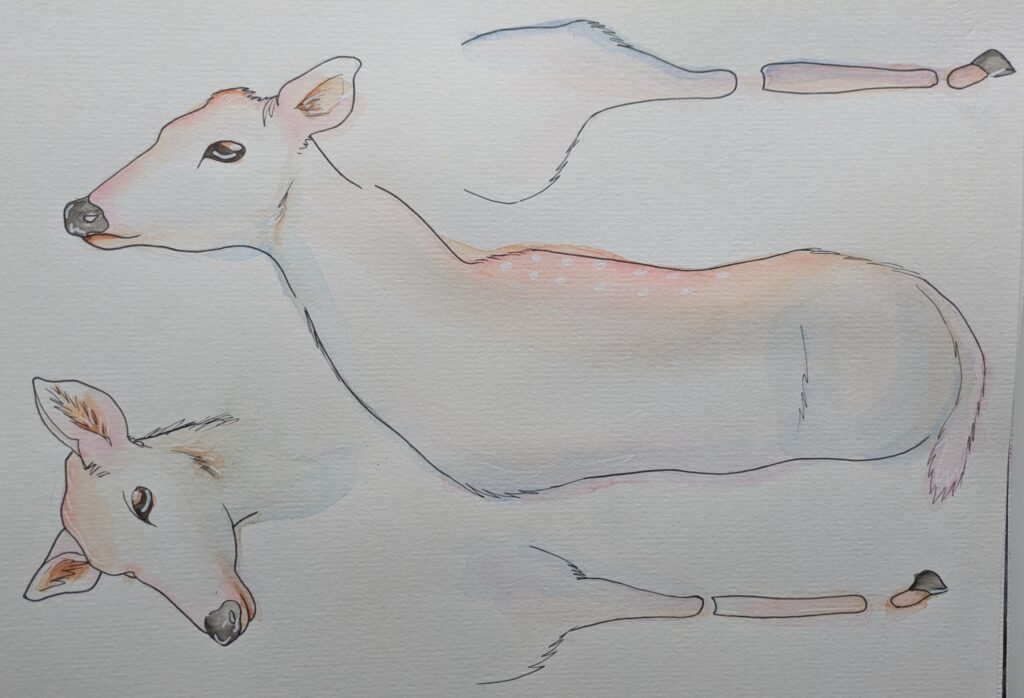
Once I opened these in Photoshop they were a little too dark.
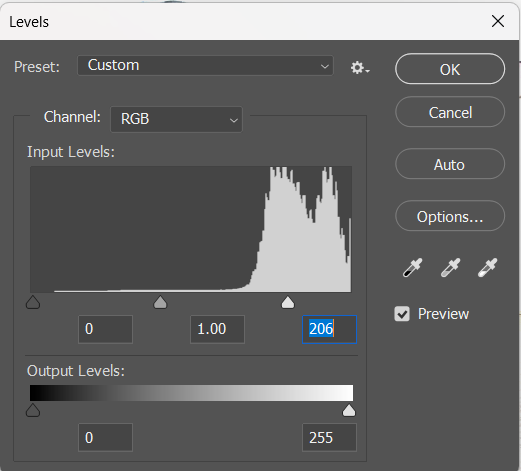
So I used the levels to tweak it ever so slightly so that the deer was a bit brighter and saturated. A am much happier with how this lookes, especially how the paper texture is coming through as well. It will help to make the visual look of the game more unique and stand out. It also looks like fur.
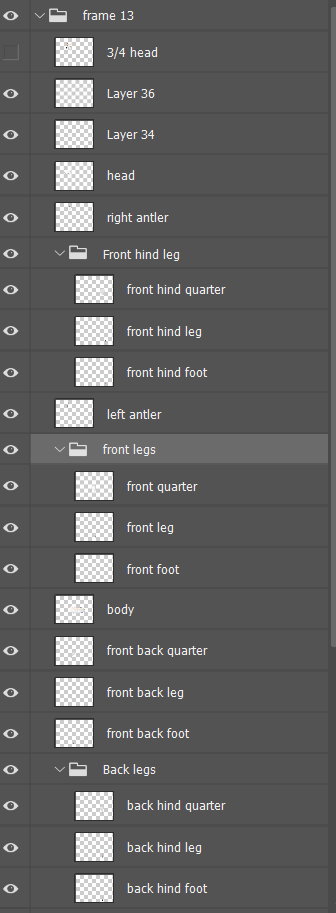
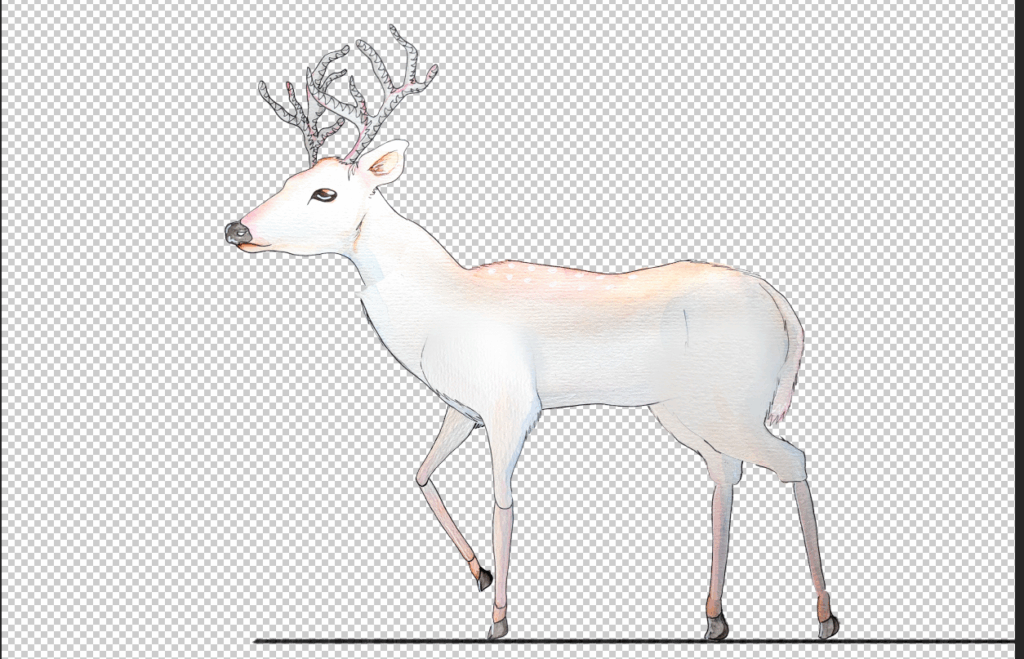
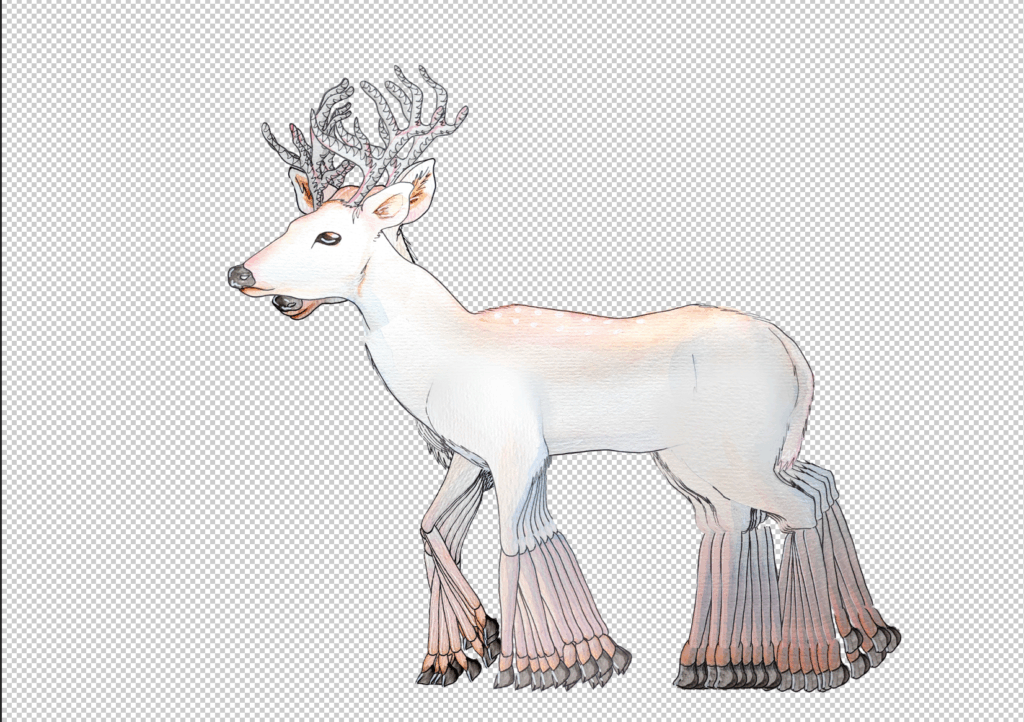
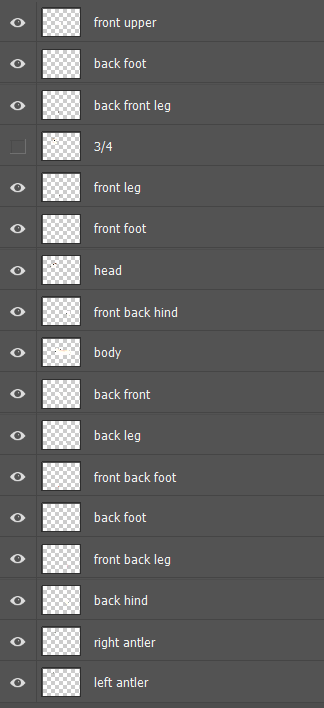
Now that I was pleased with how the deer looked I cut the parts out again and organised them into folders and subfolders for the legs. As with the peacock I treated each frame as a group assembling the parts in one group then duplicated it and manouvering the parts in the new group. To keep the deer grounded in a space I used a black line so that I could make sure the correct feet where always in contact with the ground. This should help make it look more realistic. I also checked that things were on track often by seeing how the movement of all the legs looked together, if the gaps were too large or small I went and readjusted the frame it was on.
To try and give the deer more animalistic natural movements I incorporated the 3/4 head for 7 out of the 14 frames. For the walk cycle’s first iteration I included the use of a smear frame for this head turn to give it some movement.
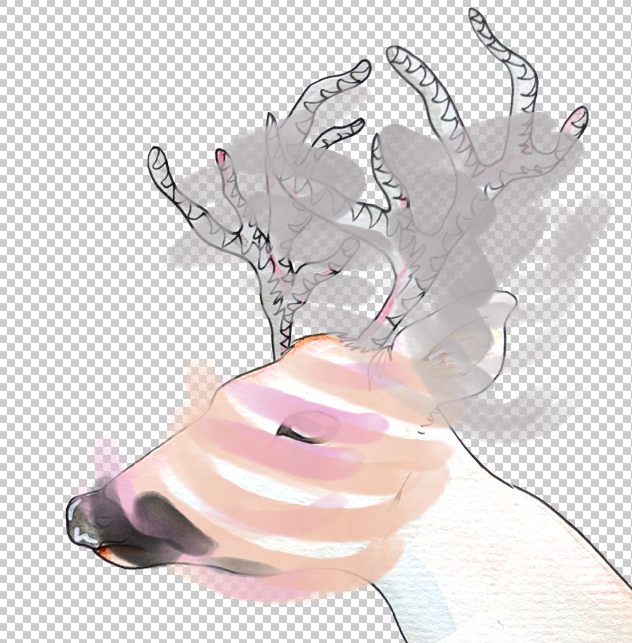
This is what the smear frame looked like, I used the eyedropper tool to sample colours from the deer then used the paintbrush tool to draw curved lines in the direction the head would be moving in.

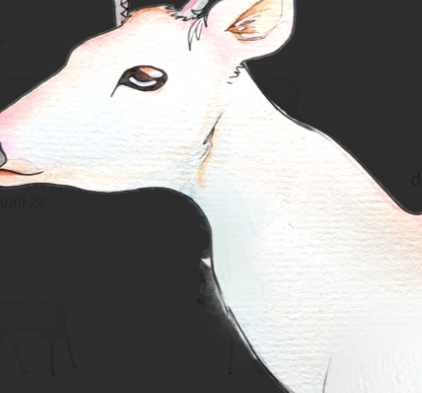
Once the walk cycle was done I went over each frame with the paintbrush tool to draw over any alignment issues.
The finished walk cycle, I exported al of the frames and sent them to our mechanics designer. Once the animation had been imported to unity the smear frame looked strange so we removed it for the week 8 playtest, this unfortunately made it behave strangely and jilted in the game during that playtest but afterwards I fixed it.
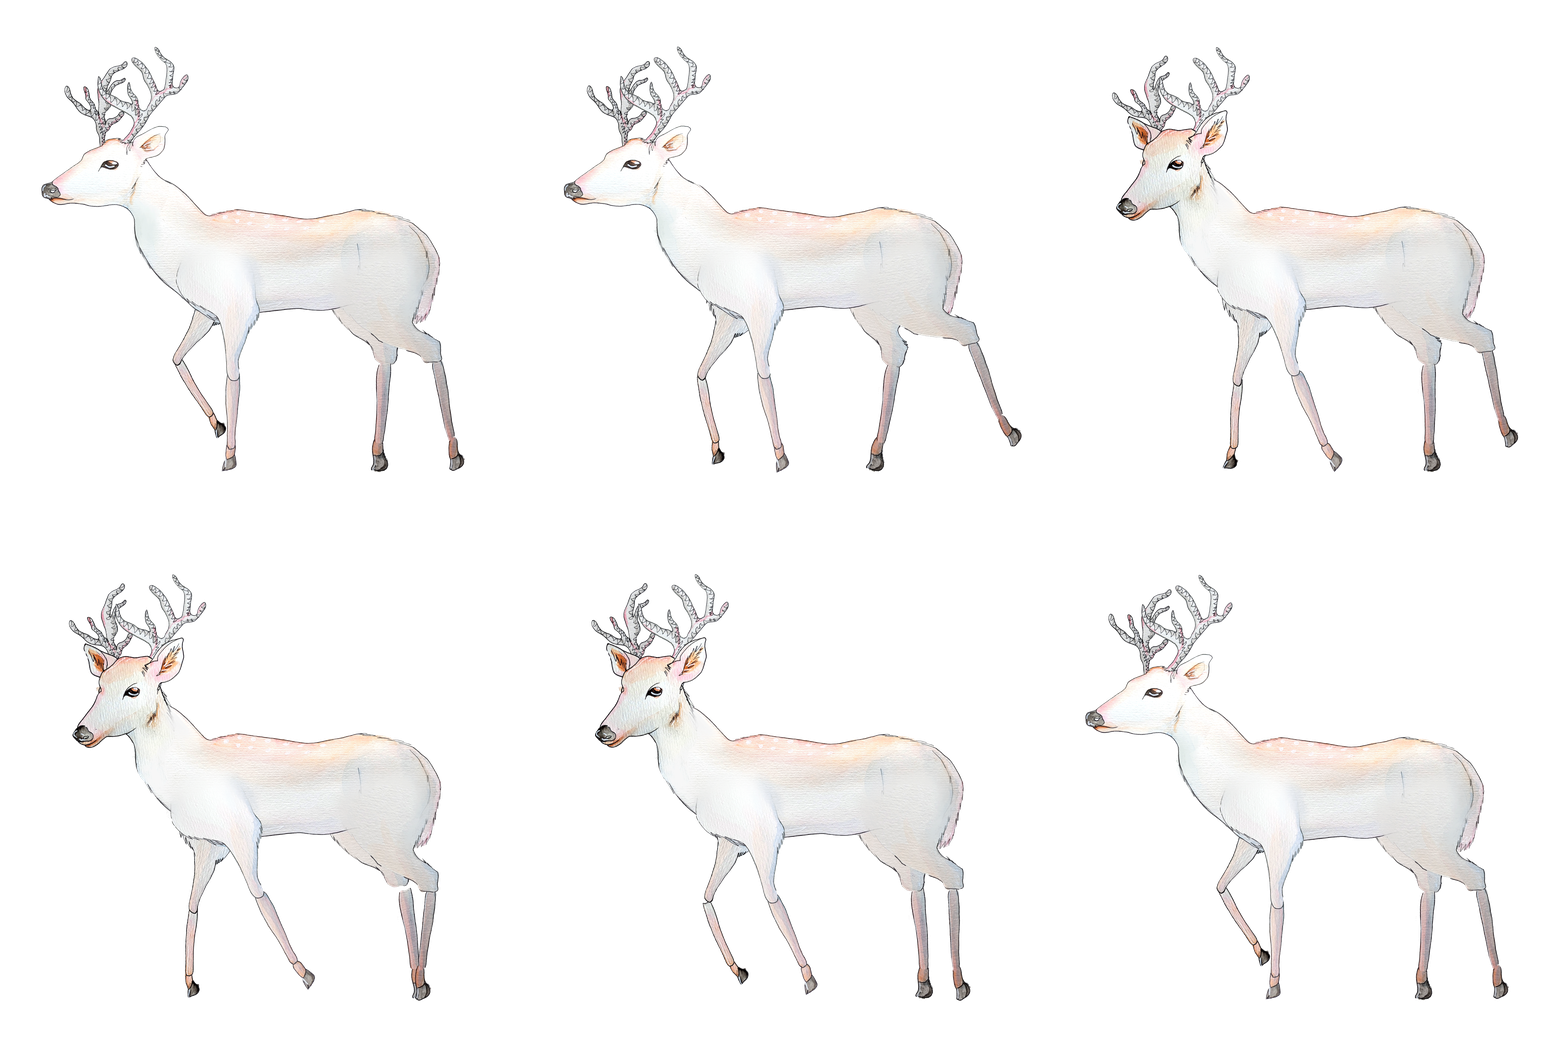
The fully finished deer walk cycle, I am very happy with how this came out. It was a big challenge to animate something with four legs so I am especially happy that it is smooth and looks good. There are some issues with the head looking very inorganic, if there was more time I would animate possibly the snout, ears and eyes.