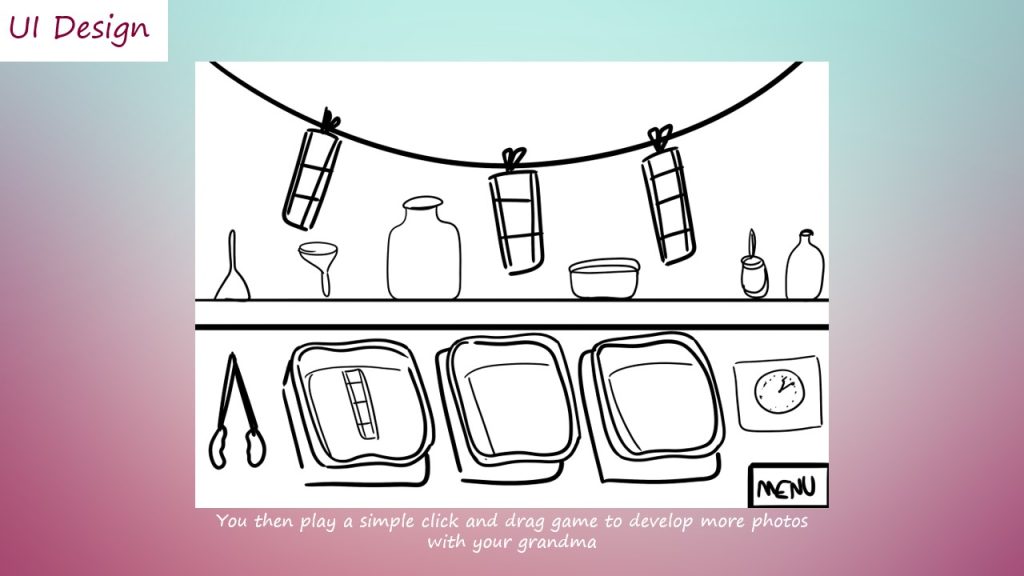
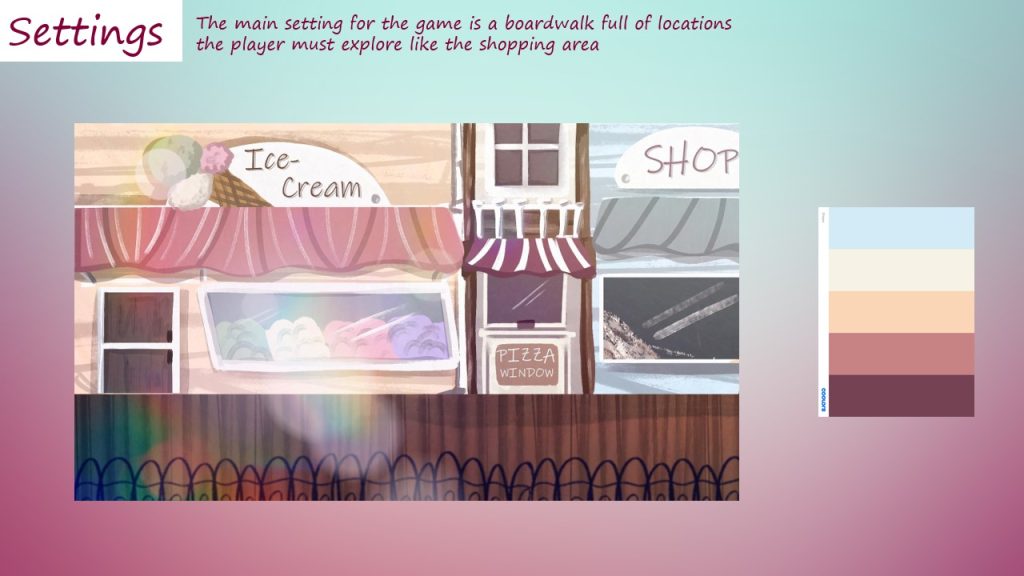
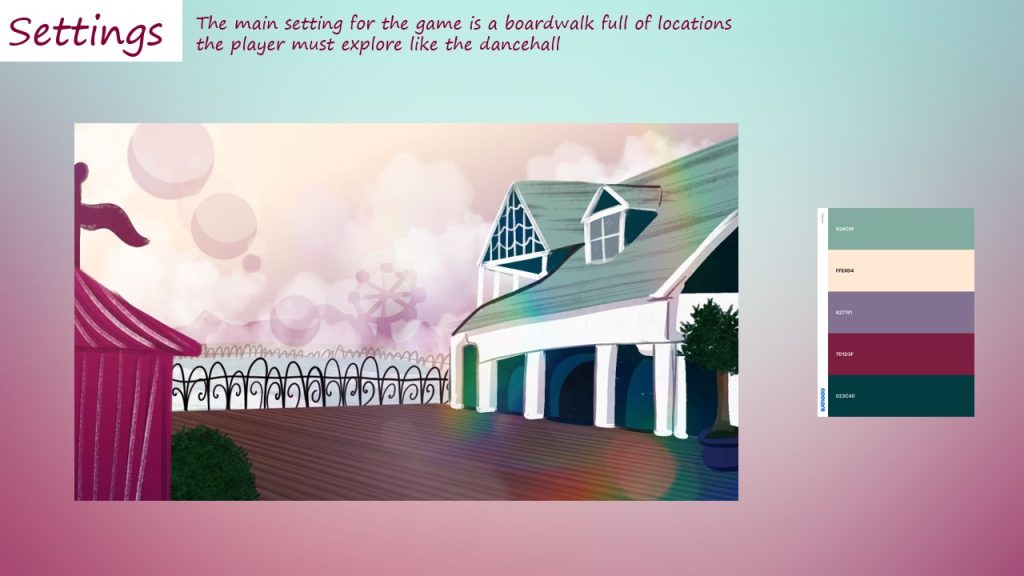
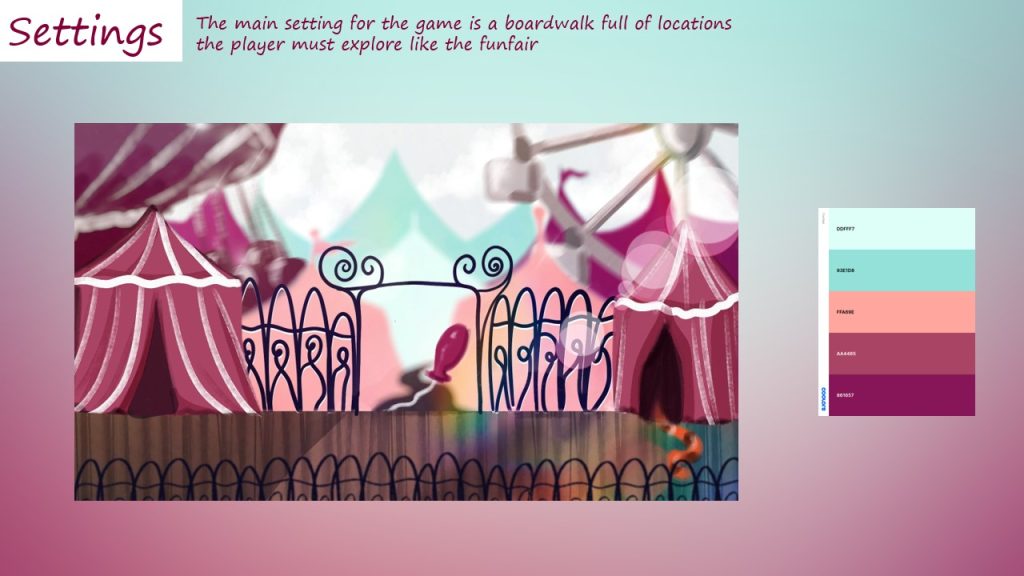
Category: Weekly updates


  • Week 12 Reflection

    This week is our last week before submission. Our lessons this week focused on one to ones with our lecturer, as it was our last chance to get feedback and insight on what we’ve all created.

    In my one to ones I was encouraged to explore typography for my game and seek further outside advice.

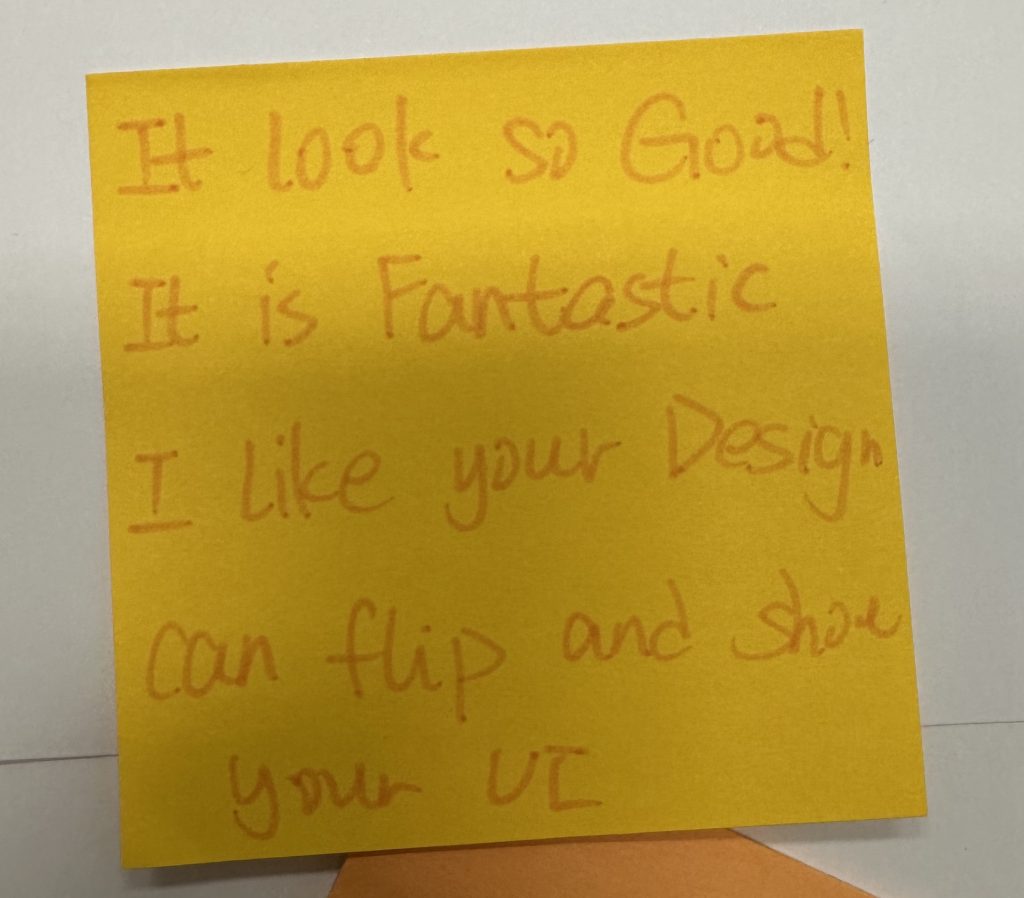
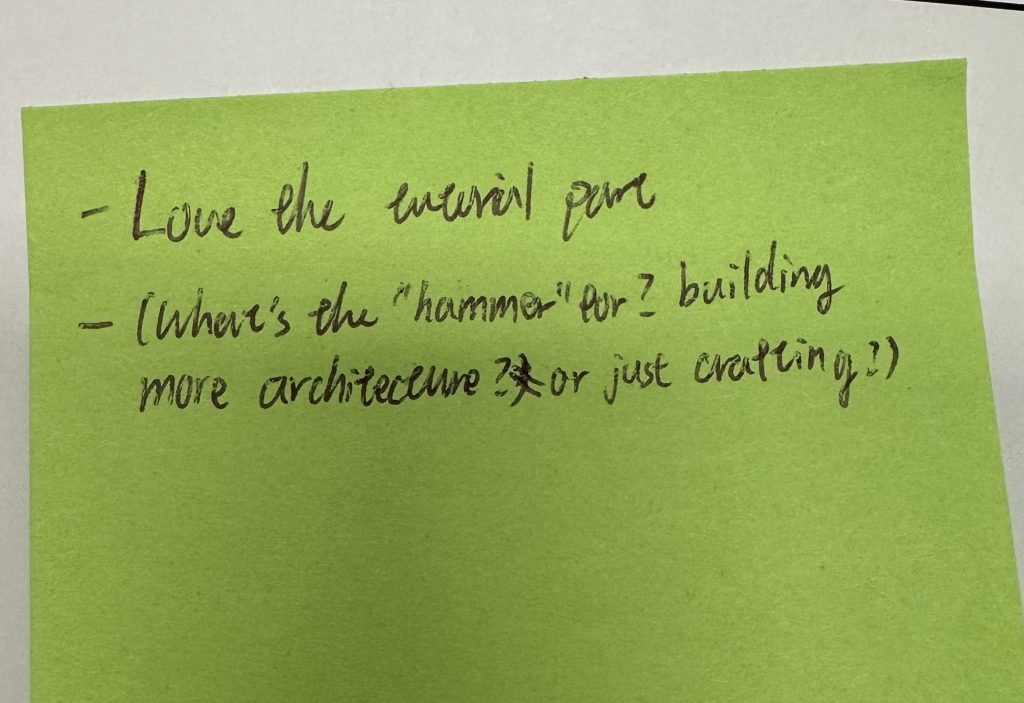
    Which I have done here, going to my family for their thoughts and my peers too.

    I also finished up my GDD pages and focused on expanding my puzzle dependency graph.

    Project Reflection

    The aim for this project was to come up with an idea for a game and create a GDD for the idea. The main goal of the project was to help us learn industry standards and recieve insight from professionals in the industry via guest lectures.

    My major and minor focuses for the term were art and narrative and 3D games and puzzles, respectively. I initially struggled during the first stage of the project, idea generation was quite hard until the lessons started focusing on poetic games and the fact you can base a game off a memory you have. Once I had assigned an emotion to my game, nostalgia, things started to fall into place. Basing the game off of a memory allowed me to conduct various types of research into the physical place the memory happened, the Disney Boardwalk, and nostalgia as a phenomenon.

    Once my idea started to get more solid things flowed a lot more smoothly I could focus on my major interests, art and narrative by designing the characters, environments and creating a story. After I had the first draft for the story I could also explore one of my minor focuses by developing the puzzle flow chart.

    Overall this project expanded my understanding of the games industry giving me plenty of opportunities to get advice and feedback from professionals and network. It also helped me refine my workflow by spending so much time researching and exploring so many different avenues when I finally settled on an idea it felt earned and thoroughly researched – attatching it to a memory let me craft something that feels truly personal.

    < – Previous post


  • Week 11 Reflection

    This week is presentation week, by Monday we must have sent off our posters to be printed out and have a solid presentation to show to our peers and lecturers.

    Making the Poster

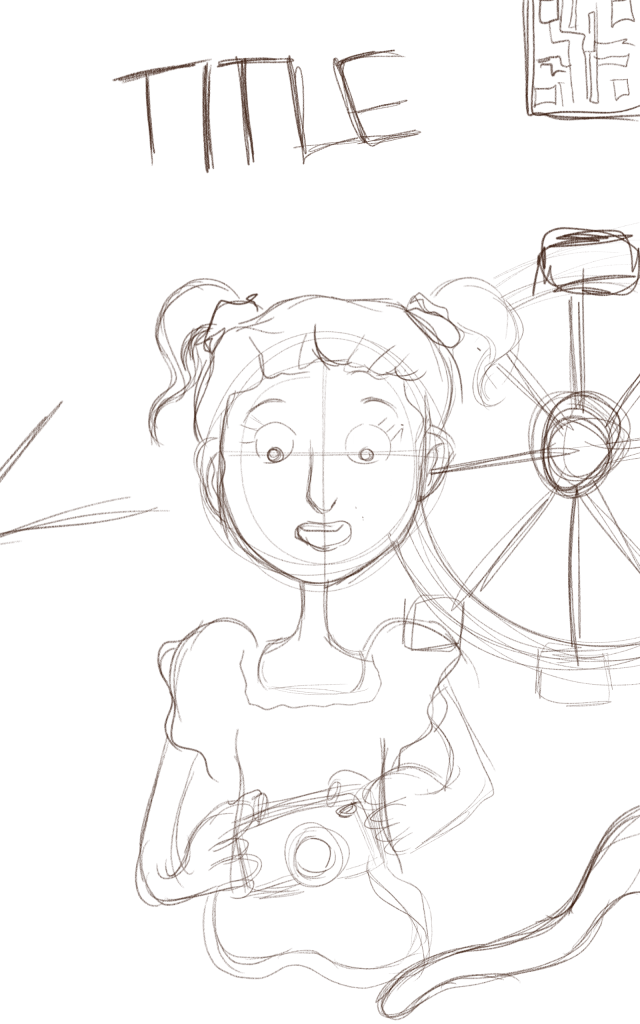
    For my poster I had a good idea of what I wanted it to look like, I did a simple digital sketch to see how the composition would look.

    This went well so I decided to move it into Photoshop and begin contructing the poster.

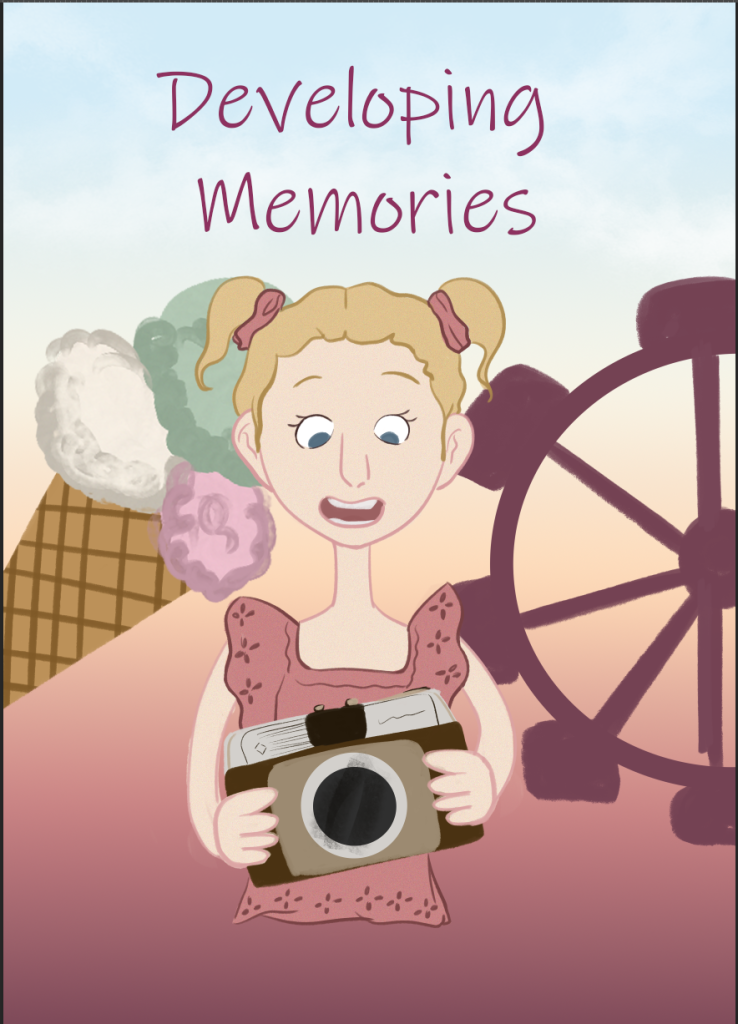
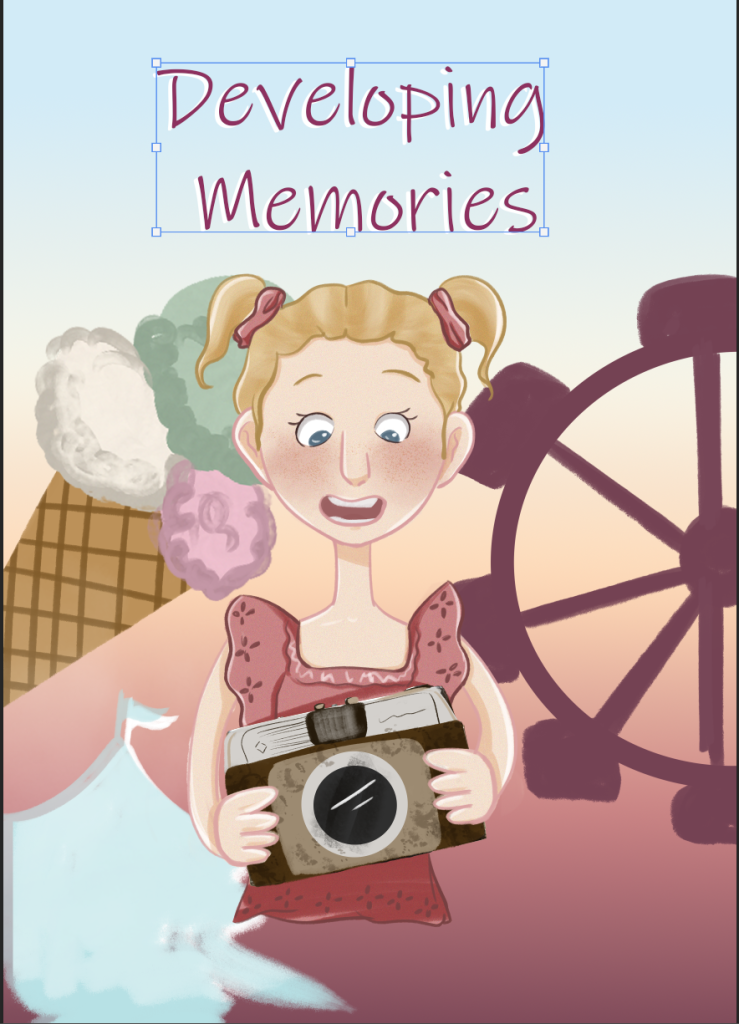
    I began with a gradient of the main colours from the shop environment going darkest to lightest. I then drew the character and background elements using a large chalk like brush to give it a childish feel. Once the flat colours were done I began doing some light shading, though I focused more on creating texture than shading.
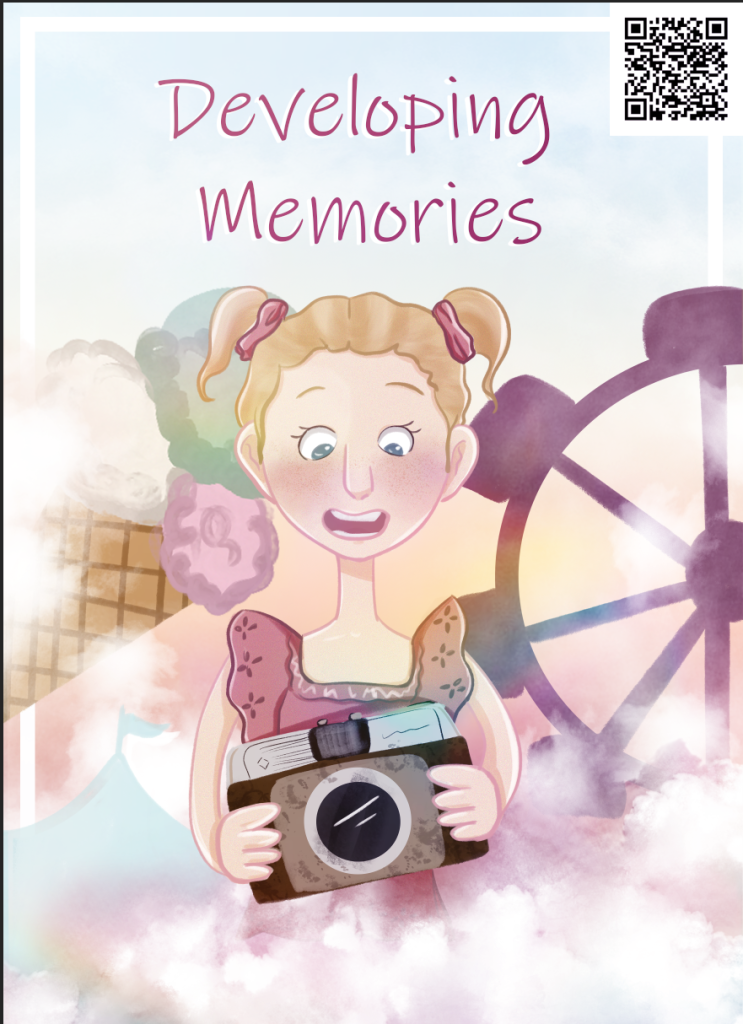
    This is my first copy of the poster, I used clkoud brushes to give it a light airy feel and hark back to the imagination element of the story. I then overlayed a rainbow lens flare over the whole image.

    The QR code leads to this website.

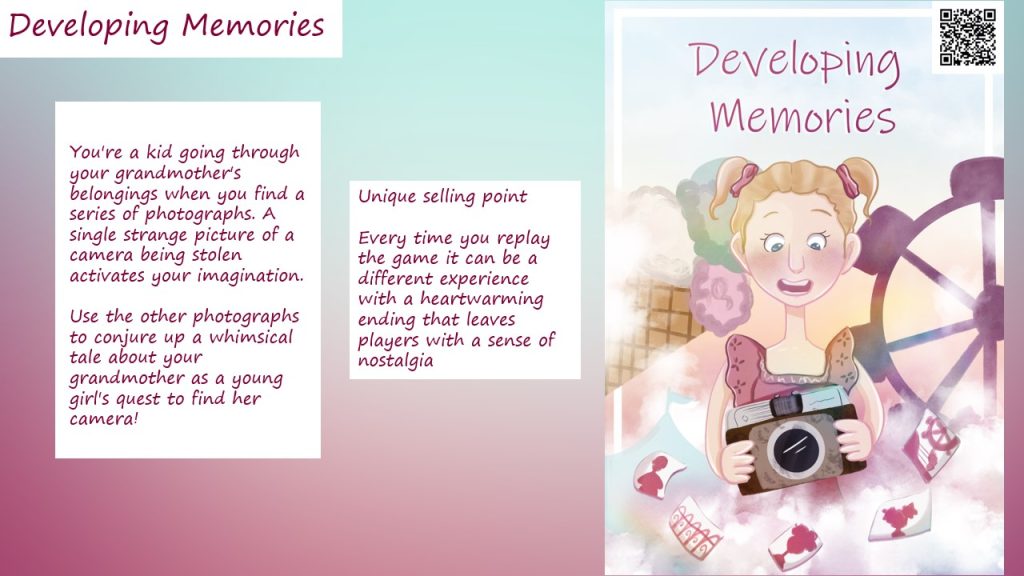
    This is the final iteration of the poster. I showed the previous version to my lecturer who felt it lacked something to really show the importance of the photographs to the game.

    In answer to this I added the swirling photographs to it, each photo has a simple representation of something in the game, like the NPC’s and locations.

    I am very pleased with the poster and am excited to see it printed out.

    Making the Presentation

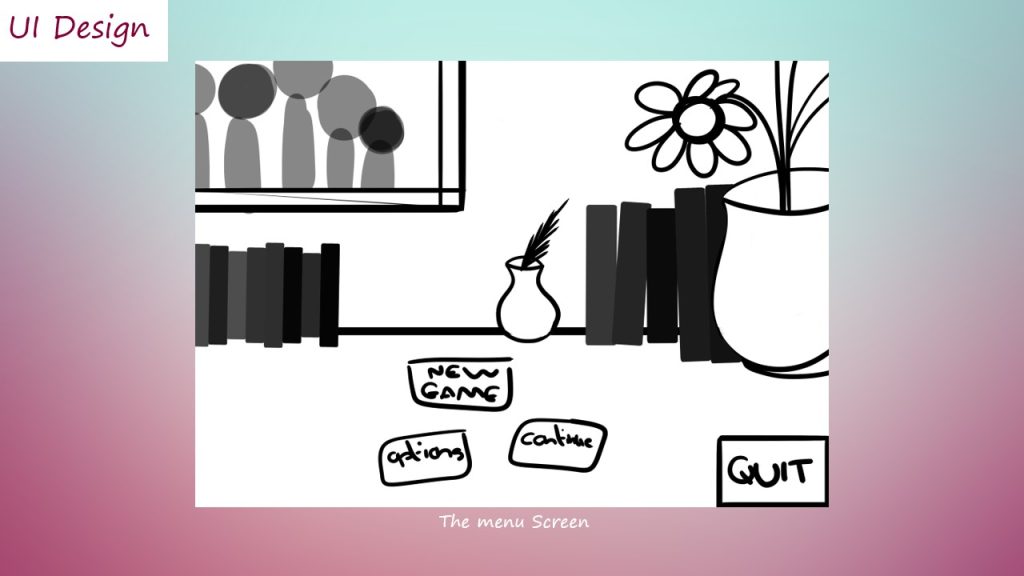
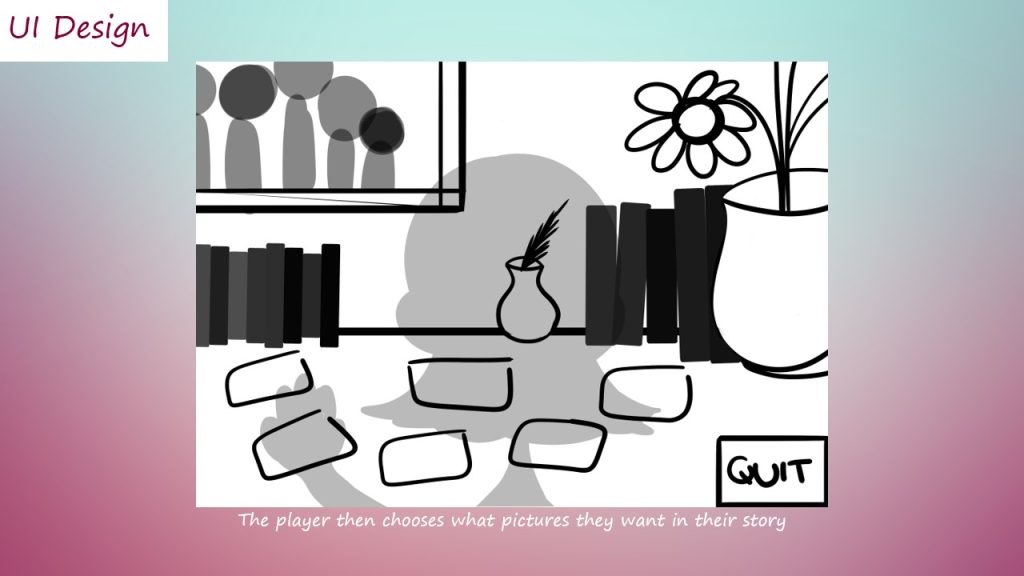
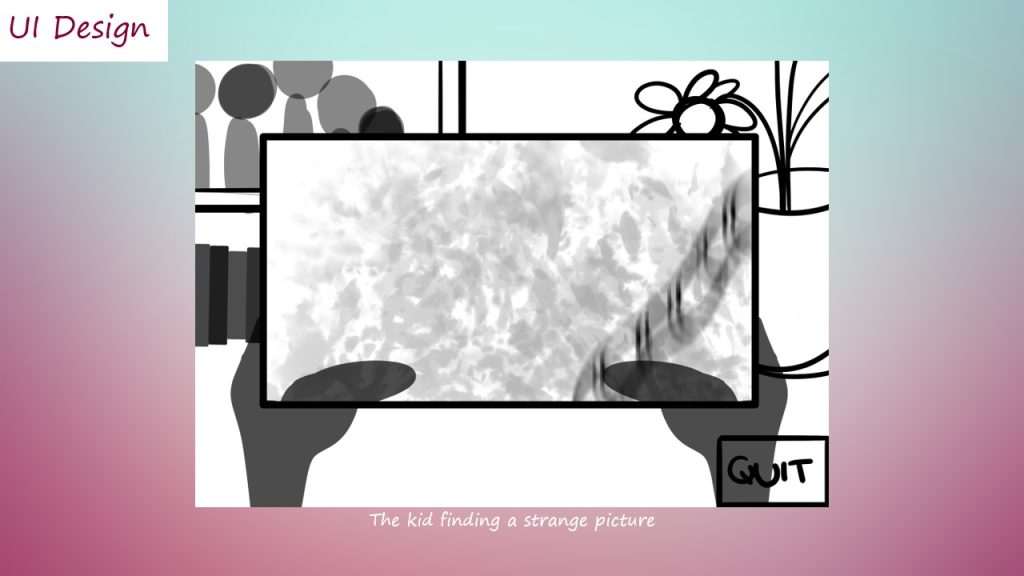
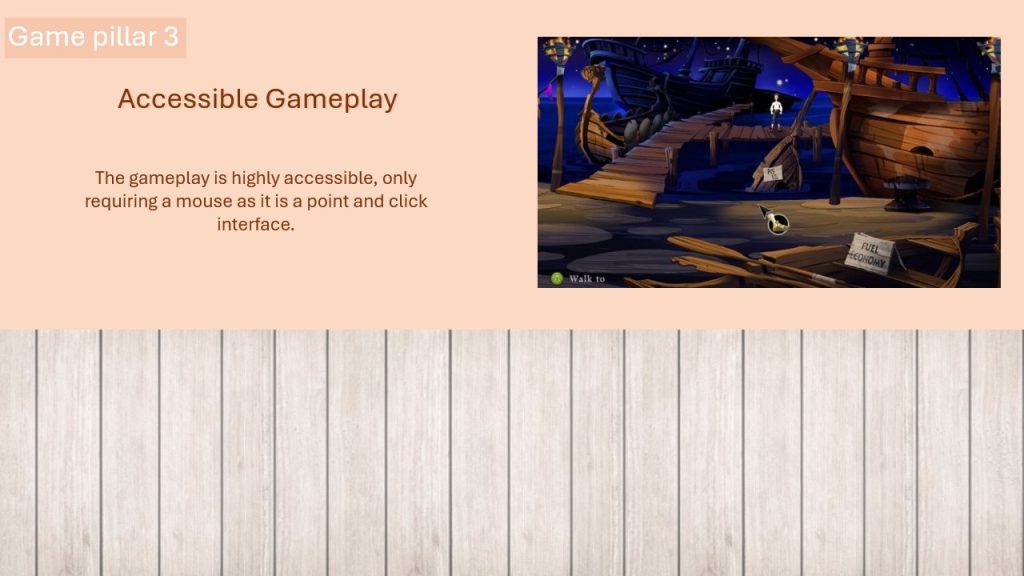
    To make the presentation I went into Photoshop and created the teal to pink gradient, then in Photoshop I applied it to every slide.

    The first slide detailing the story and USP
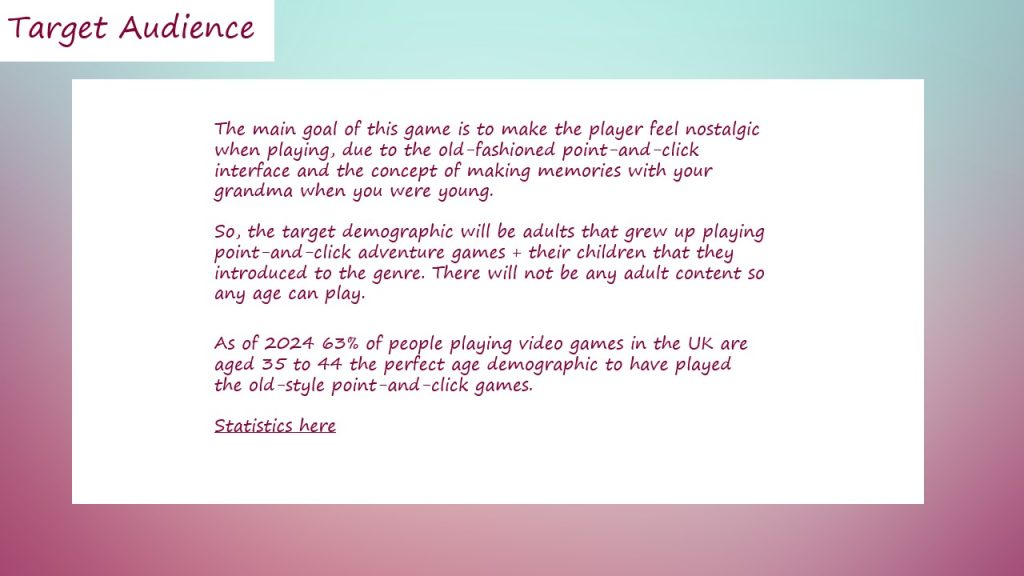
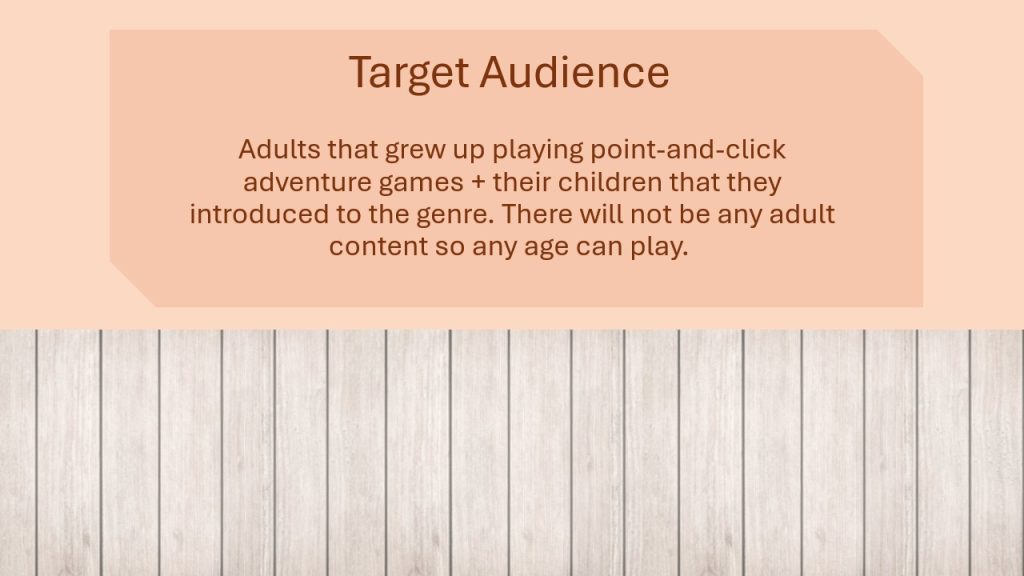
    A slide explaining the target audience
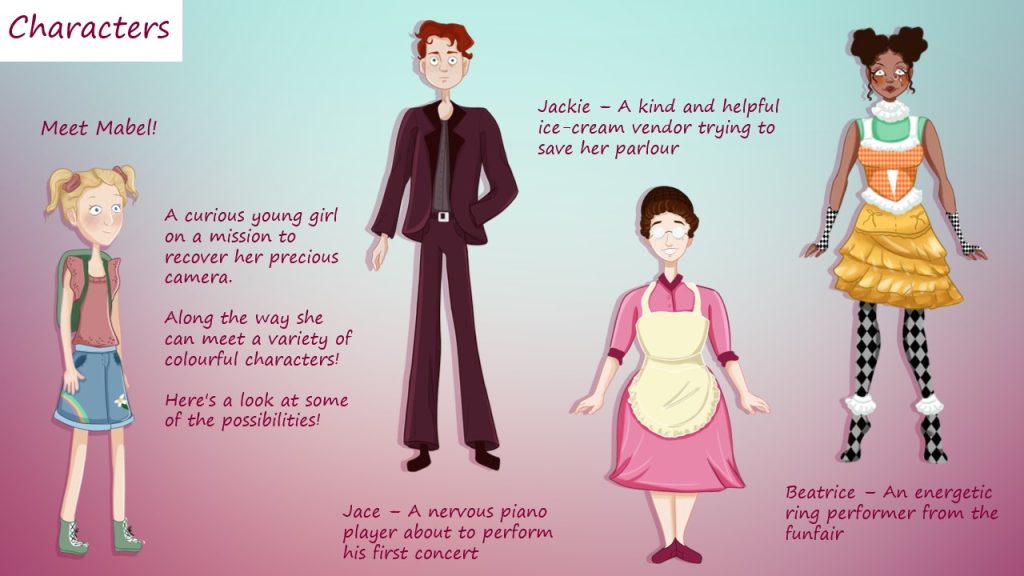
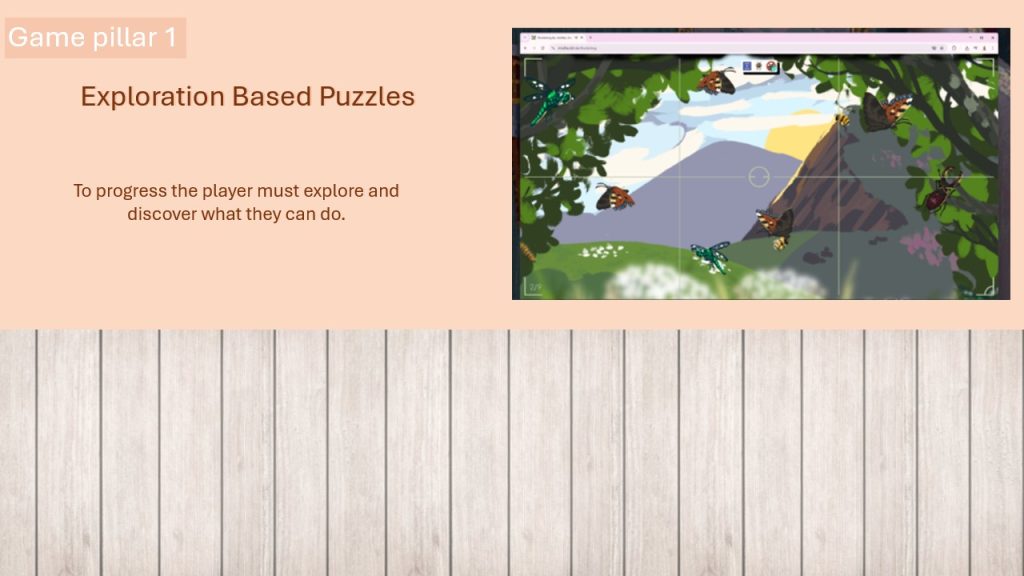
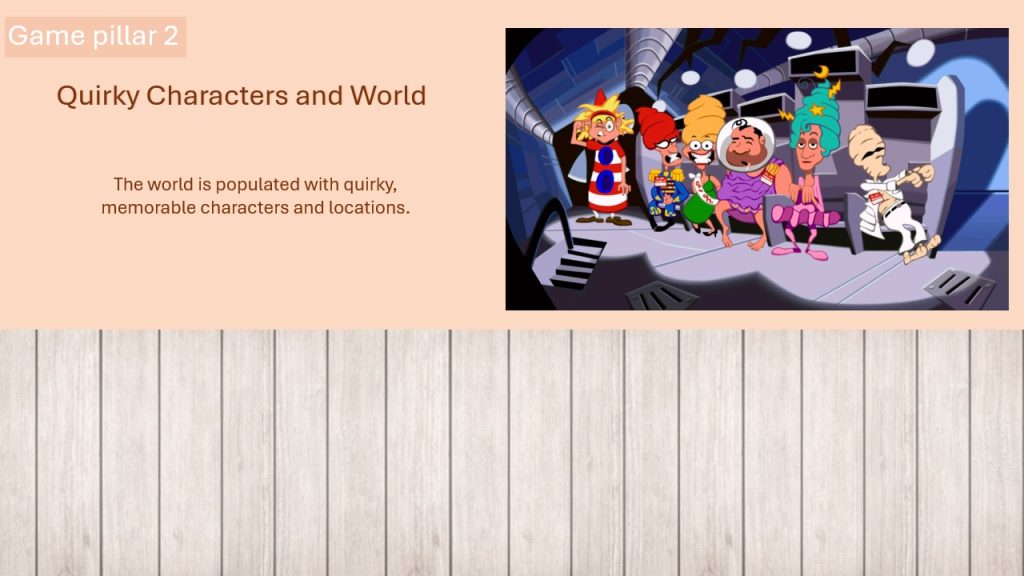
    Introduction to the player character and some of the NPC’s

    Actually Presenting

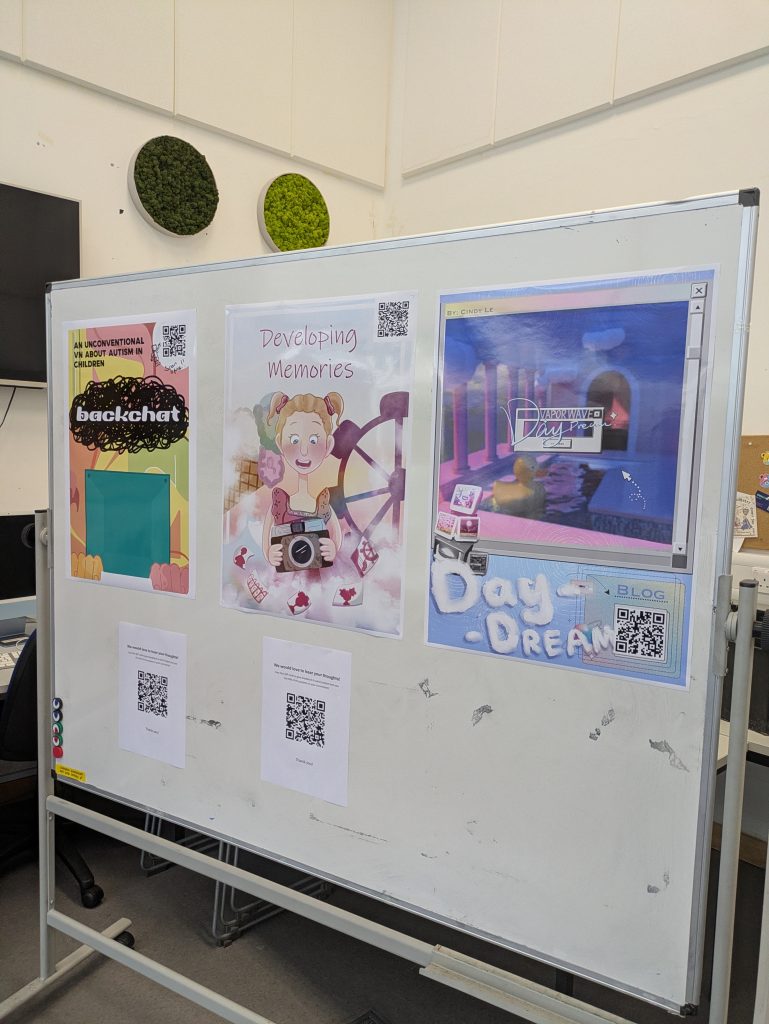
    My poster on display

    I was disappointed with how presenting the game went, I feel I spoke to fast and did not communicate my ideas accurately, as there was some confusion with some elements.

    I also only recieved one bit of feedback virtually that was also confused.

    I will have to work on my public speaking and communication skills. To get better at this and avoid any confusion.

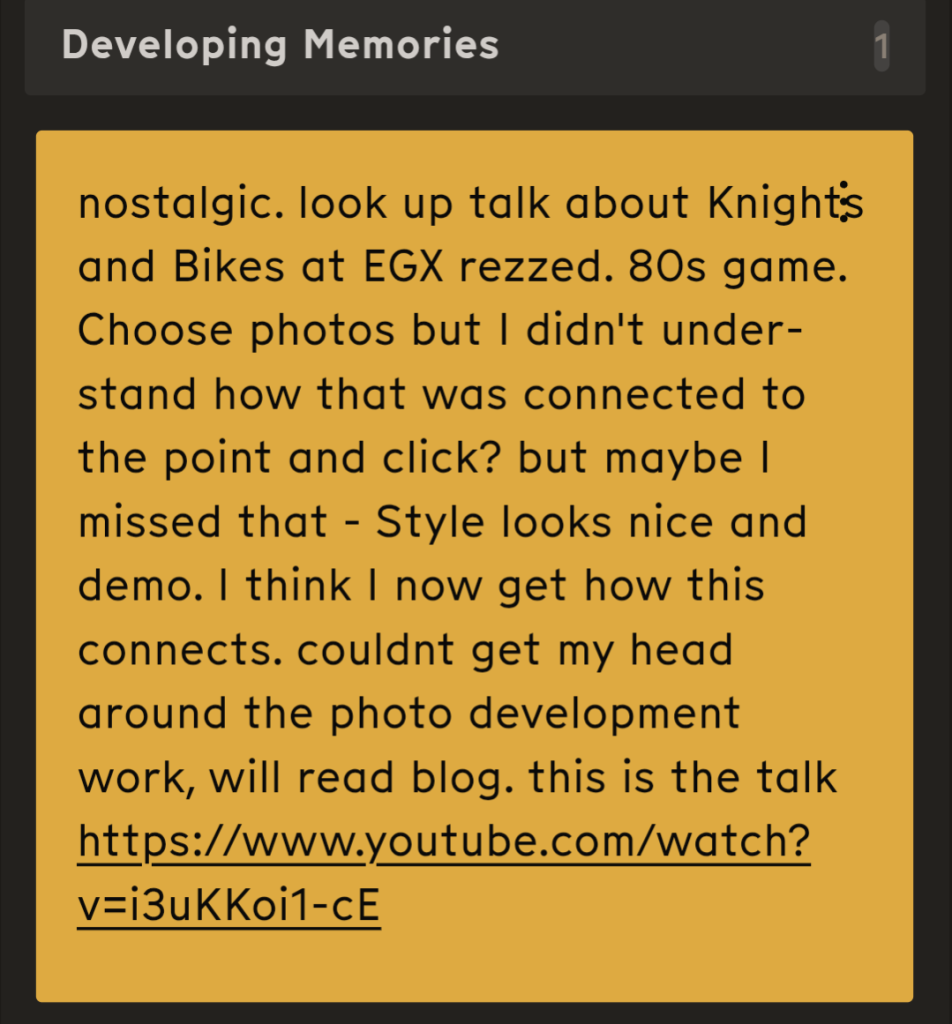
    The feedback I recieved

    Next Steps –

    I need to begin populating my GDD pages, and work more on succinctly describing my game and the ideas behind it.


  • Week 10 Reflection

    On Monday we had guest lecturer Sophie Artemigi, the resident games artist last year at WSA. She came in to speak about how to make the perfect GDD.

    Pitch Deck vs GDD

    • Short presentation answering the high level questions
    • To entice collaborators
    • To acquire funding from publishers/ investors/ higher ups
    • Give an overall vibe of the game and what it will take to make it
    • Give a detailed description of the game which allows developers to know exactly which tasks they need to do and how long it will take them to implement everything
    • The main goal is to make sure everyone has the same mental image of the game you are creating
    • Lots of diagrams and references

    key Elements Of a GDD

    • Overview
    • Breakdown:
    • Gameplay
    • Visual
    • Level design
    • Narrative
    • Audio
    • Project management

    Activity

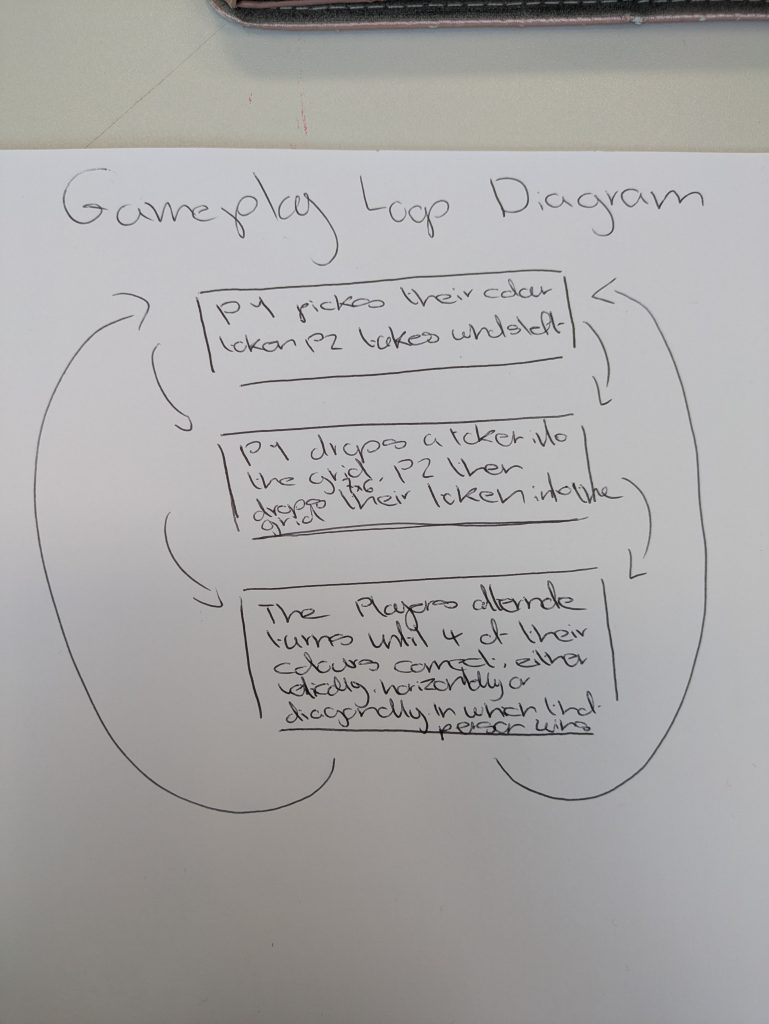
    For the activity in the lecture we got together into groups and made gameplay loop diagrams for a randomly assigned game. My group got given connect four.

    This is what we came up with, the other groups managed to guess the correct game.

    This was a helpful exercise as gameplay loop diagrams are something that I struggle with.

    Next Steps –

    My next steps this week is too try and fix my narrative as after some conversations with my lecturer it is missing something, I will do this by seeking ideas and feedback from both my peers and my family.


  • Week 9 Reflection

    This week we had a guest lecturer on audio, Dave Milln, a composer and music designer for games. Sound is not something that I have much of an interest in but this lecture was very informative and got me thinking more about audio.

    Functions of Game Audio

    Anchoring – creating a connection for to the player to the game world.

    Informing – Can be used to give information to players, especially useful for players that are blind or partially blind. Feedback and reward.

    Branding/Identity – Sound that can transcend just the game and become easily recognisable even for people that have not played the game, such as Mario’s jump or Sonic collecting rings.

    Categories of Game Audio

    Sound

    • Ambience
    • SFX
    • UI
    • Silence

    Music

    • Diegetic/non-diegetic
    • Licensed music
    • Music made especially for the game

    Speech

    • Voiceover
    • Dialogue
    • In some games group chat

    After the lecture Dave came around and spoke to all of us about our projects, I got some very useful guidance on how to make a soundboard for my game that can be referenced.

    Coding Practise

    In the tech workshop we looked at the very basic of coding. This was very helpful as even though I use it a lot of the definitions and terms I was unfamiliar with.

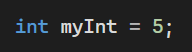
    Variable – Like a box to hold information, you must define the information first

    The first part tells it is an integer, the second part is the name the last part assigns the value.

    Float – If you wanted a decimal number you would use float. You always use an f at the end.

    String – a series of characters, you must use “” to tell the program it is a string and not an undefined variable.

    Bool – Can be one of two things, true or false

    Conventions and Syntax – A set of rules for how you need to lay things out.

    On Thursday we had a workshop on controllers and how these can be used to further the theme of your game. As I am making a point-and-click game my options are mostly limited to a mouse and keyboard, or even just a mouse.

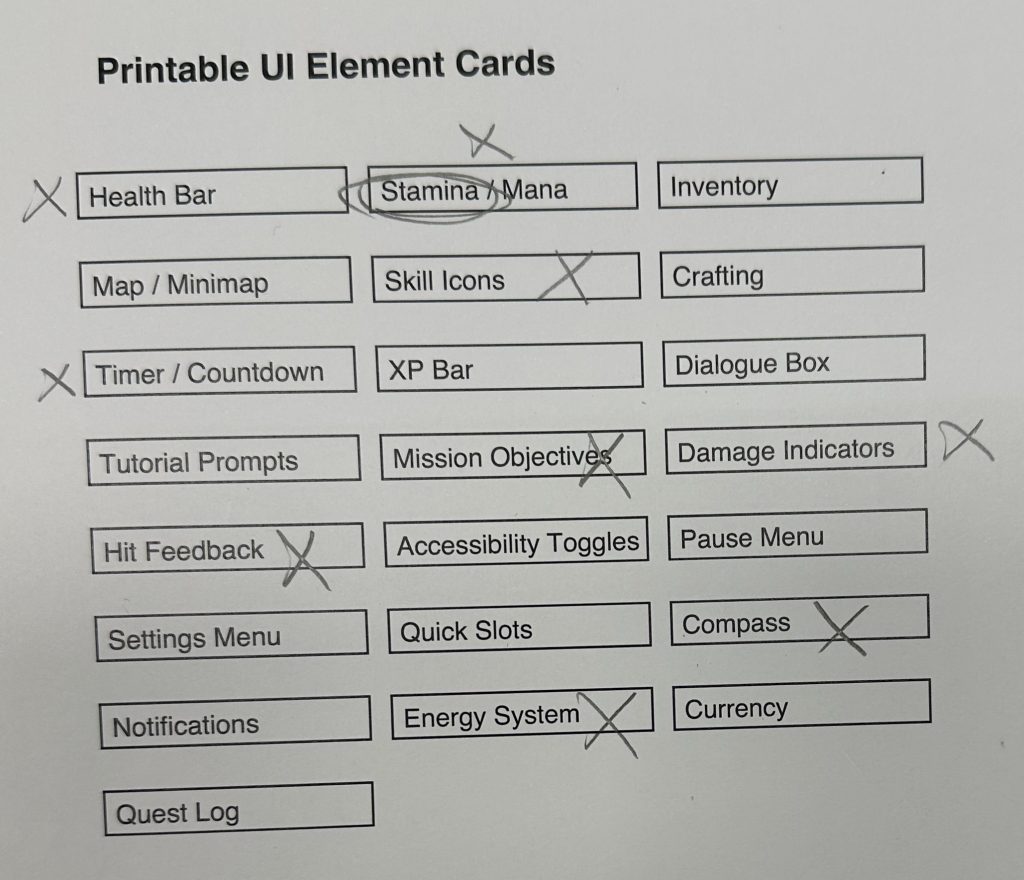
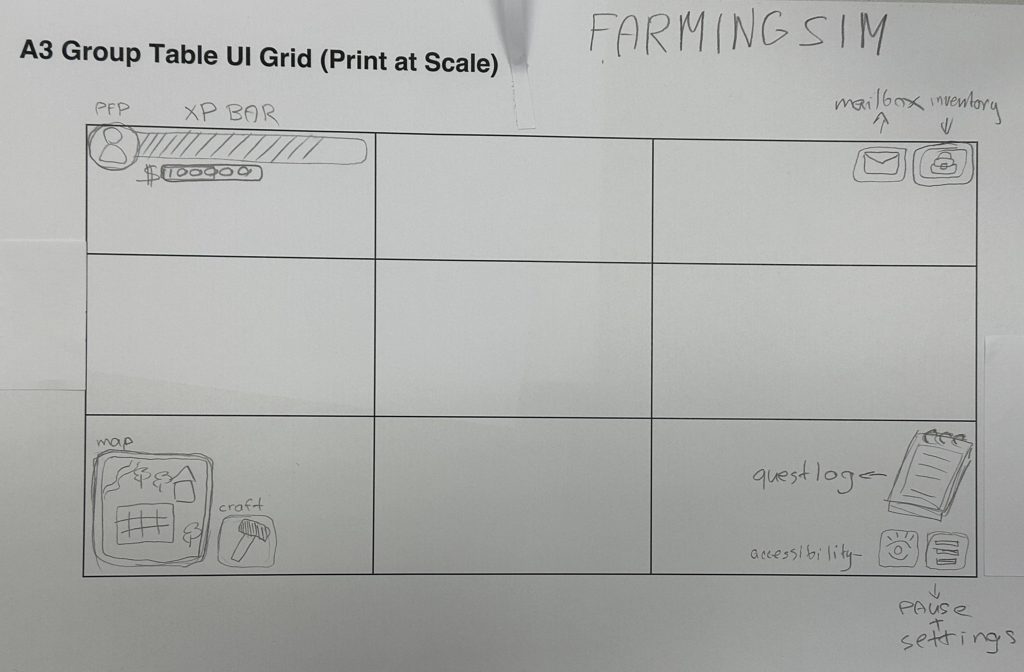
    For the activity we were randomly assigned a genre of game then worked in small groups to create the UI for this fictional game. I worked in a pair to make the UI of a farming game.

    These are the UI elements we were choosing from. We wanted it to be a cozy game so any elements that were connected to fighting we excluded.

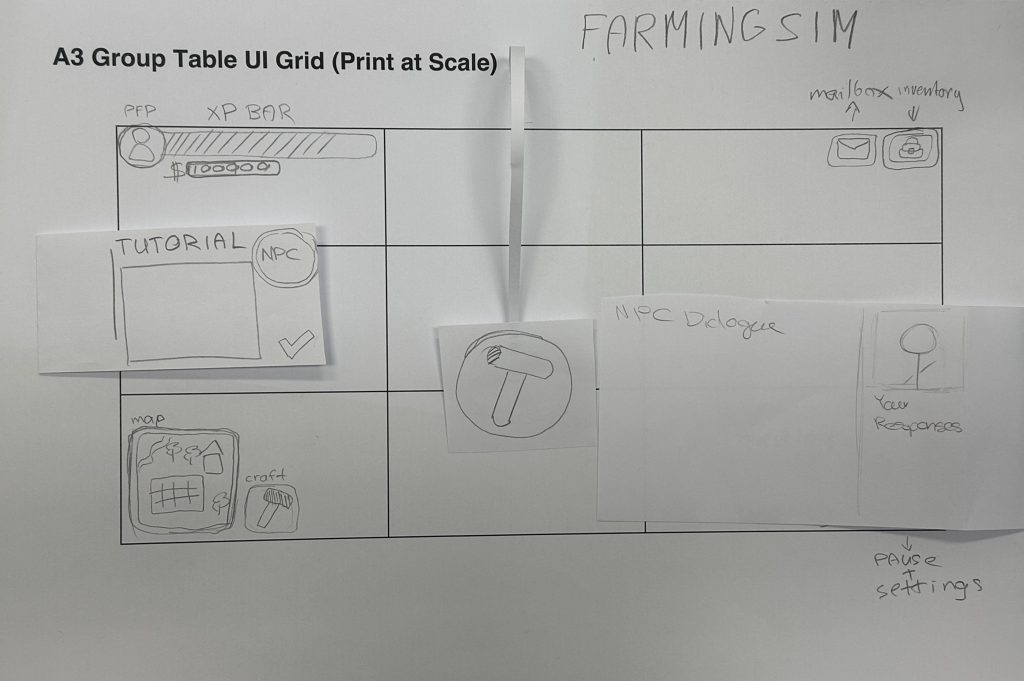
    We were given a 3 x 3 grid to put the elements into. We did not want the screen to feel cluttered and overwhelming so a lot of things are pop up. Which we made with bits of folded paper.

    This is the UI with all pop up elements open, there is still lots of white space. The hammer at the top is a pop up interact button that would follow the player around and show up wherever they want on screen.

    We swapped sheets and gave feedbackl to another group. This is their feedback to us. The pop up elements were liked. There was some confusion over what the symbol on the interact button was, perhaps a hammer was not broad enough of a symbol.

    Next Steps –

    My next steps are to make a soundboard and decide what kind of soundscape I want my game to have.


  • Week 8 Reflection

    This week was about Character Design and the practises that work best when creating them. For the lecture on Monday we were given a crash course on what an art bible is and other elements related to art.

    Semiotics: study of signs and symbols and how they are used to create and communicate meaning.

    Signifier – physical sign, sounds, images or letters that convey meaning .

    Signified – Personal interpretation of a signifier.

    Art Bible

    A style guide or rulebook. It that ensures artistic consistency across the project by aligning expectations, and comunicating aesthetic intent. It should evolve over time and help build up the team.

    Visual Pillars

    Much like the game design pillars these also communicate the vision for the game by stating aesthetics and themes that be conveyed in the art and looks of the game.

    For example with Desta: The Memories Between

    1. Dreamlike, pastel colours, floating islands camera angle.
    2. Simplicity clear UI, serif typography
    3. Boardgame like, grids space, low-poly, sharp shapes/edges

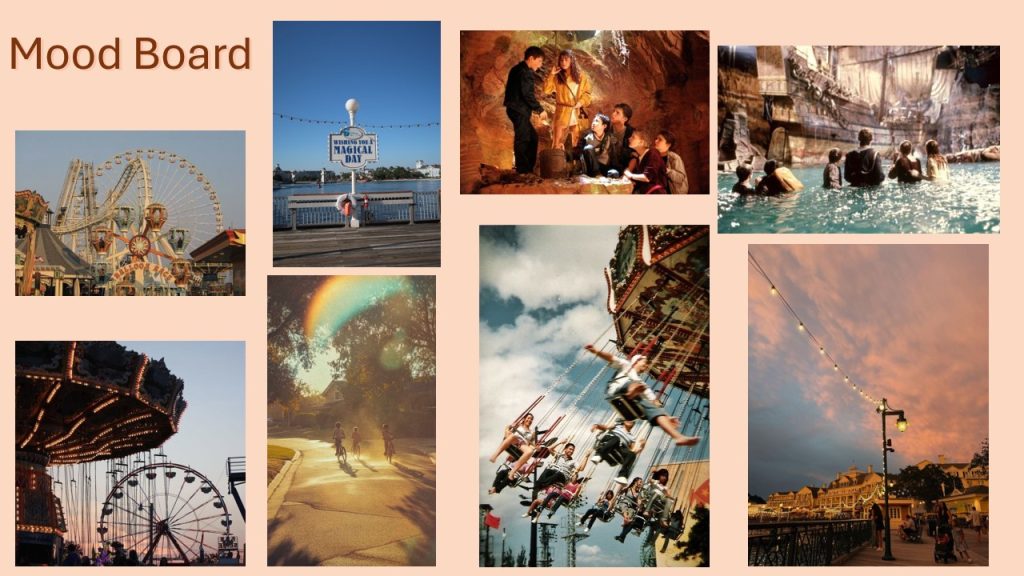
    Reference Boards

    For the activity in the lecture, we paired up and got given a synopsis of a game idea. We then had to create the visual pillars for it and make a reference board for each pillar.

    Our synopsis was:

    In a sprawling desert archive, players act as “future-keepers” tasked with recovering fragments of possible futures people abandoned. Each fragment carries emotional weight and clues. By sorting, restoring, or remixing them, players reshape imagined worlds and confront the tension between innovation, fear and hope.

    Razor: All mechanics revolve around interpreting, combing, or reimagining fragments, no unrelated systems.

    X-Statement: We build tomorrow from the futures we choose not to forget.

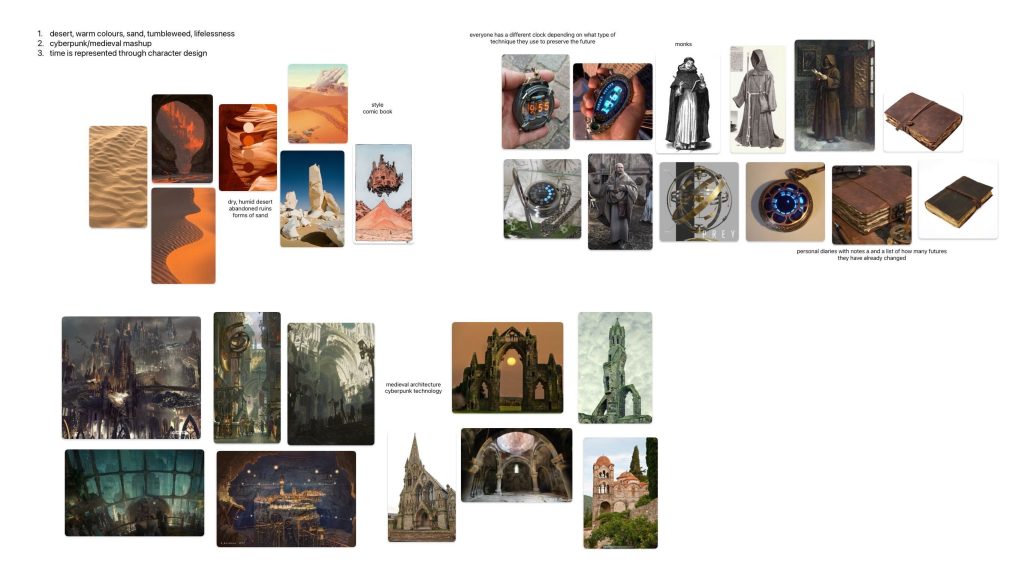
    The pillars we came up with were:

    1. Desert, warm colours, sand, lifelessness
    2. Cyberpunk/medieval mashup
    3. Time is represented through character design

    These are the reference boards for each pillar.

    On Thursday we had a guest lecturer, Abby. An alumni of WSA and current freelance character designer.

    She covered the three core principles of character design.

    • Shape
      • Association – what associations do certain shapes have e.g. round = friendly, sharp = scary.
      • Silhouette – are they still easily recognisable when only a silhouette.
    • Colour
      • Association – what associations do certain colours have?
      • Colour theory – what colours work well together, have good contrast etc.
      • Progression/change – colour can be used to show a characters journey.
    • Narrative
      • Physical condition – old, young, beaten up?
      • Objects of importance – any items that are integral to their journey?
      • Scars/tattoos – does it make sense for the character to have any, what does it show about who they are?

    We did an exercise where we created a Venn diagram with each principle and thought of characters that fit in each section.

    This is my sheet .

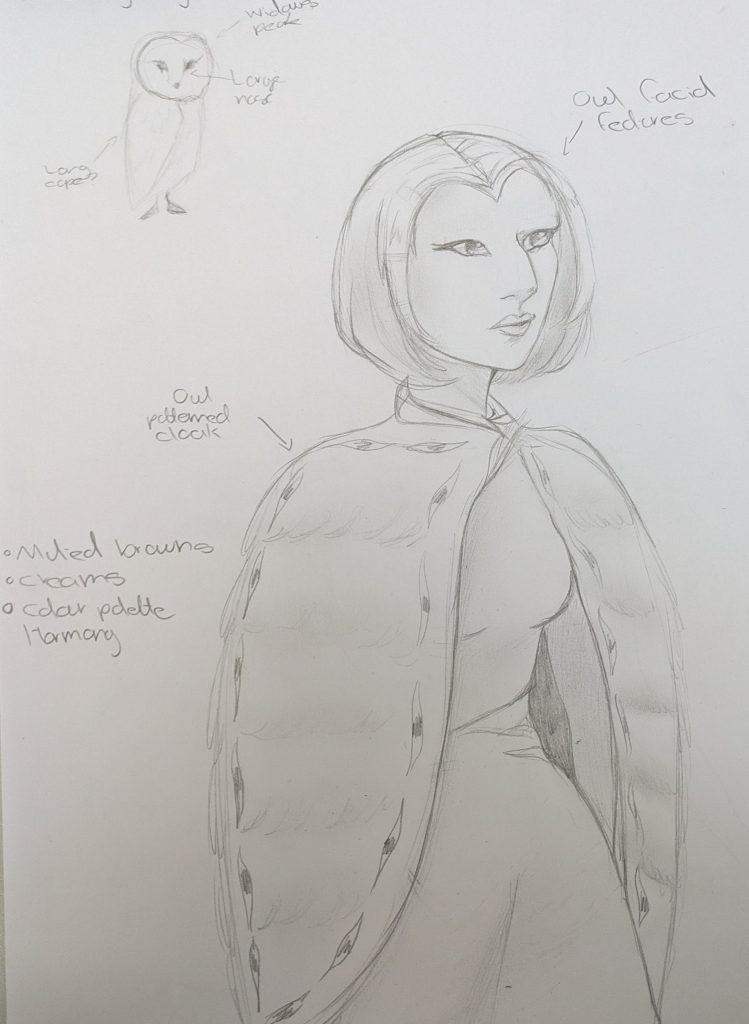
    The final task of the day was to create a character using the design principles. this could be related to our projects or just a random character. I decided to take a break and make a different kind of charcter than what will be in my game.

    My character is based off an owl. while I was drawing I tried to keep shape language in mind, incorporating the smooth shapes of their wings and almost heart shaped heads. In my character this translates to a sharp widows peak and large cloak. I also added embellishments to the cloak that are the prints of barn owls. I only had a graphite pencil on me but i did writ down what I envisioned the colours to be, also based off the many muted browns barn owls have.

    Next steps –

    I will now take these principles and what I have learned to continue developing my characters. I will also cement my visual design pillars.


  • Week 7 Reflection

    This week was formative feedback week. I took the opportunity to get organised with my schedule and online files. At the end of the week there was a helpful 1-to-1 with our tutor.

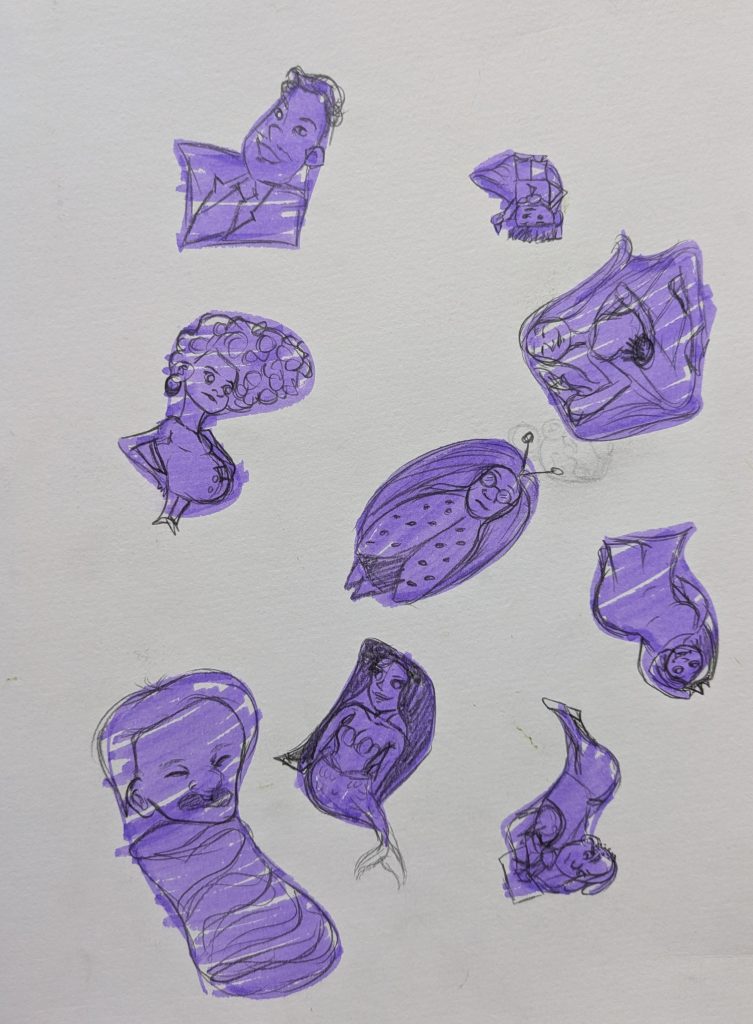
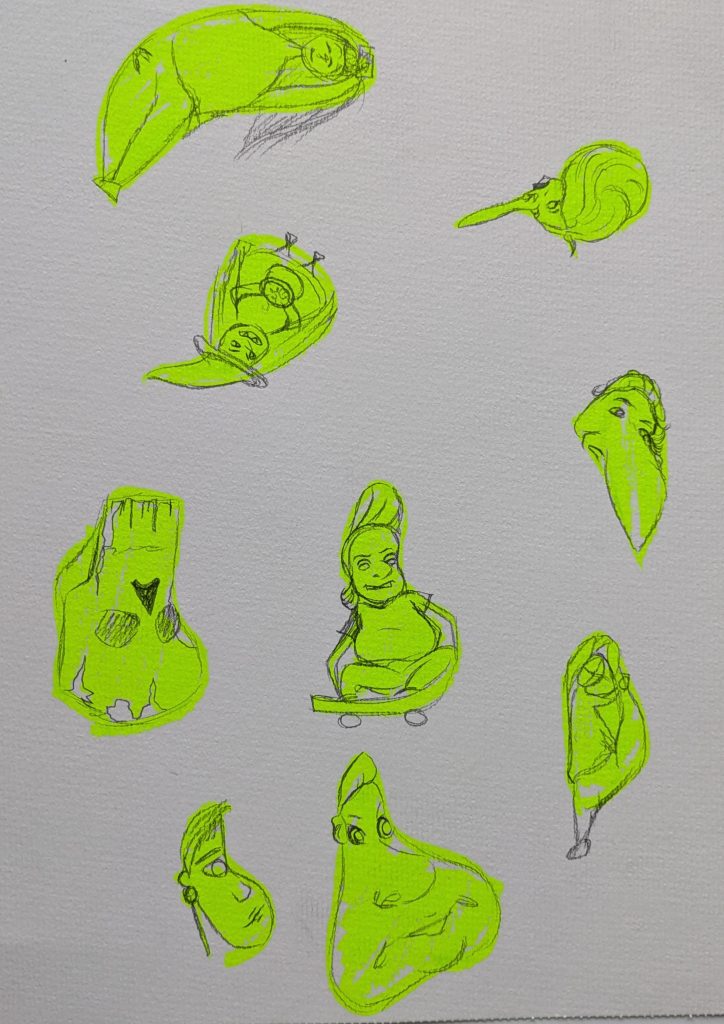
    Before the 1-to-1, I decided to start working on my character design. As a warm up I decided to try the shape excercise. Where you draw some random shapes on a piece of paper then have to find the character in each shape. At first I struggled with this but after I had drawn a few it became far easier to find the characters.

    My personal favourites are the pregnant women, skateboarder and stretching woman.

    After completing this I moved onto doing reserach into my actual characters and began sketching them.

    On Thursday I had my meeting. This was very helpful and gasve me some areas I need to improve and expand on.

    • Write up player journey
    • Figure out puzzles and how they tie into the narrative
    • Research reference boards and apply them to each element of the game
    • Cross reference my work in my documentation.

    Next Steps –

    I now plan to move forward and write up my full narrative with the puzzles, and create the characters. Keeping in mind the feedback and implememted it where applicable.


  • Week 6 Reflection

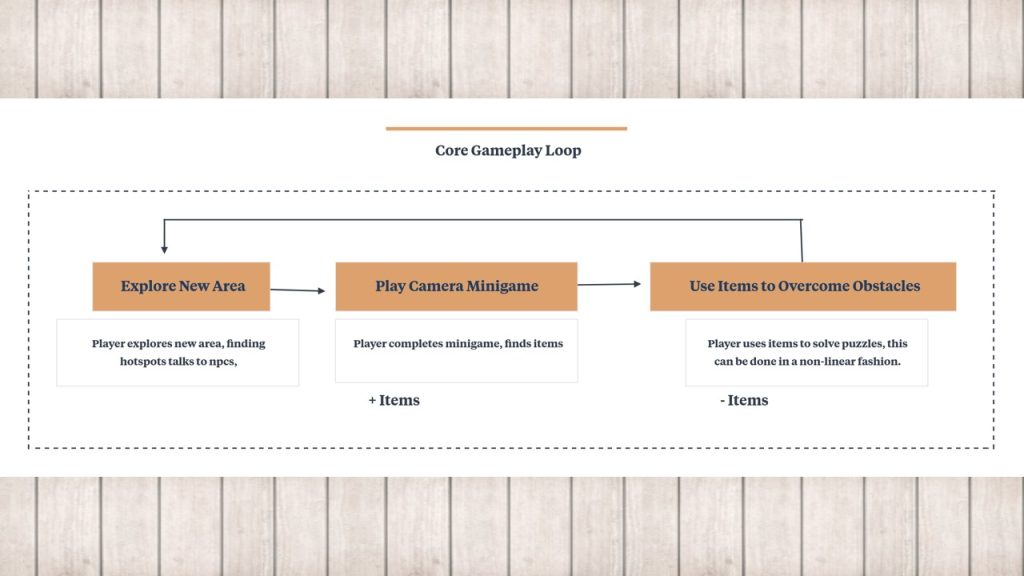
    This week we had a lecture from Venezia Georgieva about game systems. This expanded on some concepts we have already been using like game design pillars and introduced new ones like core gameplay loops.

    Game Loops

    Core Game Loops

    • Moment to moment actions within a game, that the player repeats multiple times to make progress, usally focuses on short term goals.

    Meta Game Loops

    • Repeatable actions outside of core gameplay, story progress, long term progression, motivation systems.

    Loops by Time

    • Second-to-second – Most repeatable actions
    • Minute-to-minute – Short term progress
    • Hour-to-hour – Permanent progression longer goals

    User Stories

    This is a short sentence layout to be used when adding a new feature and figuring out why you are adding it. It focuses on the player and what they will gain from the feature. As there are multiple users of your game it is helpful to create multiple user stories for each.

    • As [ blank ]
    • I want [ blank ]
    • So that [ blank ]

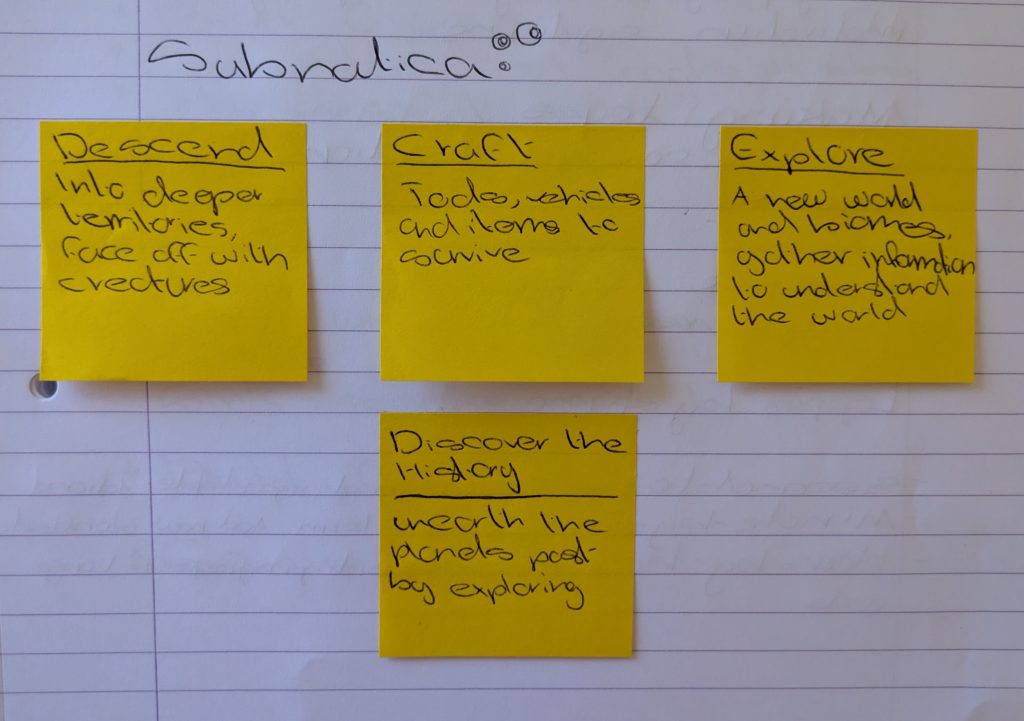
    During the lecture we also did tasks. The first being to pick a game and identify what it’s game design pillars are. I chose the game Subnautica.

    These are the pillars I got.

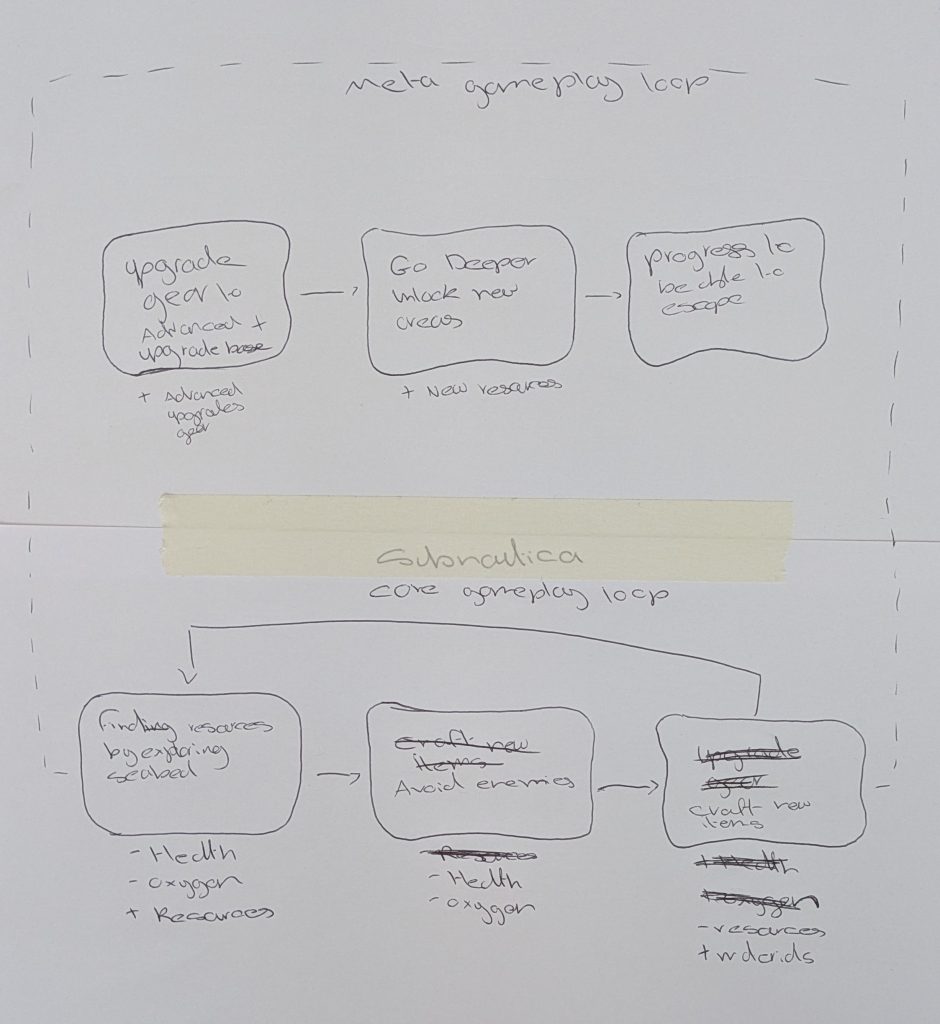
    The next task was a group task to pick a game and decide it’s meta and core gameplay loop. We decided to use Subnautica again.

    These are the loops we found, it took a while to decide on the core gameplay loop due to there simply being so much to do in the game. The meta loop came much easier. When creating the loop we also focused on the resource flow this is what you gain or lose in each loop. In Subnautica this ranges from materials found exploring to health lost from dangerous creatures.

    Presentation

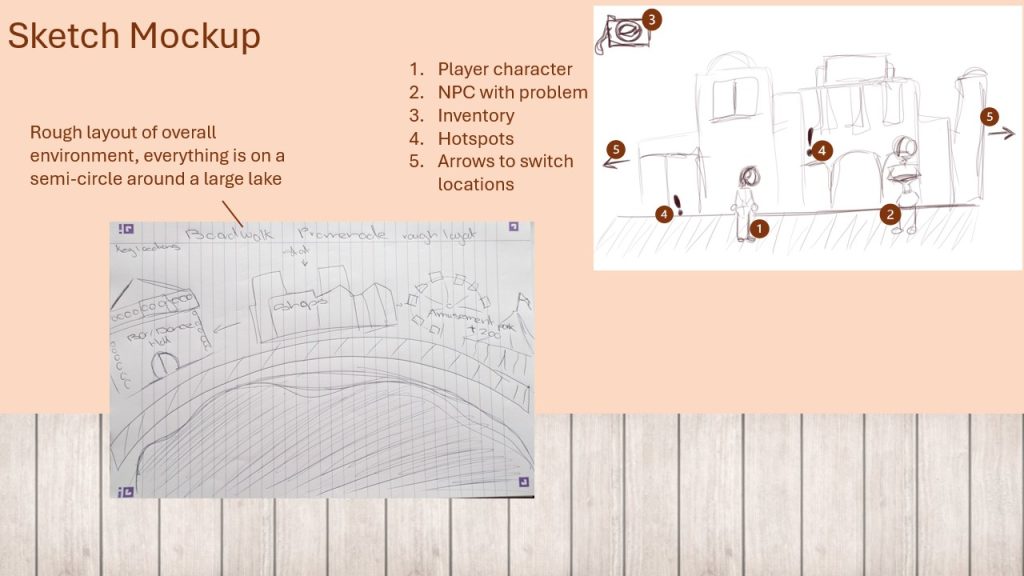
    We also had another presentation of the work we had so far. I created a new presentation with a beach decking theme, I included my new game pillars, a draft of the core gameplay loop and a sketch mock up of the screen.

    The presentation went well, I recieved questions about the nature of the minigame so I need to figure out what it will be.

    Next Steps –

    I will now research and choose the artstyle I will be using.

    After I have done that I will start to refine my worldbuilding, creating art and reference boards for it.


  • Week 5 Reflection

    This week was about narrative and interactive systems we had a guest lecture from Conway Sutton a freelance games writer working on the Monster Prom series.

    We were intoduced to the differences between games writing and narrative design.

    Games Writing:

    • Writing in game text
    • Dialogue
    • Flavour text
    • Narration
    • Cutscenes

    Narrative Design

    • Bigger picture
    • Usually a more senior role
    • Overlap with game designers
    • Works with other departments
    • Mechanics, settings, lore, overall plot etc.

    Things to Consider with Narrative Design

    1. Structure
      • Linear, nonlinear?
    2. Who is your player character?
      • How can you express your protagonist?
    3. Do the narrative and other aspects of the game support each other?
      • Ludonarrative dissonance
    4. What sort of story do you have the ability to tell
      • What research do you need to do
      • scope
    5. How will your player experience and interact with the story?
      • Npcs
      • Dialogue
      • Player actions
      • cutscenes
      • Descriptions

    I plan for my game to rely heavily on narrative so I greatly enjoyed this lecture and it contained very helpful points.

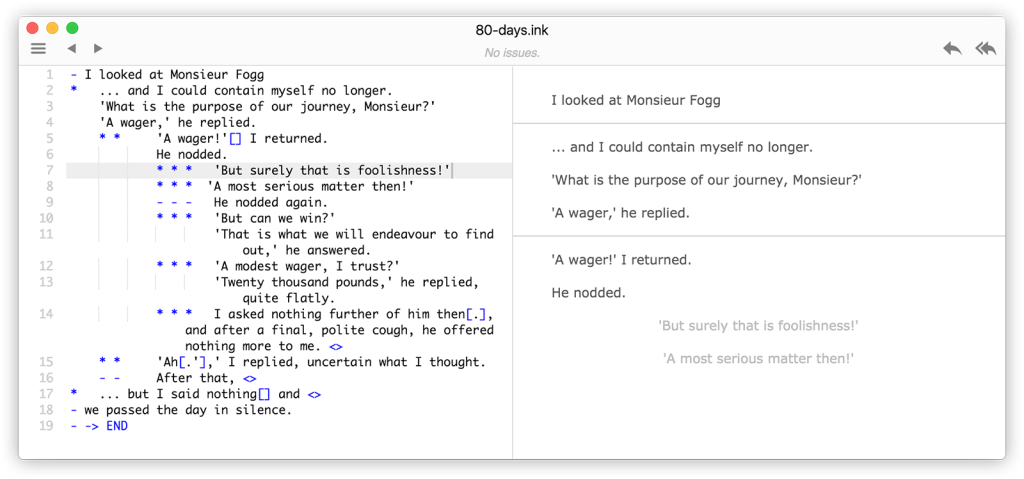
    Our tech session this week introduced us to Ink a helpful narrative writing tool that allows you to easily create multi choice narrative games using Inks own language.

    It also contains a built in Unity package to easily merge the two programs, I plan to use this to handle the branching dialogue in my games prototype

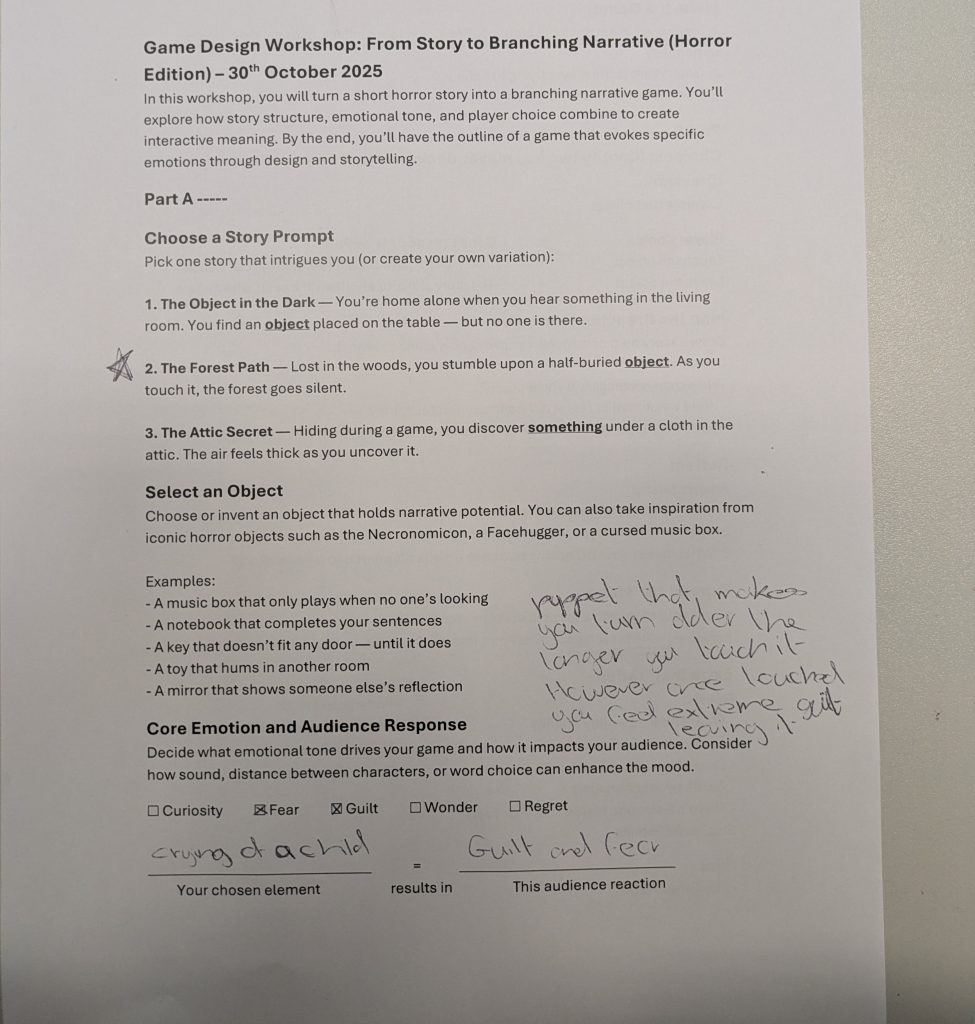
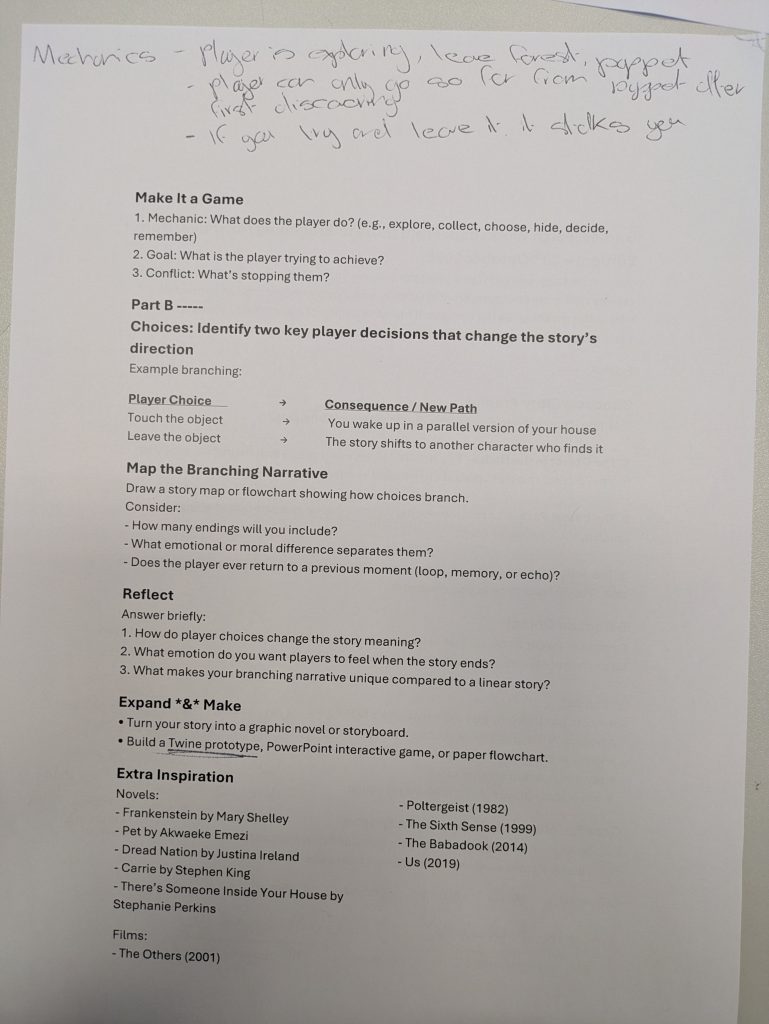
    The workshop this week focused on helping us use effective storytelling. We worked in pairs to create a simple branching narrative story with the help of these worksheets.

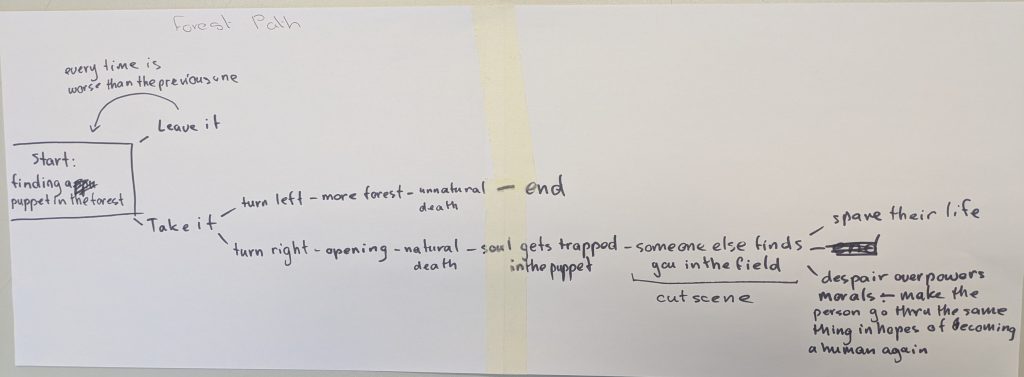
    We created a story about finding a puppet in the woods, once you pick the puppet up it starts sucking the life out of you. However once you put it down it screams like a child causing immense distress. If you hold it for too long you eventually turn into a puppet for the next unfortunate soul to find.

    We laid the story out into a flowchart including multiple endings and choices for the player. Once we had this I prototyped the game in Twine.

    This week has given me klot of ideas regarding my narrative and how to start strucuring it. My next steps will be to come up with a rough outline of the story then begin fleshing out the details.

    Next Steps –

    I will now test Ink as and see if it’s a suitable prototype software.

    I also have started defining my narrative with the advice from conway


  • Week 4 Reflection

    This week we had a guest lecture from Oguz Orkun Doma about level design. I greatly enjoyed this lecture as I had never given much thought to level design before especially in such an in depth way and I learned a lot.

    What is Level Design?

    Practical definition

    • creation of spaces, missions, stages, or scenarios
    • structuring the game flow, moment-to-moment challenges and the path through

    In summary it is the creation of bounded experiences or challenges in a larger game. The way it is represented on screen can vary wildly however. There are many different ways to represent a space.

    • Text Based
    • Fixed 2D
    • Wrap around
    • Side Scrolling 2D
    • Parallax Scrolling – This one caught my eye as it uses layers to give the impression of depth and it works well in point-and-click games.
    • Isomteric Projection
    • Ray Casting 3D
    • 3D Space

    Core Principles of Level Design

    1. Flow – the players journey
    2. Affordances – defining what’s possible
    3. Guidance – use of Cues
    4. Spatiel Orientation – the environment
    5. Gating and keys – structuring progression
    6. Difficulty curves – balancing challenge and flow

    Activity

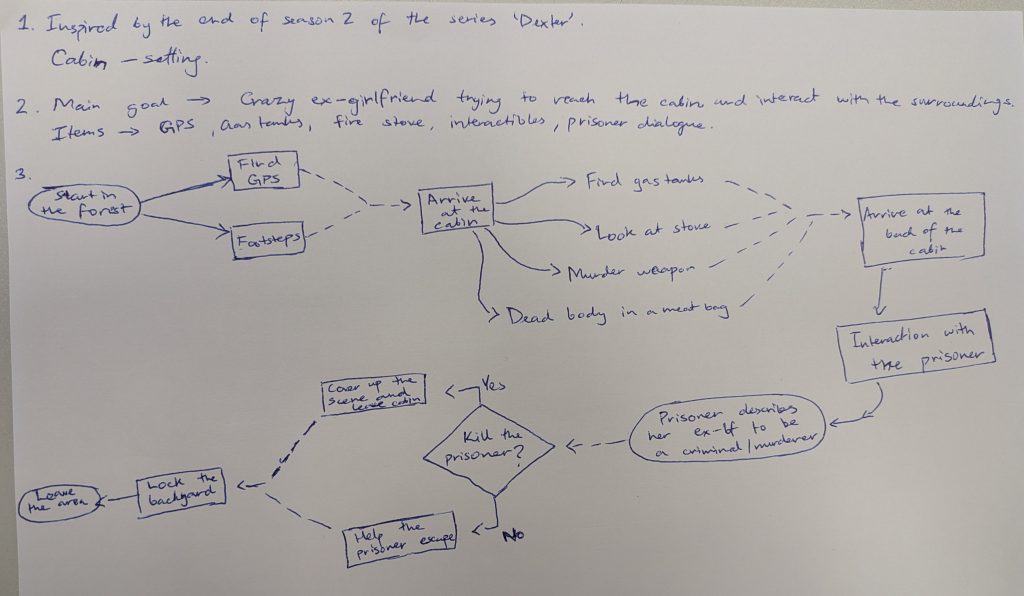
    The lecture also had an activity where we used narrative action bubbles to create a level of a made up game.

    This is a narrative action flow chart map, it breaks the level down into a manageable focussed experience.

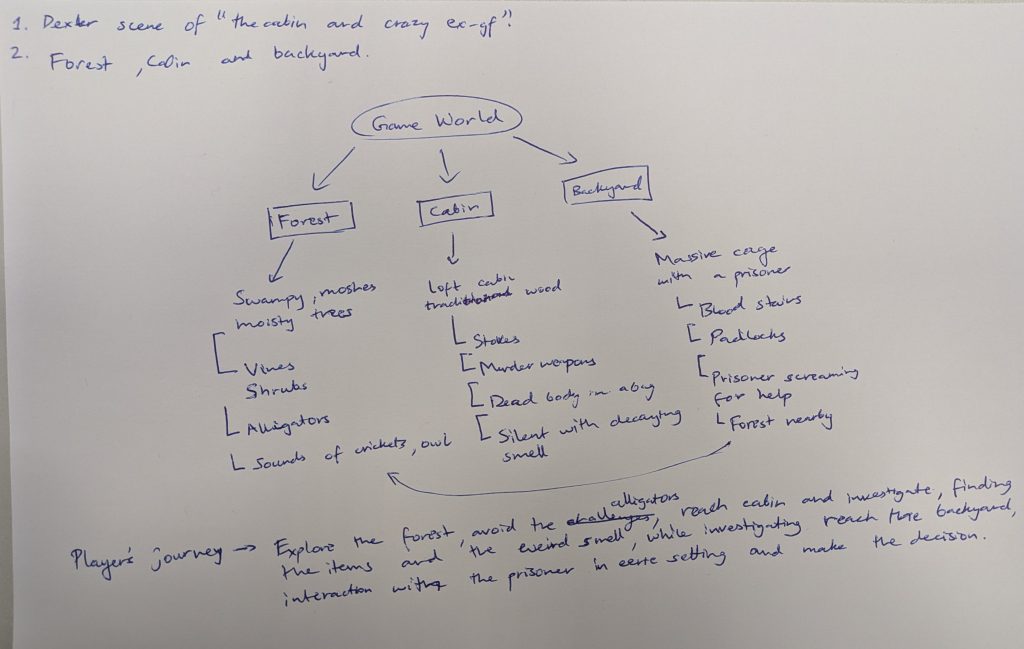
    I worked in a pair and we decided to adapt the season 2 finale of a tv show called Dexter into a level. It consists of the ex-girlfriend of the main character looking for him in the woods and stumbling across a cabin where a hostage is being held, in this game version the player is the ex and they have the ability of discovering evidence that the MC is a serial killer. The final choice is whether or not to release the hostage or protect the MC.

    Once we had done that activity the lecturer moved onto level design procedures introducing concepts such as blockmesh, environment art and spatial layouts. We were then tasked with expanding on the game world by breaking down three areas into elements and gameplay elements.

    This activity was helpful as it got me thinking more about my game world and how best to bring it to life easily and quickly so I can iterate different ideas smoothly.

    The workshop for this week was about building game worlds. We were assigned to groups of three and given a world building excersise sheet.

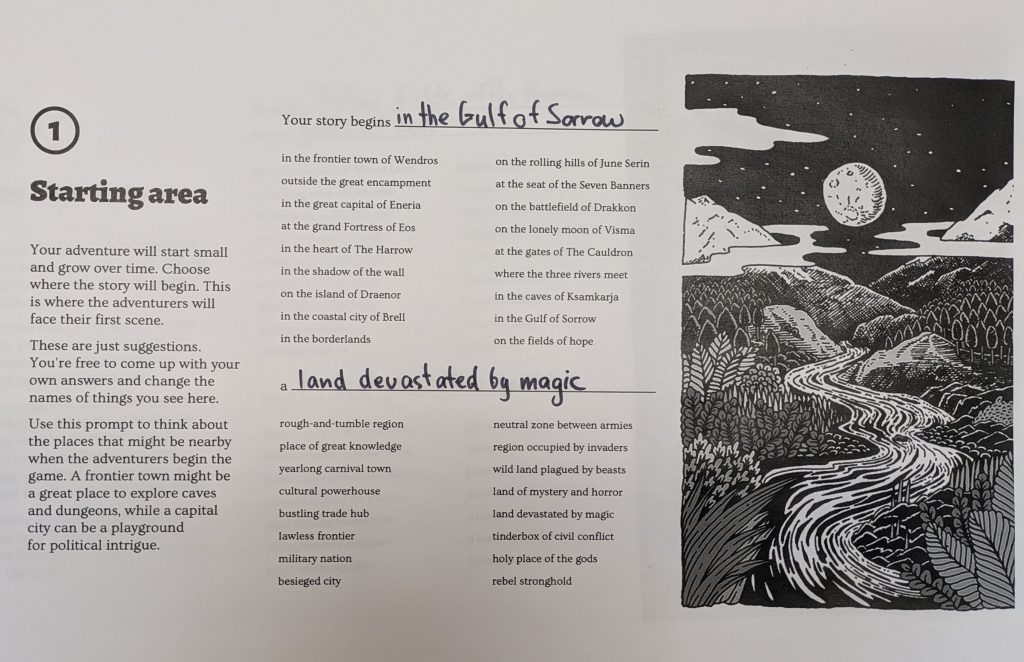
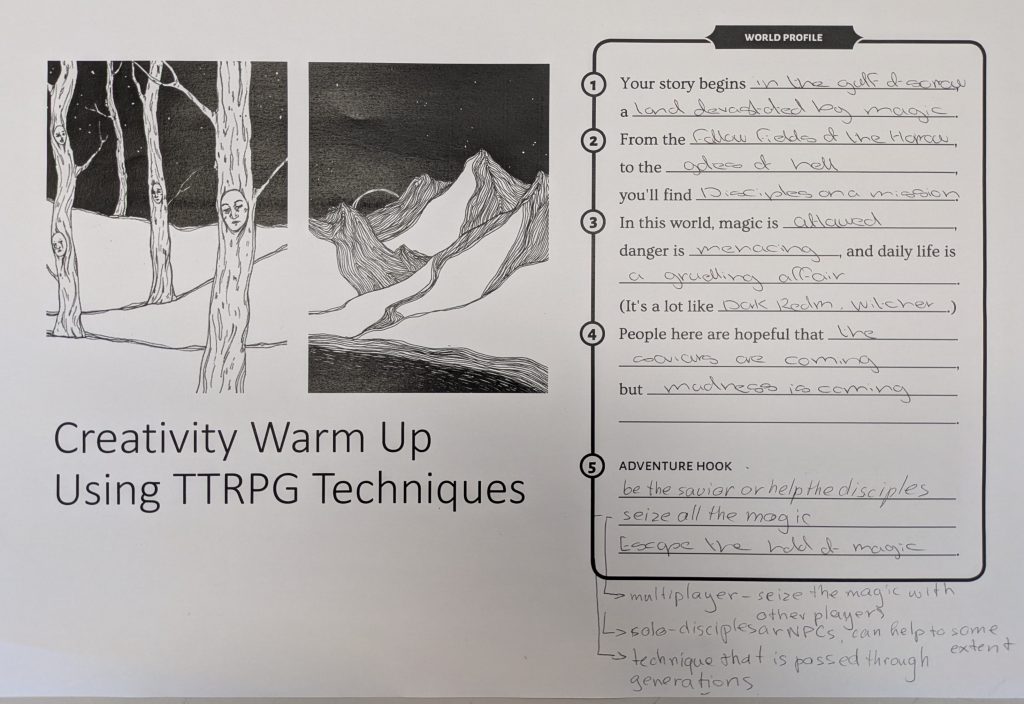
    We began with the starting area, choosing the options of the gulf of sorrow and a land devastated by magic.

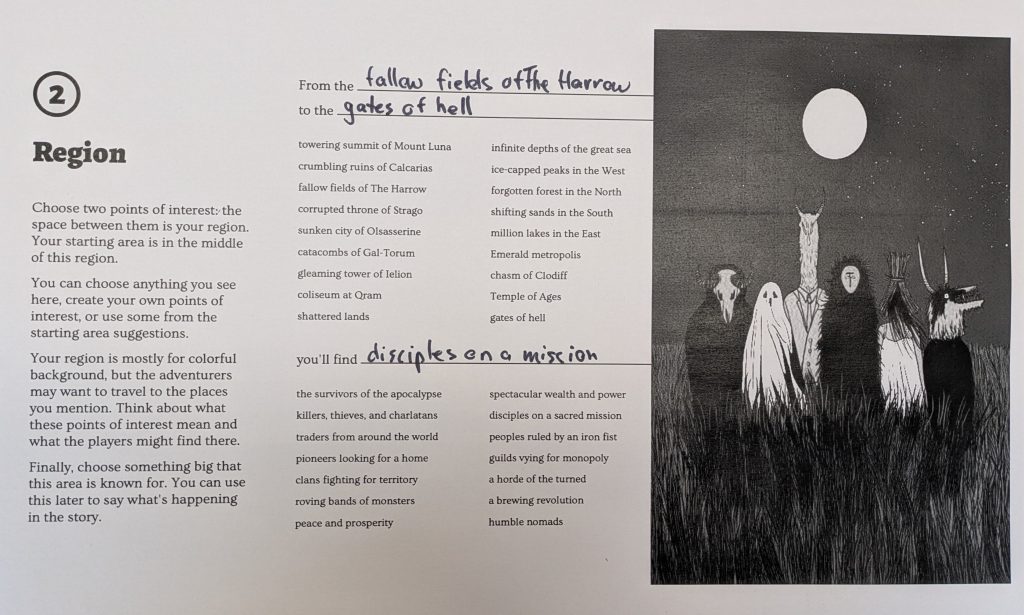
    Our next choice was where to situate our world we chose, between the fallow fields of the Harrow to the Gates of Hell.

    Our characters are disciples on a mission.

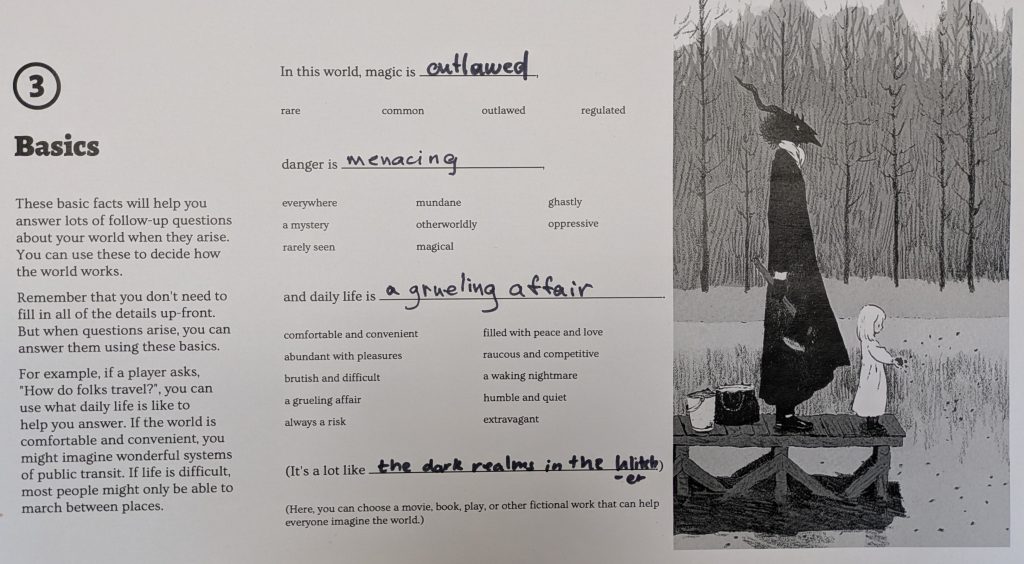
    We then started adding in what the worlds lifestyle is like, magic outlawed, danger is menacing, and life is a grueling affair.

    It is similar to the dark realms in the witcher.

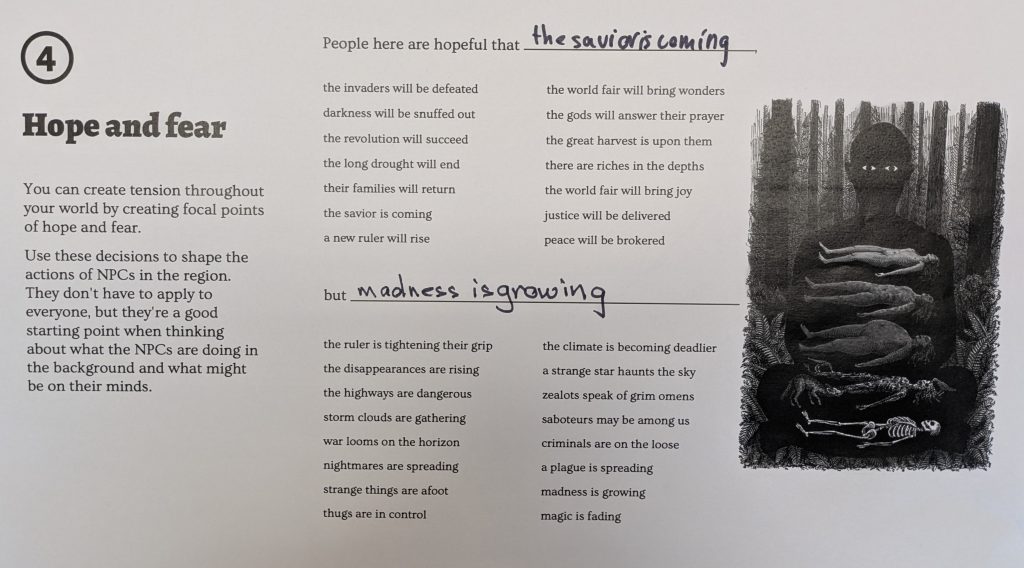
    We then added stakes to the world as the people belive the saviour is coming but madness is growing.

    This helped us to decide that our player character would either help the disciples find the saviour or they are the savior.

    This is the final world that we created. Our game mechanics would revolve around the player being able to absorb magic and stop its harmful effects.

    Overall, this workshop was very helpful and was a good way to get the creative ball rolling.

    Next Steps –

    I will take forward the flowcharts, and conduct research into how I want my screen to look.


  • Week 3 Reflection

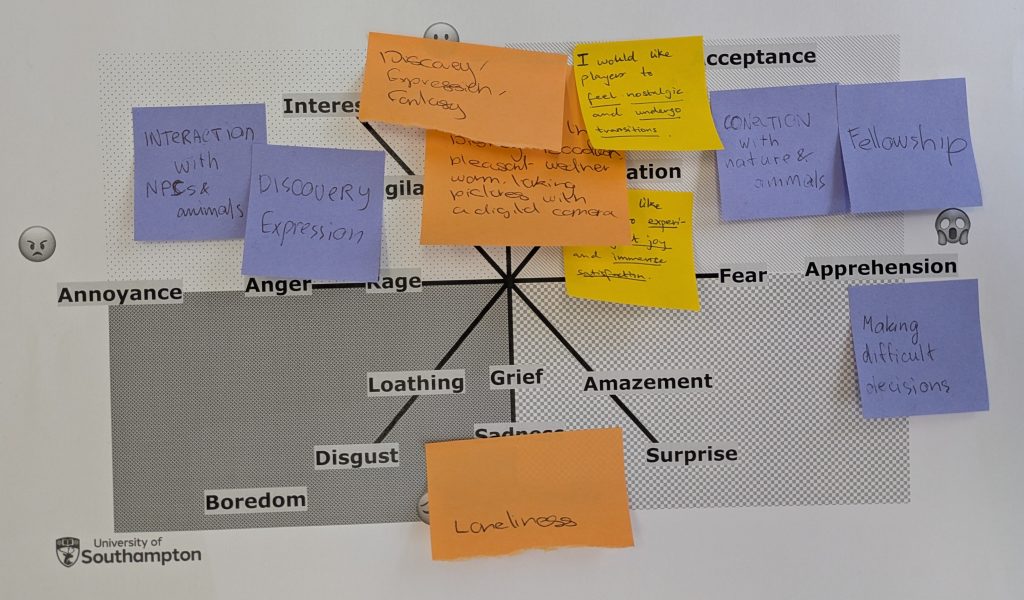
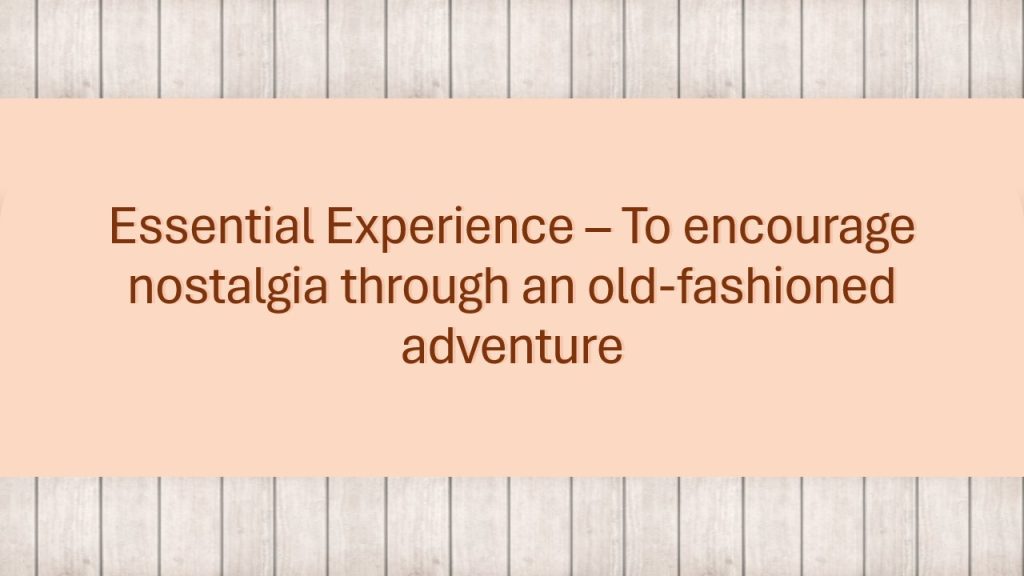
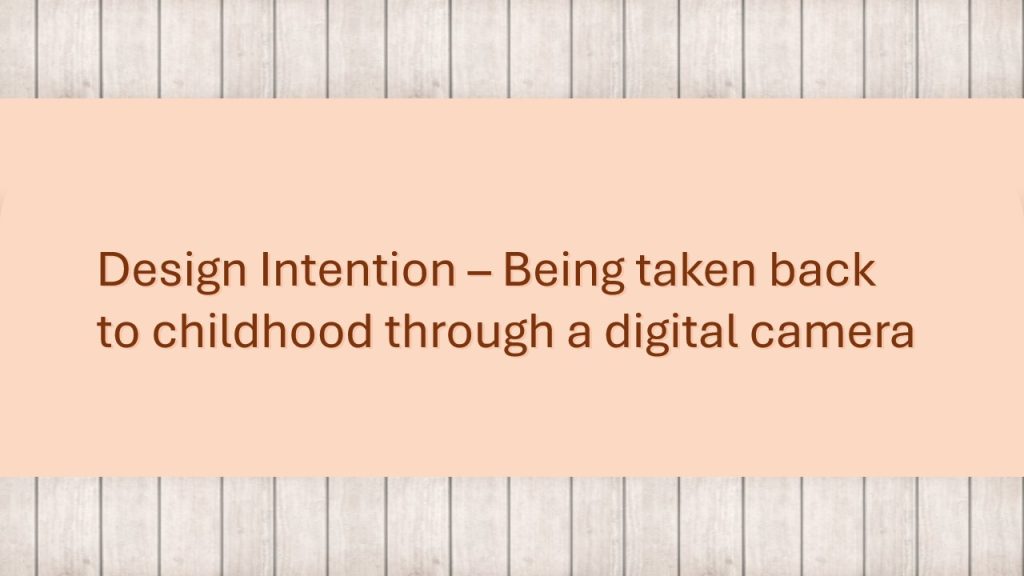
    This week was about game design pillars, we were introduced to a variety of game design techniques and frameworks. We set out to understand what our design intention and essential experience should be by using an emotion worksheet. We worked in groups and wrote down emotions we already had for our ideas and put them in the appropriate places on the paper.

    My contributions are on the orange post it notes

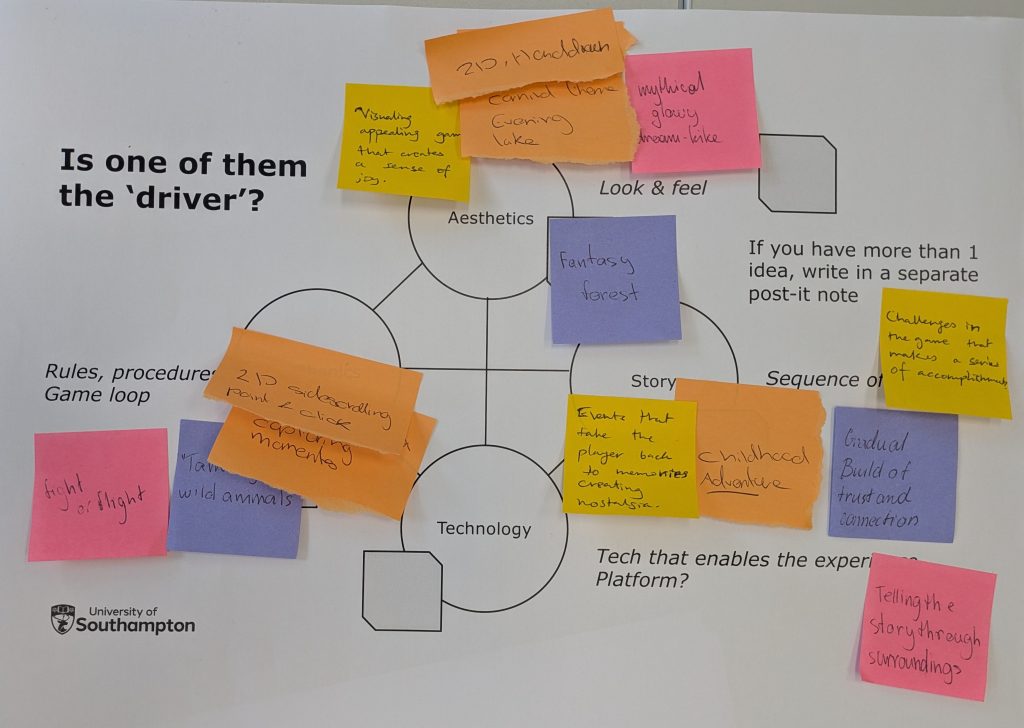
    We then needed to determine what the driver was in our games by looking at MDA (mechanics, dynamics and aesthetics.) A formal game design tool.

    My contributions are on the orange post it notes.

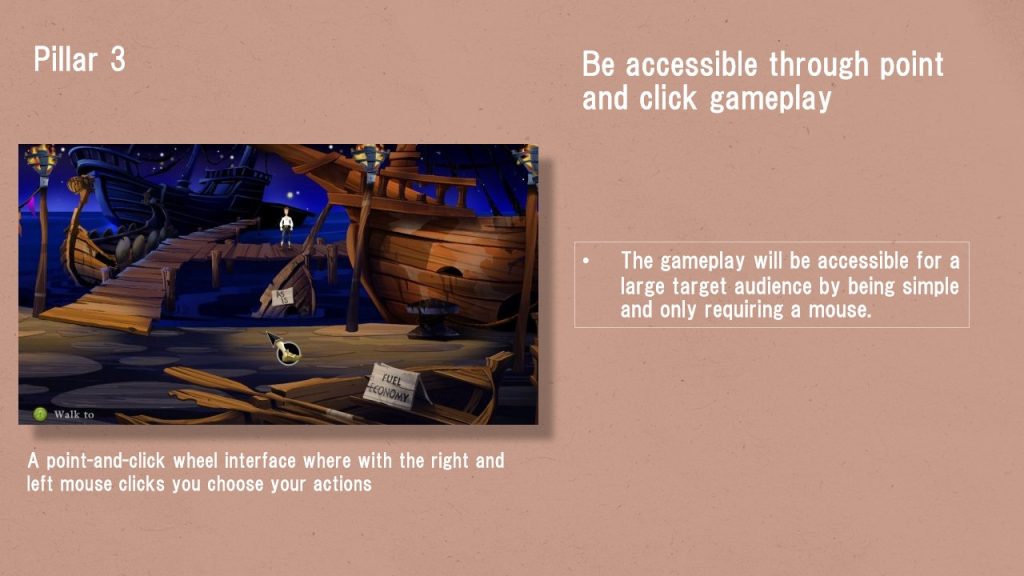
    After the Monday class we were instructed to collate all of our ideas so far into one game idea with a clear design intention, essential experience and 3-4 design pillars. We are going to present these in a 3 minute elevator pitch to the class.

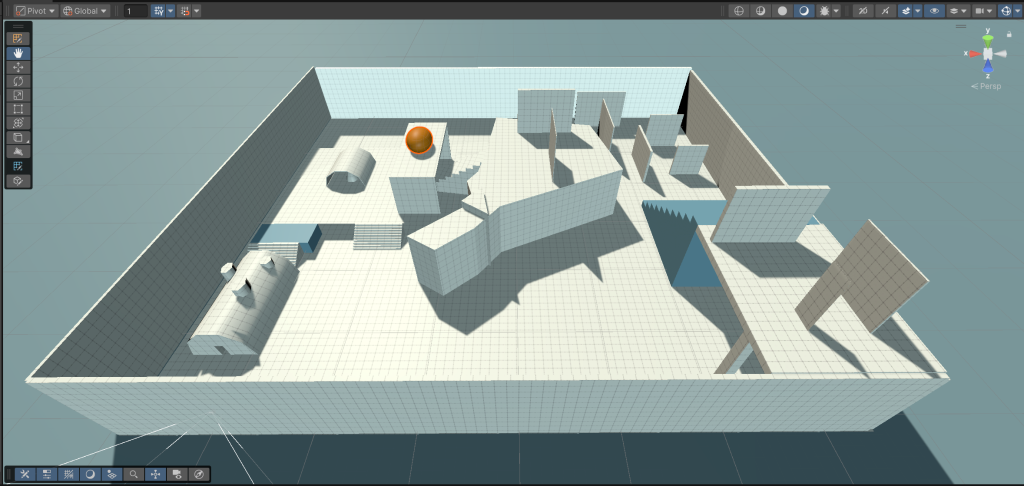
    For the Thursday Tech session we were introduced to a Unity add on ProBuilder, this is a simple greybox tool that allows you to quickly prototype an area in your game.

    We were tasked with creating an arena for a multiplayer shooter game. This is what I created, I focussed on limiting visibility for each player so it would be harder to find each other.

    The play testing was fun although I had made a mistake with the spawn points and some players kept spawning off of the map.

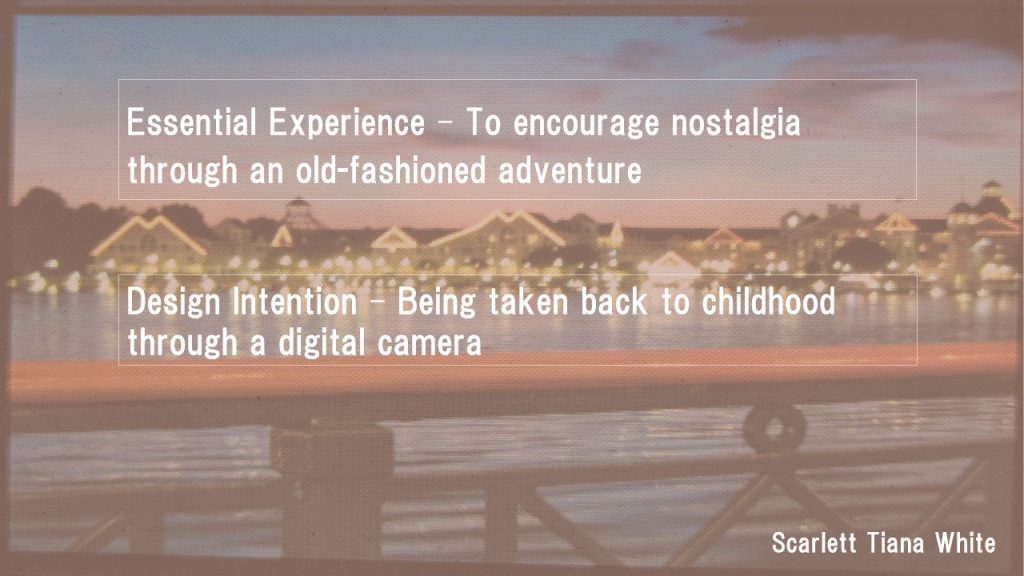
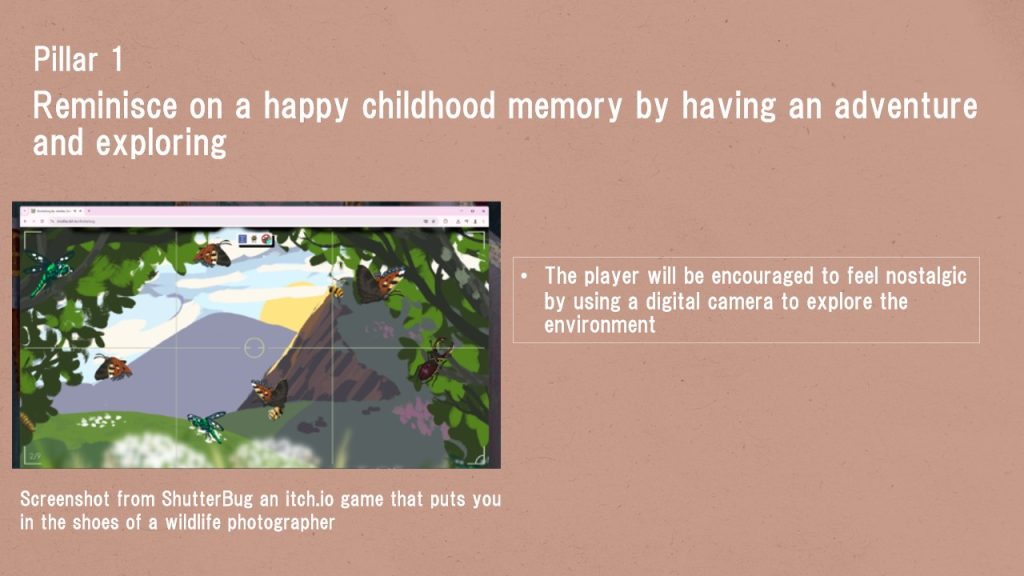
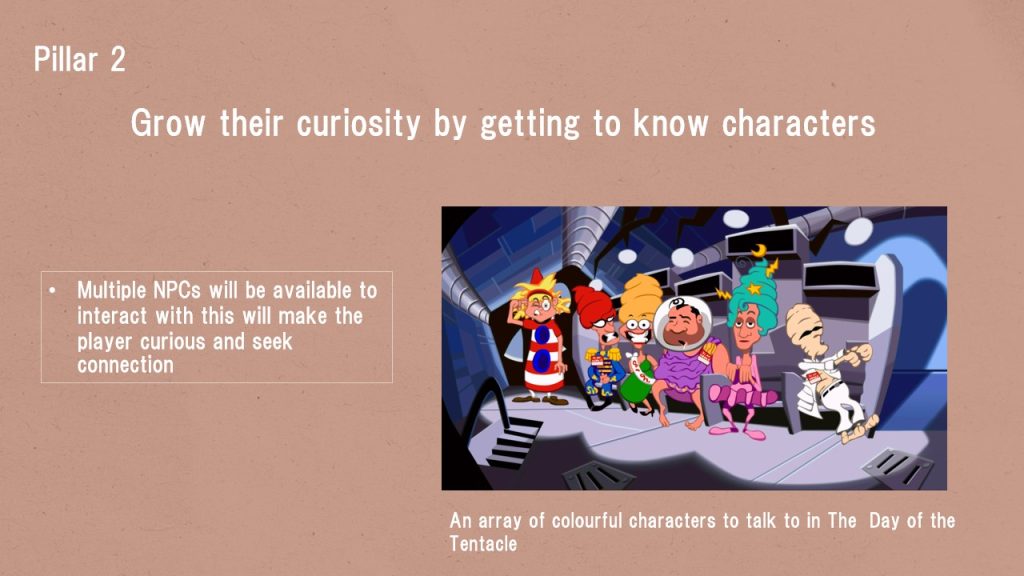
    To create my presentation I focused on figuring out what I want my player to feel by defining the essential experience and game design pillars. Those processes can be found below.

    This was my presentation, it went very well and the feedback was good. It was also helpful to see everyone else’s work especially others also doing nostalgia.

    Next Steps –

    During my presentation a peer recommended a game I have researched it here