This post primarily highlights my workflow from Week 9 onwards, wherein i had learnt from the inefficiencies and issues with my prior workflow.
Referencing
Utilising primary research gathered, Maria’s GDD, a reference/mood board I complied in Pinterest, and sketches inspired by the previously mentioned, I gain a good base/reference to go off of and start my creation process.
Creation
Utilising a software recommended by my friend Erik called Pureref, I’m able to overlay references over Blender & Krita, two software which serve as my main tools for the creation of 3D assets.
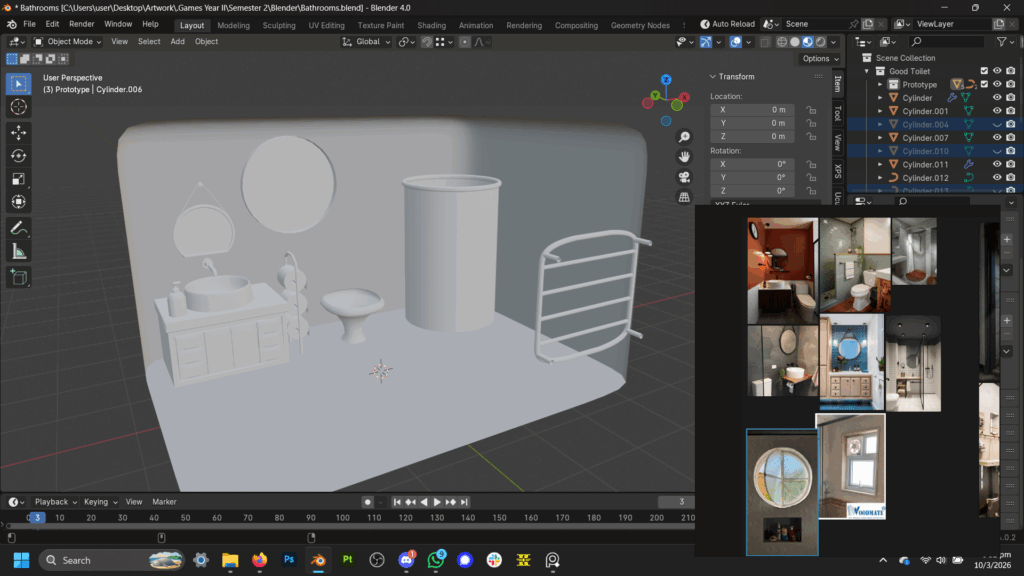
With a references by my side, I start with simple shapes and slowly model them into a desired form. For Scopophobia, since I’m working on environment art I decided to keep my models low polygon and simple, reserving detail for more important objects.

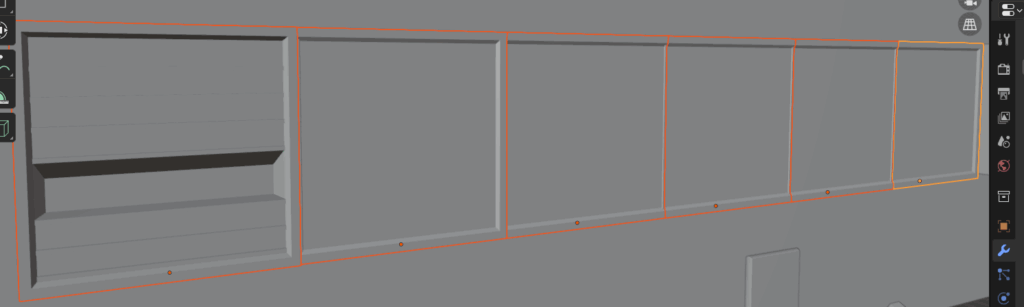
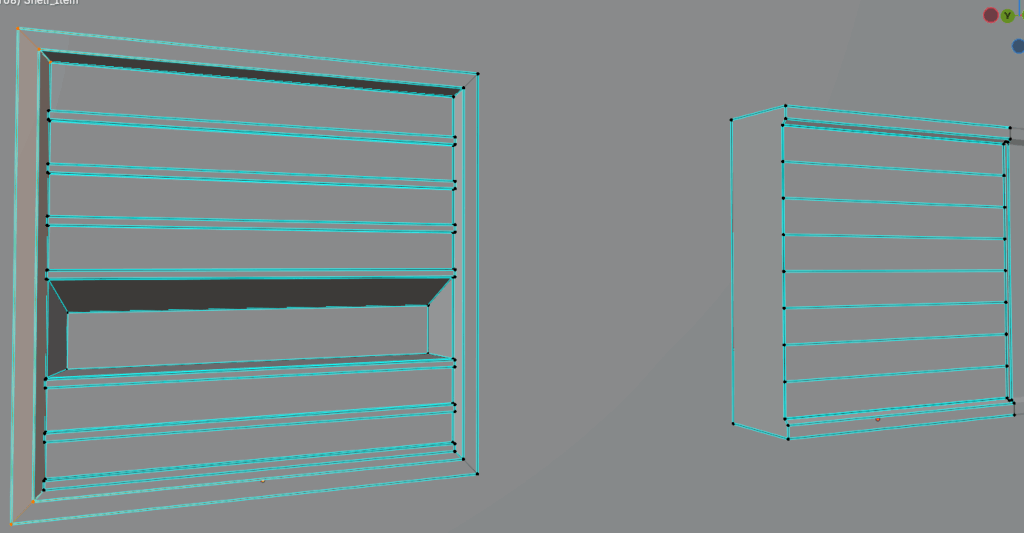
After finalising the shape & form of the model, I UV unwrap it so it may display textures.
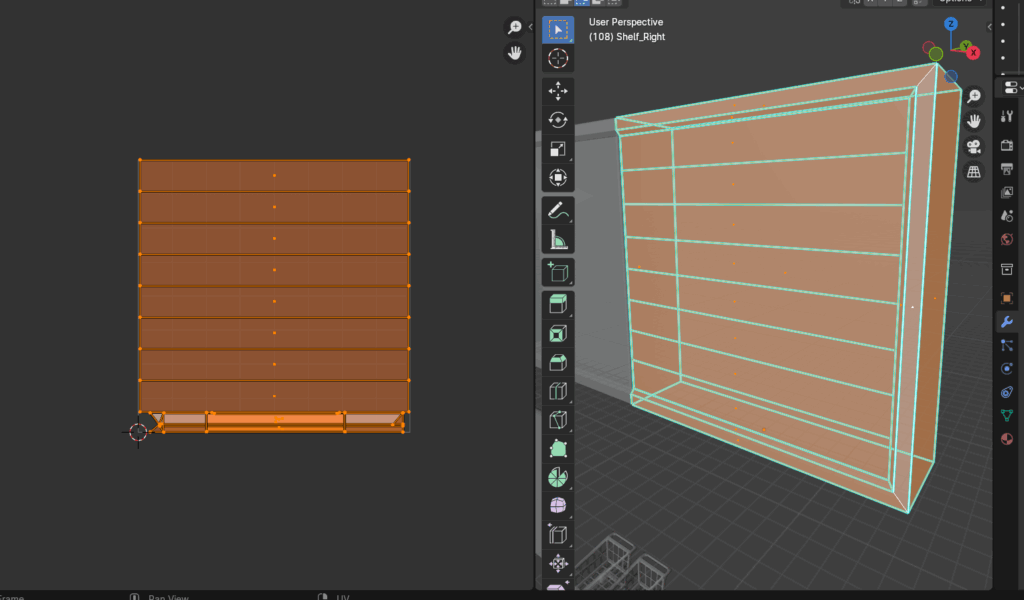
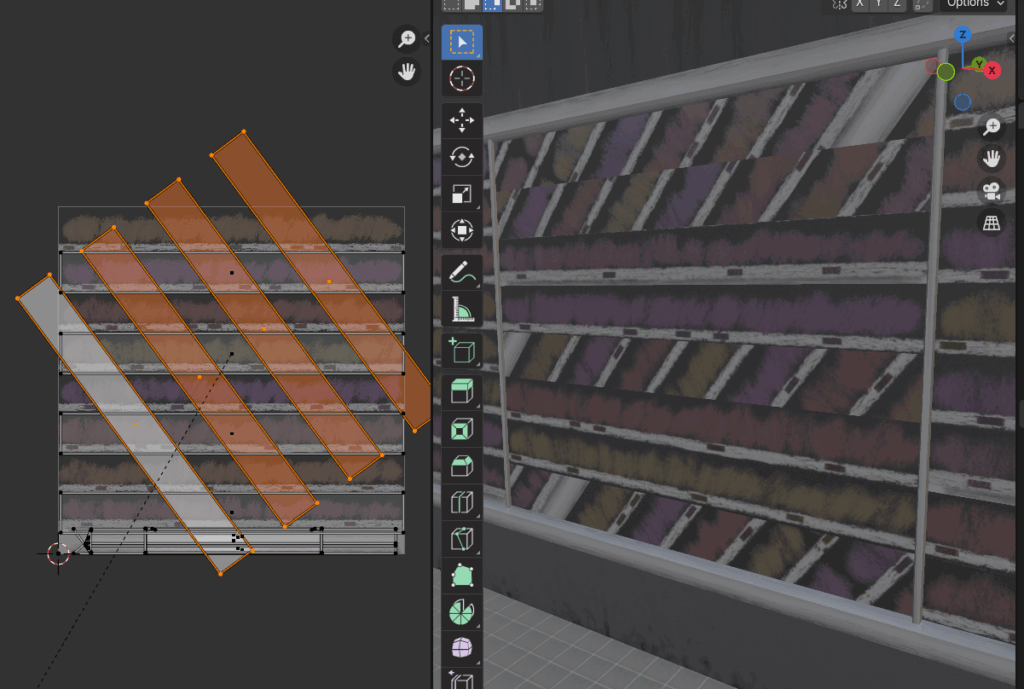
For blockly models like this self, I mainly use the function ‘project from view’ while in a orthographic view at a specific direction.
Afterwards, I take a precise screenshot of the unwrapped model, by the left of the screenshot above, and import it into a new Krita project, sized after the needs of the model.
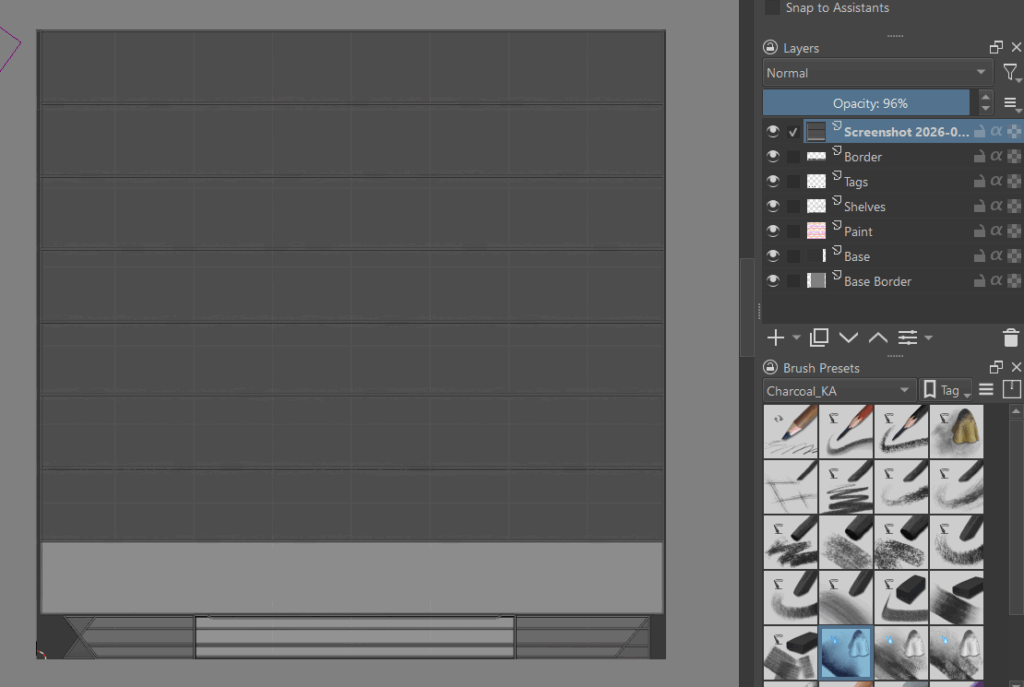
I decrease its opacity and use it as a reference for my digital hand painting, creating a base colour/diffuse texture
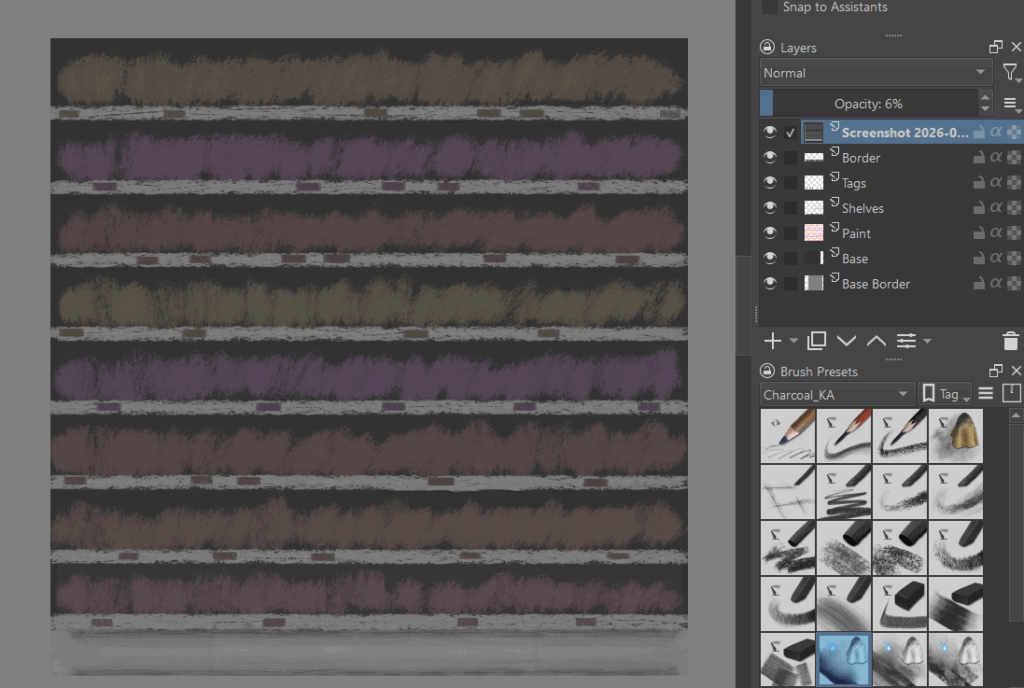
I then duplicate and adjust the saturation & values of the painting, taking advantage of its layers, to create a roughness map.
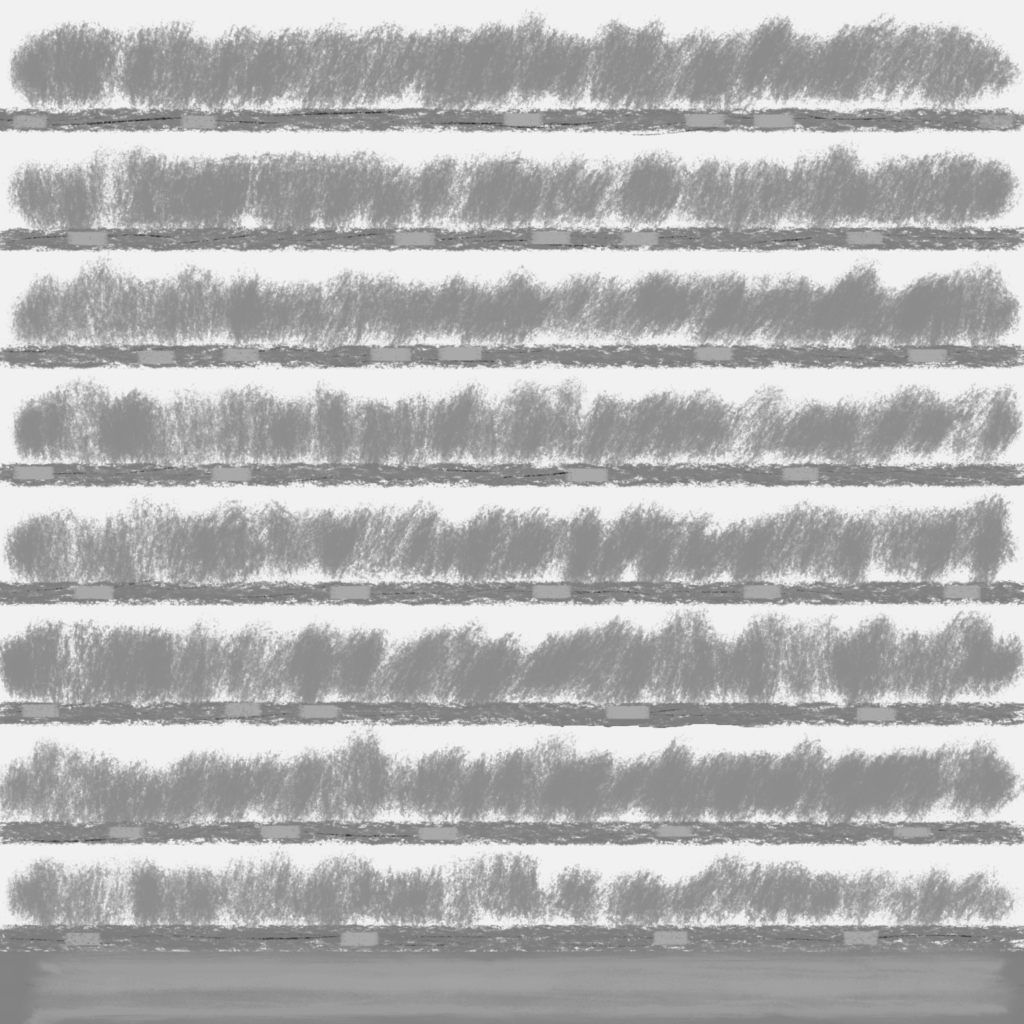
For Scopophobia, I determined just having two textures is enough for most models, base colour and roughness. I do also create metallic maps on occasion to complement roughness textures when they aren’t enough. I also experimented with procedurally generated normal maps using the software Laigtr, recommended to me by a guest speaker, however i did not find the normal textures generated useful.
During the Krita hand-painting process, I utilise a Blender addon named “Auto Reload”, which automatically reloads all texture files connected externally when they are updated/saved.
I saved my Krita projects in the .psd format for compatibility with Auto Reload. This combination allows me to check how my painted textures look in Blender on the model whenever I save the Krita .psd project.
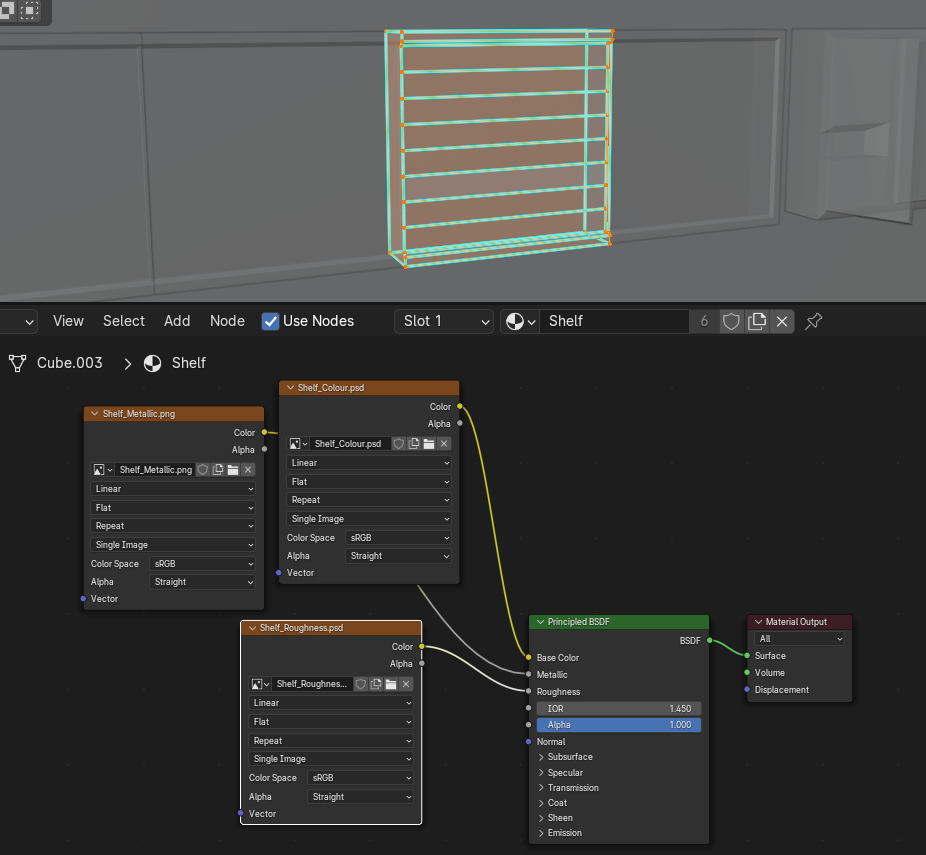
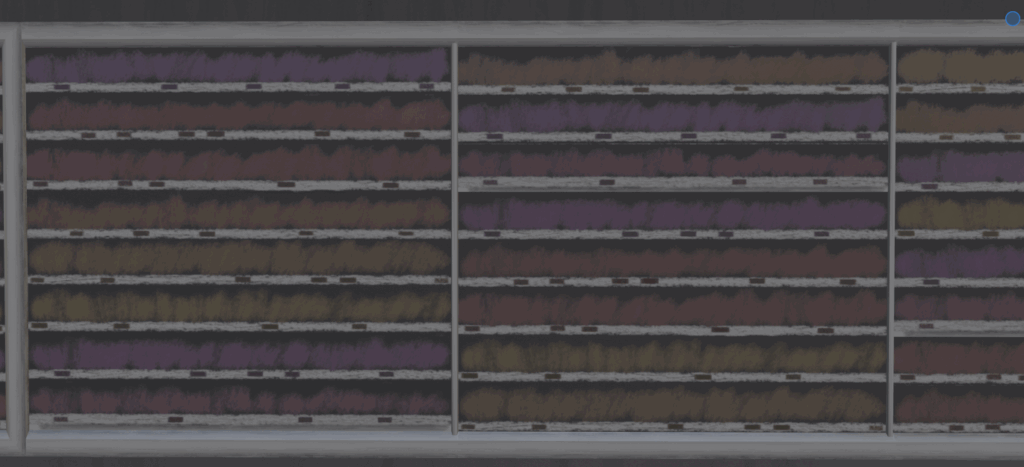
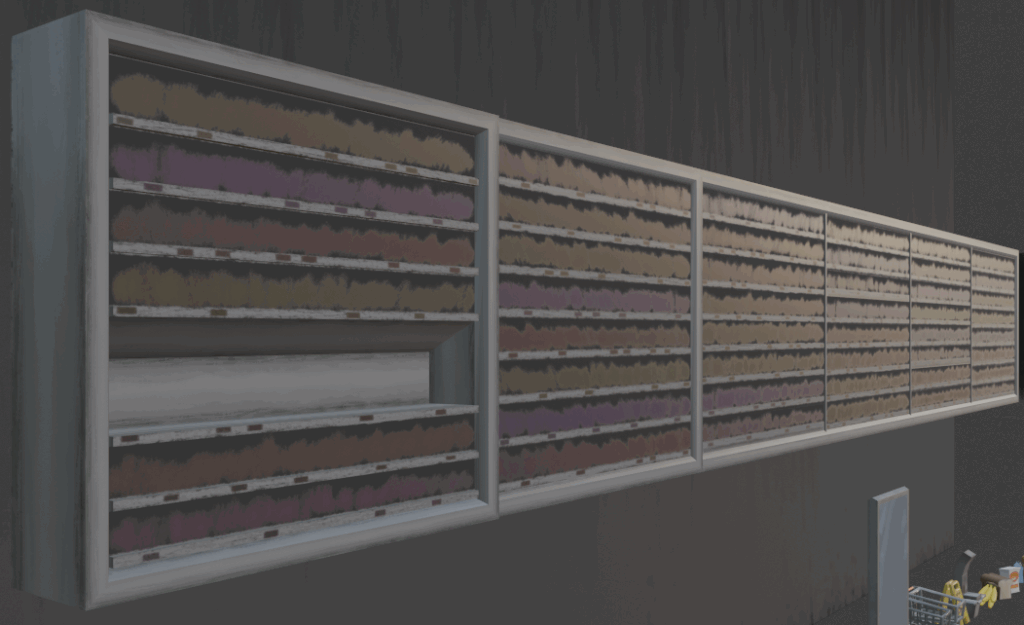
I sometimes create multiple variants of a model so they may not feel overly repetitious, I do this by moving their UVs around so different parts of the texture are projected on the same face.
Implementation
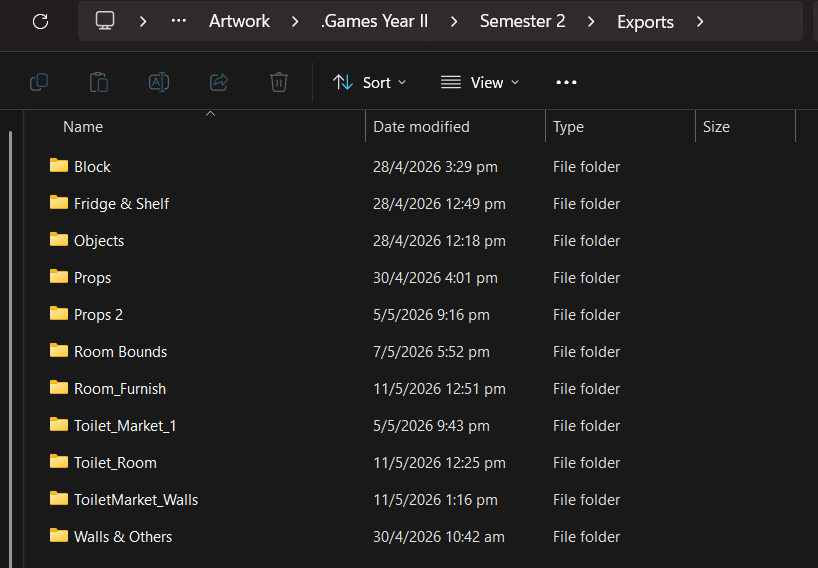
I export the model as a .fbx file from Blender. I then export the textures as .png files from the .psd Krita projects.
Then after, the files or organised into a folder where they are then imported into Unreal Engine 5.
After importing into Unreal Engine 5, I recreate the shading nodes of materials as they are in Blender. I connect the imported .png textures in shading, and connect to finished material onto the imported .fbx models.
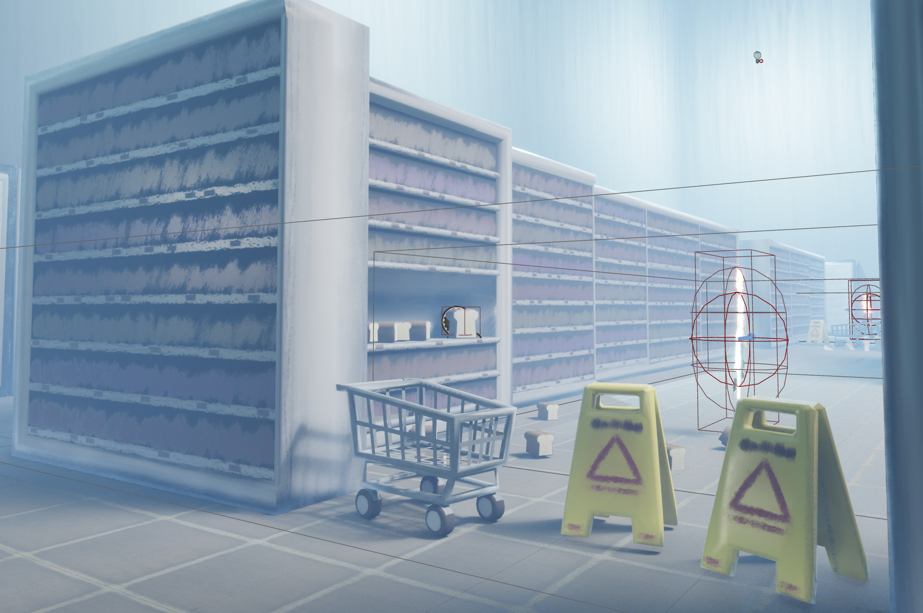
Finally if need be, the model’s collision hitbox is remade to fit the circumstance. Below, the collision hitboxes of the wet floor sign & cart objects are greatly exaggerated to prevent player passage but allow for visibility through them.
Leave a Reply