Whitebox Production, Prototyping Workflow, and Technical Research.
This week, my main tasks were to initiate the production of game levels and to confirm the workflow of our team.
After determining the artistic style roughly, I began to work on the first version of the white box prototype of the levels. I chose to build it directly in the game engine because I thought this would be a more intuitive way to present my design ideas compared to drawing, and this approach was also more suitable for testing our game space and game mechanics in the future.
I initially considered creating the prototype level in Unity because I was more familiar with its level design workflow, which allowed me to quickly test spatial layout, player movement, and the overall structure of the level. At this stage, the main purpose was not to create the final version, but to validate whether the design ideas were practical.
After the level structure was confirmed, the project was transferred to Unreal Engine 5, as the mechanics and environment development were carried out in UE5. This workflow allowed me to prototype efficiently while ensuring that the final implementation matched the team’s technical pipeline.
At present, my role is more like the “foundation” of our game, as I am creating a “white box” for the game. Our mechanics designers and environment artists all need to complete their tasks within this environment. There is a vivid analogy: Our job is to make the cake, and my job is to make the base of the cake.
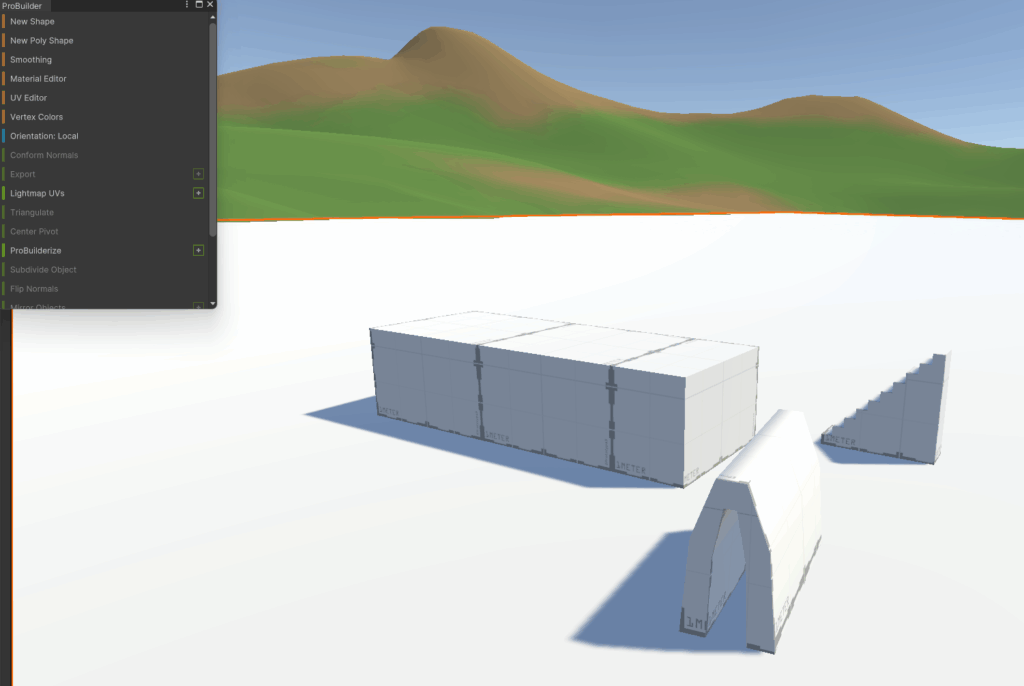
The “ProBuilder” plugin in Unity
I searched for some videos online about using the Unity game engine for level construction. I wanted to see if it could help me avoid some unnecessary detours. Later, I found something very useful – a plugin called “ProBuilder”. This plugin was specifically designed for creating terrain/levels. It is extremely convenient for building white boxes, spheres, and even arches. I can quickly construct various cubes, spheres, and even arch-shaped structures. Then I can combine these objects to form the buildings and architectural structures that I need. which will greatly improve my work efficiency.
According to our team’s plan, the mechanics, gameplay and puzzles of our game are all carried out within a building, which includes many pillars, a swimming pool and other different buildings. According to the instructions in the video, this plugin can help me create the models I need, and adjust the number of faces of the objects according to my requirements, allowing me to create models such as stairs, walls, door frames, windows, etc. It can also help me restore the coordinate axes of the objects when there are problems with the coordinate axes of the objects. In short, this tutorial video has given me a lot of help, enabling me to apply many of the model-building techniques in it to our white box.
This video provides a detailed explanation on how to use the ProBuilder plugin.
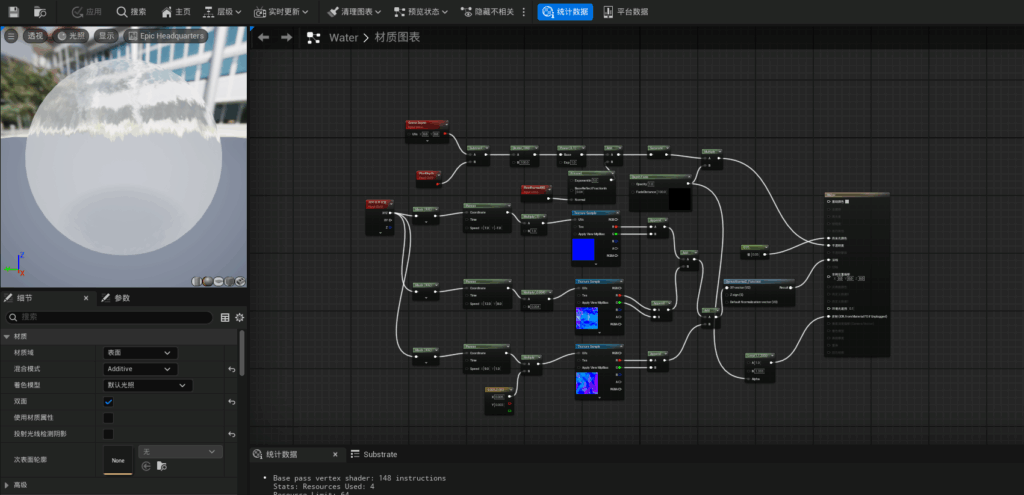
Water-based blueprint system
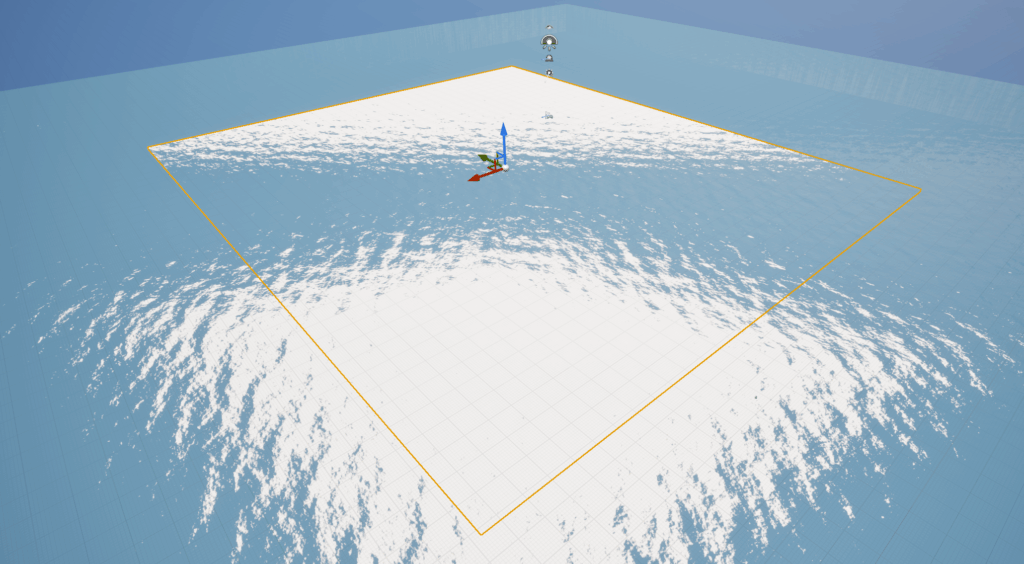
The specific effects of this water material when applied in the Unreal Engine
I also created a visually appealing water material by following online tutorials.
In our design, the swimming pool must have water. The water can also serve as a means of emotional transmission and an element for creating the game atmosphere. At the same time, it can be used as an external environment of the building, acting as an “unexplored area” while maintaining its aesthetic appeal.
So I searched for online tutorials. Following the instructions in those tutorials, I started from creating a new material in UE5, and used the Unreal Engine material system to create a relatively realistic water material. This material can be directly applied to the model, making it look like water and having a flowing effect.
The specific steps are as follows: create the material, set the basic parameters of the material, adjust the color, reduce the roughness, add the transparency effect, import the water ripple and make it flow. Through these steps, a water body material is obtained.
This water material will also be applied to the subsequent game levels.
Reflection
Regarding the workflow, I believe that the white-box design should precede the detailed narration. Although I am confident in creating story concepts and spatial narratives, I realize that these elements need a playable structure first.
If the layout of the levels, mechanics, and navigation are not clear, the narrative content will not have a strong background support. Therefore, this week my primary task is to build the foundation of the levels, and then add more detailed narrative elements.