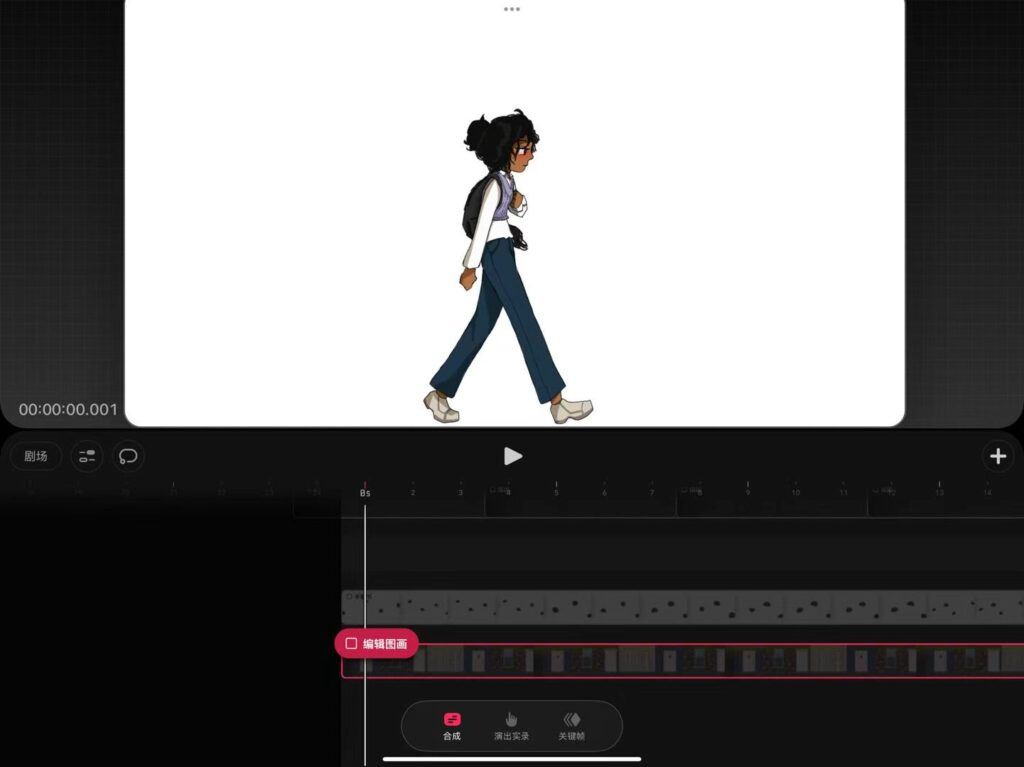
When I first started using Procreate Dreams, I encountered quite a few difficulties, such as brush incompatibility, unfamiliarity with the interface, and not knowing where to begin. Initially, I decided to start with the character, breaking it down into multiple layers and working on it step by step—including the sketch, mid-tone shading, and highlights—before building up the details layer by layer, from the hands to the hair and eyes. The whole process was actually very time-consuming, as I could only rely on a single brush at the time and was unable to freely zoom in or out, resulting in very low drawing efficiency. However, given the limitations of standard Procreate in terms of animation capabilities, I decided to stick with this software.
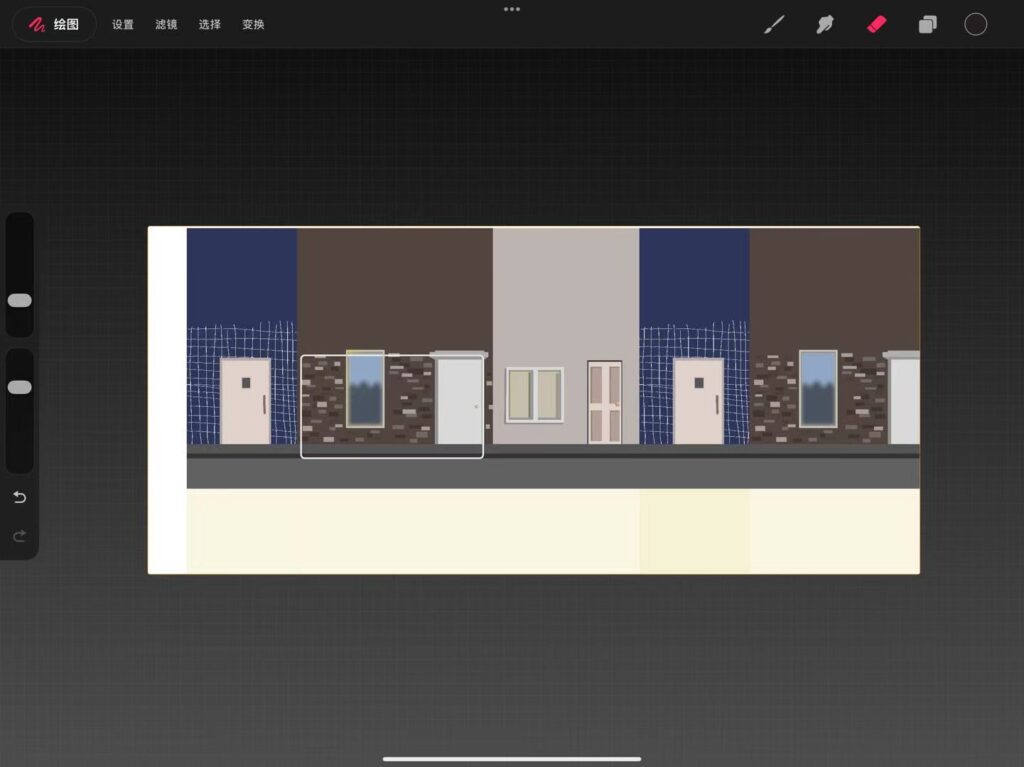
Once the character was complete, I began creating the scene and attempted to integrate the character with the environment to produce a looping animation. This stage presented even greater challenges. I adopted a method of duplicating a single animation segment into two parts, then breaking them down and deleting the intermediate keyframes to make the movement appear more natural, whilst ensuring the character’s starting and ending positions were seamlessly connected. The entire process essentially required manual, frame-by-frame adjustment, with every position shift aligned by hand, bit by bit.

No responses yet