Unity UI Tutorial | An introduction
Start Menu UI
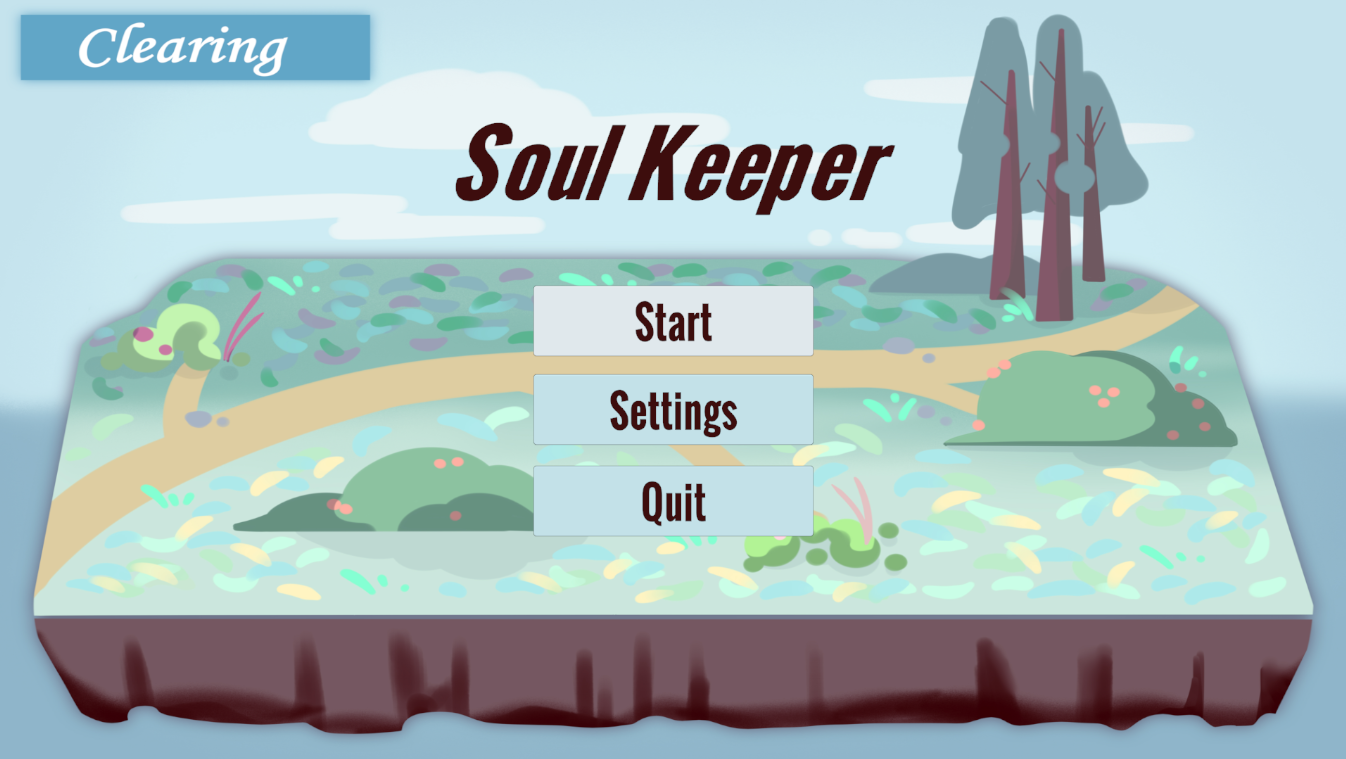
The main menu UI consists of a title and three buttons: Start, Settings, and Quit. I decided to prioritise functionality before visual polish, so I began by implementing the logic behind the Start button.
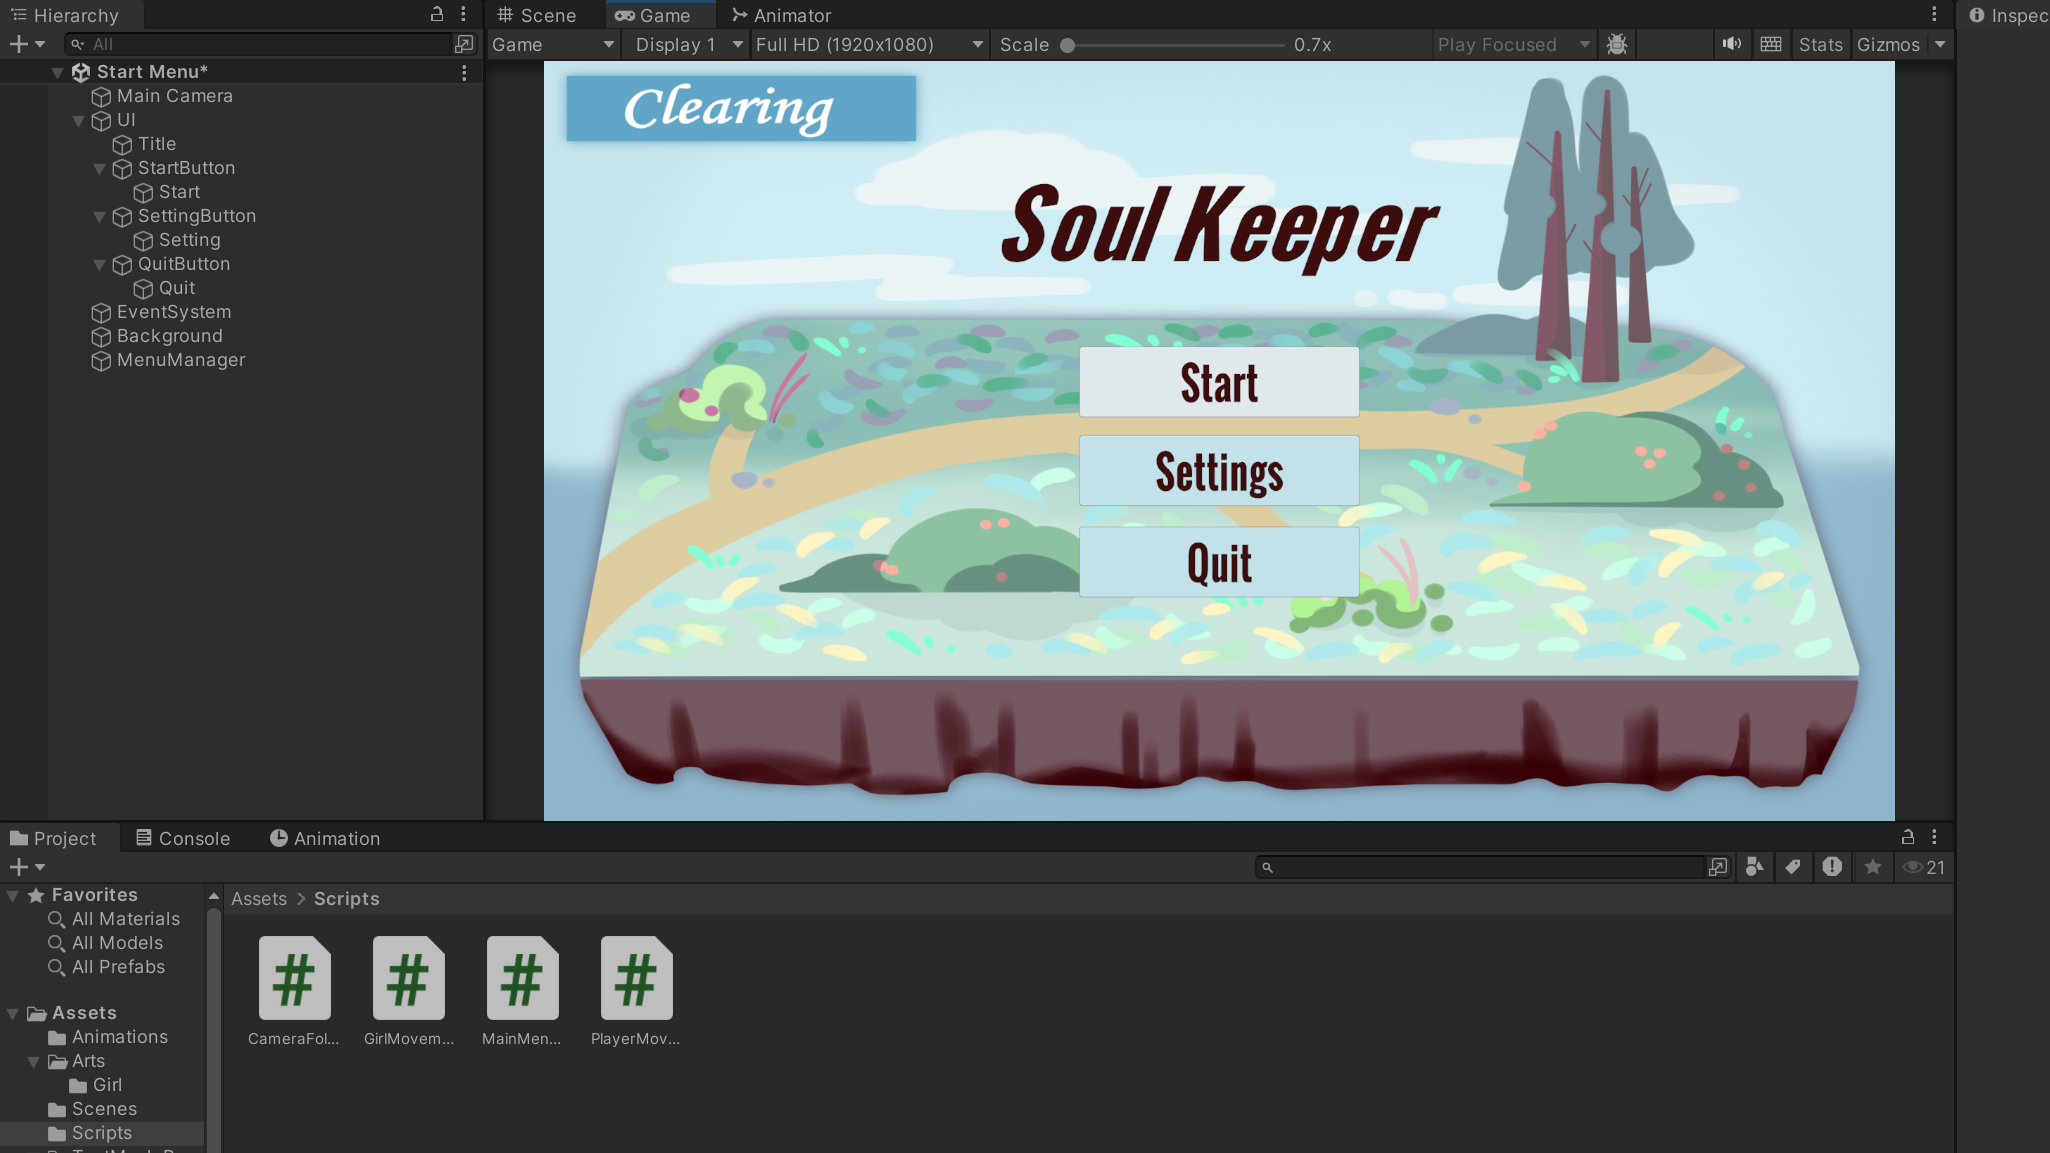
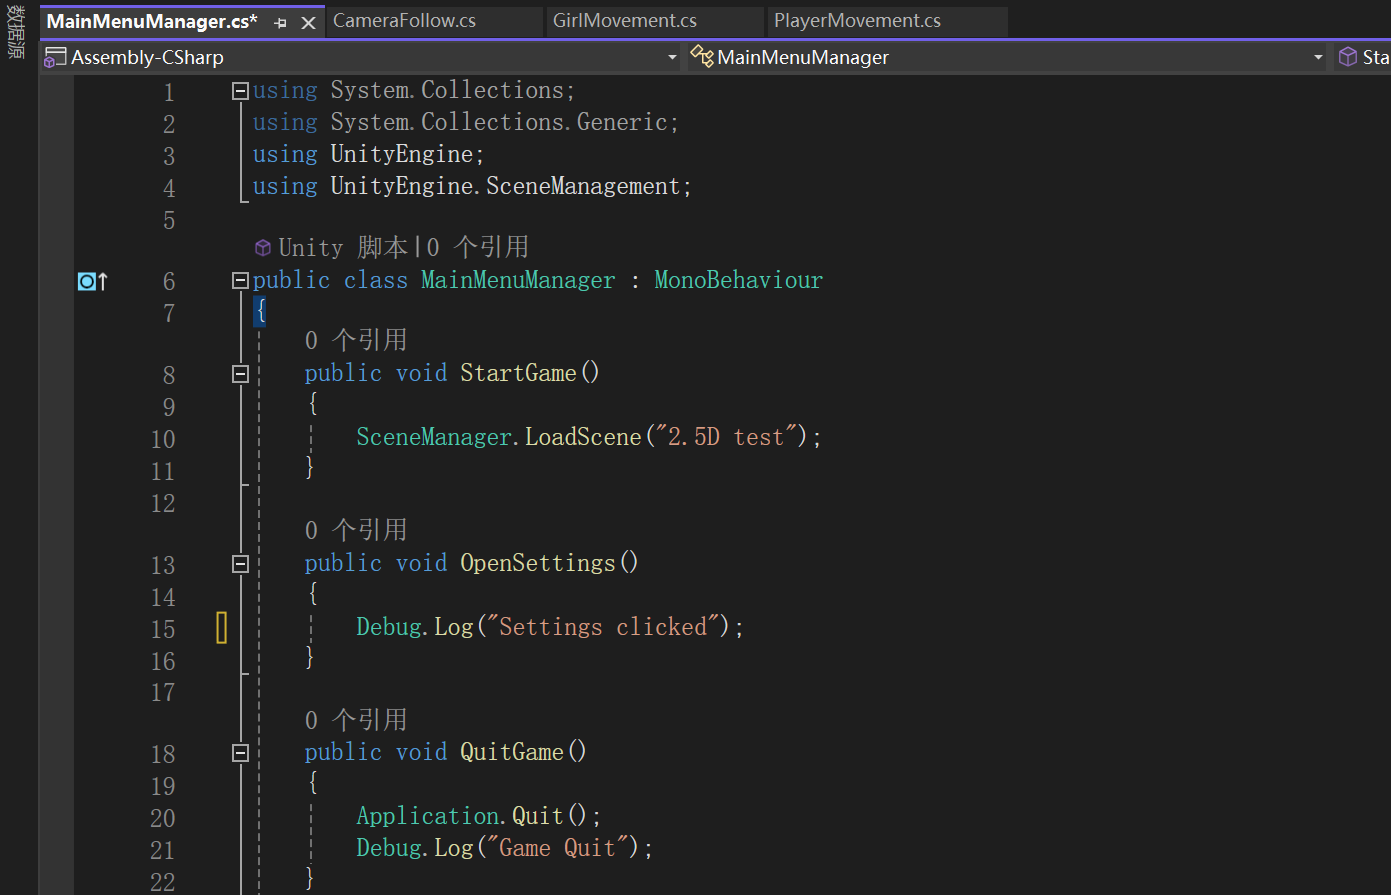
To achieve this, I created a MainMenuManager script and attached it to a GameObject in the start menu scene. In this script, I imported the SceneManagement library so that I could control scene transitions. Inside the class, I wrote a public method called StartGame(). This method uses SceneManager.LoadScene() to load the gameplay scene named “2.5D test.” I then connected this method to the Start button through the Button component’s OnClick event in the Inspector. As a result, when the player clicks Start, the game transitions directly from the main menu scene into the gameplay scene.
I also structured two additional public methods for the other buttons. The OpenSettings() method currently uses Debug.Log() to print “Settings clicked” in the Console, allowing me to confirm that the button interaction works correctly before building the actual settings panel. The QuitGame() method calls Application.Quit() to close the game in a built version, while also logging “Game Quit” in the Unity Editor for testing purposes.
In-Game UI
In our game, there are three primary interactive UI icons: the Map, the Information Board, and the Notebook. All three belong to the same interaction category: expandable information panels. When the player clicks an icon, a detailed UI panel appears on the screen.
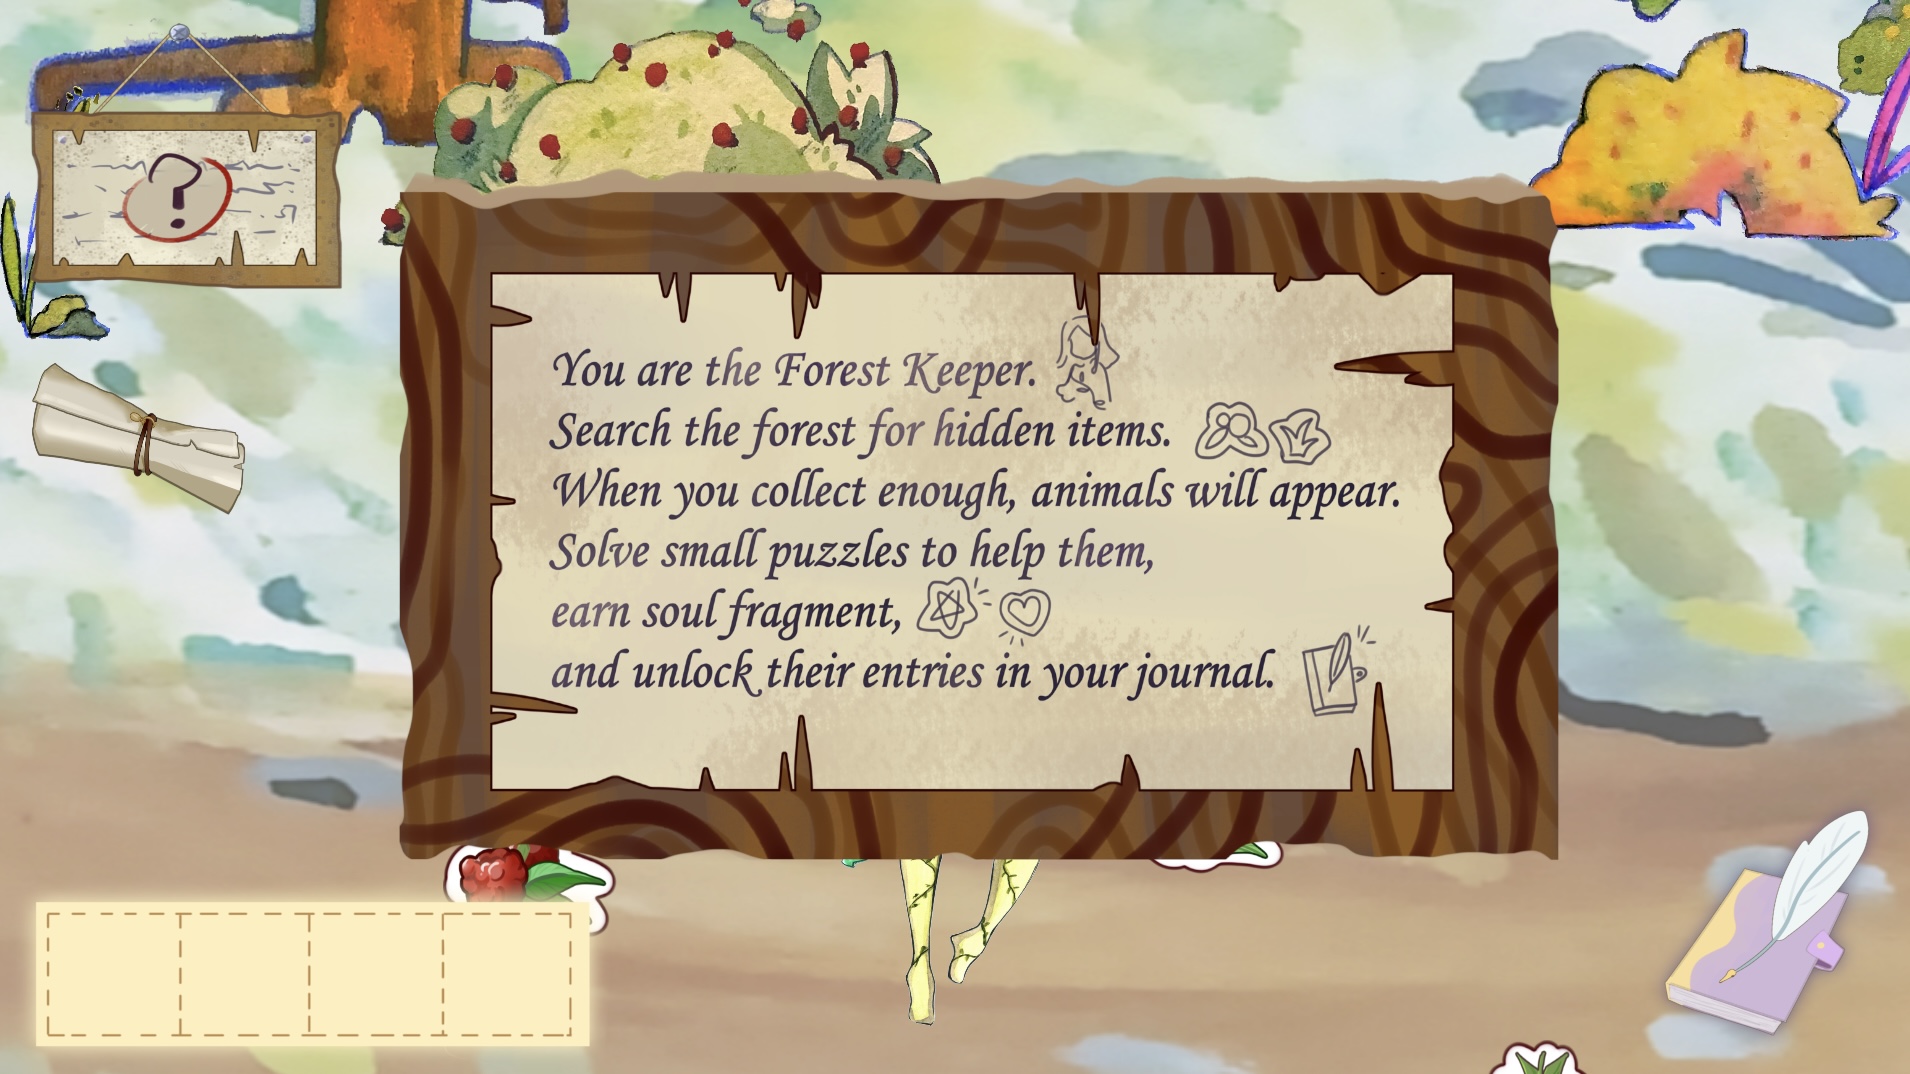
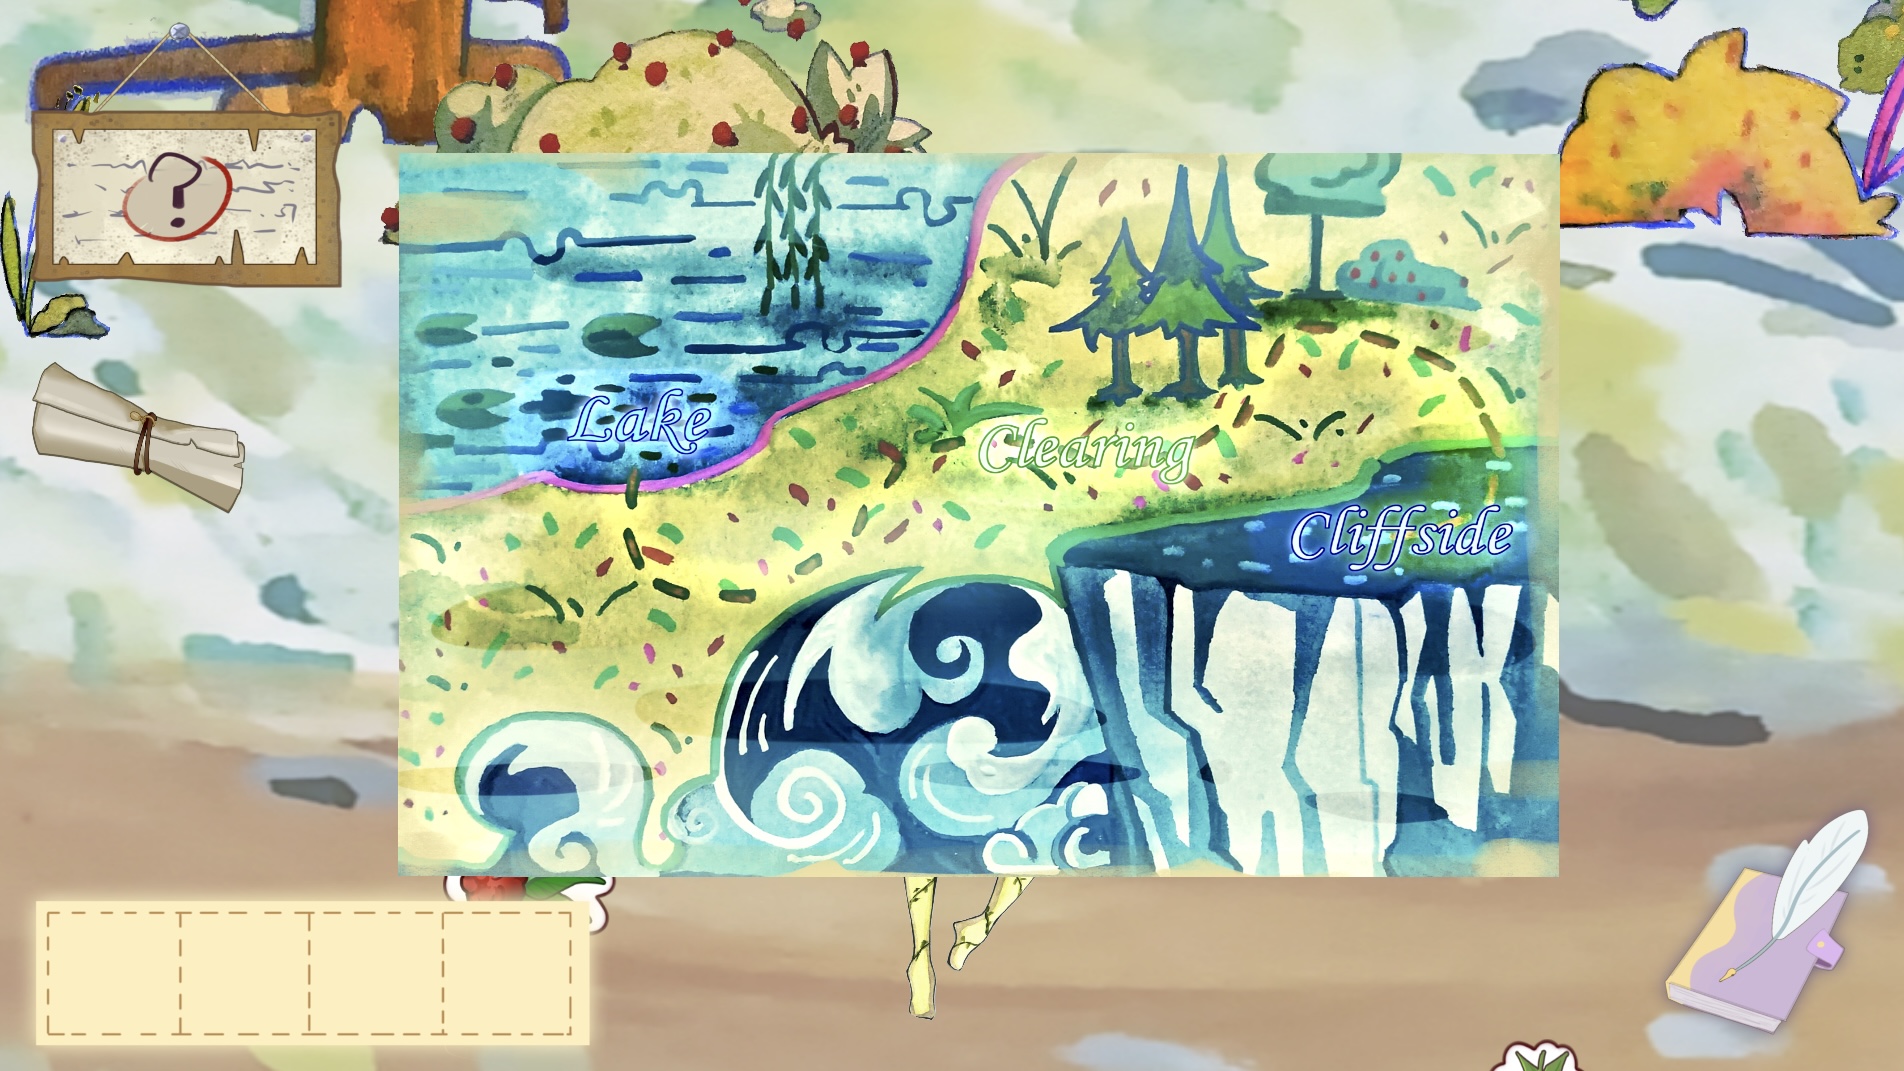
In the first iteration, I implemented a simple toggle (Clicking the icon once opens the corresponding detail panel, and clicking it again closes it). From a development perspective, this approach was straightforward and clean. However, during our first playtest, I realised that this interaction did not align with players’ intuition. Most players instinctively clicked anywhere outside the panel to close it, rather than clicking the same icon again. The toggle logic created a small but noticeable friction in usability.
To address this, I redesigned the UI interaction at a structural level. I added a full-screen background button at the bottom layer of the UI hierarchy. This background button covers the entire game view whenever a detail panel is opened. As a result, any click outside the active panel is captured by this background layer and immediately closes the current UI. This small change significantly improved the fluency of the interaction, aligning the system with common UX patterns players are already familiar with.
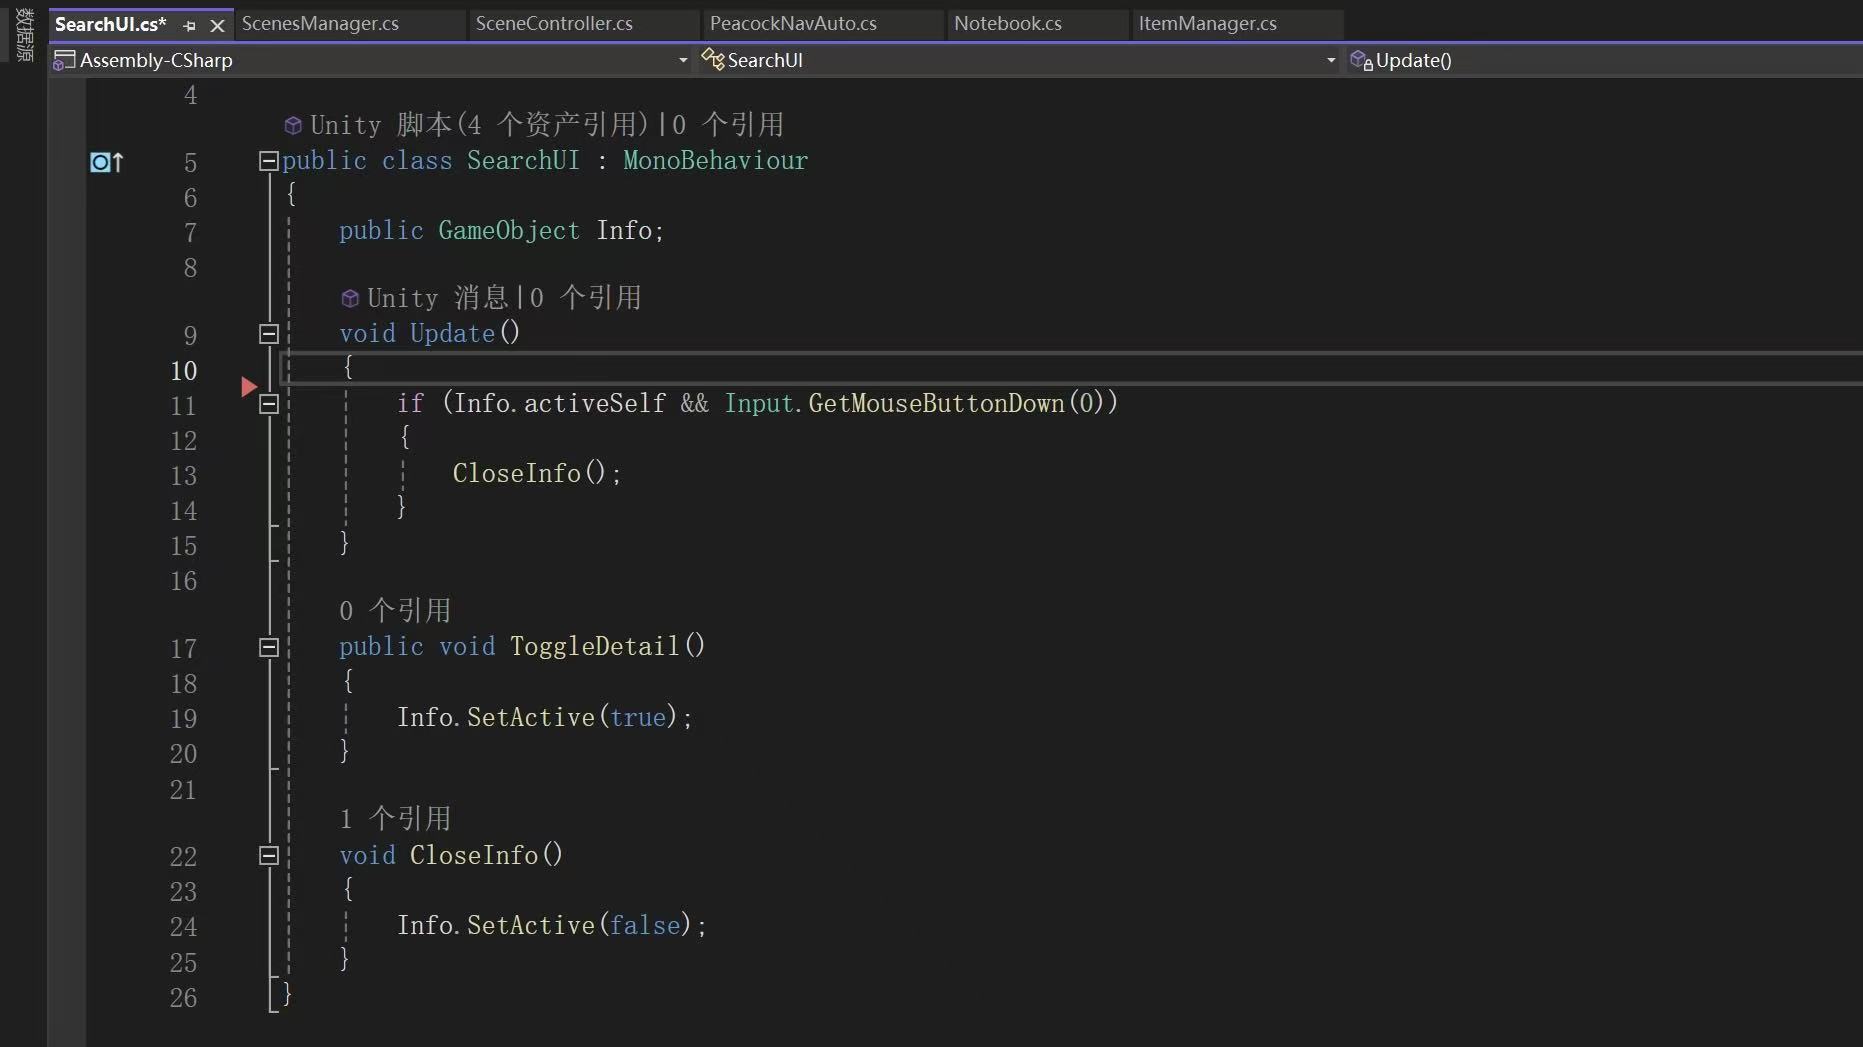
The script that I attached to all the In-geme UI buttons on click and the Background button on click holds a reference to a single UI GameObject called Info, which represents the detail view. When the player clicks the relevant UI icon, ToggleDetail() is called to show the panel by setting Info.SetActive(true). After the panel is open, the Update() loop listens for a left mouse click (Input.GetMouseButtonDown(0)); if the panel is currently active (Info.activeSelf), the script immediately calls CloseInfo() to hide it via Info.SetActive(false). In practice, this creates a simple “open on icon click, close on any click” behaviour, which matches the common player expectation of dismissing a UI overlay by clicking anywhere on the screen.
Dynamic Notebook UI
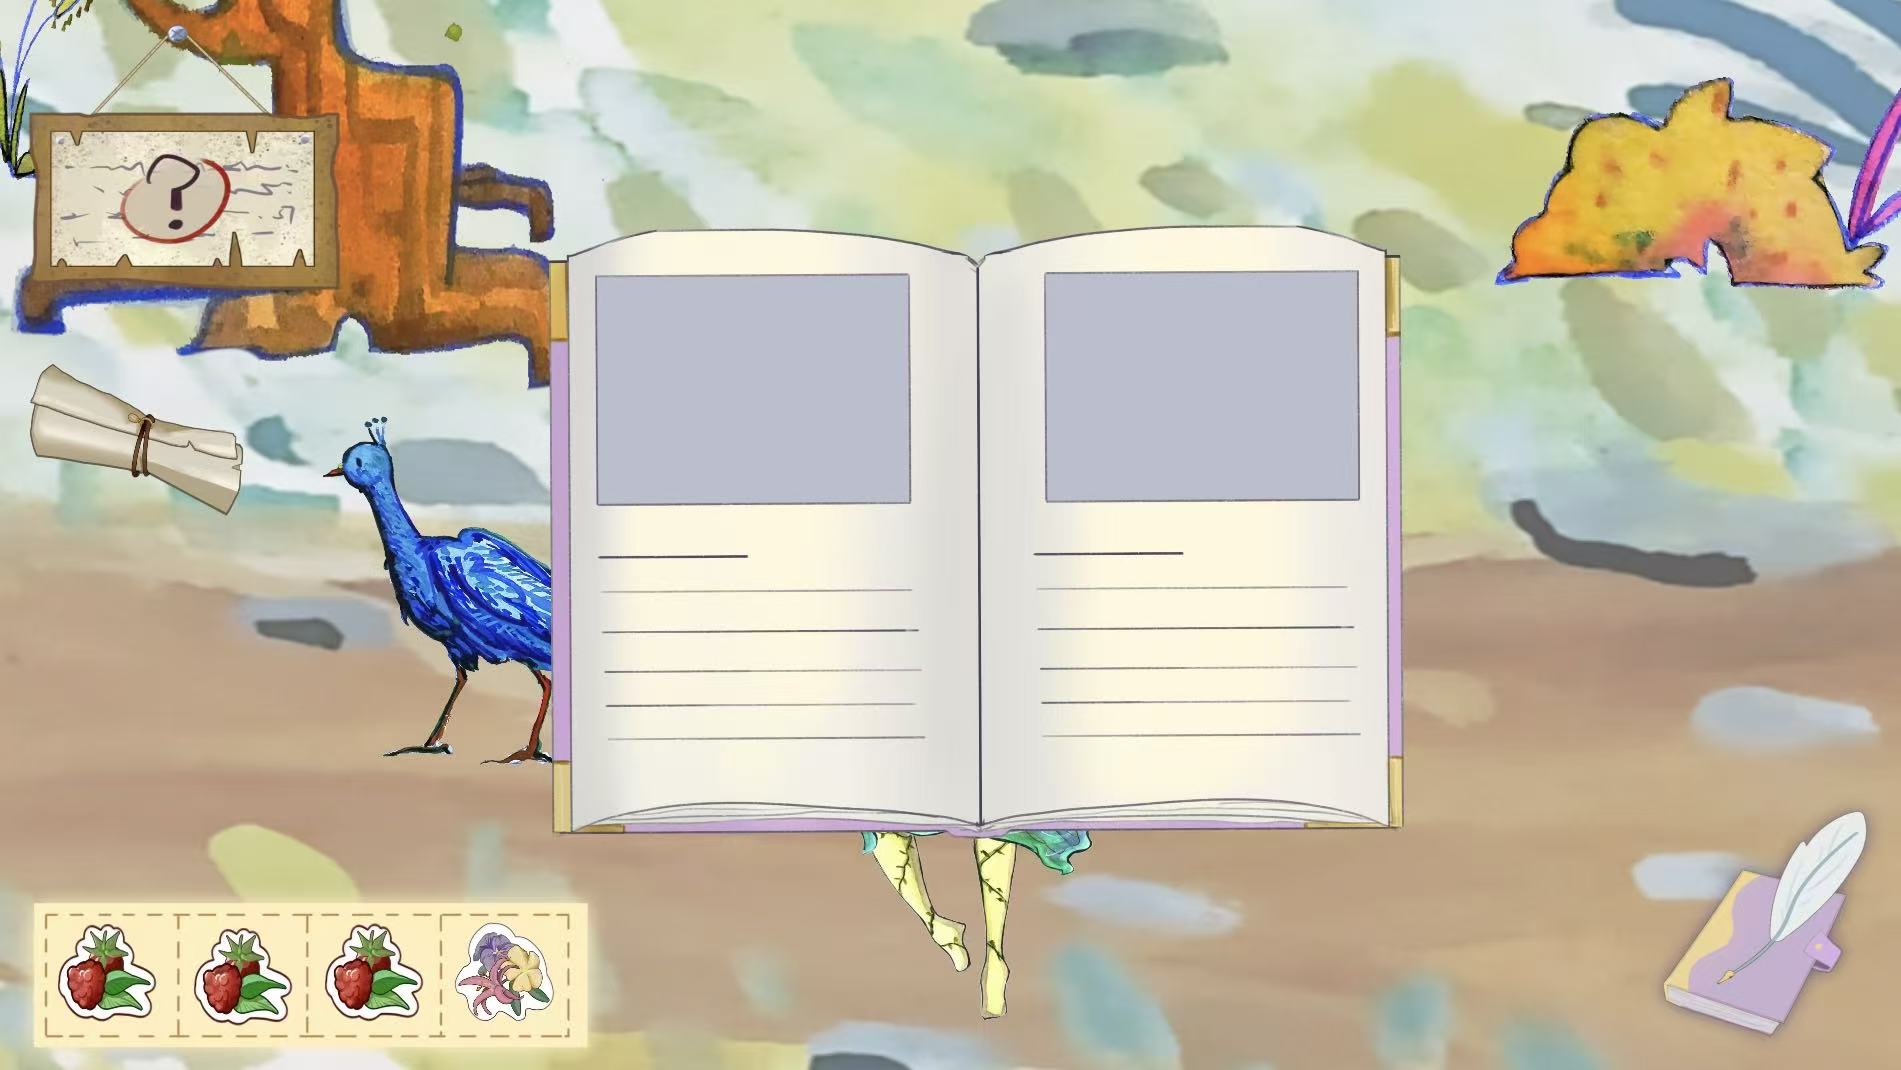
For the Notebook system, I wanted to create a sense of progression tied directly to gameplay. When the player first clicks the Notebook UI, it opens to a blank interface page. The player will collect the items to make the peacock appear, then solve the puzzle for the peacock to earn its trust. Player will be able to collect “SoulFragment”, which unlocks the peacock information page include a fabulous illustration of a peacock. After that, when the player clicks the Notebook UI, it will appears peacock information page instead of a blank page.
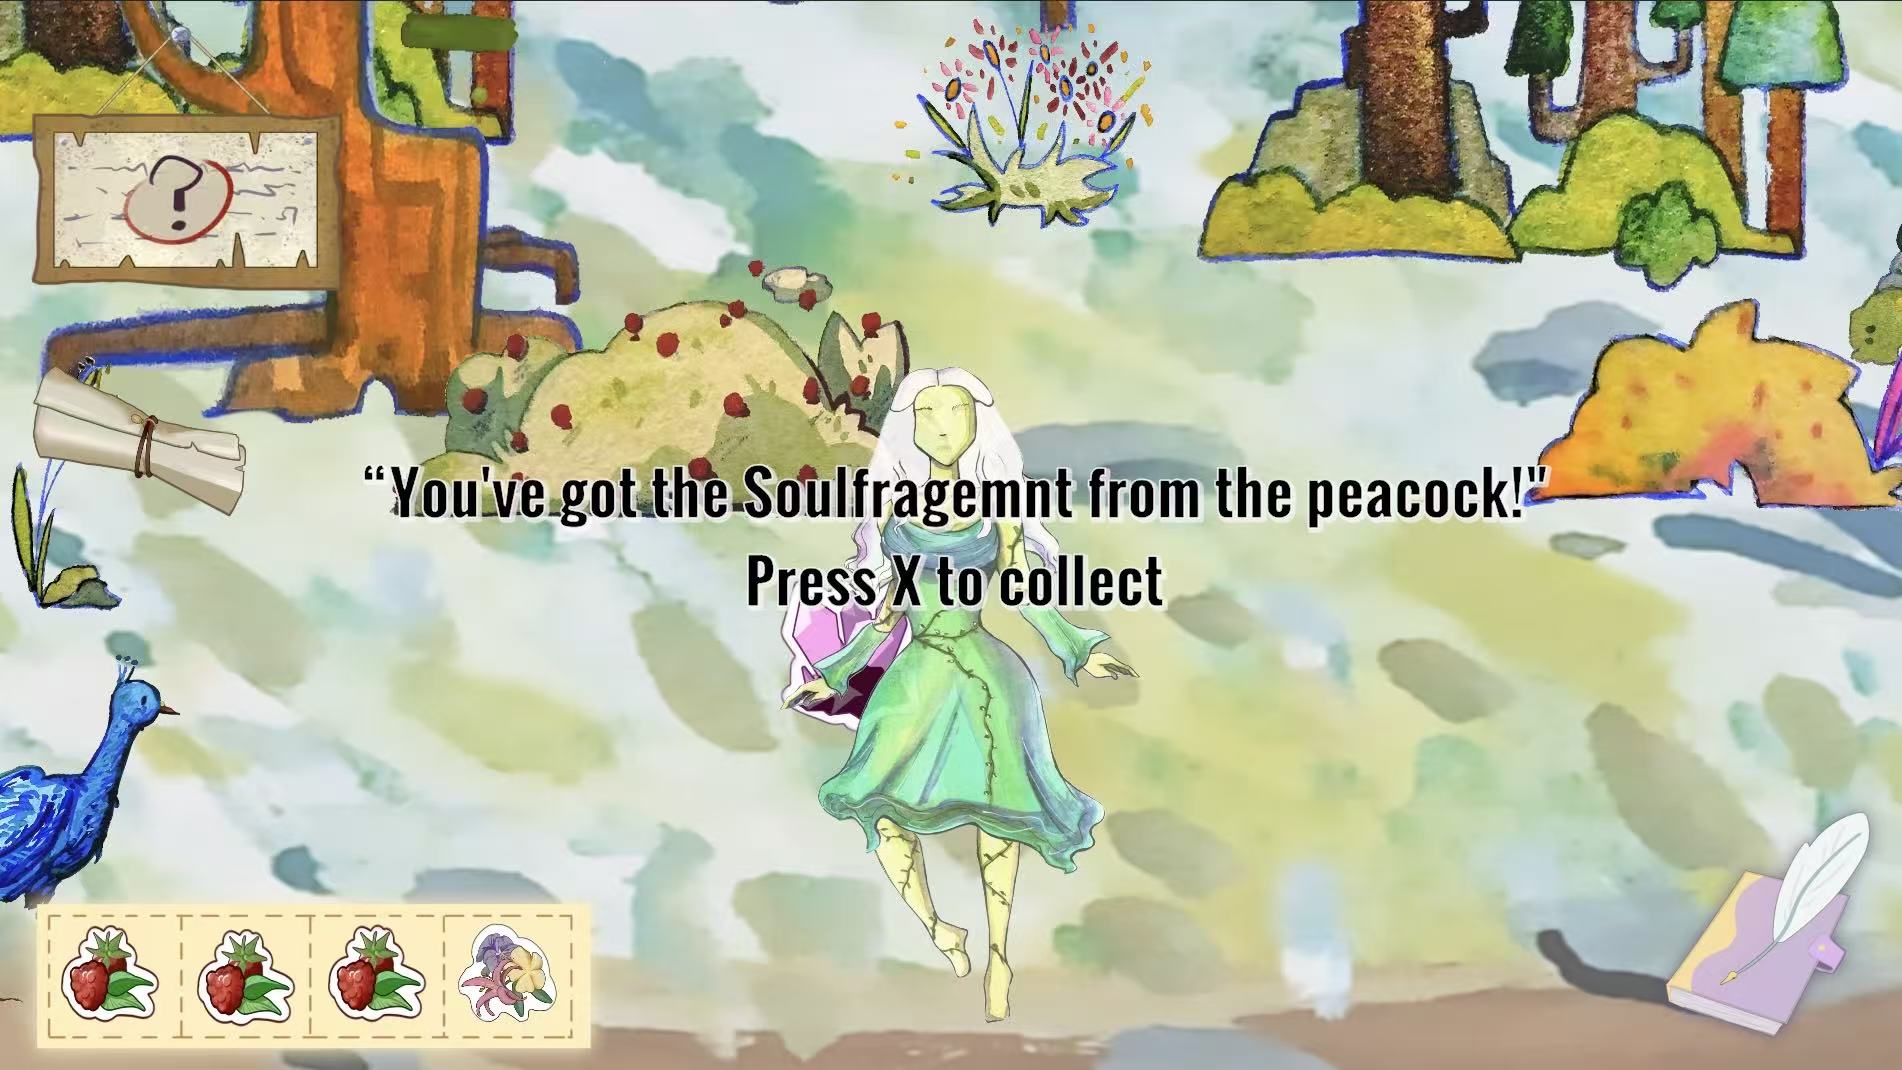
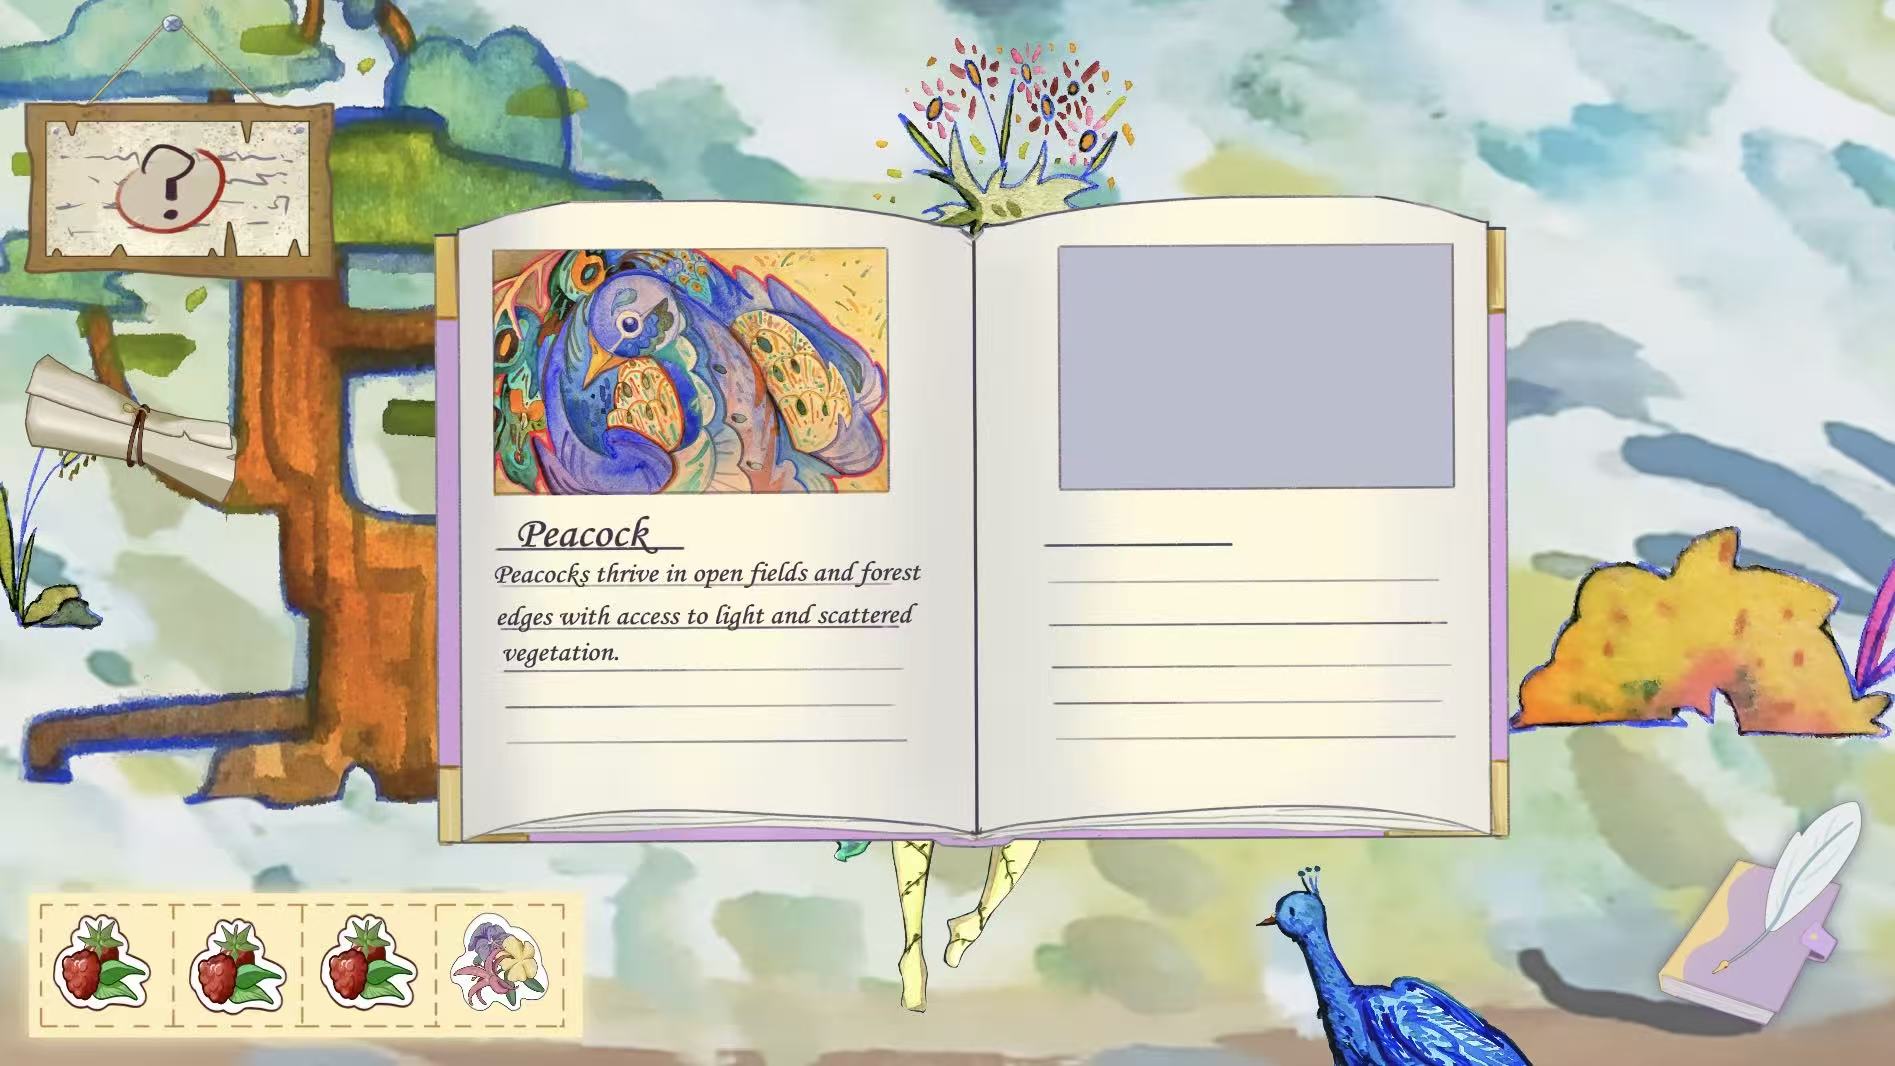
Loop will be:
Click Notebook UI appears blank page -> Collect Soulfragment to unlock peacock info page -> Click Notebook UI appears peacock info page
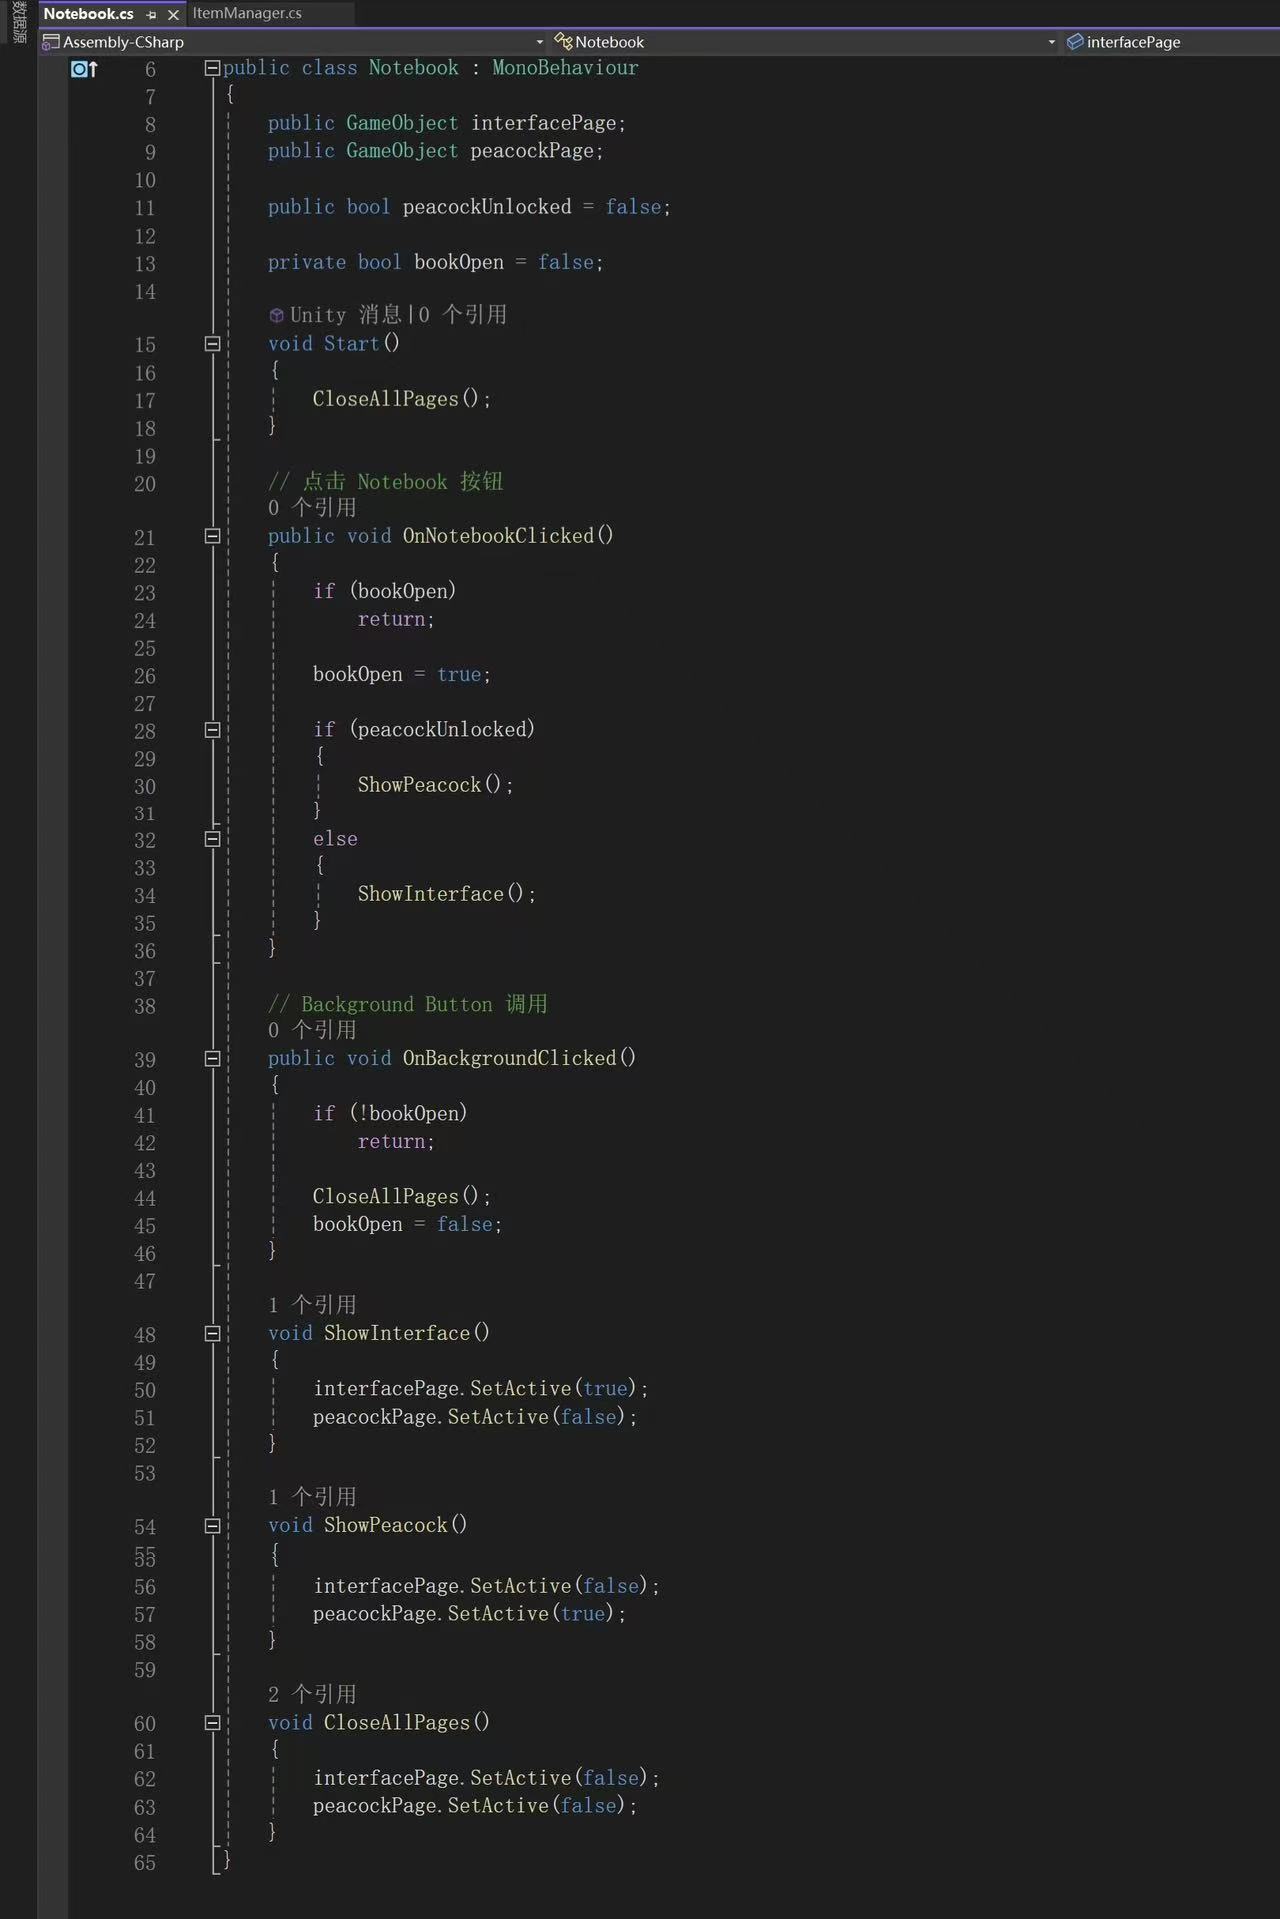
The core logic is handled inside the Notebook script. When OnNotebookClicked() is triggered, the system first checks whether the book is already open to prevent repeated activation. Once opened, the script evaluates a boolean variable called peacockUnlocked. If the player has not yet collected the Soul Fragment from the peacock, the notebook displays the default interfacePage, which acts as an empty placeholder. However, after the player presses X to collect the Soul Fragment, this sets peacockUnlocked to true, permanently updating the notebook’s state.
From that point forward, opening the notebook triggers ShowPeacock() instead of ShowInterface(), deactivating the blank page and activating the dedicated peacock page. This creates a dynamic page-replacement system driven entirely by progression flags rather than separate UI prefabs or scene reloads.
To maintain intuitive UX behaviour, I implemented a full-screen background button that calls OnBackgroundClicked(). If the notebook is open, it closes all pages through CloseAllPages() and resets the bookOpen state. Importantly, closing the notebook does not reset the unlock condition. This means that after the player collects the Soul Fragment and closes the page, reopening the Notebook UI will directly display the Peacock entry instead of the blank interface.
Leave a Reply