
2D Scene
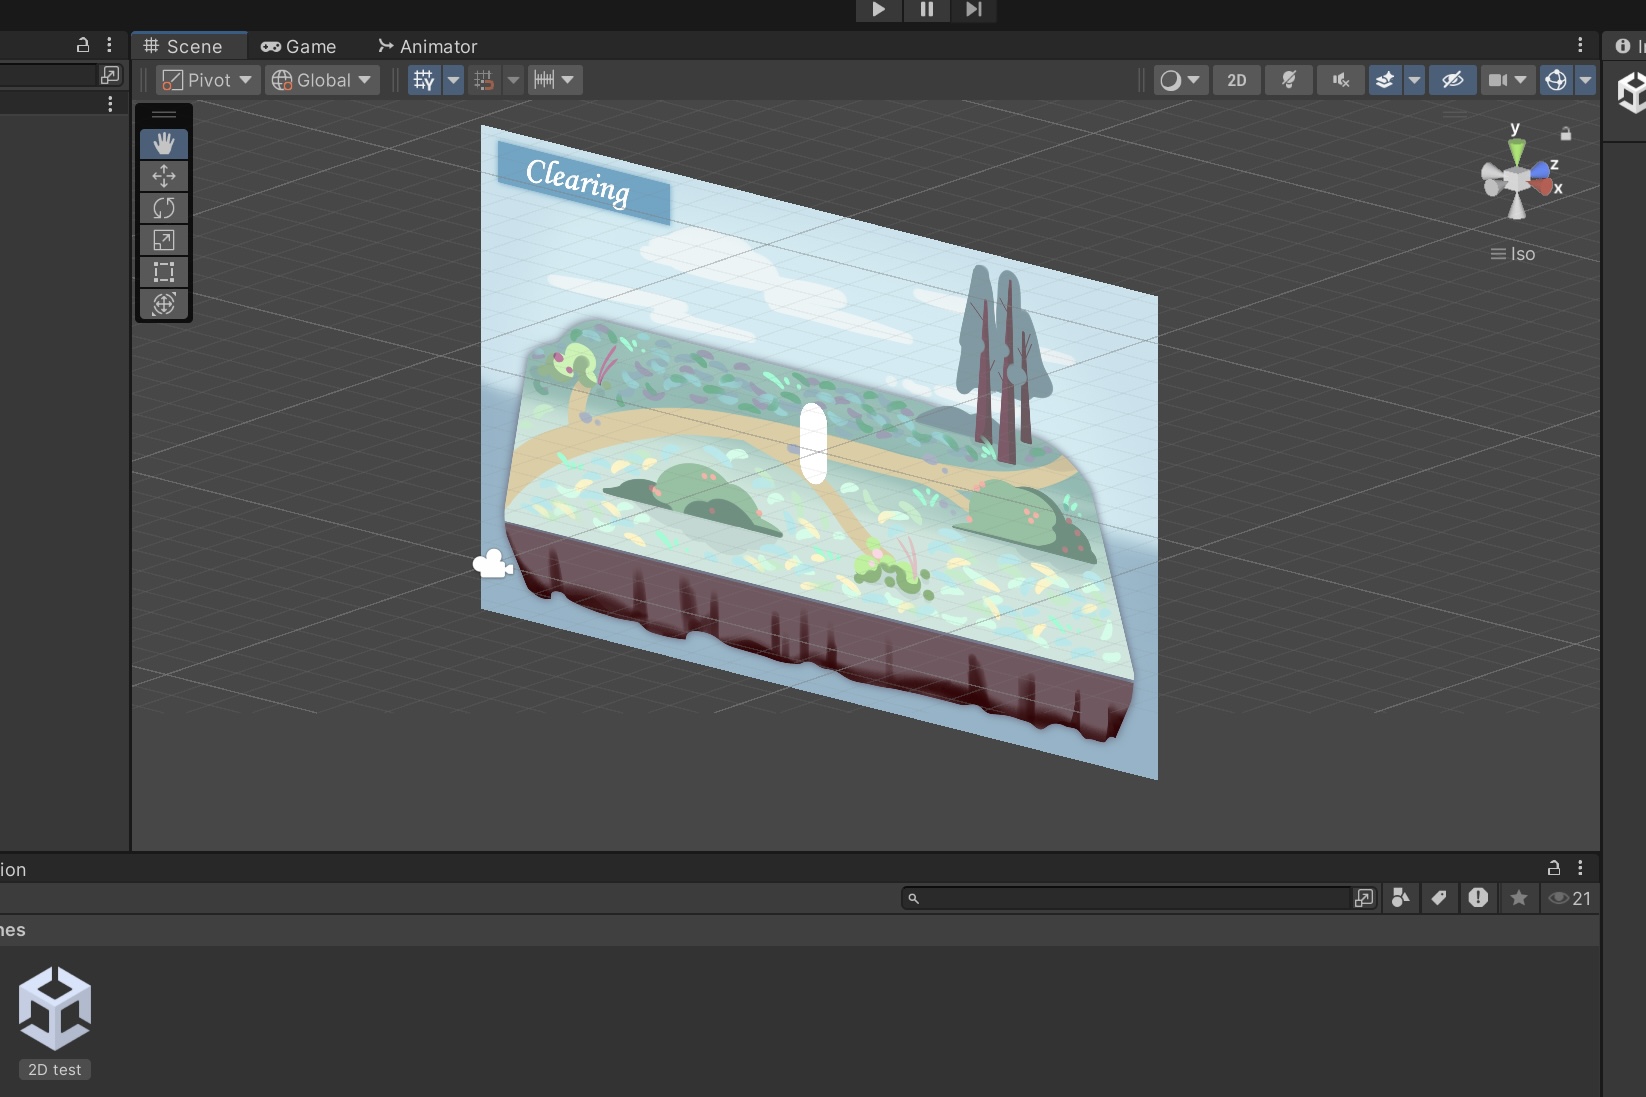
With the initial art assets draft that Swan has drawn.

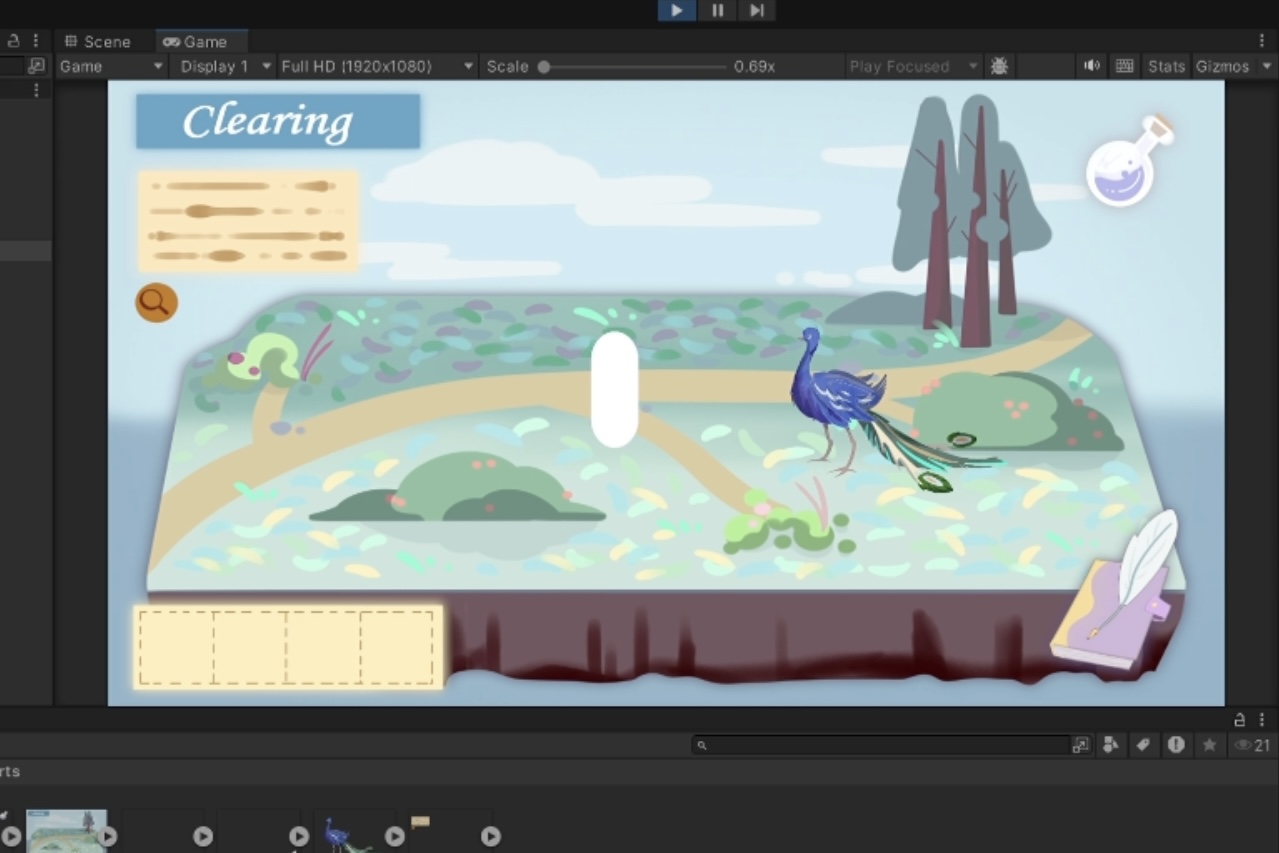
I was able to incorporate her artwork into the Unity 2D Scene and adjust its scale. At this stage, the scene is completely 2D with a shading effect which is included in the drawing. The camera is fixed in the centre of this scene.
What it looks like in the game:
2.5D Scene
However, as Elina has researched related games in her GDD: Reviewed Games – Elina Orlovska – GAMES GESIGN
Our team found that the top 3 games she aims to use as references are all 2.5-dimensional. (2D character sprites on a 3D plane or 3D plane with 2D sprites for objects and creatures) Since our artists are all working in 2D drawing, I chose to develop it with a 3D plane with 2D sprites.

To build a 2.5D scene in Unity, the basic approach is as follows:
First, I placed the 2D ground art assets at the bottom of a 3D scene.
Next, position environmental objects, such as trees and bushes, as well as characters (player and NPCs), at a 45-degree angle. If these elements are placed vertically at 90 degrees, they appear visually disconnected from the ground plane and fail to blend naturally within the scene.
I chose a 45-degree angle after experimenting with several different orientations. At 30 degrees, the scene requires a much larger environment and a denser arrangement of objects; otherwise, the camera tends to capture empty background space. At 60 degrees, the overall composition starts to feel too flat and visually compressed, making the scene look closer to a traditional 2D setup rather than achieving the intended 2.5D depth.
After all, I added a collider component to every asset to make sure they have real physical existence, which players won’t just get across.
Here is a really useful 2.5D tutorial that I watched and learned from: Unity 2.5D Game tutorial by NotSlot
2.5D Camera Setup
To keep the camera aligned with the environmental objects and characters, it also needs to be set at a 45-degree downward angle.
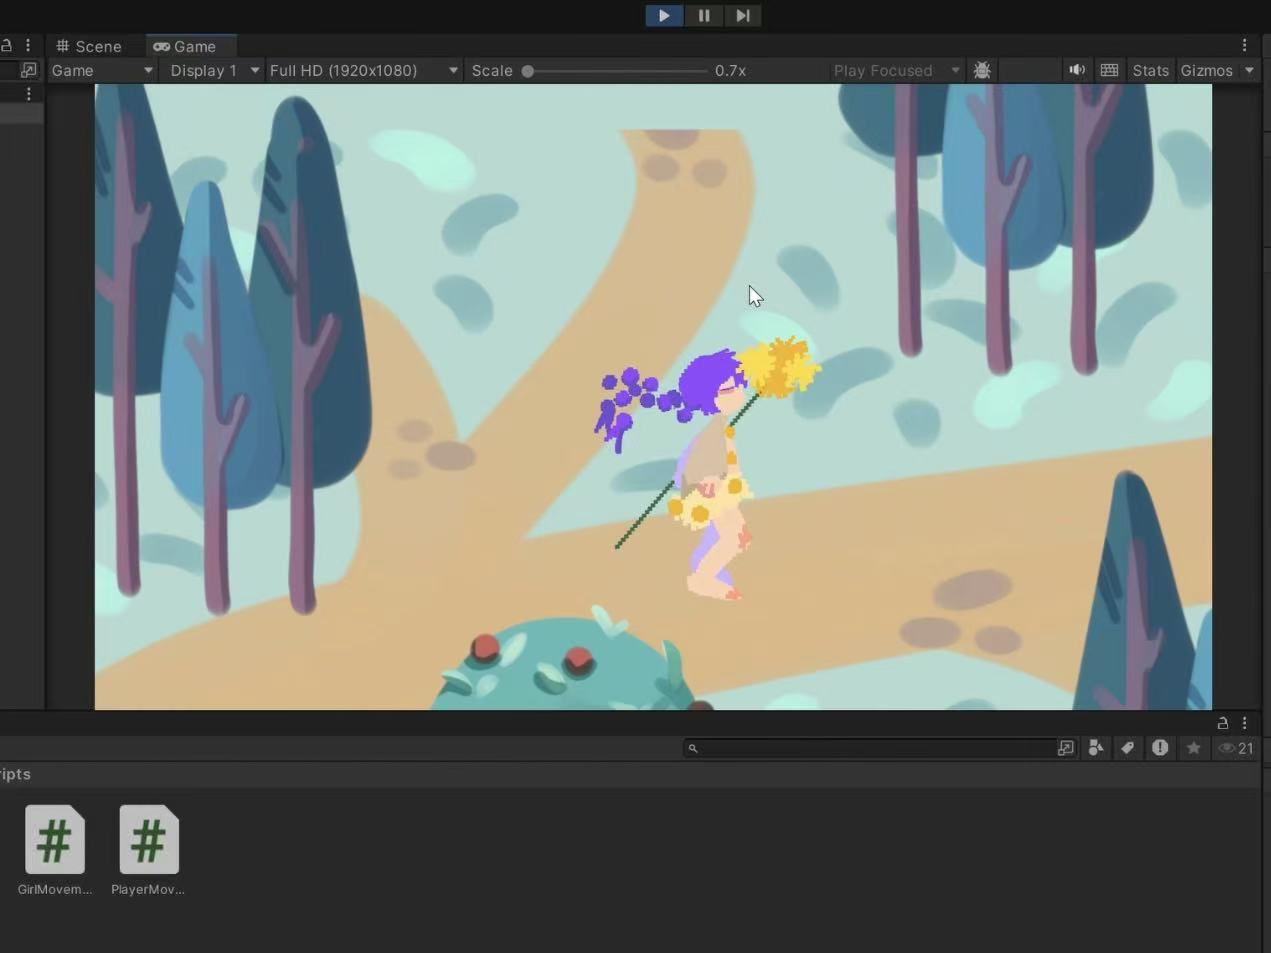
Camera Follow Script
In this 2.5D scene, I don’t want the camera to remain static; instead, I want it to follow the player character in real time, keeping her centred in the frame as she moves.
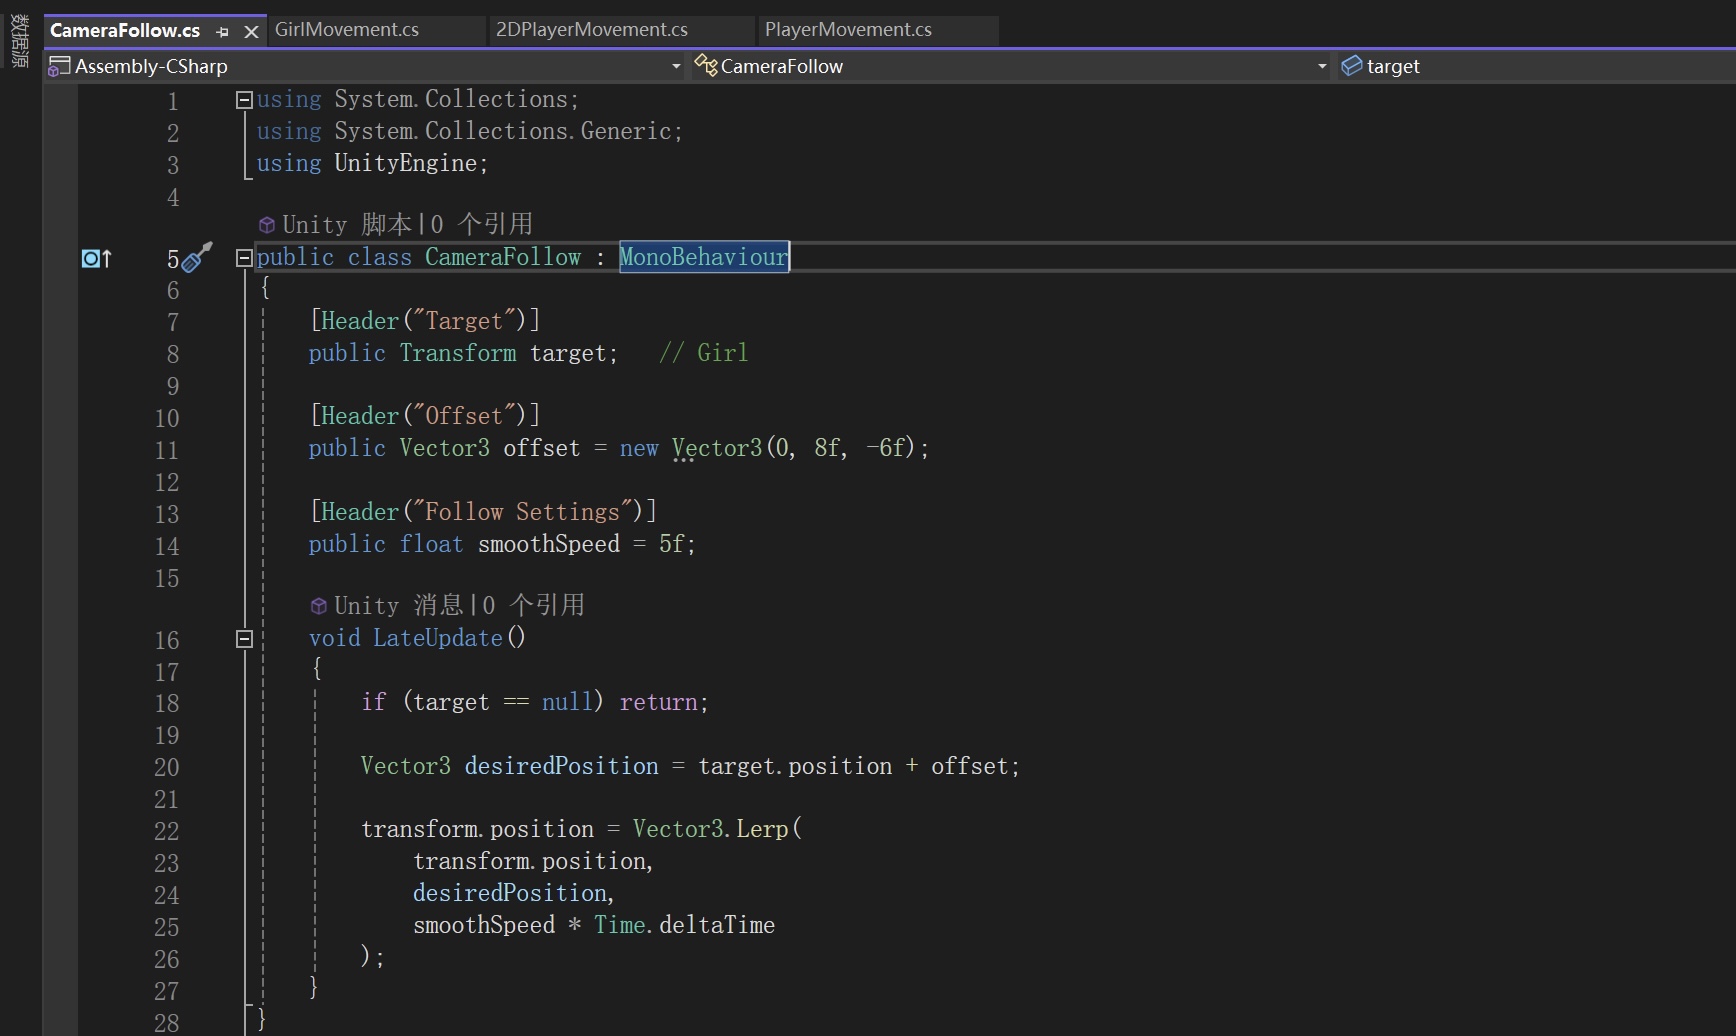 This CameraFollow script makes the camera smoothly follow a target object (the player character, “Girl”) in a 2.5D scene. It stores a reference to the target’s Transform and applies a positional offset so the camera stays slightly above and behind the player.
In LateUpdate(), it first checks whether a target is assigned. If so, it calculates a desired position based on the target’s current position plus the offset, then uses Vector3. Lerp to smoothly interpolate the camera’s position toward that desired position over time. The smoothSpeed variable controls how quickly the camera catches up, creating a fluid, non-static follow effect to the player’s position.
Scene Transition
Toturials that helps me with it:
Unity Scene Transitions: Creating an Immersive and Seamless Gaming Experience
The first time I needed to implement scene transitions was for the Start Menu. The goal was straightforward: when the player clicks the “Start” button, the game should transition into the Opening scene. I implemented this using Unity’s SceneManager.The LoadScene() function is triggered by a simple button event. This established the basic pipeline for scene switching in our project.
However, scene transitions became significantly more complex in Week 5, right before the playtest, when Oliver finalised the Peacock Puzzle. I needed to integrate this new puzzle scene into the existing game flow.
The intended interaction loop was:
The player encounters the peacock in the Clearing scene.
A prompt appears: “Press Q to interact”
Pressing Q transitions the player into the Peacock Puzzle scene (handled in a separate interaction script)
After completing the puzzle, the player clicks an “Exit” button.
The game transitions back to the original Clearing scene
Technically, this was simple to implement. I created functions to load scenes either by build index or by scene name. For example, the Start button loads the “Opening” scene directly, while the puzzle exit button loads the “Clearing” scene.
The real problem emerged after implementing this loop.
When the player returned from the puzzle scene, the Clearing scene was fully reloaded. All previously interacted objects reset to their initial states. Items reappeared, environmental changes were undone, and the world essentially looked like the beginning of the game. This broke immersion and undermined progression.
My first instinct was to preserve the entire scene state. I experimented with keeping objects persistent across scenes and manually storing interaction states. However, this quickly became overly complex. Every interactable object would require its own persistent logic, and we also needed the Soul Fragment to instantly appear in the scene after returning from the puzzle. Managing object states, timing, and UI synchronisation across scenes introduced numerous edge cases. During the playtest, this partial persistence system resulted in several bugs and inconsistencies.
After the playtest, I stepped back and reconsidered the problem from a design perspective rather than a purely technical one.
Instead of trying to preserve the entire Clearing scene state dynamically, I duplicated the original Clearing scene. In this duplicated version, I manually arranged all objects to match the expected post-puzzle state: as if the player had already completed the required interactions. From the player’s perspective, it still appears to be the same Clearing scene. But at the engine level, it is technically a different scene.
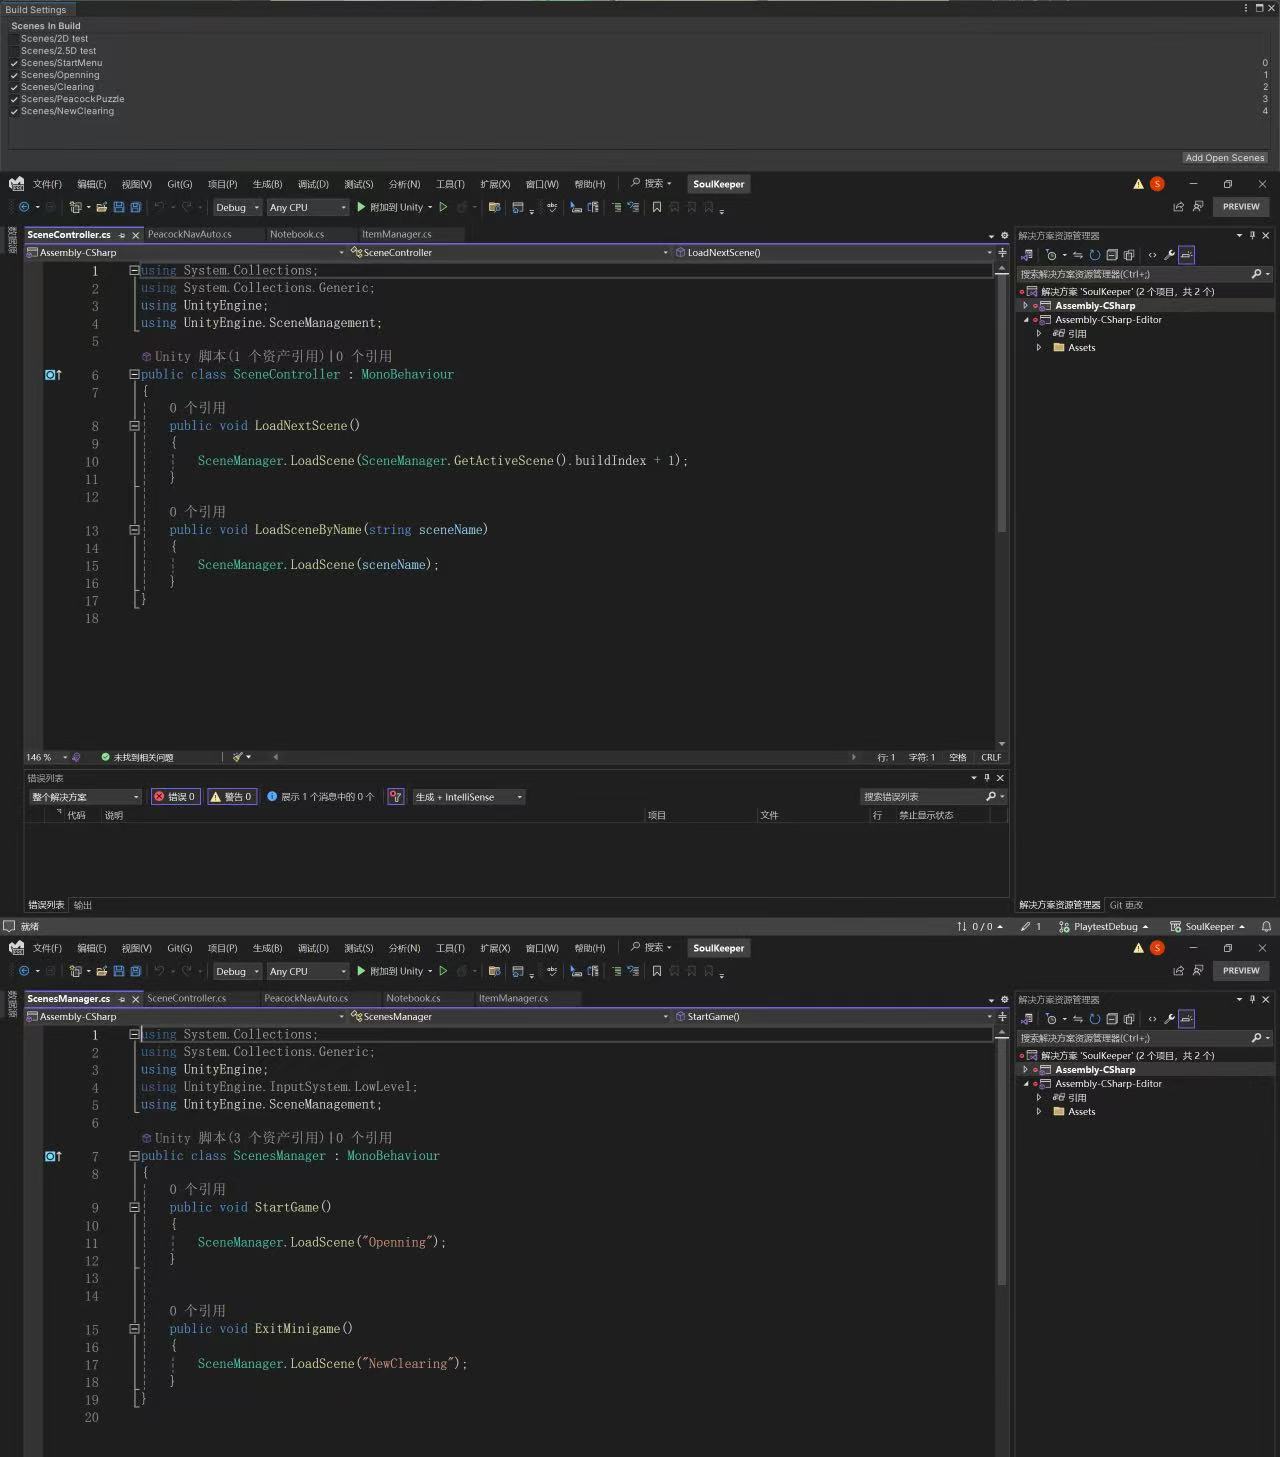
As a result, the scene transition script became clean and minimal. It only handles loading scenes by name or index. All state complexity is resolved at the scene design level rather than through layered code logic.
In future iterations, I would explore more scalable approaches, such as a centralised GameState manager or ScriptableObject-based persistence system. But for this project scope, duplicating and preconfiguring scenes was the most efficient and reliable solution.
Leave a Reply